


一、服务器端:
1.搭建php服务器
Step 0. Update the system
# apt-get update
# apt-get upgrade
# apt-get upgrade
Step 1. Install Apache
– Install apache2 and Apache library:
apt-get install apache2 libapache2-mod-php– Enable / Start Apache:
# systemctl enable apache2
# systemctl start apache2
# systemctl start apache2
Step 2. Install MySQL Server
– Install MySQL Server:
apt-get install mysql-server php7.0-mysql– Enable / Start MySQL Server:
# systemctl enable mysql
# systemctl start mysql
# systemctl start mysql
Step 3. Install PHP 7 and PHP Modules
– Install PHP7:
sudo apt-get install php7.0 php7.0-mysql php7.0-curl php7.0-gd php7.0-json php7.0-opcache php7.0-xml mcrypt php7.0-mcrypt– Restart Apache:
systemctl restart apache2Step 4. Verify and Test PHP
– Create an info.php file to ensure PHP is running:
sudo vi /var/www/html/info.php
– Paste the following content:
<?php phpinfo(); ?>– Open in the web browser:
http://your server's IP address/info.php2.搭建log服务器
1》./ Install Prerequisites
– we need also to install the rsyslog-mysql package, use the below comand to install it:
apt-get install rsyslog-mysql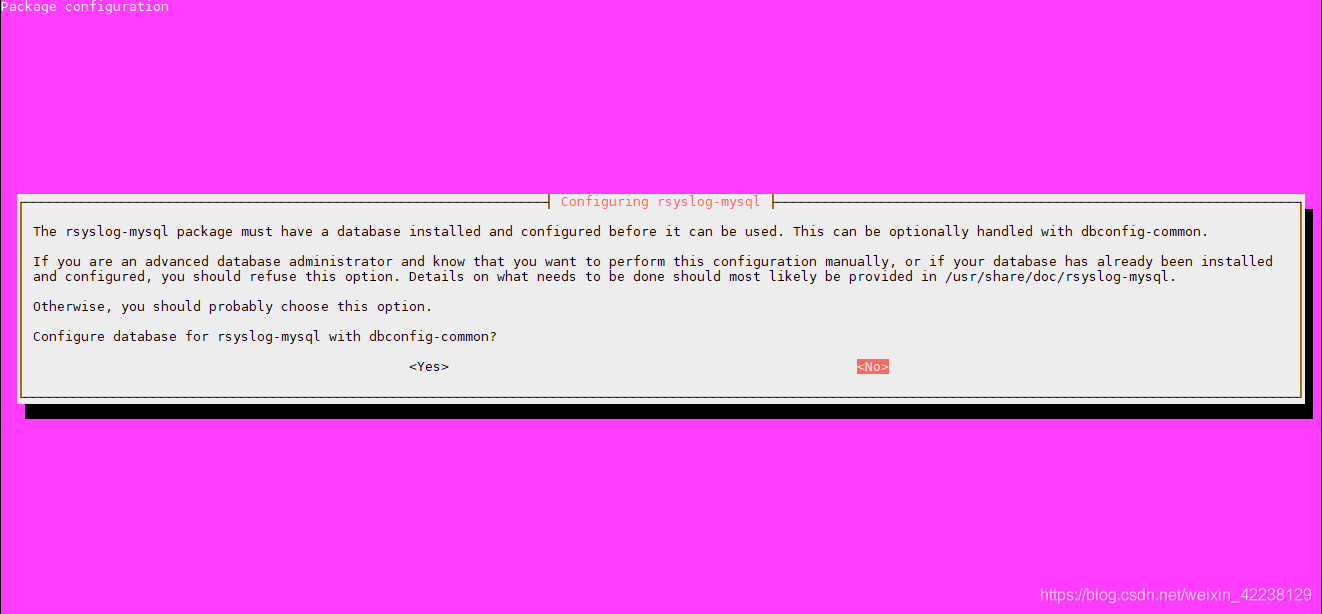
2》./ Configure Rsyslog Database
– Create the Syslog database:
[root@loganalyzer ~]# mysql -u root -p
mysql> CREATE DATABASE Syslog;
mysql> CREATE DATABASE Syslog;
– Create a user to access the Syslog database:
mysql> GRANT ALL ON Syslog.* TO 'rsyslog'@'localhost' IDENTIFIED BY 'Password';
mysql> FLUSH PRIVILEGES;
mysql> exitSyslog.* TO 'rsyslog'@'localhost' IDENTIFIED BY 'Password';
mysql> FLUSH PRIVILEGES;
mysql> exit
– Import the default database schema offered by Rsyslog using the below command:
[root@loganalyzer ~]# mysql -u rsyslog -D Syslog -p < /usr/share/dbconfig-common/data/rsyslog-mysql/install/mysqlrsyslog -D Syslog -p < /usr/share/dbconfig-common/data/rsyslog-mysql/install/mysql3》./ Configure Rsyslog Server
- Take a backup of the rsyslog.conf before editing it
[root@loganalyzer ~]# cp /etc/rsyslog.conf /etc/rsyslog.conf.org
[root@loganalyzer ~]# vi /etc/rsyslog.conf
[root@loganalyzer ~]# vi /etc/rsyslog.conf
- Find and uncomment the following lines to make your server to listen on the udp and tcp ports.
[...]
# provides UDP syslog reception
module(load="imudp")
input(type="imudp" port="514")
[...]
# provides TCP syslog reception
module(load="imtcp")
input(type="imtcp" port="514")
$ActionFileDefaultTemplate RSYSLOG_SyslogProtocol23Format
[...]
# provides UDP syslog reception
module(load="imudp")
input(type="imudp" port="514")
[...]
# provides TCP syslog reception
module(load="imtcp")
input(type="imtcp" port="514")
$ActionFileDefaultTemplate RSYSLOG_SyslogProtocol23Format
[...]
- To configure Rsyslog to output logs to database, edit the mysql.conf file as below:
[root@loganalyzer ~]# vi /etc/rsyslog.d/mysql.conf
# Load the MySQL Module
$ModLoad ommysql
#*.* :ommysql:Host,DB,DBUser,DBPassword
*local1.* :ommysql:127.0.0.1,Syslog,rsyslog,Password
#sudo vi /etc/rsyslog.d/50-default.conf
添加:
local1.*                         /var/log/rsyslog.log
# Load the MySQL Module
$ModLoad ommysql
#*.* :ommysql:Host,DB,DBUser,DBPassword
*local1.* :ommysql:127.0.0.1,Syslog,rsyslog,Password
#sudo vi /etc/rsyslog.d/50-default.conf
添加:
local1.*                         /var/log/rsyslog.log
- Save and restart the rsyslog service
systemctl restart rsyslog4》./ Install LogAnalyzer
- Download LogAnalyzer package from the official website
[root@loganalyzer ~]#  cd /tmp
[root@loganalyzer ~]#  wget http://download.adiscon.com/loganalyzer/loganalyzer-4.1.6.tar.gz
[root@loganalyzer ~]# tar -xzvf loganalyzer-4.1.6.tar.gz
[root@loganalyzer ~]#  wget http://download.adiscon.com/loganalyzer/loganalyzer-4.1.6.tar.gz
[root@loganalyzer ~]# tar -xzvf loganalyzer-4.1.6.tar.gz
- Create the LogAnalyzer Directory under the apache web directory:
mkdir /var/www/html/loganalyzer- Copy the installation files into loganalyzer directory using the following commands:
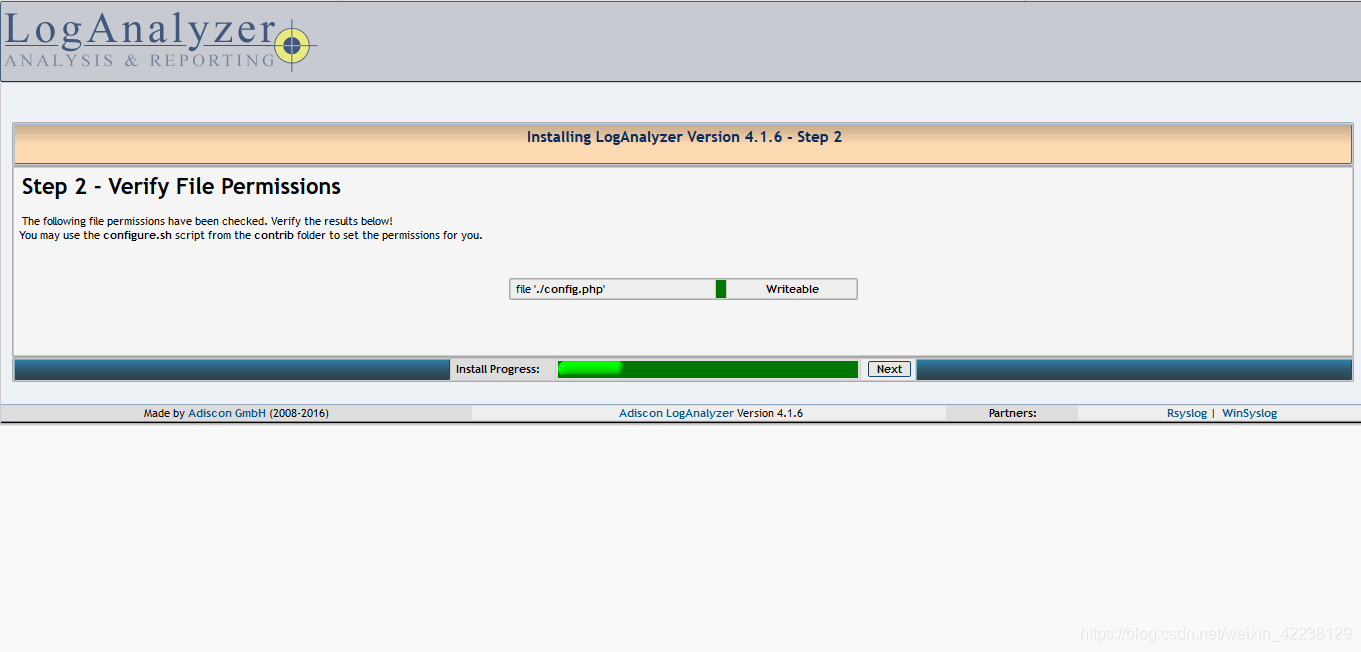
cp -r /tmp/loganalyzer-4.1.6/src/* /var/www/html/loganalyzer- Create a blank configuration file named config.php in loganalyzer directory and setup write permission to www-data user using the following commands:
[root@loganalyzer ~]# cd /var/www/html/loganalyzer
[root@loganalyzer ~]# touch config.php
[root@loganalyzer ~]# chown www-data:www-data config.php
[root@loganalyzer ~]# chmod 666 config.php
[root@loganalyzer ~]# touch config.php
[root@loganalyzer ~]# chown www-data:www-data config.php
[root@loganalyzer ~]# chmod 666 config.php
- Finally, change all files owner to www-data
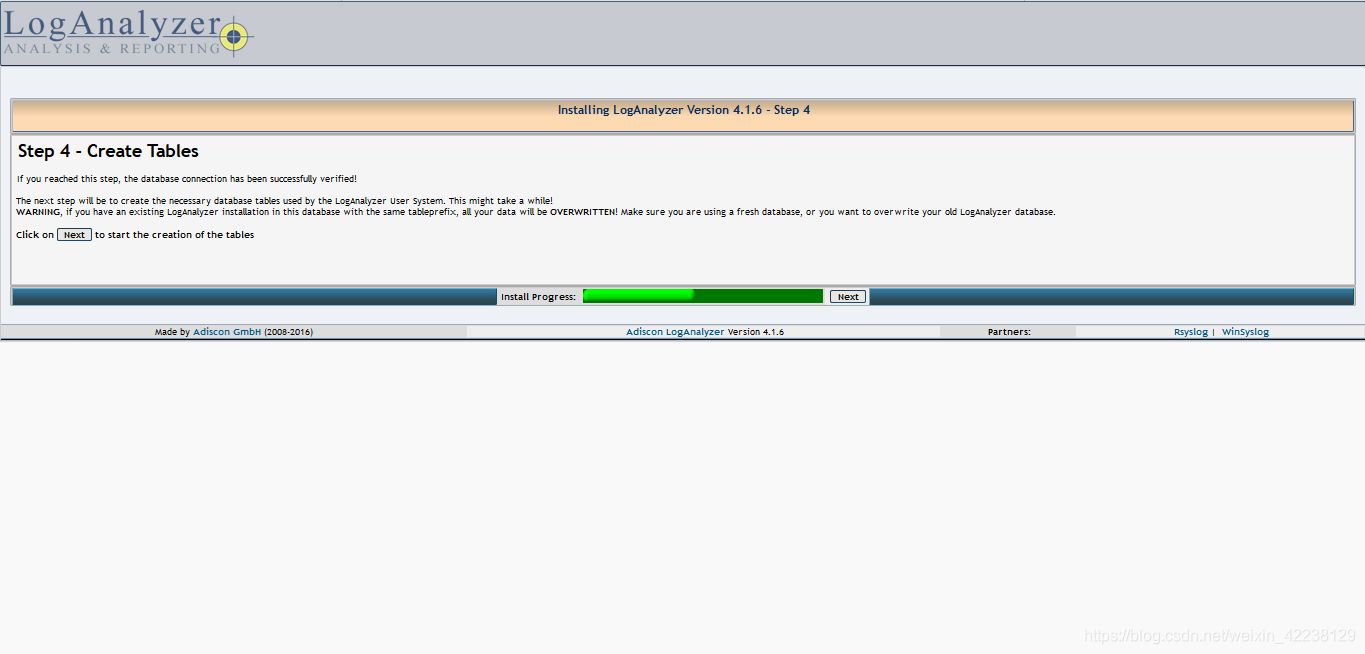
chown www-data:www-data -R /var/www/html/loganalyzer/5》./ start LogAnalyzer web installer
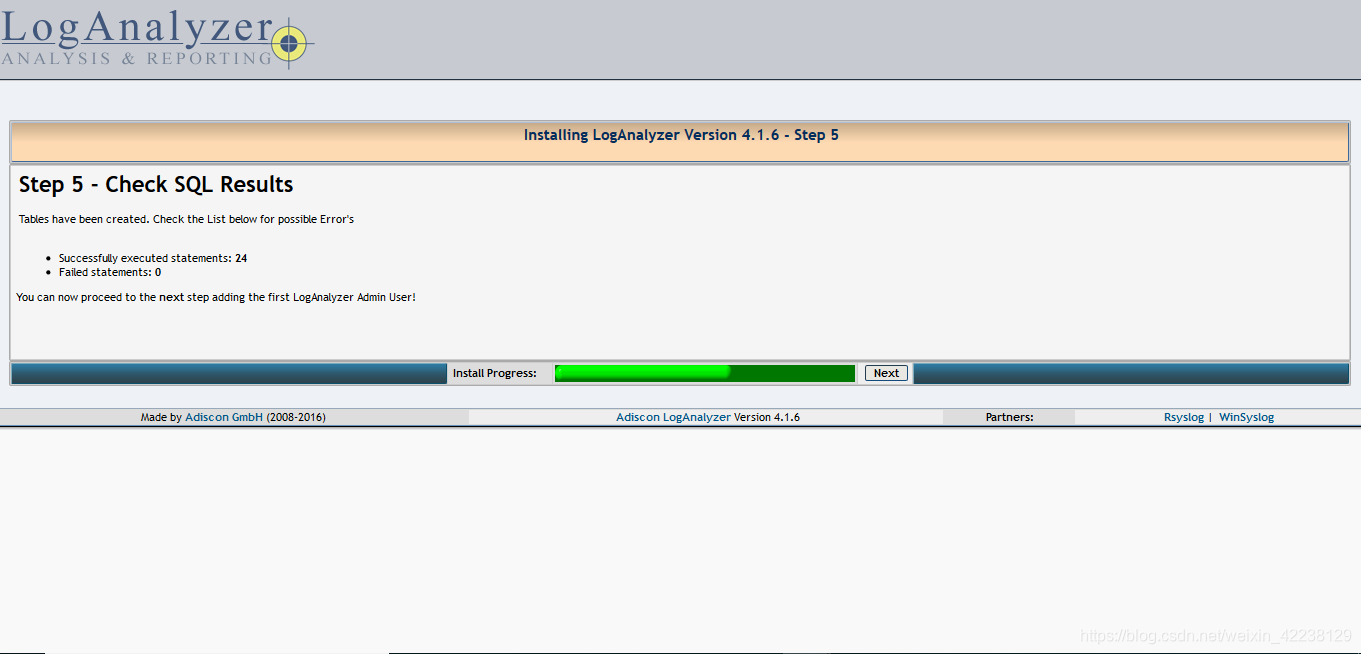
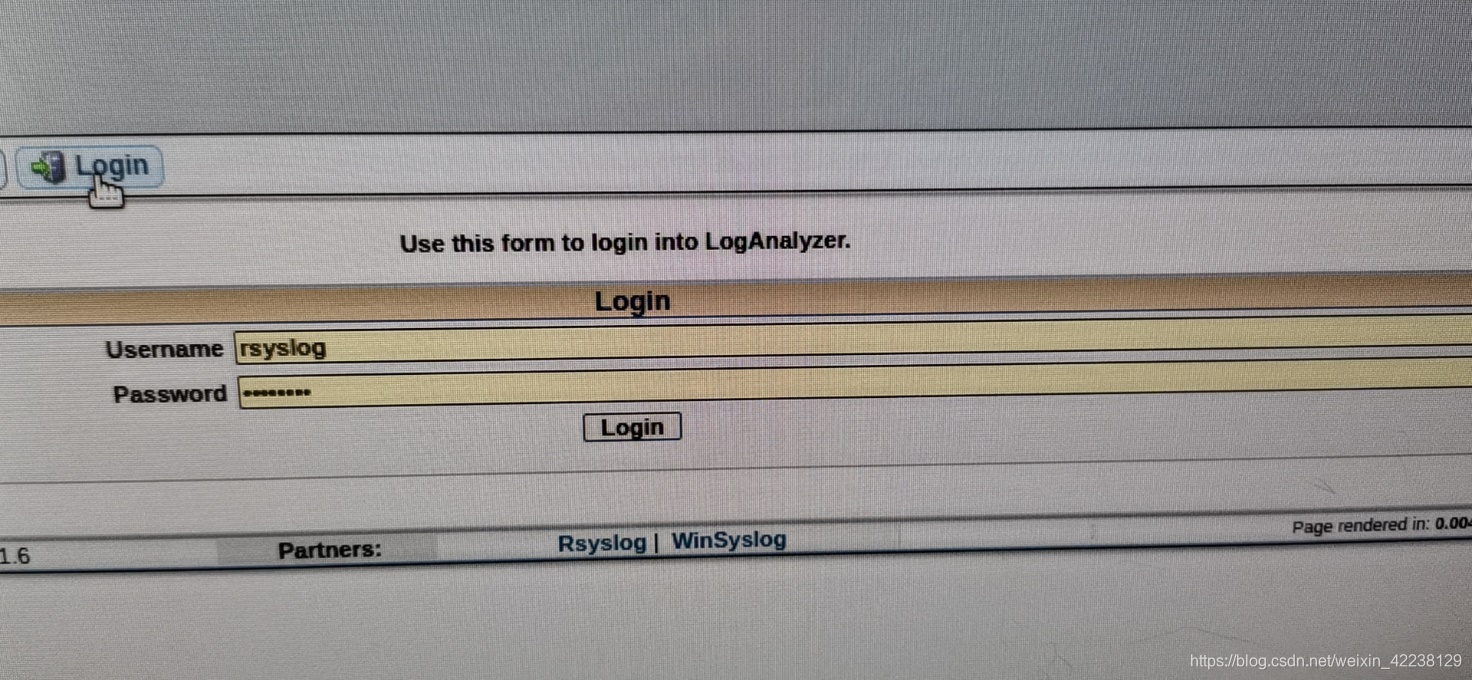
After completing above steps open following url in your favorite web browser to start LogAnalyzer web installer.
http://rsyslog_server_ip/loganalyzer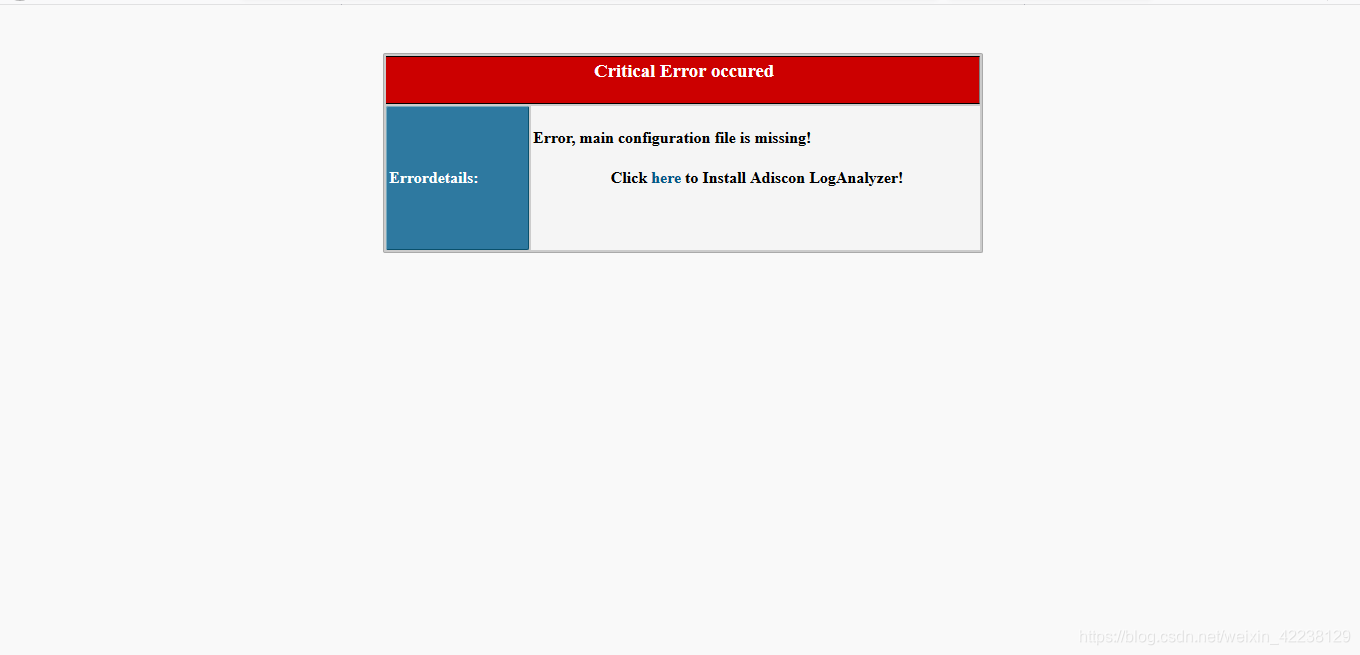
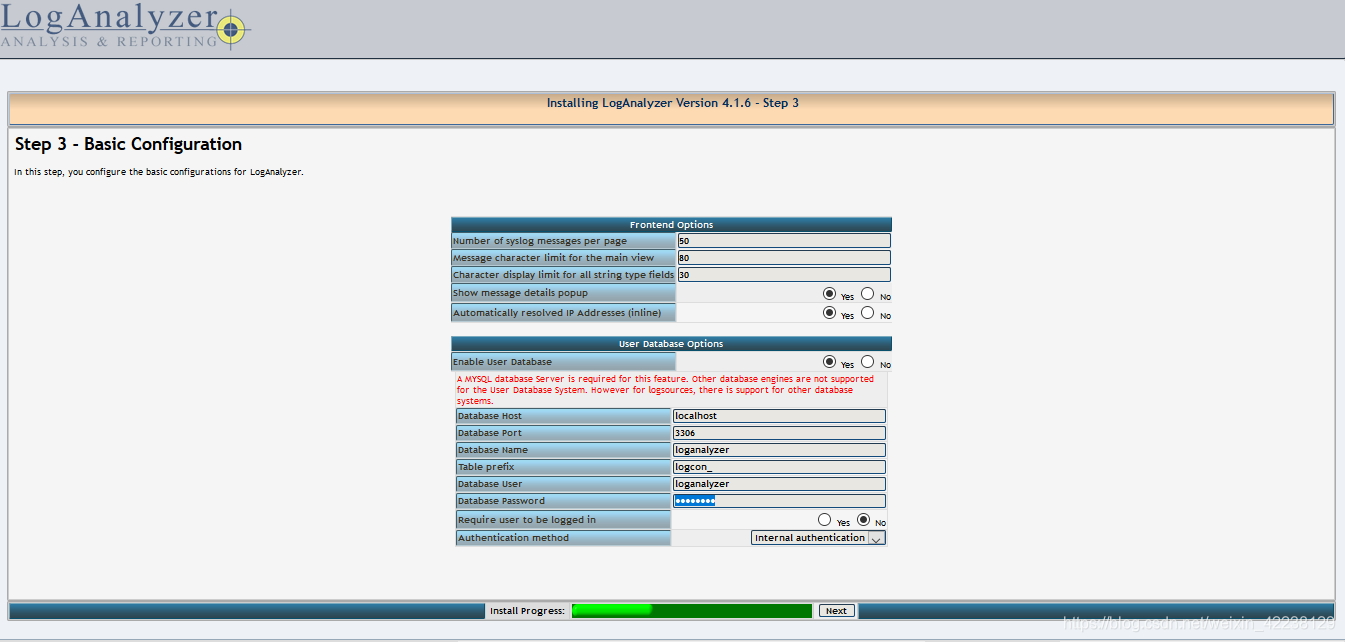
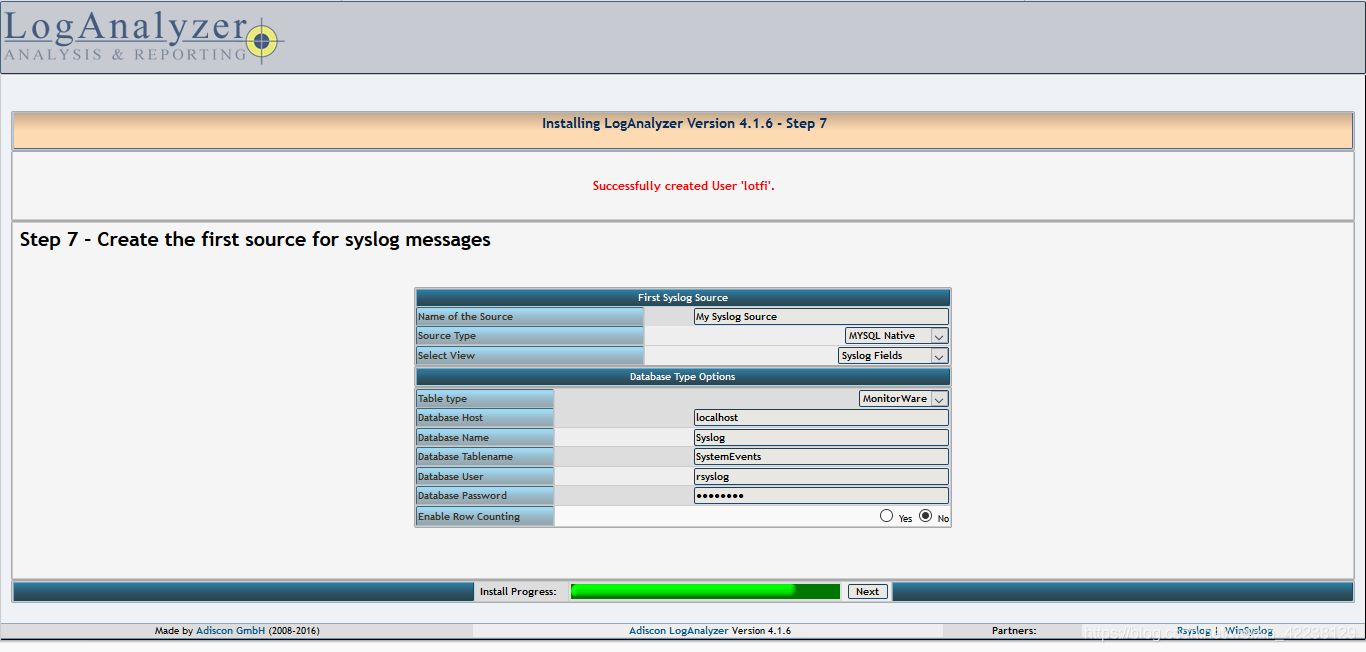
database name:Syslog
database user:rsyslog
database password: Password
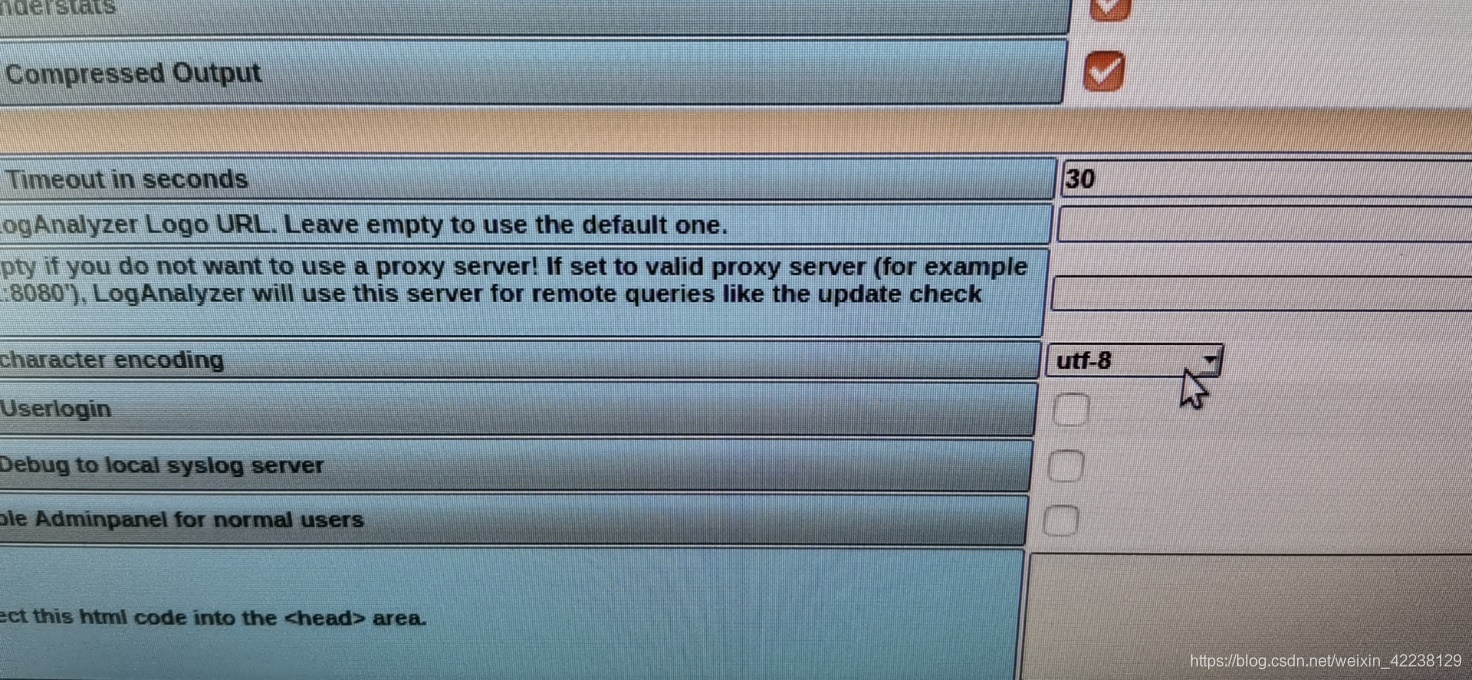
显示中文日志信息配置:
手动发送日志测试:
logger -p local5.info 'test'查看是否收到日志信息


 2571
2571

 被折叠的 条评论
为什么被折叠?
被折叠的 条评论
为什么被折叠?
 到【灌水乐园】发言


