


使用C#.NET编写一个最简单的Windows 服务程序
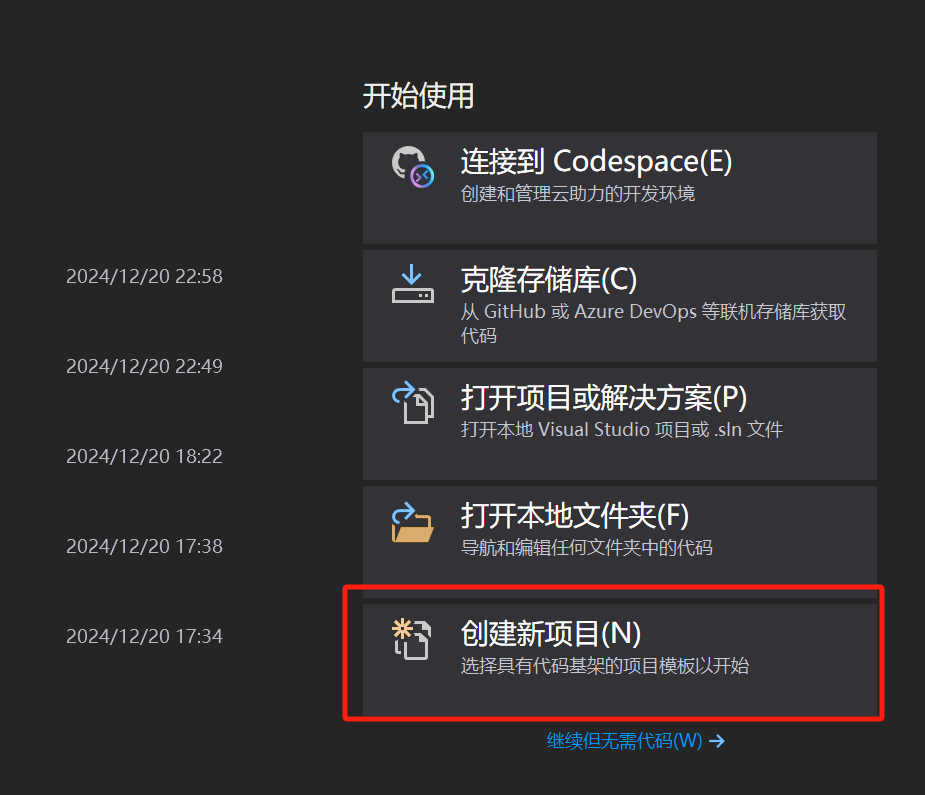
1、创建新项目
1.1创建新项目
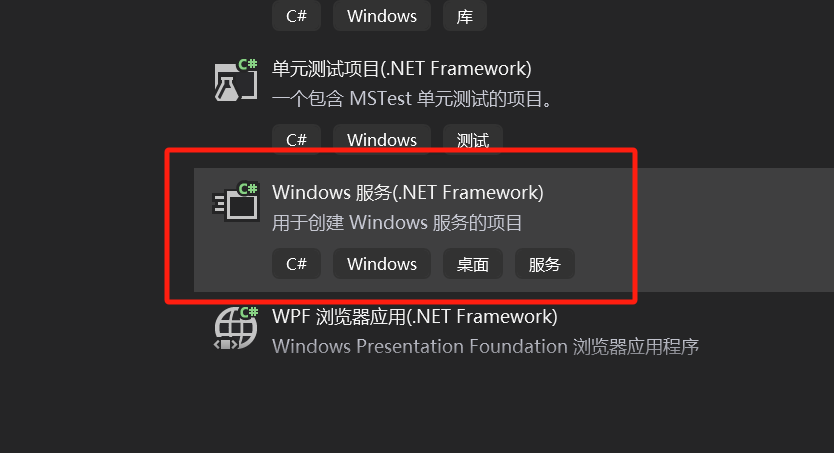
1.2选择Windows服务(.NET Framework)
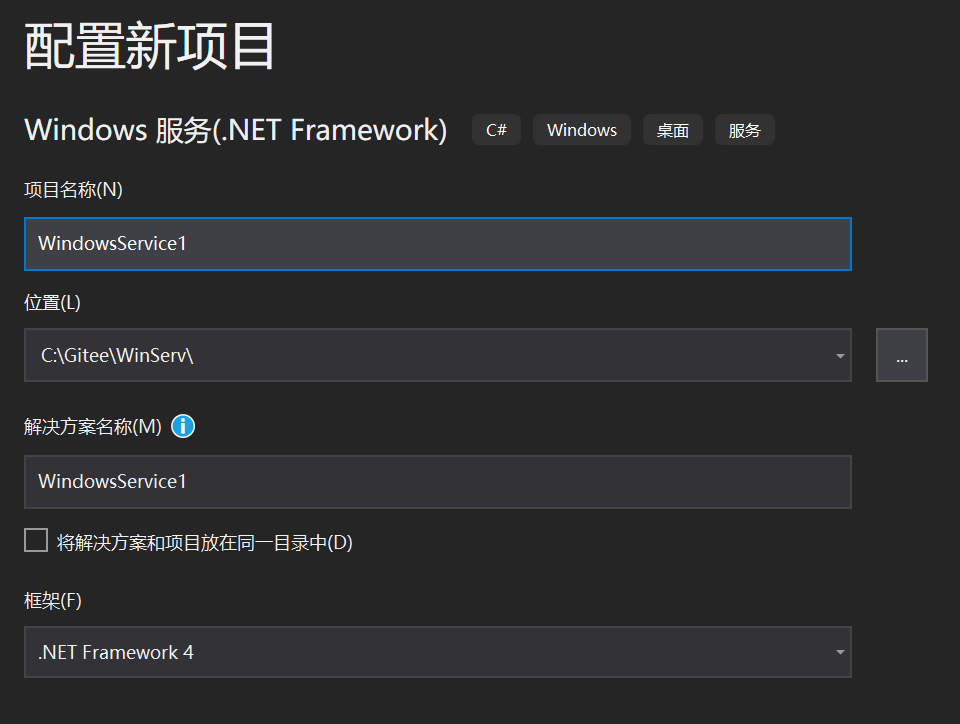
1.3配置新项目
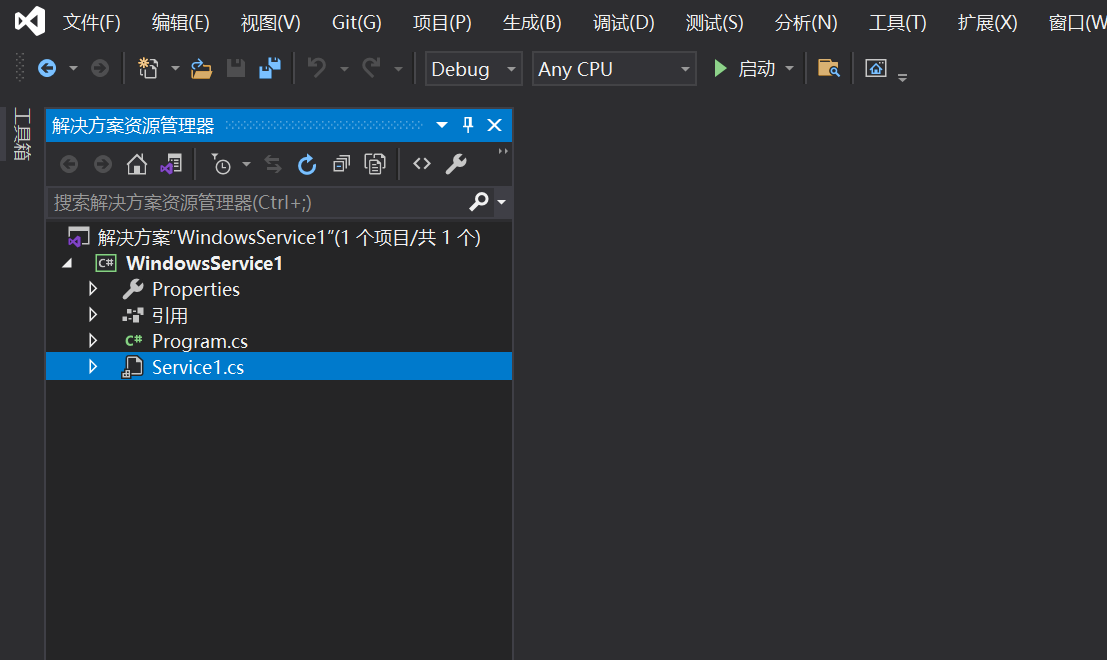
1.4生成新项目
2、编写服务逻辑代码
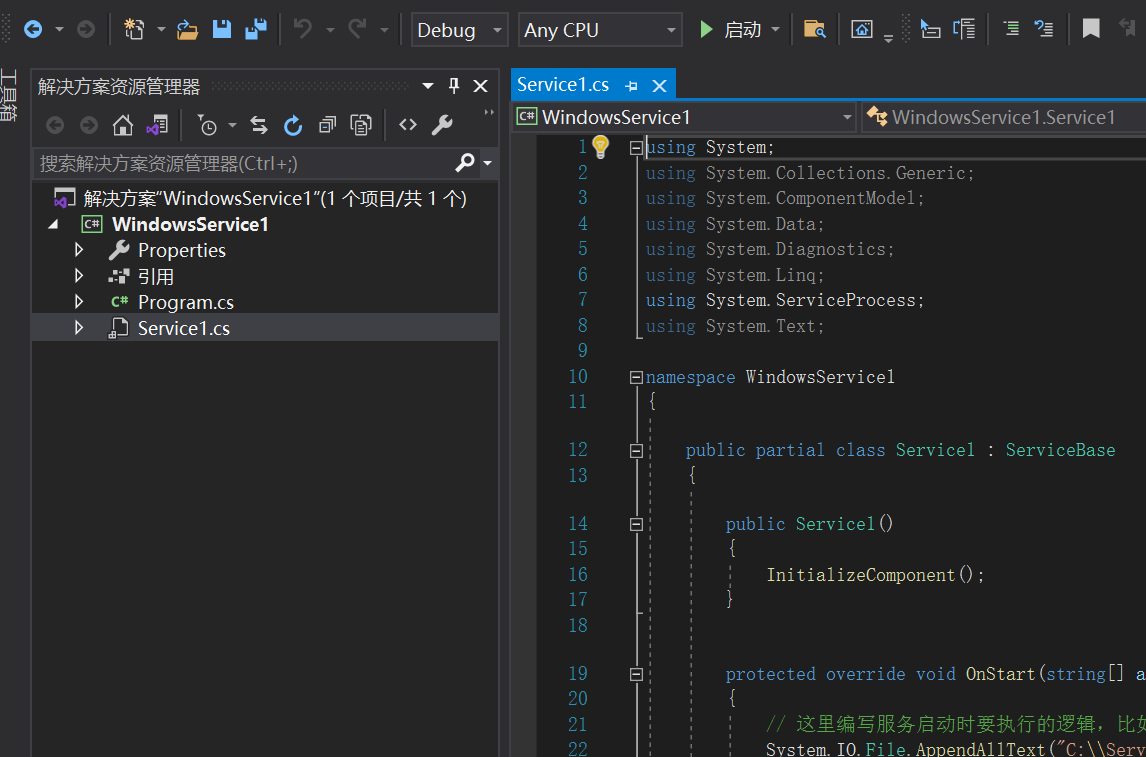
using System;
using System.ServiceProcess;
namespace SimpleWindowsService
{
public partial class Service1 : ServiceBase
{
public Service1()
{
InitializeComponent();
}
protected override void OnStart(string[] args)
{
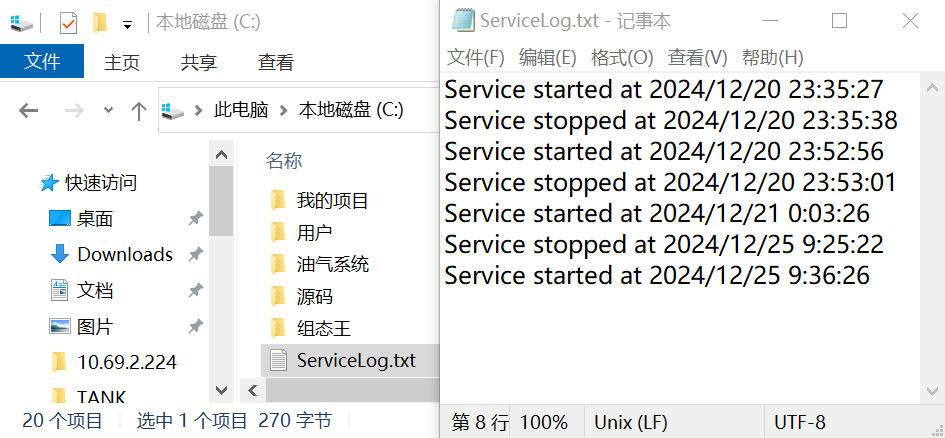
// 这里编写服务启动时要执行的逻辑,比如简单记录一句话到日志文件
System.IO.File.AppendAllText("C:\\ServiceLog.txt", $"Service started at {DateTime.Now}\n");
}
protected override void OnStop()
{
// 服务停止时执行的逻辑,同样可以记录到日志文件
System.IO.File.AppendAllText("C:\\ServiceLog.txt", $"Service stopped at {DateTime.Now}\n");
}
}
}
3、配置服务
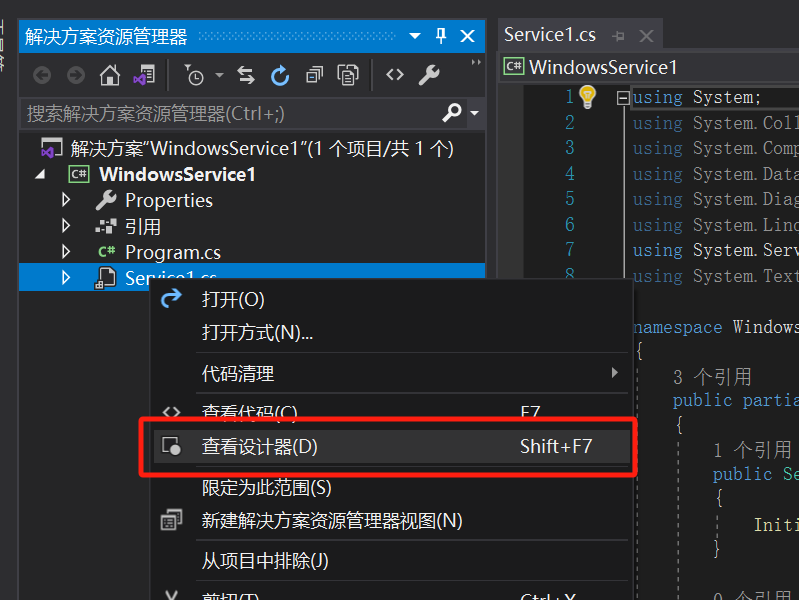
3.1 添加一个安装程序类
在项目中添加一个安装程序类。在 “解决方案资源管理器” 中右键点击"Service1.cs",选择【查看设计器】,打开设计器视图。
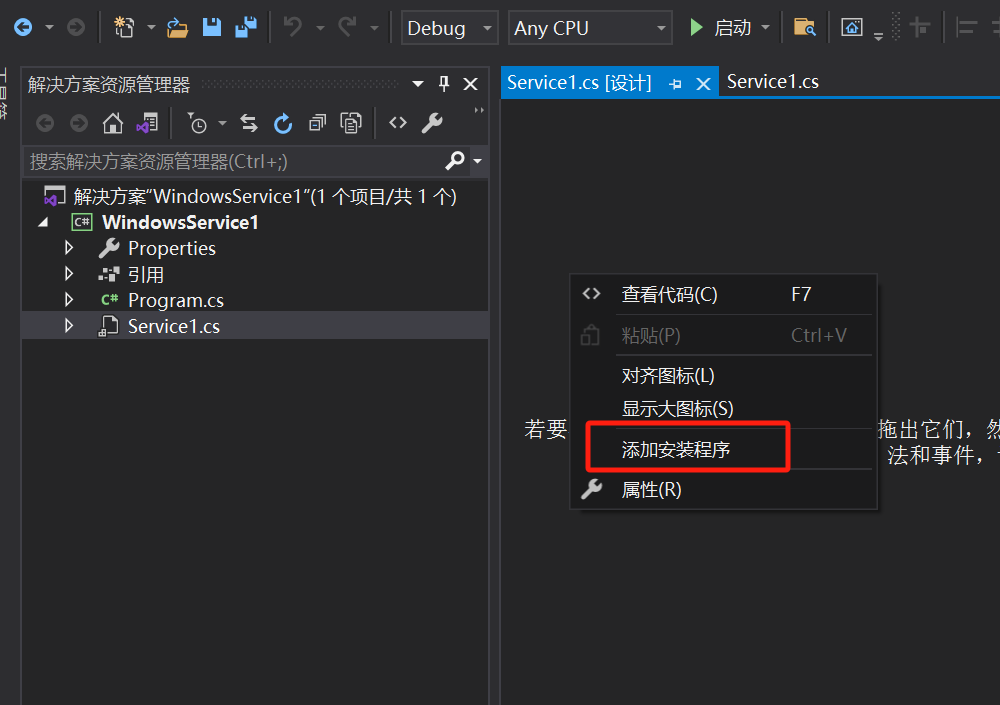
在设计视图内右单击,选择 “添加安装程序”。这会生成 ProjectInstaller.cs 文件,并打开设计视图。
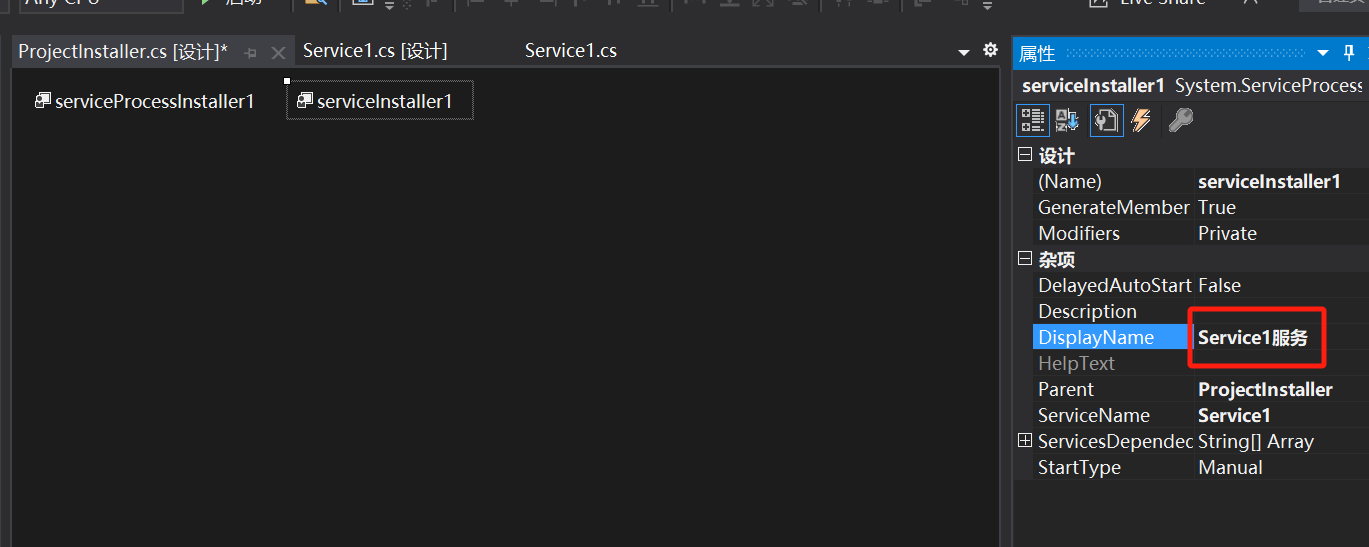
在 ProjectInstaller.cs 的设计视图中,设置 serviceInstaller1 的相关属性。 ServiceName(指定服务名称,如 MySimpleService)
DisplayName(在服务管理器中显示的友好名称)
StartType(可以选择自动、手动或禁用启动等)
Account = LocalSystem
即,自动生成如下的代码:
//
// serviceProcessInstaller1
//
this.serviceProcessInstaller1.Account = System.ServiceProcess.ServiceAccount.LocalSystem;//不需要用户和密码安装服务
this.serviceProcessInstaller1.Password = null;
this.serviceProcessInstaller1.Username = null;
//
// serviceInstaller1
//
this.serviceInstaller1.DisplayName = "DataCommService采集数据接收服务";//在服务管理器中显示的友好名称
this.serviceInstaller1.ServiceName = "DataCommService";//服务名称
this.serviceInstaller1.StartType = System.ServiceProcess.ServiceStartMode.Automatic;//默认的启动方式
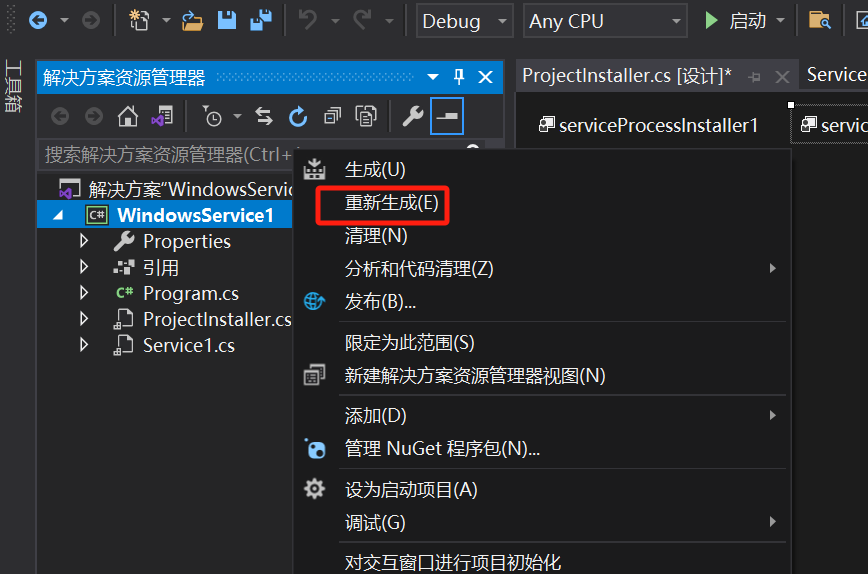
4、编译程序
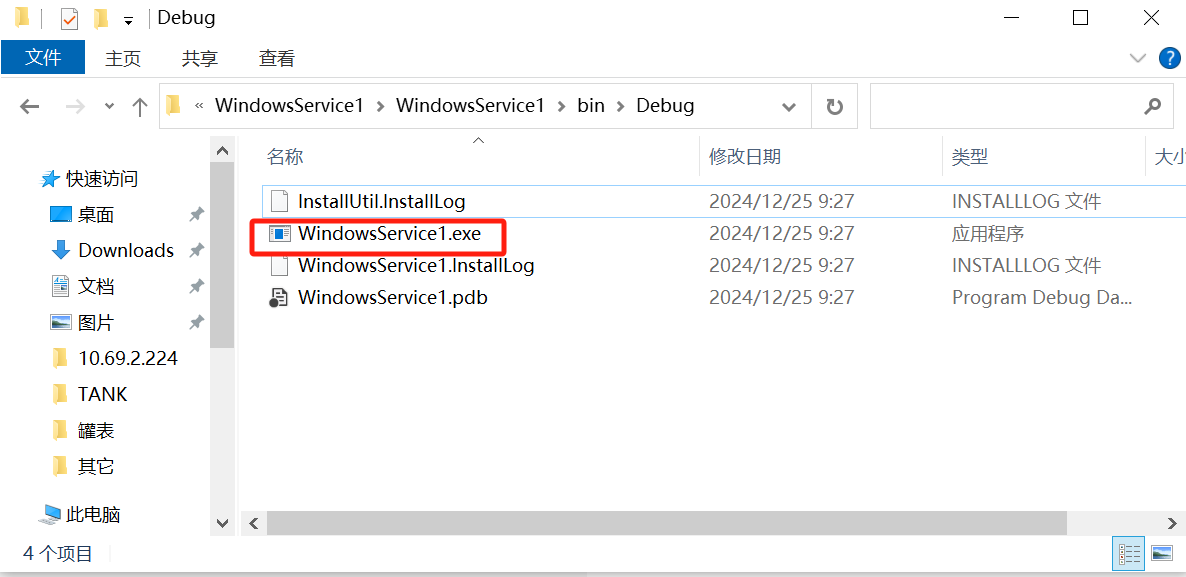
5、安装服务
cd C:\Gitee\WinServ\WindowsService1\WindowsService1\bin\Debug
C:\Windows\Microsoft.NET\Framework\v4.0.30319\InstallUtil.exe WindowsService1.exe
C:\Windows\Microsoft.NET\Framework\v4.0.30319\InstallUtil.exe /u WindowsService1.exe
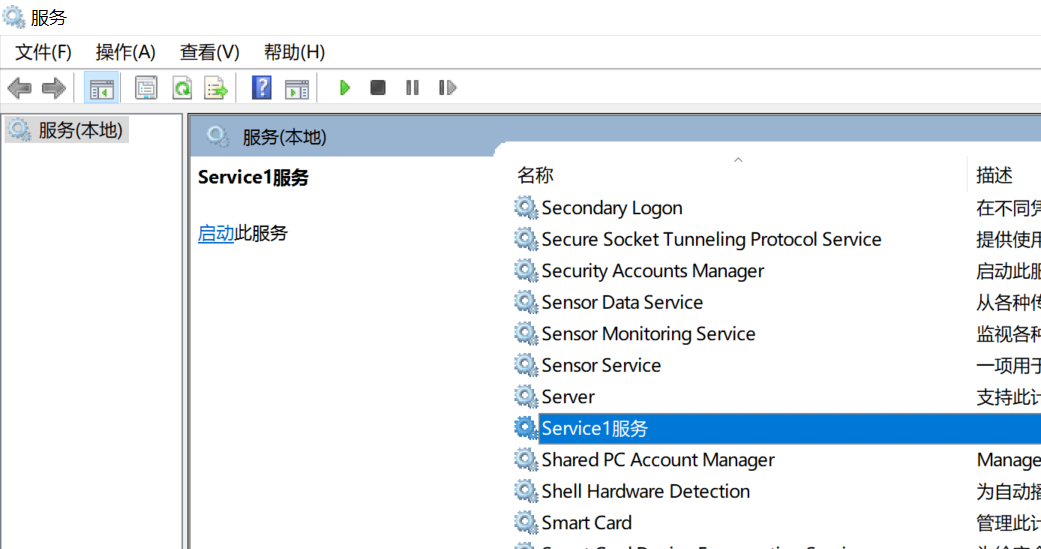
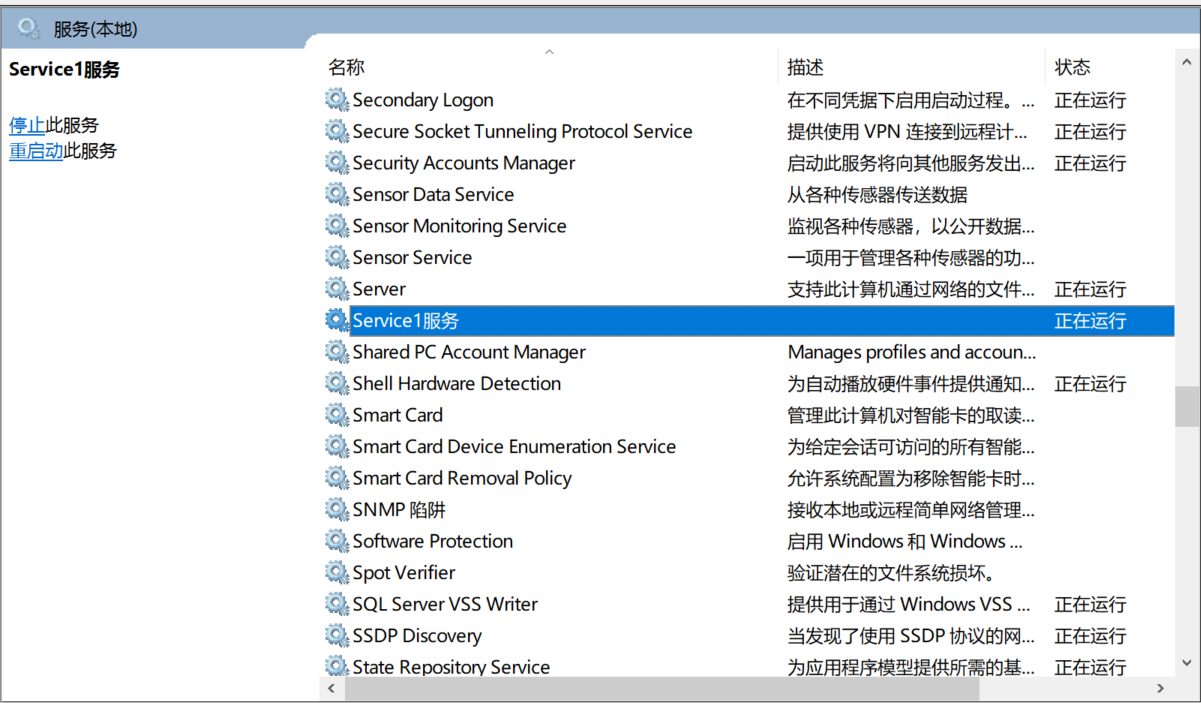
6、启动或关闭服务
net start Service1
net stop Service1


 被折叠的 条评论
为什么被折叠?
被折叠的 条评论
为什么被折叠?
 到【灌水乐园】发言


