


 这篇博客介绍了如何创建第一个Spring程序——HelloSpring。首先,定义了一个名为Hello的实体类,包含一个字符串属性str及对应的getter和setter方法。接着,配置了Spring的beans.xml文件,声明了一个bean并设置了str属性的值。在测试部分,通过ApplicationContext获取bean并打印其内容,展示Spring如何管理对象。最后,程序运行输出了Hello对象的toString结果。
Spring系列 3~~~
3、HelloSpring
下面我们来编写第一个Spring程序:HelloSpring
3.1、编写实体类
public class Hello {
    private String str;

    public String getStr() {
        return str;
    }
	//set是重点
    public void setStr(String str) {
        this.str = str;
    }

    @Override
    public String toString() {
        return "Hello{" +
                "str='" + str + '\'' +
                '}';
    }
}
3.2、beans配置文件
<?xml version="1.0" encoding="UTF-8"?>
<beans xmlns="http://www.springframework.org/schema/beans"
       xmlns:xsi="http://www.w3.org/2001/XMLSchema-instance"
       xsi:schemaLocation="http://www.springframework.org/schema/beans
       http://www.springframework.org/schema/beans/spring-beans.xsd">
    <!--  使用spring来创建对象,在spring这些都成为bean
    类型 变量名 = new 类型();
    Hello hello = new Hello();

    id = 变量名;
    class = new 的对象
    property 相当于给对象中的属性设置一个值
    -->
    <bean id="hello" class="com.only.dao.Hello">
        <property name="str" value="Spring"/>
    </bean>
</beans>
3.3、测试
public static void main(String[] args) {
    //获取spring上下文对象
    ApplicationContext context = new ClassPathXmlApplicationContext("beans.xml");
    //我们的对象现在都在spring中管理了,我们要使用就直接去里面取出来用即可
    Hello hello = (Hello) context.getBean("hello");
    System.out.println(hello.toString());
}
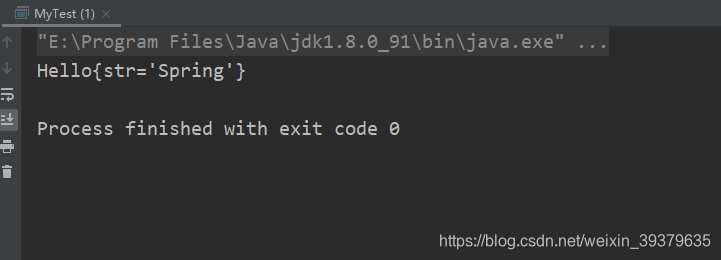
3.4、结果


 被折叠的 条评论
为什么被折叠?
被折叠的 条评论
为什么被折叠?
 到【灌水乐园】发言


