


- 🍨 本文为🔗365天深度学习训练营中的学习记录博客
- 🍖 原作者:K同学啊
目录
前言
- 刚学,很多概念比较模糊,不管了,先跑通代码再说
- 跑通后,很多代码细节和可视化结果,不慎理解,没关系,第一次学,跑通就很厉害了
- 看过吴恩达老师的一些课,对一些概念有了更深的了解,比如梯度、损失函数等等
- 很多代码和内容,结合问ai,自学有了捷径
动手
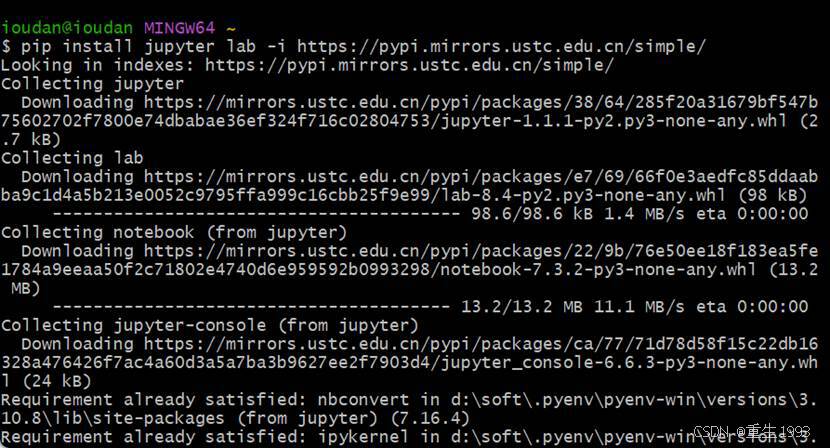
1 安装jupyter
$ pip install jupyter lab -i https://pypi.mirrors.ustc.edu.cn/simple/
Installing collected packages: txt2tags, simplejson, pyparsing, pillow, kiwisolver, fonttools, cycler, contourpy, matplotlib, lab, jupyter-console, jupyterlab, notebook, jupyter
Attempting uninstall: jupyterlab
Found existing installation: jupyterlab 4.2.1
Uninstalling jupyterlab-4.2.1:
Successfully uninstalled jupyterlab-4.2.1
Successfully installed contourpy-1.3.1 cycler-0.12.1 fonttools-4.56.0 jupyter-1.1.1 jupyter-console-6.6.3 jupyterlab-4.3.5 kiwisolver-1.4.8 lab-8.4 matplotlib-3.10.1 notebook-7.3.2 pillow-11.1.0 pyparsing-3.2.1 simplejson-3.20.1 txt2tags-3.9
[notice] A new release of pip is available: 24.0 -> 25.0.1
[notice] To update, run: python.exe -m pip install --upgrade pip

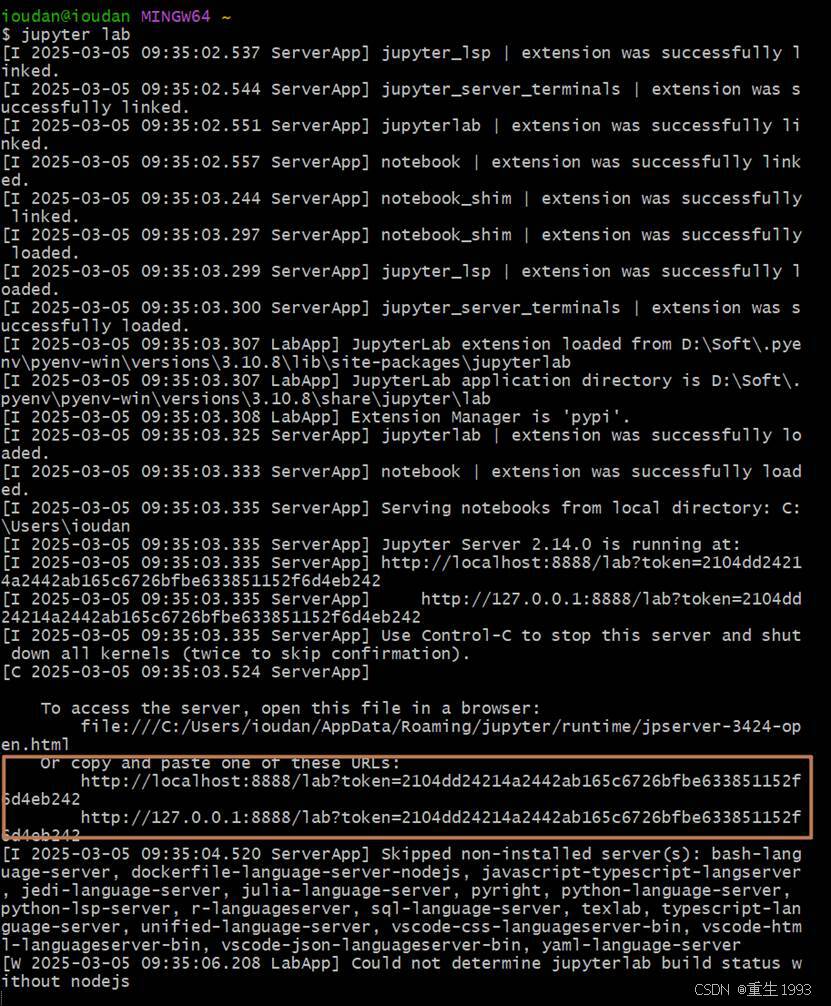
2 启动
$ jupyter lab
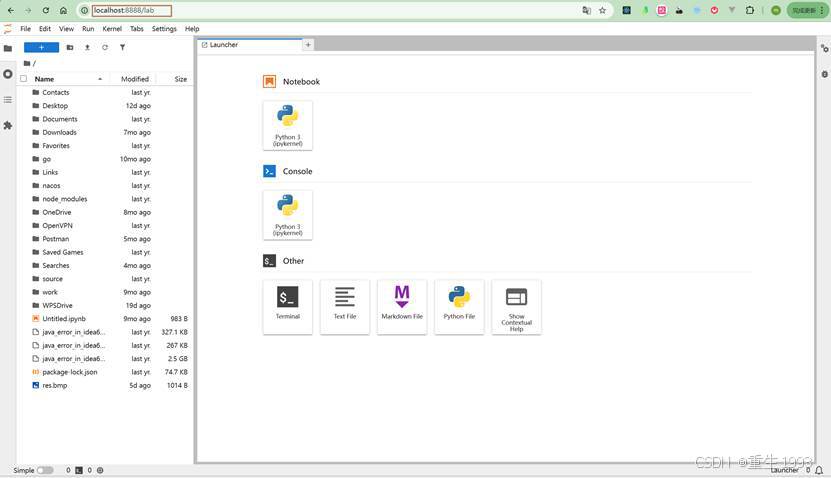
界面
自动打开一个网页,如下:
http://localhost:8888/lab
Jupyter Lab 快捷键
大部分时候,还是用的鼠标,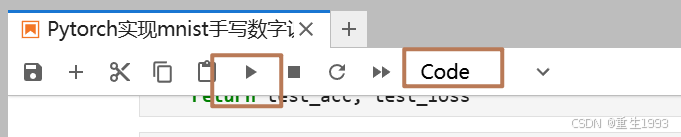
第一个红框是运行,但是基本不用,一般就Ctrl+回车即可
第二个红包是切换代码模式和markdown模式,习惯鼠标切换,快捷键也记得,但是不知道怎么触发,后面慢慢熟悉。
| 快捷键 | 功能 |
| H | 显示快捷键帮助 |
| Enter | 转入编辑模式 |
| Enter+Shift | 运行本单元,选中下个单元 |
| Ctrl-Enter | 运行本单元 |
| esc | 退出编辑模式 |
| M | 单元转入markdown状态(在非编辑模式下) |
| Y | 单元转入代码状态(在非编辑模式下) |
| 1 ~ 6 | 设定 1 ~ 6级标题(在非编辑模式下) |
| A | 在上方插入新单元 |
| B | 在下方插入新单元 |
| X | 剪切选中的单元 |
| C | 复制选中的单元 |
| Ctrl,V | 粘贴到上方单元 |
| D,D | 删除选中的单元 |
3 所有的依赖安装
代码运行过程中,很多依赖是需要提前安装的,总结如下!
1) jupyterlab-4.3.5
$ pip install jupyter lab -i https://pypi.mirrors.ustc.edu.cn/simple/
Successfully installed contourpy-1.3.1 cycler-0.12.1 fonttools-4.56.0 jupyter-1.1.1 jupyter-console-6.6.3 jupyterlab-4.3.5 kiwisolver-1.4.8 lab-8.4 matplotlib-3.10.1 notebook-7.3.2 pillow-11.1.0 pyparsing-3.2.1 simplejson-3.20.1 txt2tags-3.9
2) torch-2.6.0
$ pip install torch -i https://pypi.mirrors.ustc.edu.cn/simple/
Successfully installed fsspec-2025.2.0 mpmath-1.3.0 networkx-3.4.2 sympy-1.13.1 torch-2.6.0
3) torchvision-0.21.0
$ pip install torchvision -i https://pypi.mirrors.ustc.edu.cn/simple/
Successfully installed torchvision-0.21.0
4)torchinfo-1.8.0
pip install torchinfo -i https://pypi.mirrors.ustc.edu.cn/simple/
Successfully installed torchinfo-1.8.0
4 代码
代码自己跑通了,也不难,安装好依赖就行,我电脑只有cpu也没问题

5 总结
每一行代码都仔细看了,每个函数和参数也看了
但是,只有个大概印象,需要后面课程慢慢加强理解和印象
课程后面的知识点,发现才是精华,看完感觉有吸收了不少
继续努力吧,发笔记只是为了记录,剩下的,自己本周继续多看其他基础恶补


 1305
1305

 被折叠的 条评论
为什么被折叠?
被折叠的 条评论
为什么被折叠?
 到【灌水乐园】发言


