


隶属于:
C:\Users\Public\Documents\MVTec\HALCON-23.05-Progress\examples\hdevelop\Deep-Learning\Classification
- 本示例是深度学习分类工作流的一系列示例之一,总结了深度学习分类的工作流程。它使用了MVTec药片数据集[1]。
- 这四个部分分别是:
-
- 数据集预处理[1]。
-
- 模型训练[2]。
-
- 训练后模型的评估[1]。
-
- 对新图像进行推理[1]。
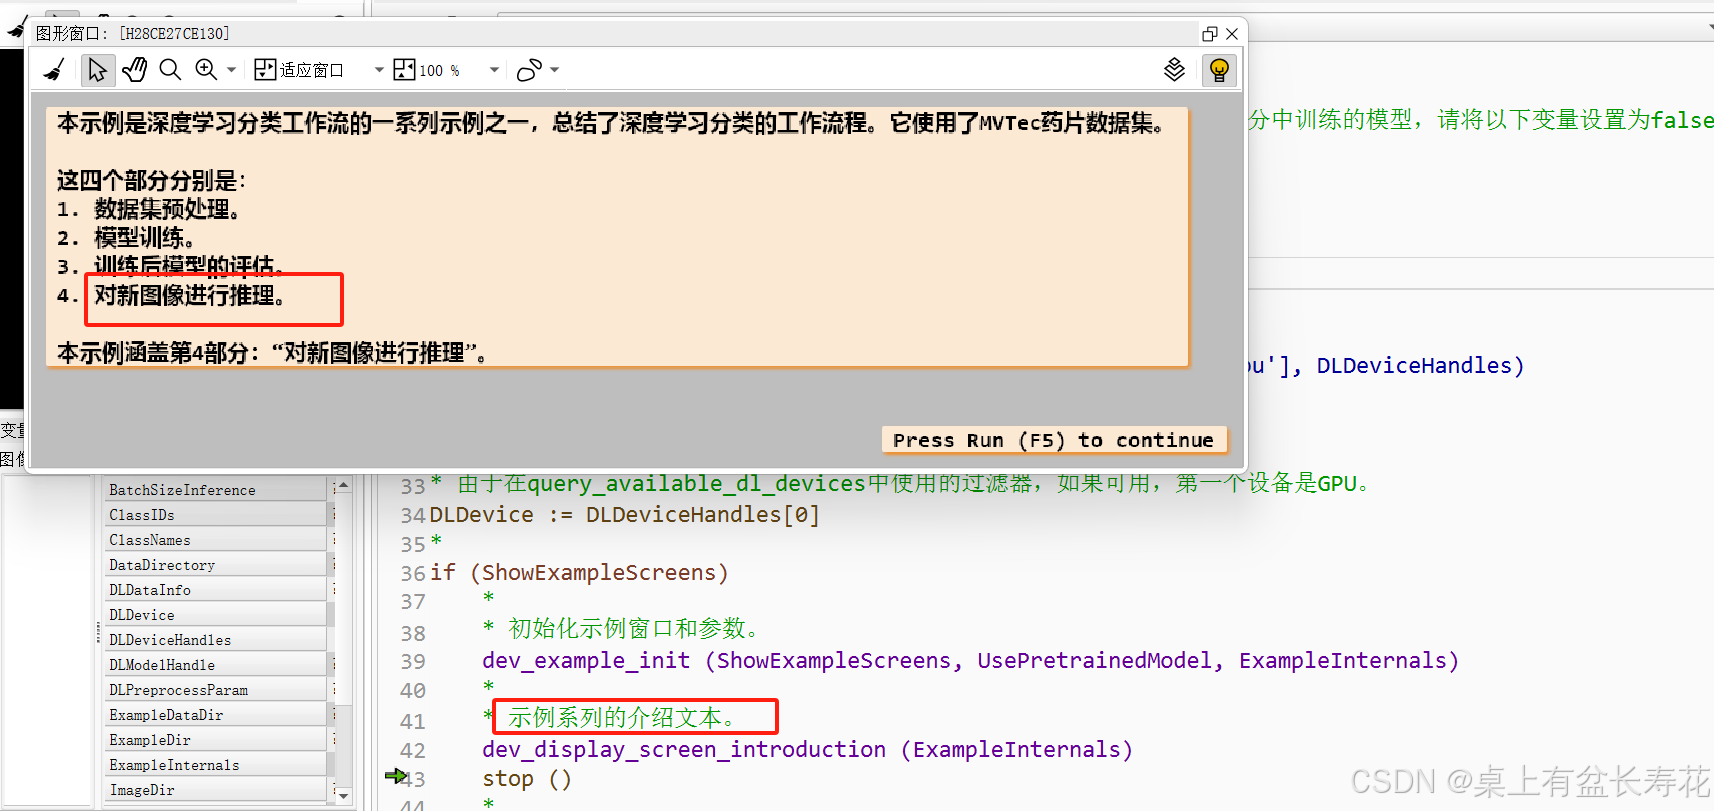
- 本示例涵盖第4部分:“对新图像进行推理”[1]。
- 它解释了如何将训练好的模型应用于新图像,并展示了基于MVTec药片数据集的应用。
- 注意:本脚本使用预训练模型。若要使用本示例系列第1部分和第2部分的输出,请将UsePretrainedModel设置为false[1]。

1
*
* 本示例是深度学习分类工作流的一系列示例之一,总结了深度学习分类的工作流程。它使用了MVTec药片数据集[^1^]。
* 这四个部分分别是:
* 1. 数据集预处理[^1^]。
* 2. 模型训练[^2^]。
* 3. 训练后模型的评估[^1^]。
* 4. 对新图像进行推理[^1^]。
*
* 本示例涵盖第4部分:“对新图像进行推理”[^1^]。
*
* 它解释了如何将训练好的模型应用于新图像,并展示了基于MVTec药片数据集的应用。
*
* 注意:本脚本使用预训练模型。若要使用本示例系列第1部分和第2部分的输出,请将UsePretrainedModel设置为false[^1^]。
*
dev_update_off ()
*
* 在本示例中,推理步骤会在执行前通过图形窗口进行解释。若要跳过此可视化,请将以下参数设置为false。
ShowExampleScreens := true
*
* 默认情况下,本示例使用MVTec预训练的模型。若要使用在本示例系列第2部分中训练的模型,请将以下变量设置为false[^2^]。
UsePretrainedModel := true
*
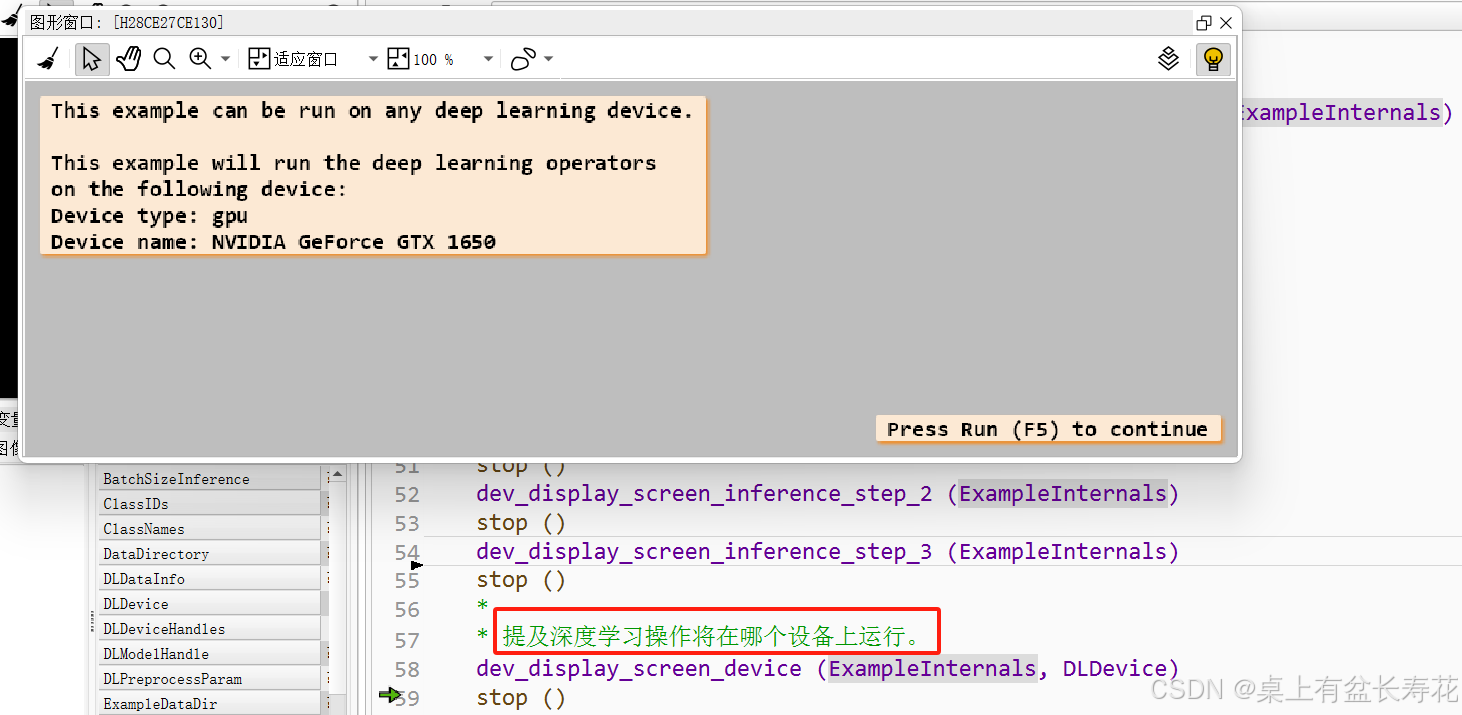
* 推理可以在任何可用的深度学习设备上完成。
* 请参阅安装指南中的相应系统要求。
* 在本示例中,如果可能,将使用GPU。
* 如果您明确希望在CPU上运行此示例,
* 请选择CPU设备。
query_available_dl_devices (['runtime', 'runtime'], ['gpu', 'cpu'], DLDeviceHandles)
if (|DLDeviceHandles| == 0)
throw ('未找到支持的设备以继续此示例。')
endif
* 由于在query_available_dl_devices中使用的过滤器,如果可用,第一个设备是GPU。
DLDevice := DLDeviceHandles[0]
*
if (ShowExampleScreens)
*
* 初始化示例窗口和参数。
dev_example_init (ShowExampleScreens, UsePretrainedModel, ExampleInternals)
*
* 示例系列的介绍文本。
dev_display_screen_introduction (ExampleInternals)
stop ()
*
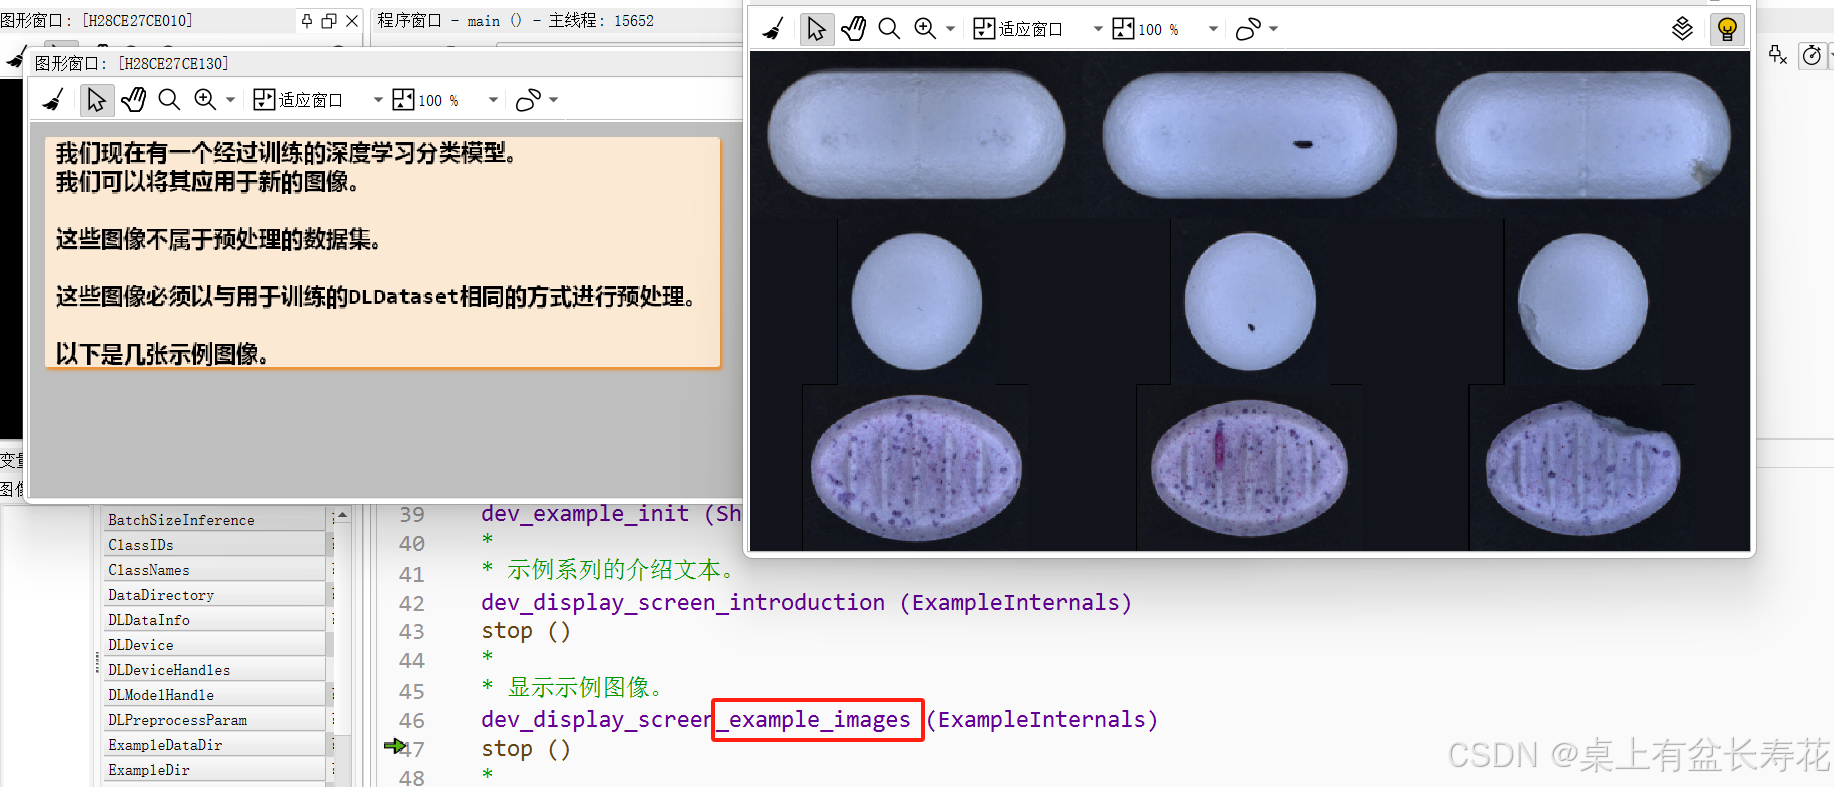
* 显示示例图像。
dev_display_screen_example_images (ExampleInternals)
stop ()
*
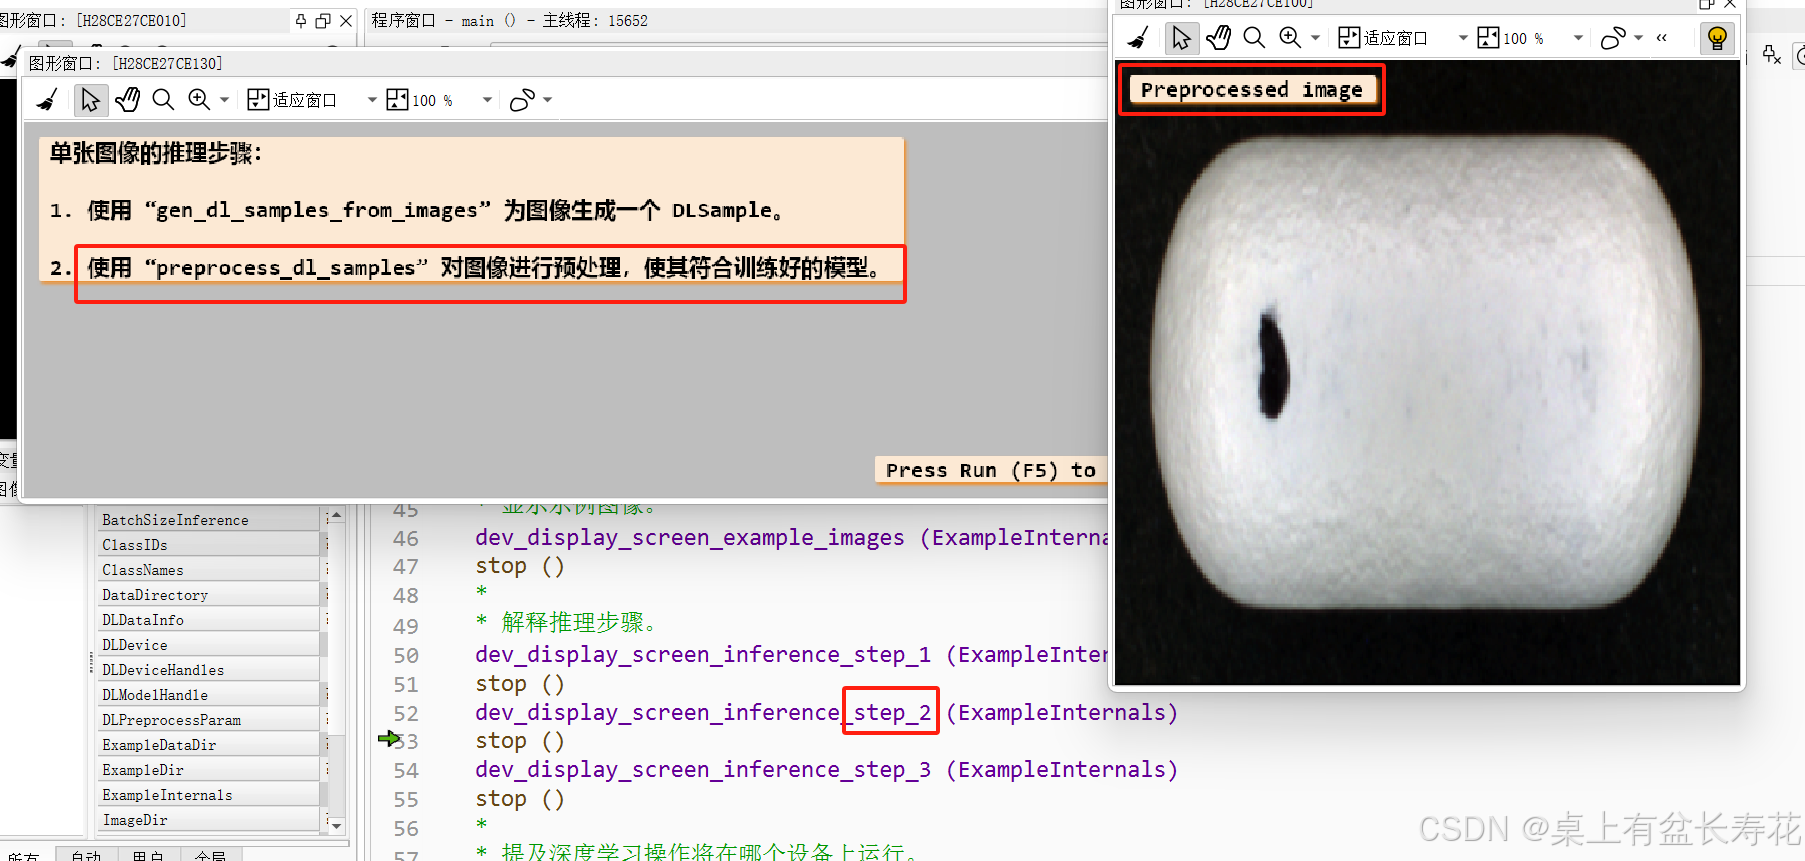
* 解释推理步骤。
dev_display_screen_inference_step_1 (ExampleInternals)
stop ()
dev_display_screen_inference_step_2 (ExampleInternals)
stop ()
dev_display_screen_inference_step_3 (ExampleInternals)
stop ()
*
* 提及深度学习操作将在哪个设备上运行。
dev_display_screen_device (ExampleInternals, DLDevice)
stop ()
*
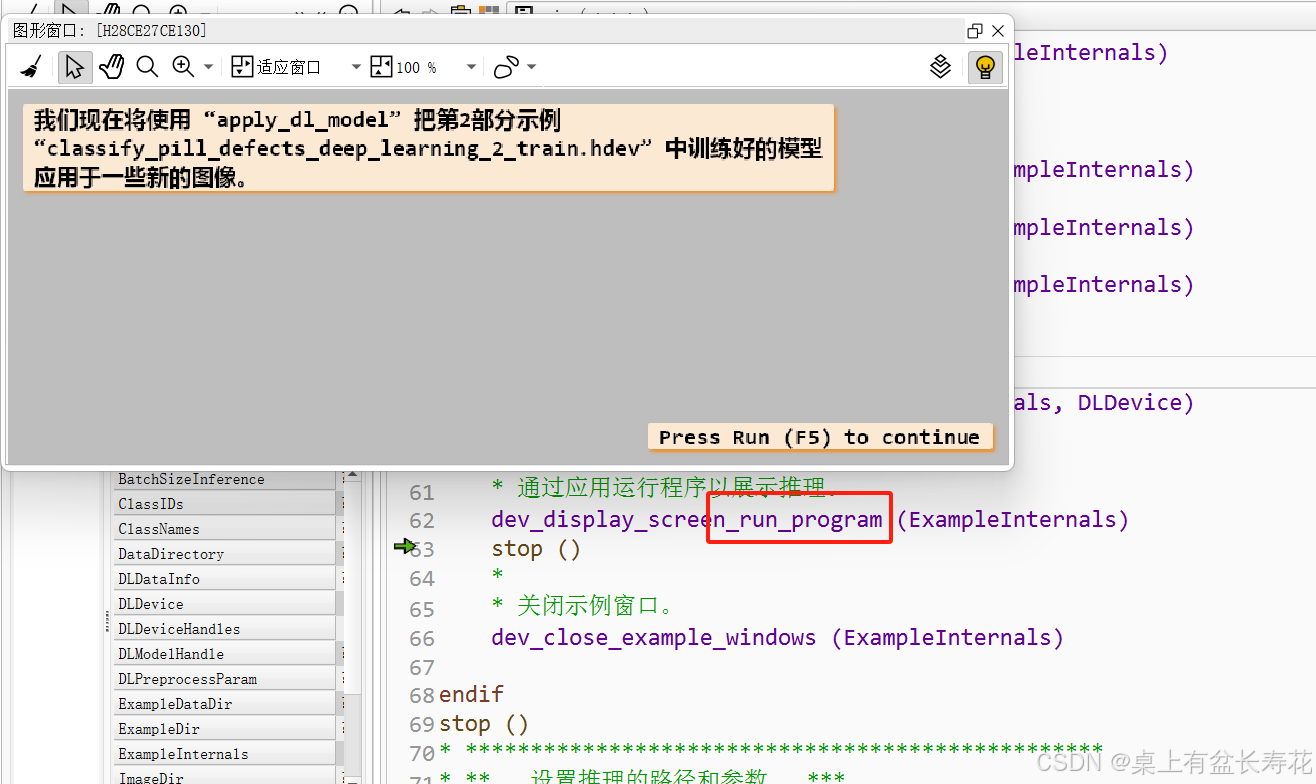
* 通过应用运行程序以展示推理。
dev_display_screen_run_program (ExampleInternals)
stop ()
*
* 关闭示例窗口。
dev_close_example_windows (ExampleInternals)
endif
stop ()
* *************************************************
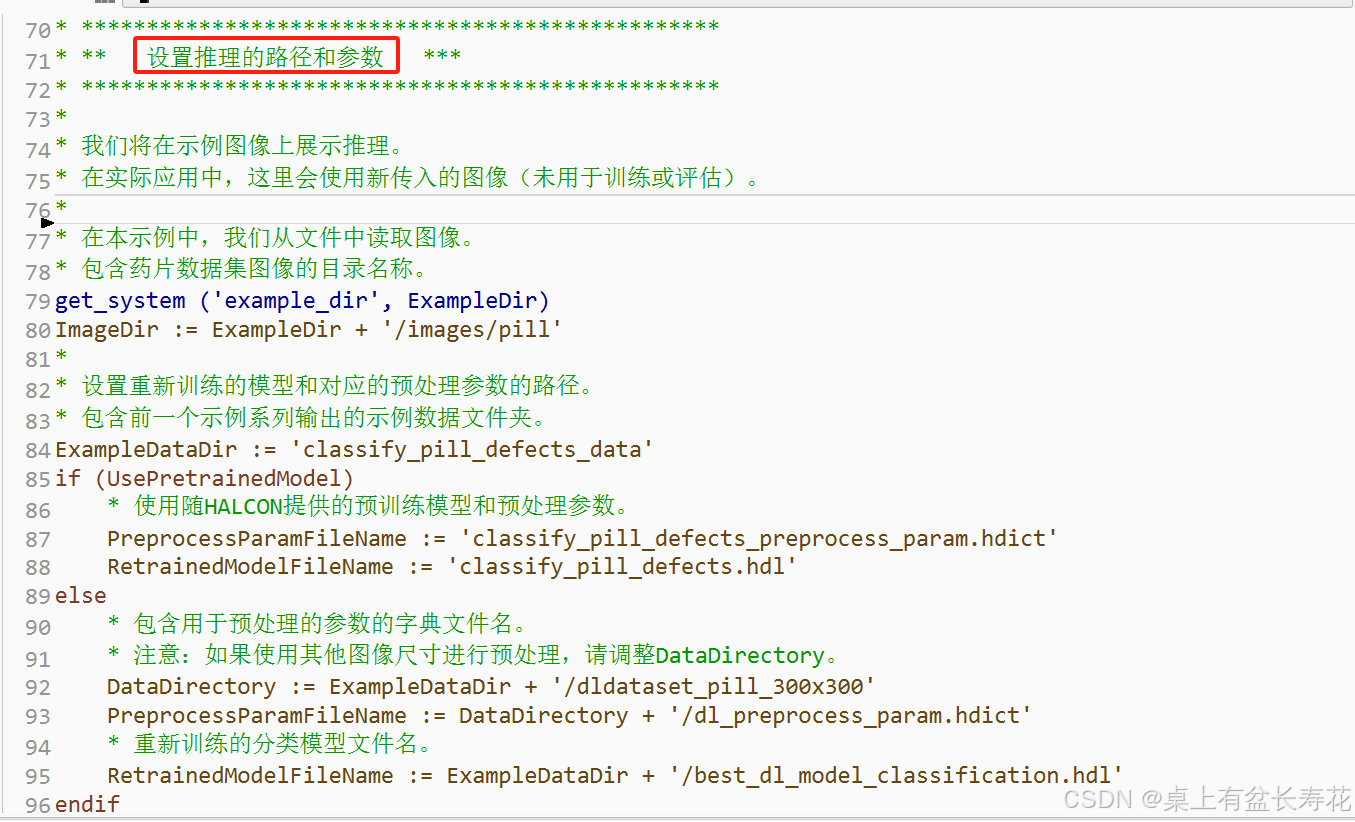
* ** 设置推理的路径和参数 ***
* *************************************************
*
* 我们将在示例图像上展示推理。
* 在实际应用中,这里会使用新传入的图像(未用于训练或评估)。
*
* 在本示例中,我们从文件中读取图像。
* 包含药片数据集图像的目录名称。
get_system ('example_dir', ExampleDir)
ImageDir := ExampleDir + '/images/pill'
*
* 设置重新训练的模型和对应的预处理参数的路径。
* 包含前一个示例系列输出的示例数据文件夹。
ExampleDataDir := 'classify_pill_defects_data'
if (UsePretrainedModel)
* 使用随HALCON提供的预训练模型和预处理参数。
PreprocessParamFileName := 'classify_pill_defects_preprocess_param.hdict'
RetrainedModelFileName := 'classify_pill_defects.hdl'
else
* 包含用于预处理的参数的字典文件名。
* 注意:如果使用其他图像尺寸进行预处理,请调整DataDirectory。
DataDirectory := ExampleDataDir + '/dldataset_pill_300x300'
PreprocessParamFileName := DataDirectory + '/dl_preprocess_param.hdict'
* 重新训练的分类模型文件名。
RetrainedModelFileName := ExampleDataDir + '/best_dl_model_classification.hdl'
endif
*
* 在推理期间使用的批量大小。
BatchSizeInference := 1
*
* ********************
* ** 推理 ***
* ********************
*
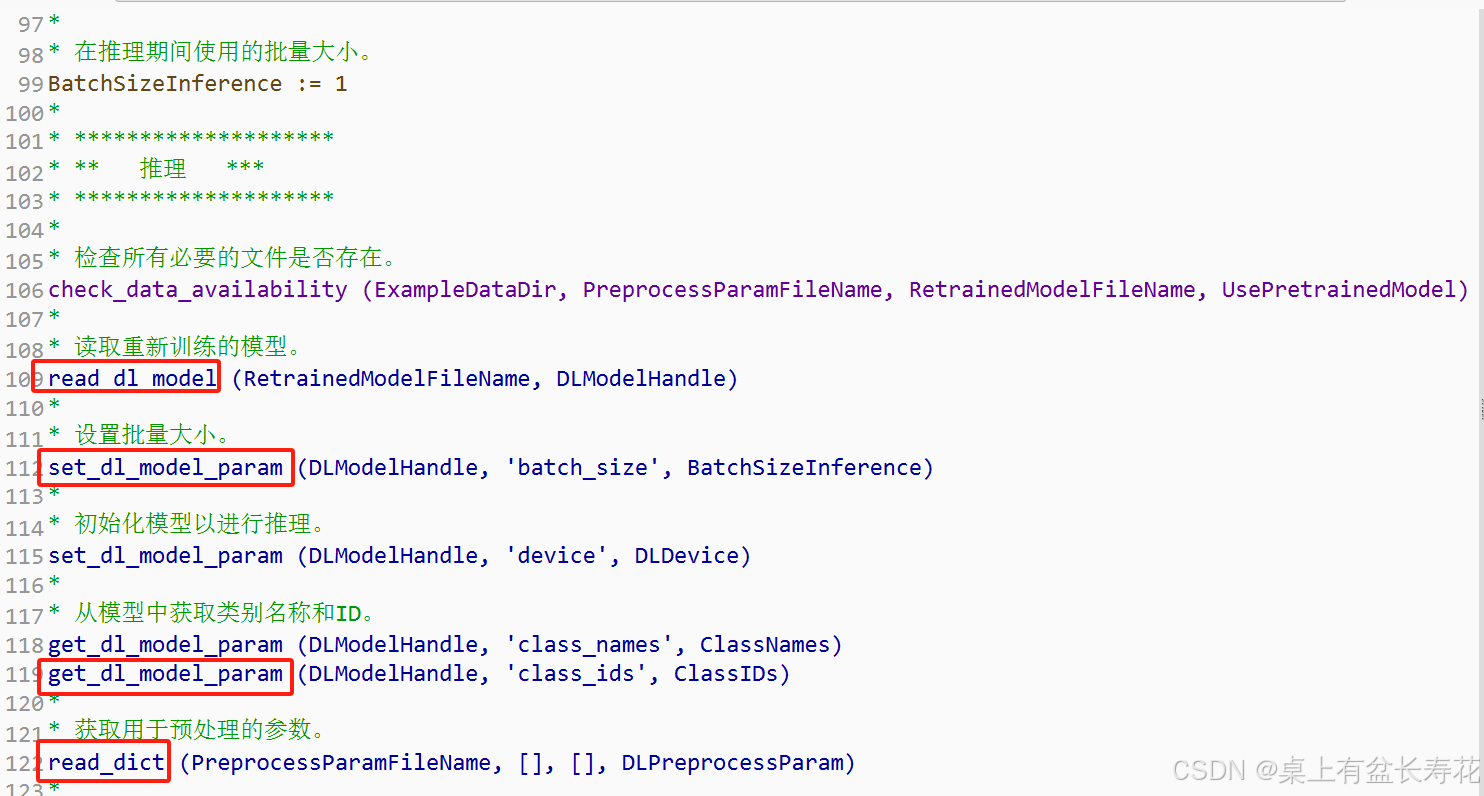
* 检查所有必要的文件是否存在。
check_data_availability (ExampleDataDir, PreprocessParamFileName, RetrainedModelFileName, UsePretrainedModel)
*
* 读取重新训练的模型。
read_dl_model (RetrainedModelFileName, DLModelHandle)
*
* 设置批量大小。
set_dl_model_param (DLModelHandle, 'batch_size', BatchSizeInference)
*
* 初始化模型以进行推理。
set_dl_model_param (DLModelHandle, 'device', DLDevice)
*
* 从模型中获取类别名称和ID。
get_dl_model_param (DLModelHandle, 'class_names', ClassNames)
get_dl_model_param (DLModelHandle, 'class_ids', ClassIDs)
*
* 获取用于预处理的参数。
read_dict (PreprocessParamFileName, [], [], DLPreprocessParam)
*
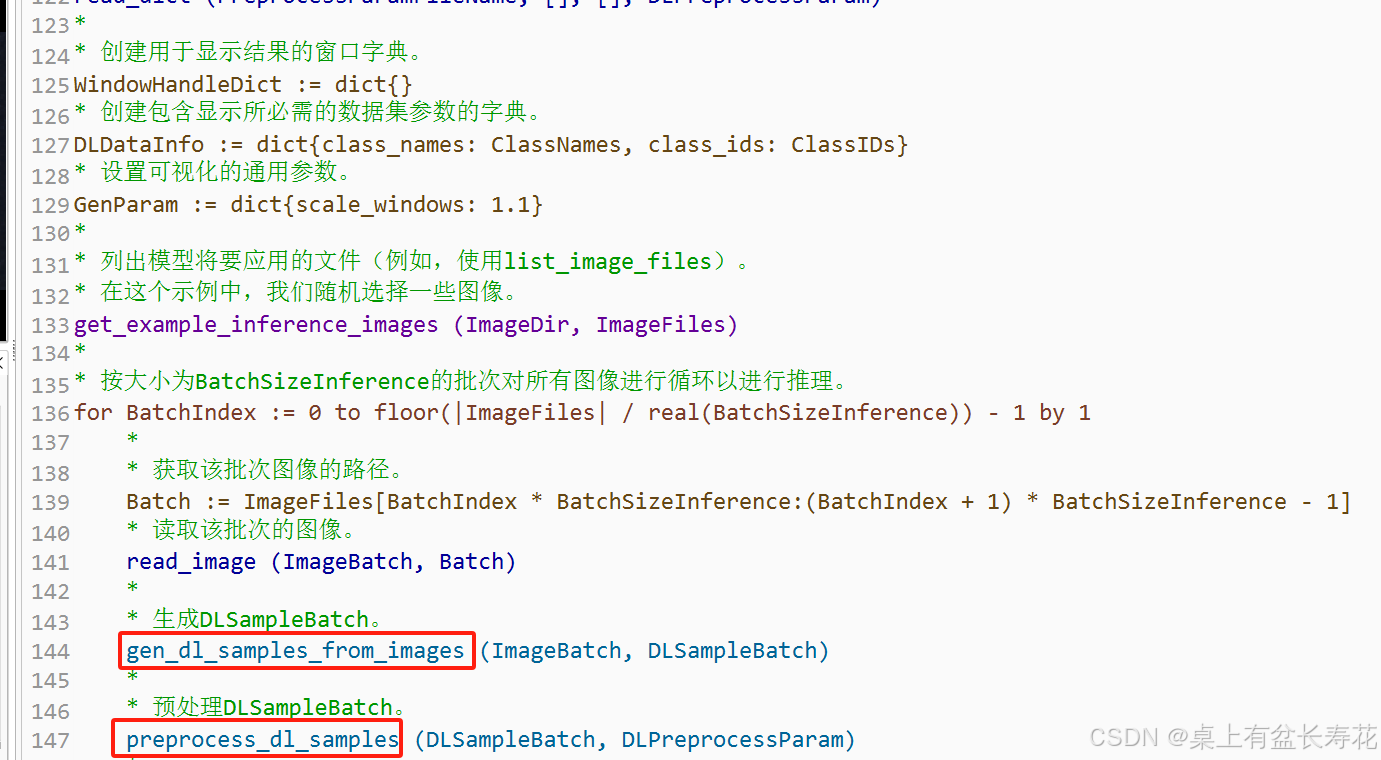
* 创建用于显示结果的窗口字典。
WindowHandleDict := dict{}
* 创建包含显示所必需的数据集参数的字典。
DLDataInfo := dict{class_names: ClassNames, class_ids: ClassIDs}
* 设置可视化的通用参数。
GenParam := dict{scale_windows: 1.1}
*
* 列出模型将要应用的文件(例如,使用list_image_files)。
* 在这个示例中,我们随机选择一些图像。
get_example_inference_images (ImageDir, ImageFiles)
*
* 按大小为BatchSizeInference的批次对所有图像进行循环以进行推理。
for BatchIndex := 0 to floor(|ImageFiles| / real(BatchSizeInference)) - 1 by 1
*
* 获取该批次图像的路径。
Batch := ImageFiles[BatchIndex * BatchSizeInference:(BatchIndex + 1) * BatchSizeInference - 1]
* 读取该批次的图像。
read_image (ImageBatch, Batch)
*
* 生成DLSampleBatch。
gen_dl_samples_from_images (ImageBatch, DLSampleBatch)
*
* 预处理DLSampleBatch。
preprocess_dl_samples (DLSampleBatch, DLPreprocessParam)
*
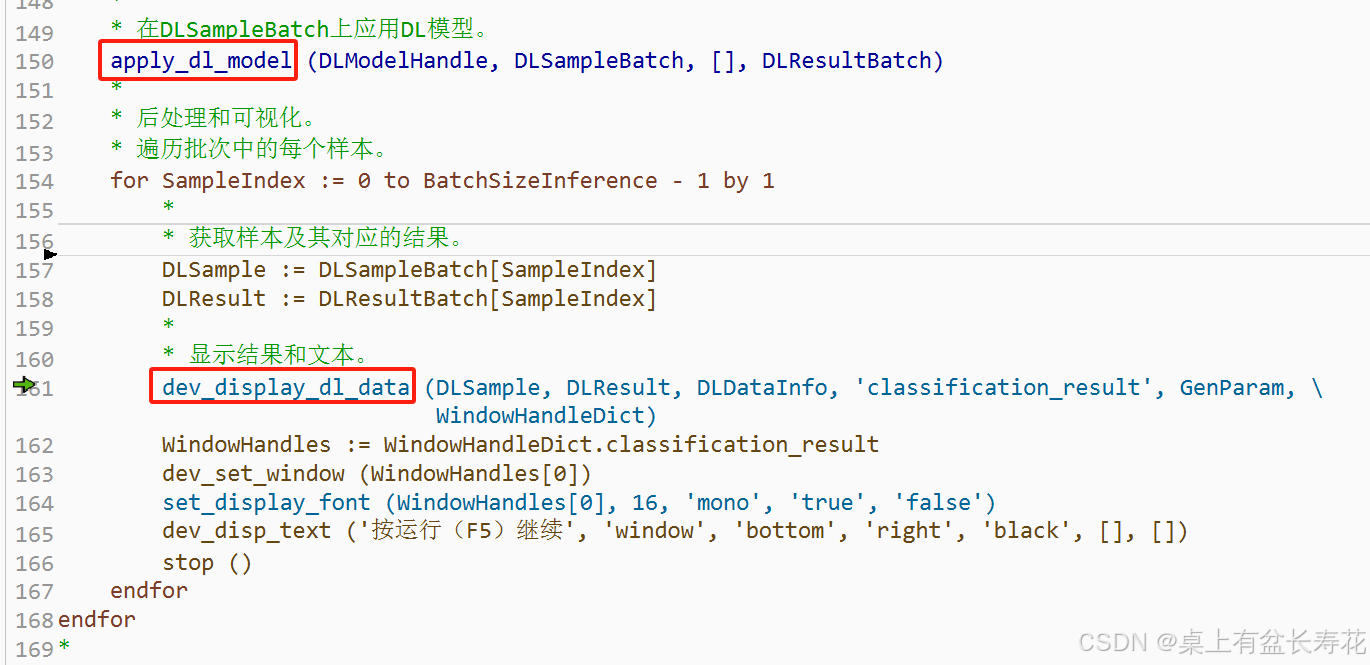
* 在DLSampleBatch上应用DL模型。
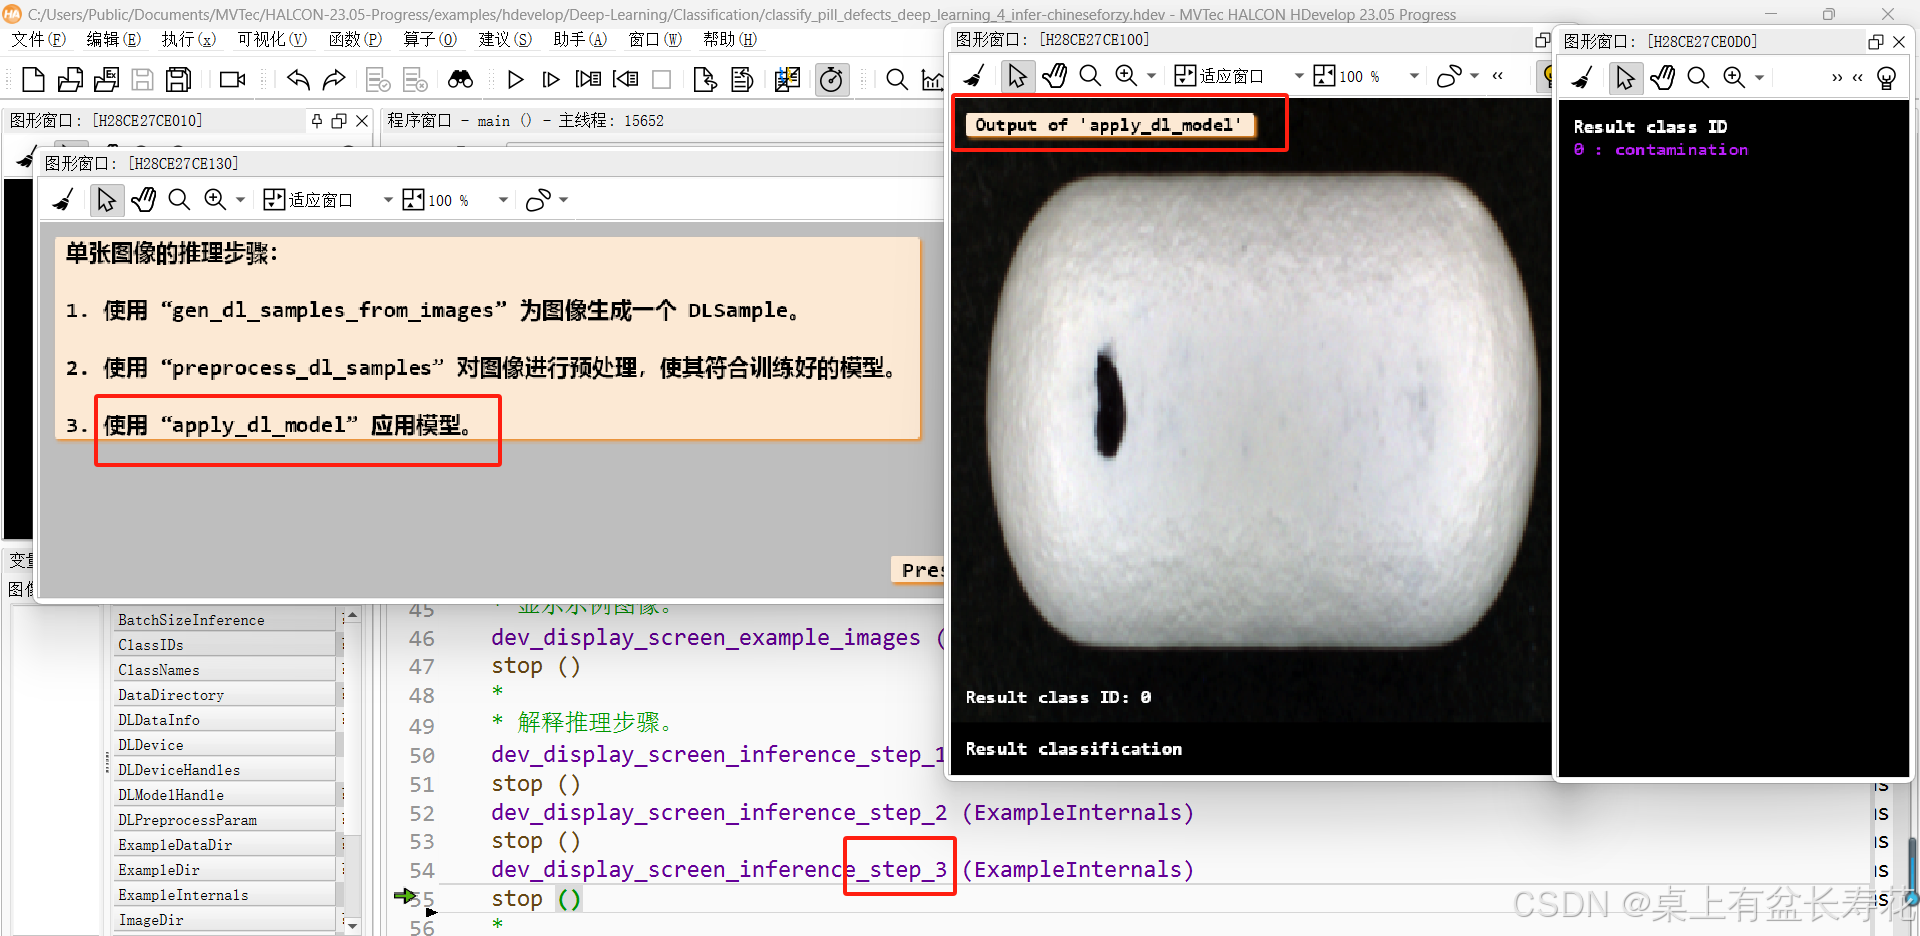
apply_dl_model (DLModelHandle, DLSampleBatch, [], DLResultBatch)
*
* 后处理和可视化。
* 遍历批次中的每个样本。
for SampleIndex := 0 to BatchSizeInference - 1 by 1
*
* 获取样本及其对应的结果。
DLSample := DLSampleBatch[SampleIndex]
DLResult := DLResultBatch[SampleIndex]
*
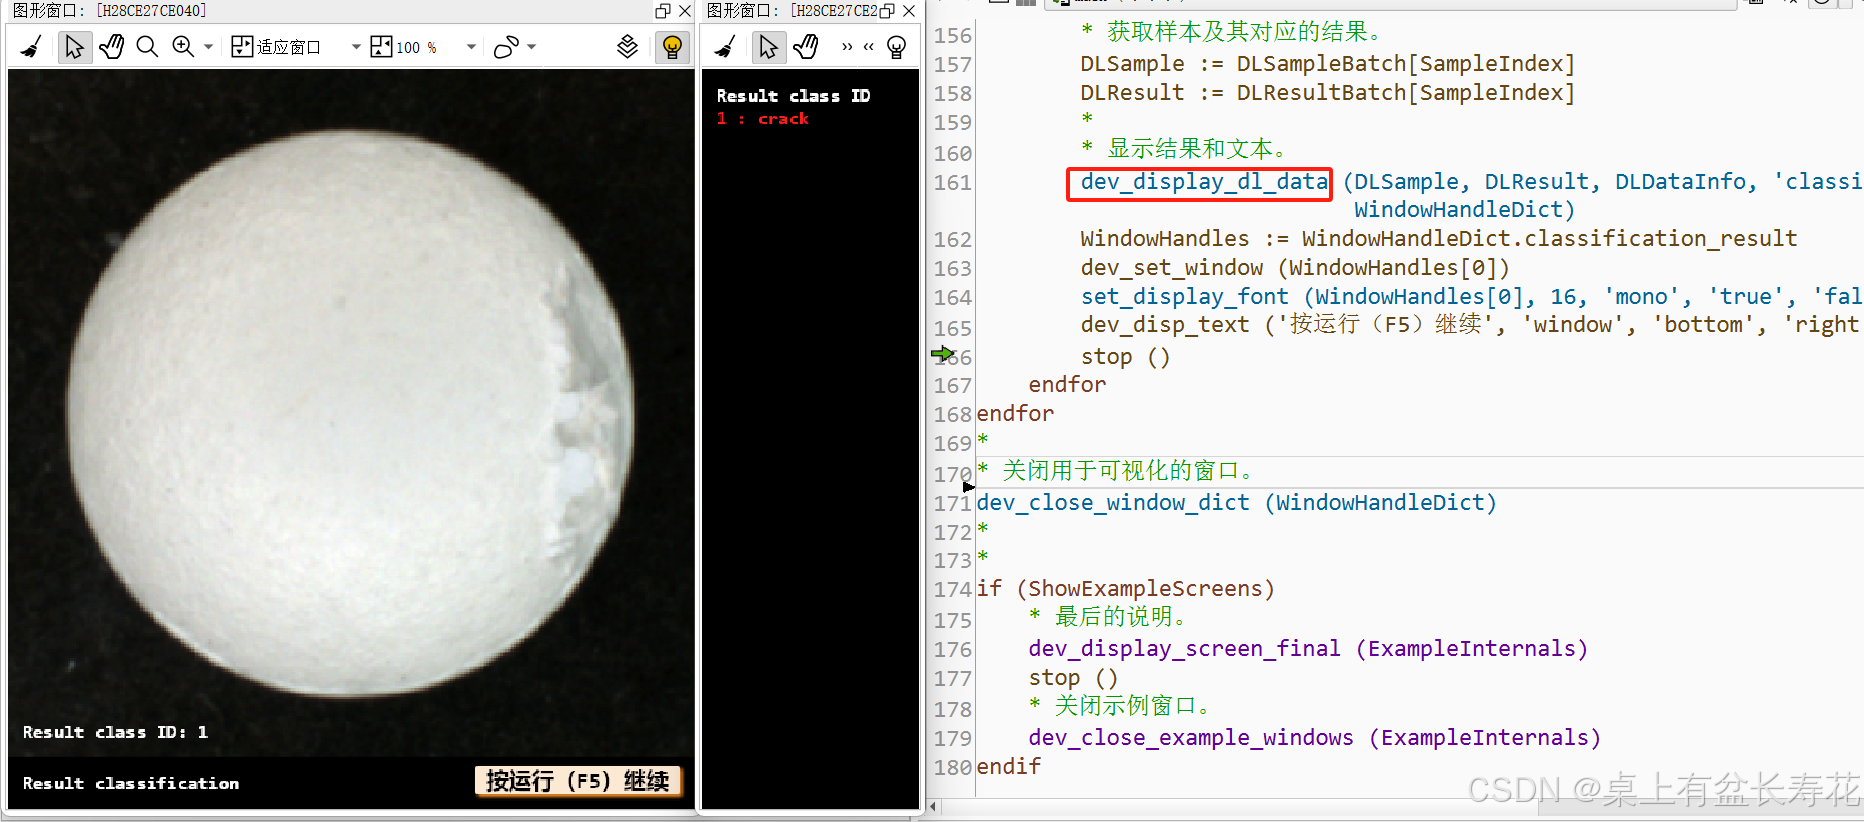
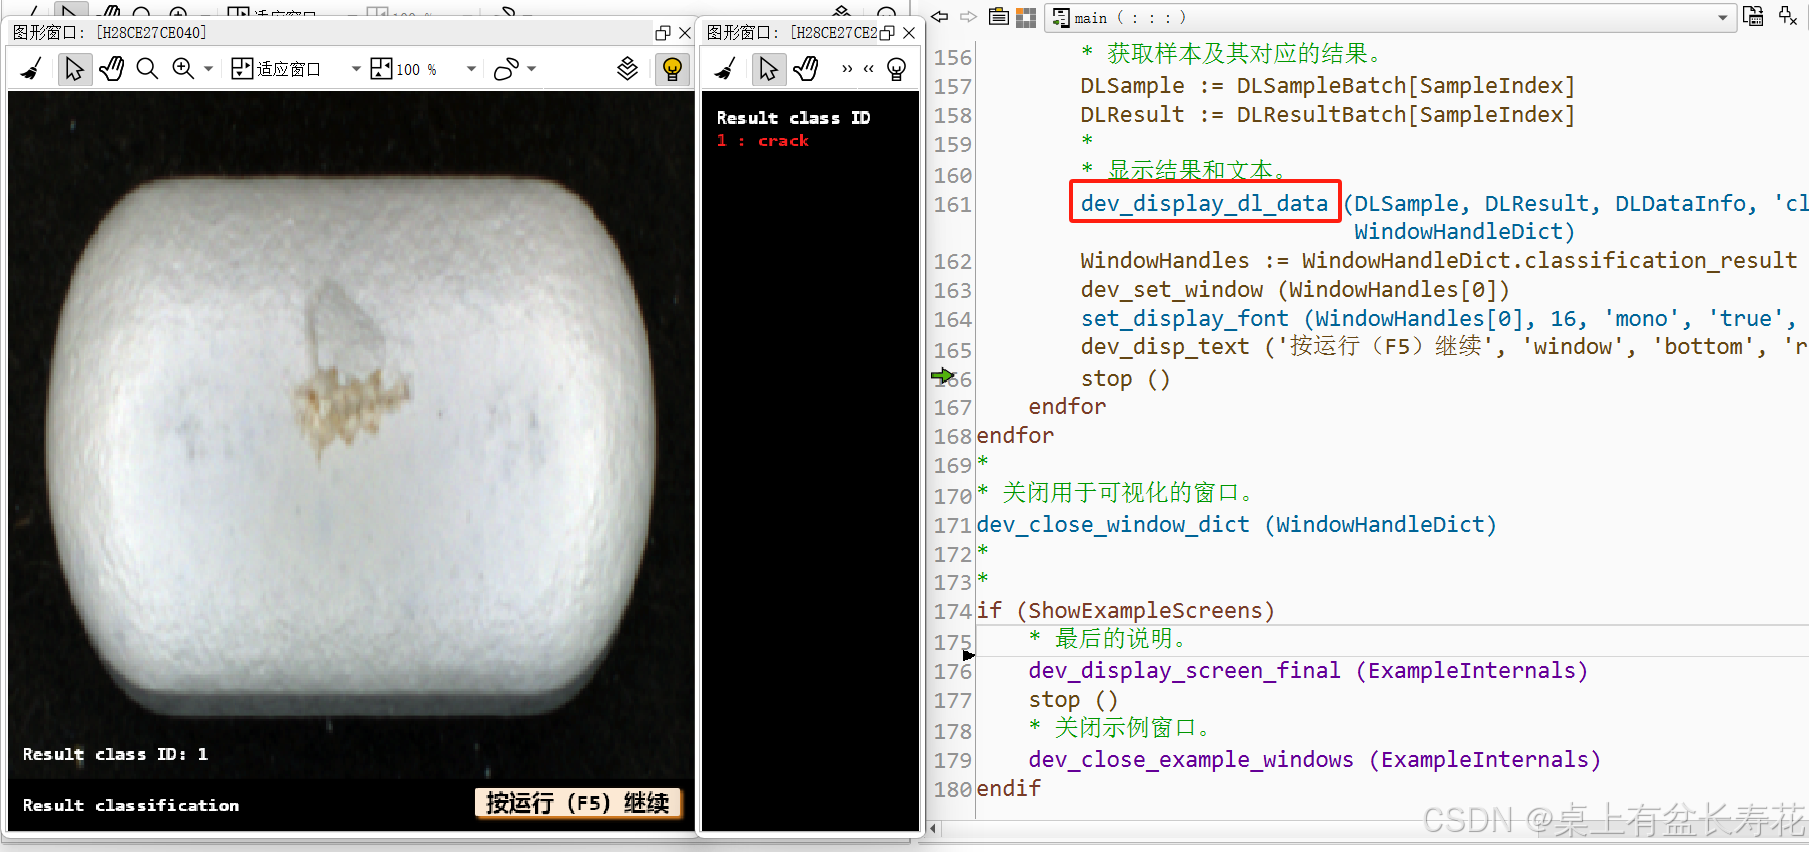
* 显示结果和文本。
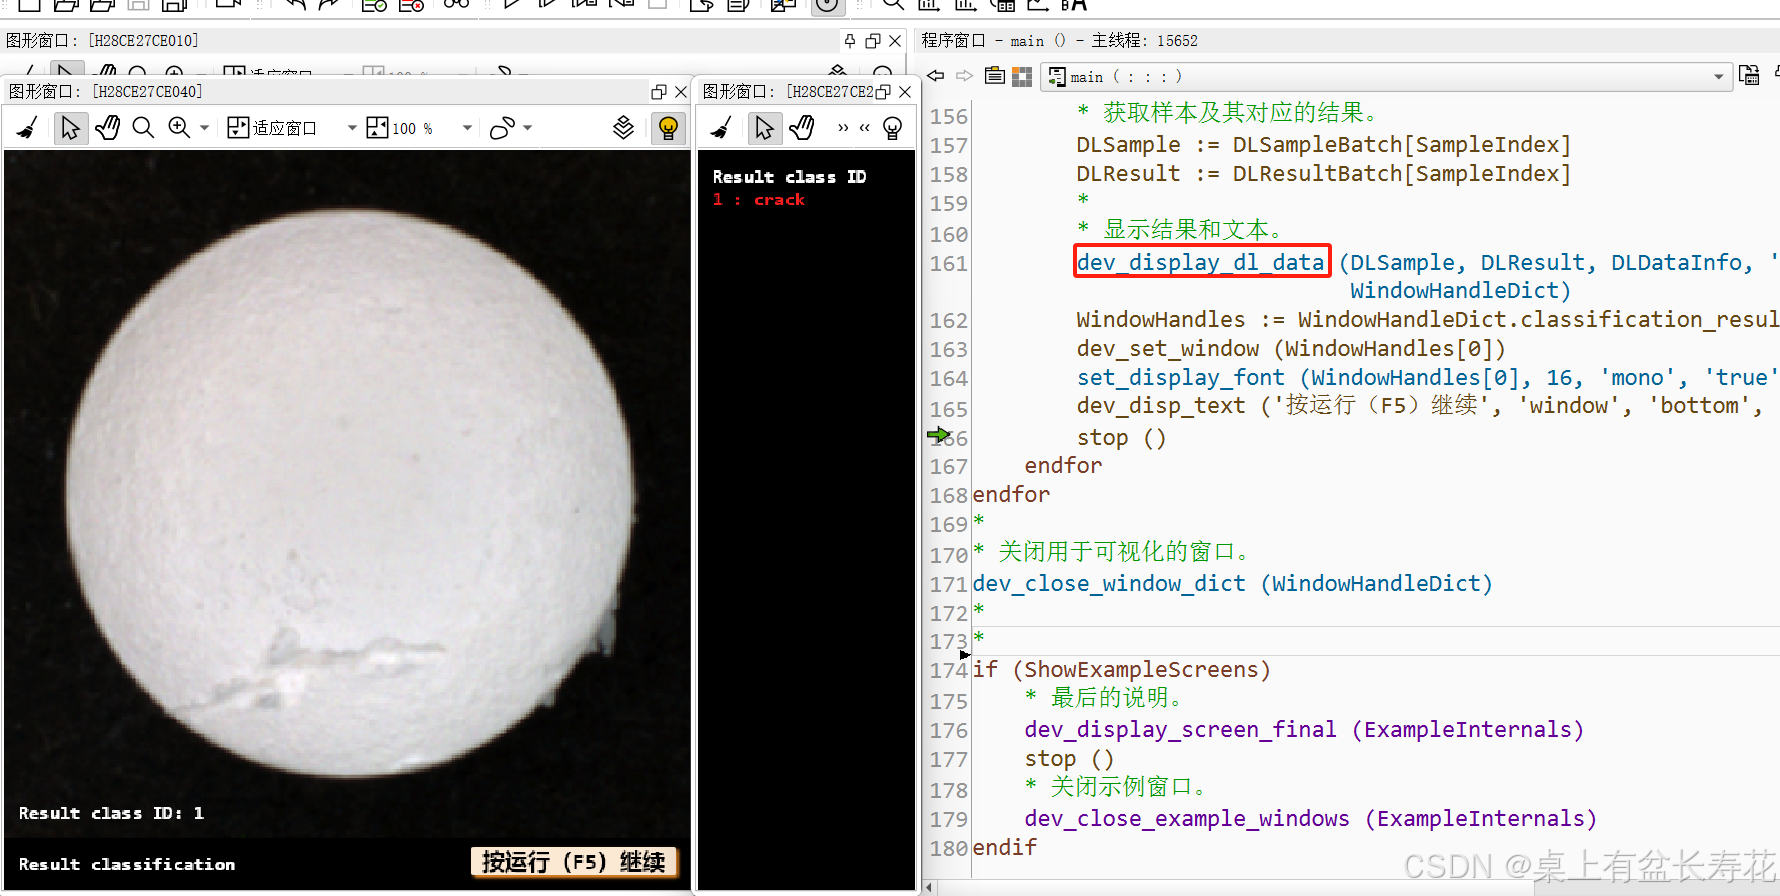
dev_display_dl_data (DLSample, DLResult, DLDataInfo, 'classification_result', GenParam, WindowHandleDict)
WindowHandles := WindowHandleDict.classification_result
dev_set_window (WindowHandles[0])
set_display_font (WindowHandles[0], 16, 'mono', 'true', 'false')
dev_disp_text ('按运行(F5)继续', 'window', 'bottom', 'right', 'black', [], [])
stop ()
endfor
endfor
*
* 关闭用于可视化的窗口。
dev_close_window_dict (WindowHandleDict)
*
*
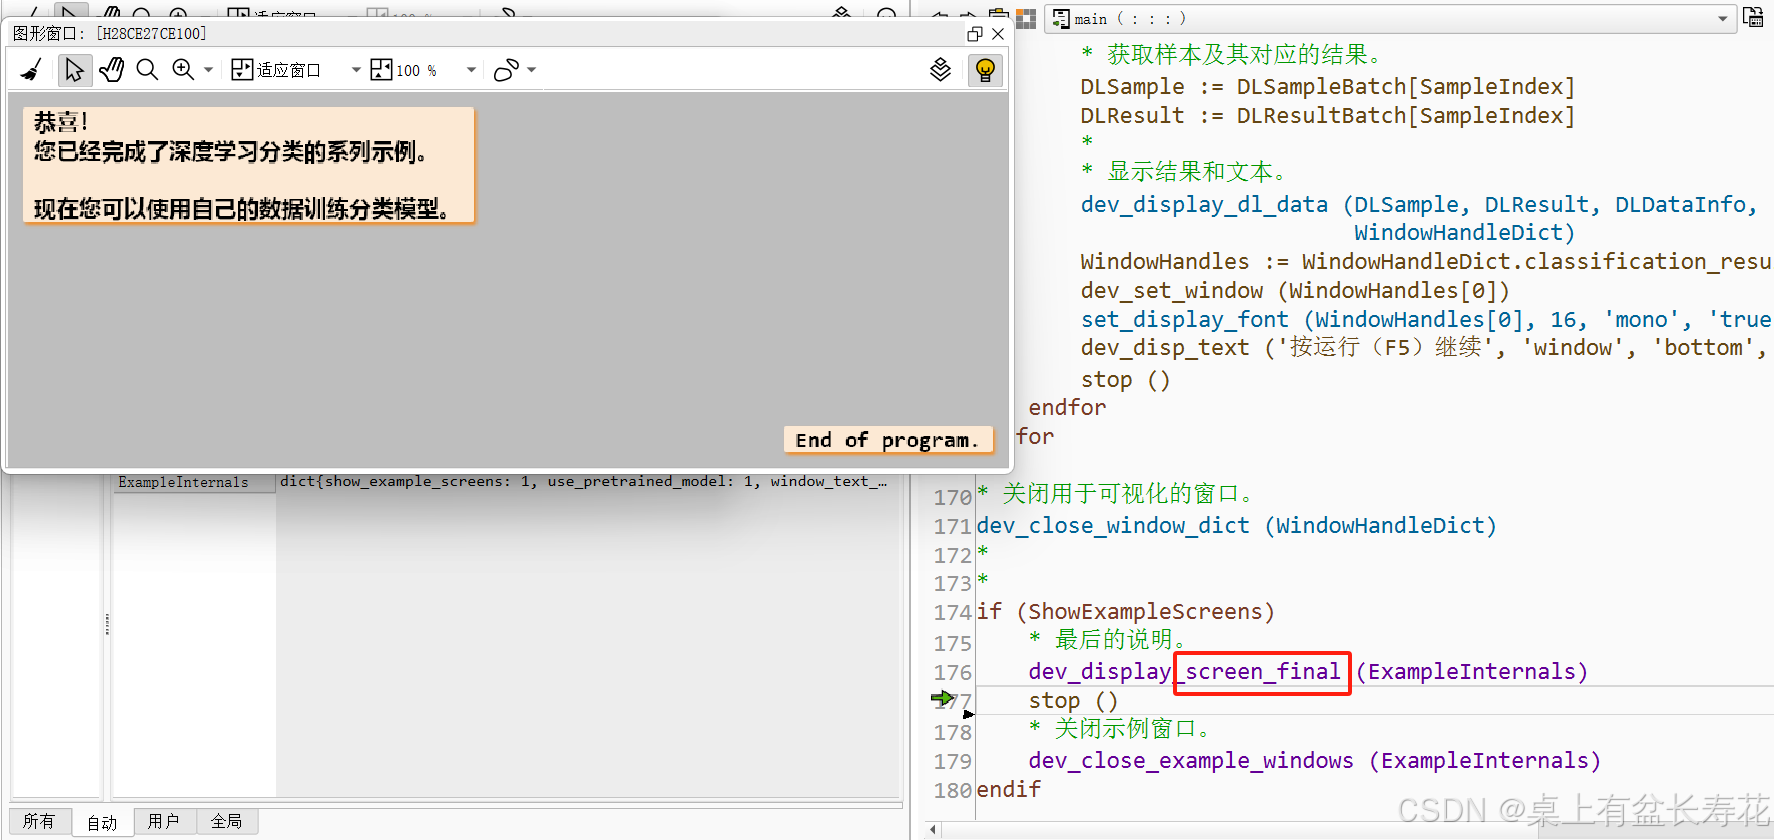
if (ShowExampleScreens)
* 最后的说明。
dev_display_screen_final (ExampleInternals)
stop ()
* 关闭示例窗口。
dev_close_example_windows (ExampleInternals)
endif


 被折叠的 条评论
为什么被折叠?
被折叠的 条评论
为什么被折叠?
 到【灌水乐园】发言


