Windows版本免费PyMol的安装

技术背景

在前面一篇博客中,我们介绍过在Linux平台下安装和使用免费版本的PyMol。其实同样的这个免费版在Windows平台上(这里以win11为例)也是支持的。

安装流程

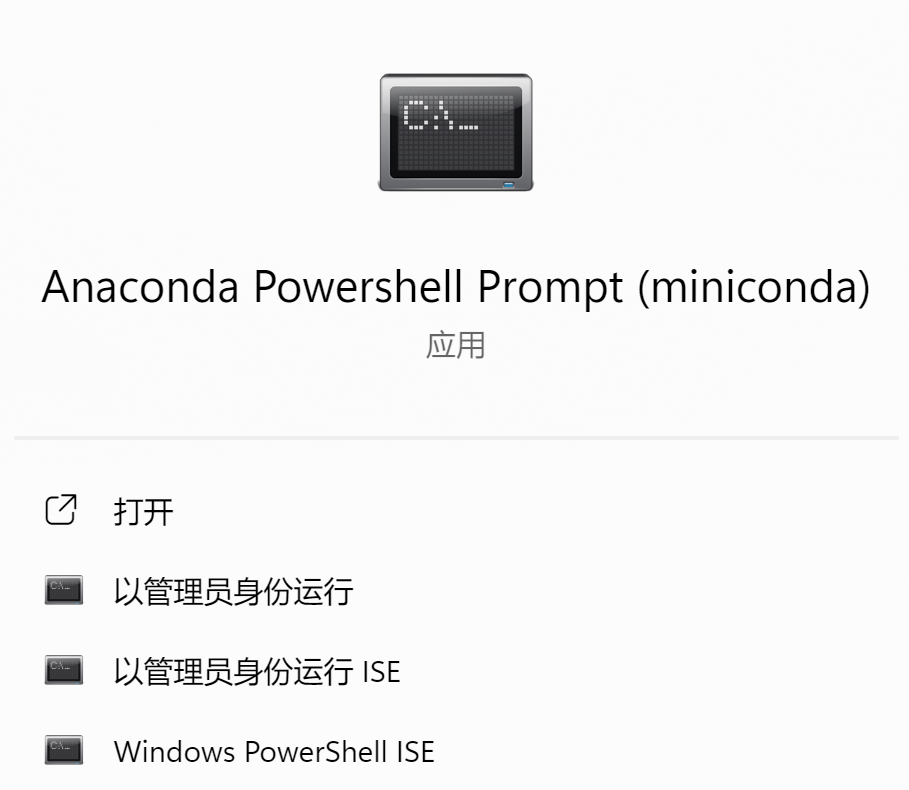
这个免费版本的PyMol依赖于Conda,因此首先需要访问conda官网下载一个miniconda到本地进行安装,这部分配置都是通过交互界面完成的。安装结束后,可以在win11系统下打开anaconda专属命令行窗口:

需要注意的是,这里如果打开的是默认的终端窗口,有可能使用不了conda。确认conda命令可用之后,输入如下命令安装PyMol:

$ conda install -c conda-forge pymol-open-source

使用方法

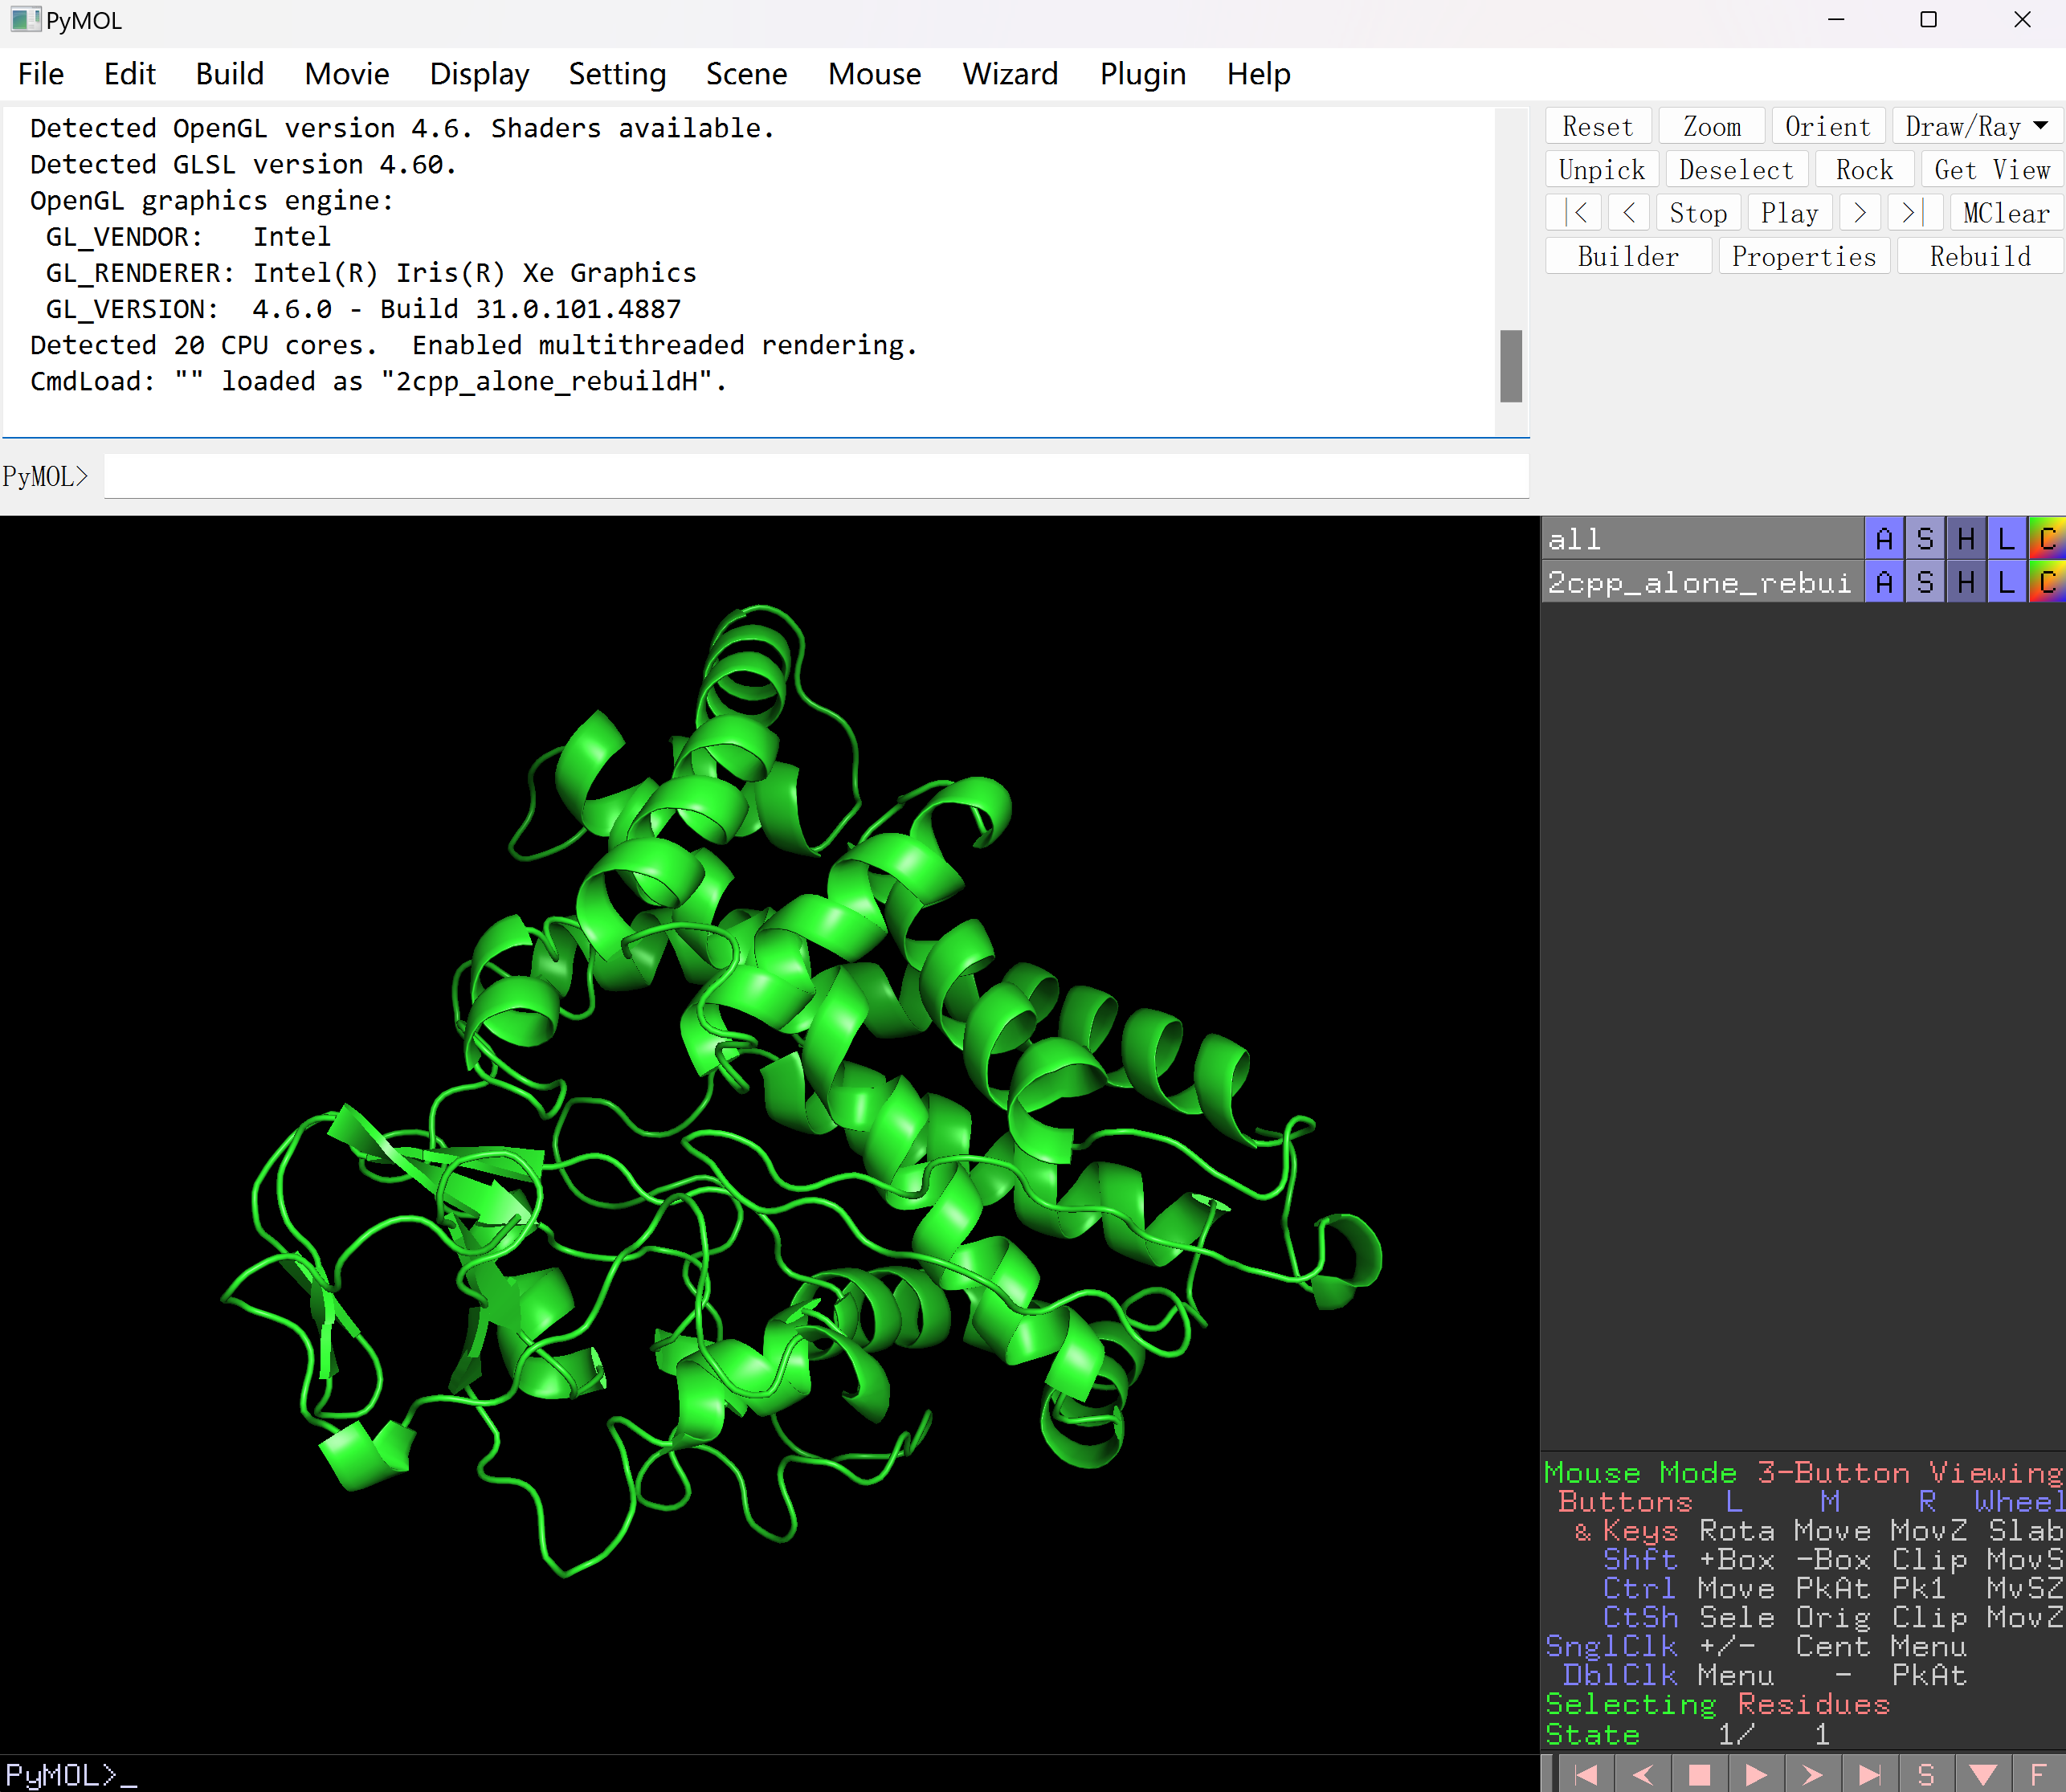
在完成上述安装流程之后,免费版的PyMol会在指定目录下(如\conda\miniconda\Scripts生成一个pymol.bat的脚本文件,如果是收费版的可能会有一个exe可执行文件。虽然是bat文件,但是我们依然可用设置其为默认的打开方式:选中一个pdb文件或者其他需要用pymol来可视化的文件,选择默认打开方式,找到这个bat文件。这样以后在windows系统下双击pdb文件,就会默认使用pymol来打开。

常用指令

这里介绍一些比较简单的有可能用到的pymol指令

设置球体大小

在球模型视图下,可以用指令设置球体大小:

set sphere_scale, 0.1, mol_input

设置球体透明度

在球模型视图下,可以设置球体的透明度:

set sphere_transparency, 0.5, mol_input

设置表面透明度

在表面模型下,可以设置表面的透明度:

set transparency, 0.5, mol_input

计算质心

可以选中一些原子然后计算其质心:

centerofmass sele

或者也可以在pymol中直接使用一个python的指令来计算某一个输入分子的质心:

print (cmd.centerofmass(f'mol_input'))

平移分子

可以输入一个数组,对选定的分子平移指定的长度;

translate [20, 20, 20], mol_input

批量计算脚本

pymol支持一个py脚本文件的输入,例如我们可以用脚本来批量计算多个分子的质心:

import pymol
from pymol import cmd

def main():
    pymol.finish_launching()

    objectlist = ['mol_input_{}'.format(i) for i in range(15)]

    for obj_name in objectlist:
        center = cmd.centerofmass(obj_name)
        print('{},'.format(center))
main()

然后在pymol界面上选择File->Run Script运行该脚本即可。

总结概要

接上一篇介绍Linux下安装和使用免费版本的PyMol之后,这里再介绍一下Windows系统下的安装方法。同时在本文中列举了一些在PyMol中有可能使用到的脚本指令,例如设置球体模型的大小、设置表面模型的透明度、平移分子和批量执行脚本等操作。

版权声明

本文首发链接为:https://www.cnblogs.com/dechinphy/p/win-pymol.html

作者ID:DechinPhy

更多原著文章:https://www.cnblogs.com/dechinphy/

请博主喝咖啡:https://www.cnblogs.com/dechinphy/gallery/image/379634.html

原创作者: dechinphy 转载于: https://www.cnblogs.com/dechinphy/p/18319155/win-pymol
### PyMOL Installation Guide for WSL To install PyMOL on Windows Subsystem for Linux (WSL), follow these instructions which integrate the necessary steps from configuring WSL to installing specific software packages. #### Ensure WSL and Desired Distribution Are Installed Enter Microsoft Store, search for `wsl`, and download the required version of a Linux distribution such as Ubuntu[^1]. After setting up the chosen distribution, it is advisable to ensure that this particular distribution has been set as the default one using commands like `wslconfig /setdefault Ubuntu-20.04` if needed[^3]. #### Update System Packages Before proceeding with any installations within your WSL environment, updating the package list ensures you have access to the latest versions available in repositories. ```bash sudo apt update && sudo apt upgrade -y ``` #### Install Required Dependencies PyMOL requires several dependencies including Python development files, libraries related to graphics rendering, etc., all of which can be installed via APT: ```bash sudo apt-get install build-essential checkinstall cmake pkg-config \ libglu1-mesa libxi-dev libxmu-dev freeglut3-dev libglew-dev \ libtiff5-dev zlib1g-dev libjpeg-dev python3-all-dev python3-pip \ python3-setuptools python3-wheel ``` #### Downloading and Installing PyMOL There are multiple ways to get PyMOL running under WSL; here's an approach through pip: Firstly, make sure pip is updated: ```bash pip3 install --upgrade pip setuptools wheel ``` Then proceed to install PyMOL itself: ```bash pip3 install pymol-open-source ``` Alternatively, consider building directly from source or utilizing precompiled binaries provided by Schrödinger, though those methods may require additional configuration not covered herein. After completing these procedures, launching PyMOL should now work seamlessly inside the terminal session associated with your selected WSL distribution.
评论
添加红包

请填写红包祝福语或标题

红包个数最小为10个

红包金额最低5元

当前余额3.43前往充值 >
需支付:10.00
成就一亿技术人!
领取后你会自动成为博主和红包主的粉丝 规则
hope_wisdom
发出的红包
实付
使用余额支付
点击重新获取
扫码支付
钱包余额 0

抵扣说明:

1.余额是钱包充值的虚拟货币,按照1:1的比例进行支付金额的抵扣。
2.余额无法直接购买下载,可以购买VIP、付费专栏及课程。

余额充值