


 本文详细介绍了如何在Unity中创建和操控游戏角色,包括玩家控制的角色、弹球、砖块、墙体和地板,通过脚本赋予了移动、碰撞和得分功能。教程逐步展示了安装Unity、组件添加、代码编写和UI设计的过程。
一、总体步骤先介绍一下
(一)安装Unity+Visual Studio
我花了两天时间,因为Unity Hub的安装进度条总是网络中断,解决方案是:先装Unity,成功后。再“添加模块”,一次只装一个模块;
(二)按视频步骤一步步操作
在Unity中增加“游戏角色game object”、给角色增加“组件component”、增加“代码script”。 游戏角色有5个:
1、player板子:
新建一个“square方形”角色,是一个白色的长方形,玩家控制它来发射或接住弹球。用script给它加上“玩家控制左右移动”的功能。
2、ball弹球
新建一个“circle圆”角色,是一个有反弹功能的球,用script给它加上消灭砖块的功能。
3、block砖块,新建多个“square方形”角色,增加"Collider碰撞体"组件,当被撞击会消失。
4、wall墙体
新建三个“square方形”角色,增加"Collider碰撞体"组件,当被撞击保持固定不动。
5、finish地板
新建一个“square方形”角色,增加"Collider碰撞体"组件及“RigidBody刚体”,当被撞击结束游戏。
(三)不断的“运行play”查看效果
用键盘左右方向键控制,本教程不包含build和对外发布环节。
二、按视频步骤一步步操作
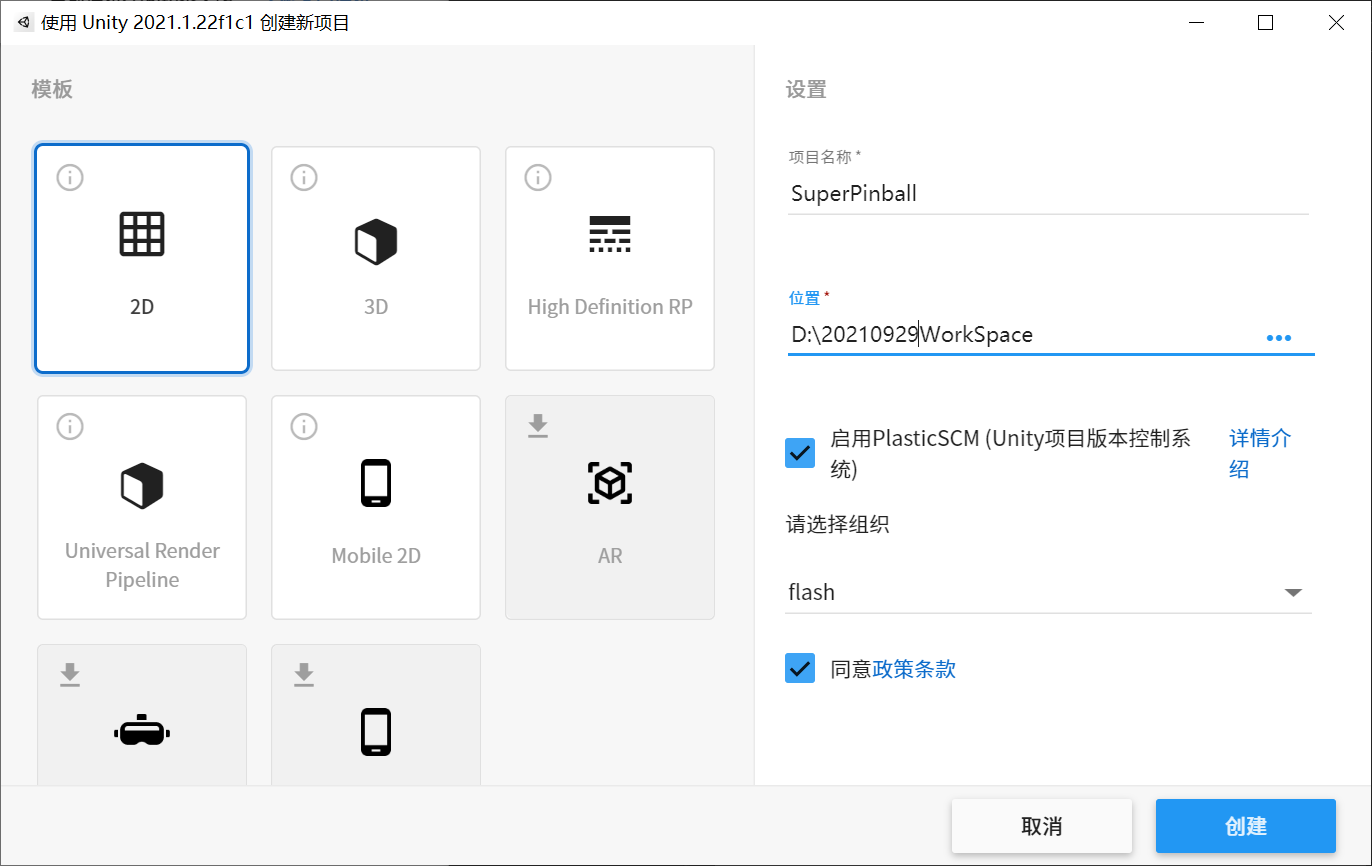
打开Unity Hub,新建项目,项目名称:SuperPinball。
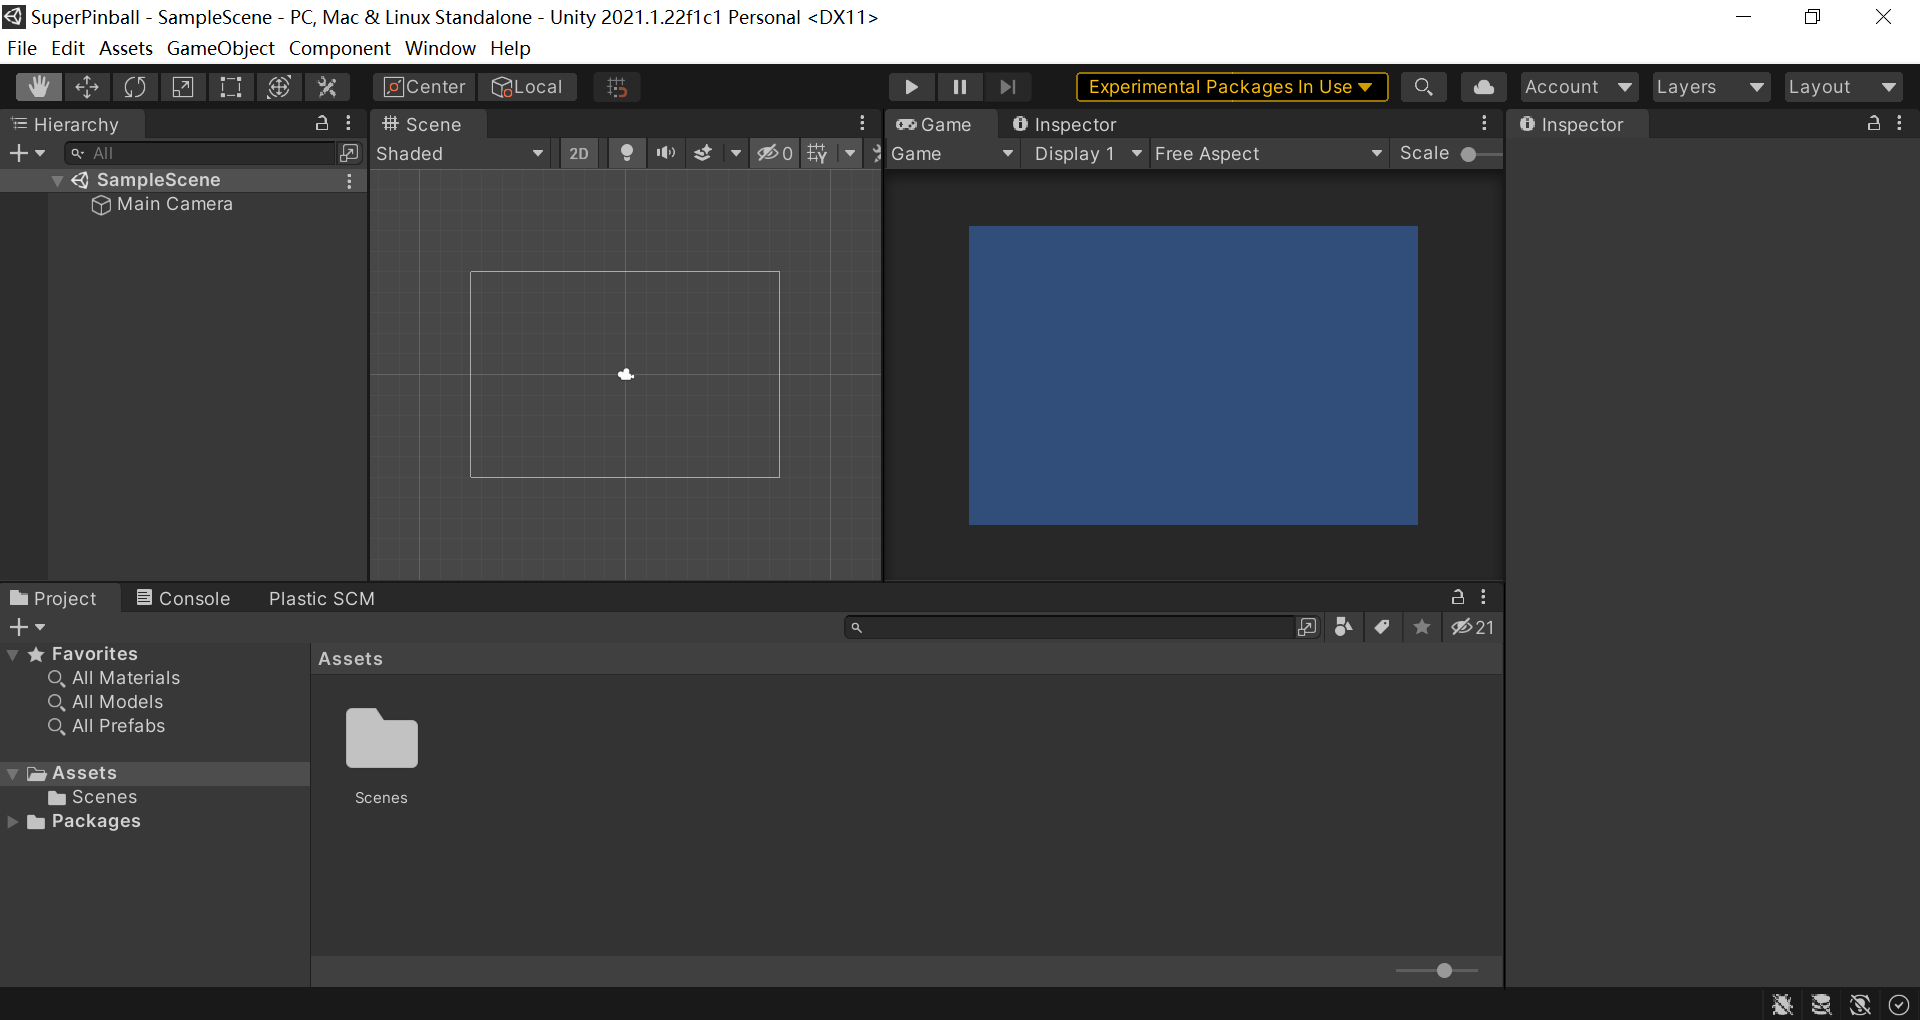
打开Unity Editor,我们用到三个子窗口: 左上角的Hierarchy、右侧的Inspector、下面的Project->Assets:
(一)player板子
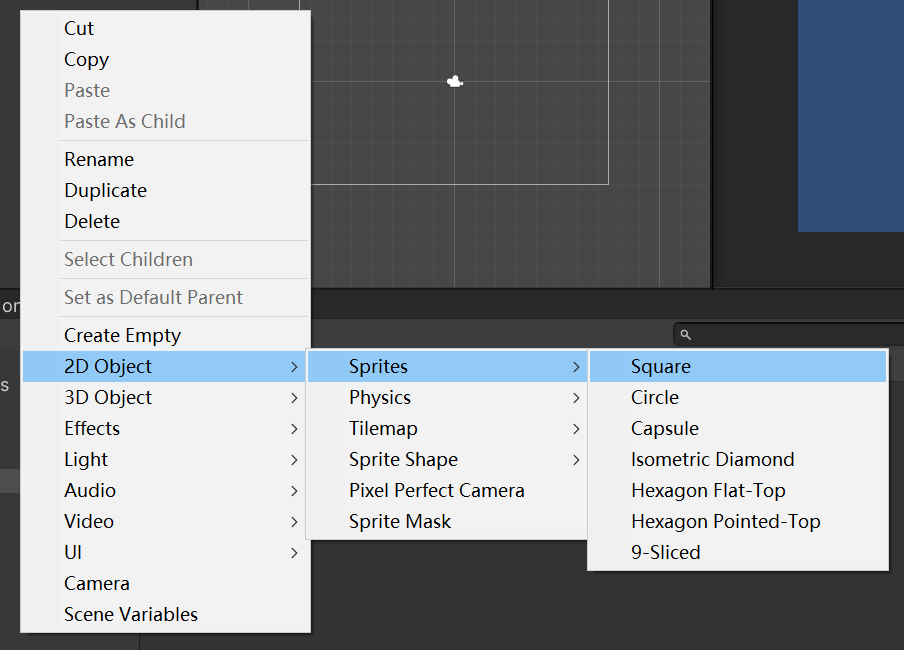
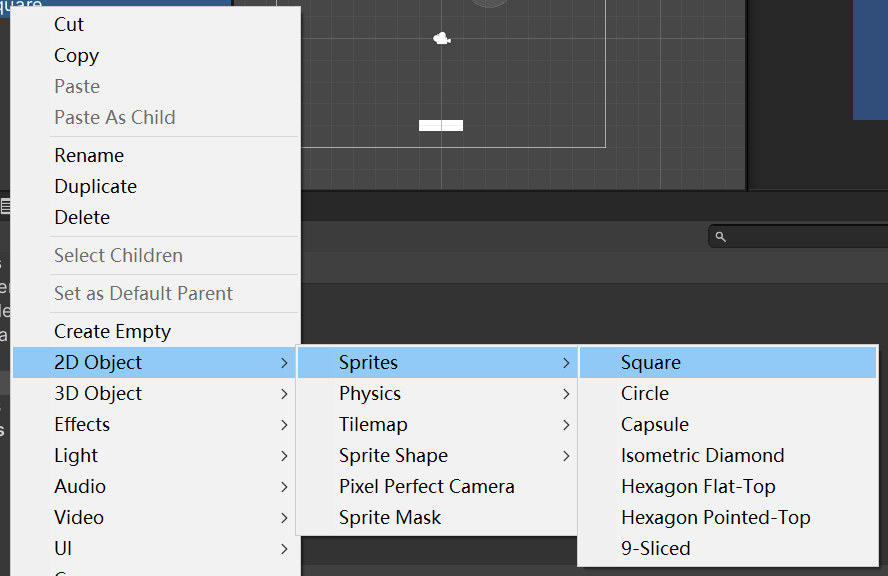
在Hierarchy->右击->2D Object->Sprites->Square, 新建一个“square方形”:
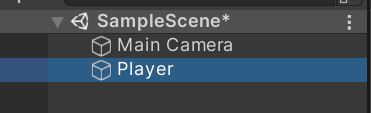
在Inspector窗口,修改名称为"Player",
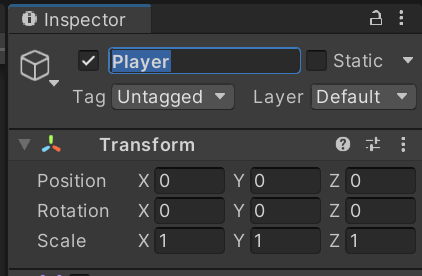
此时,Hierarchy窗口中,将多出一个"Player"角色:
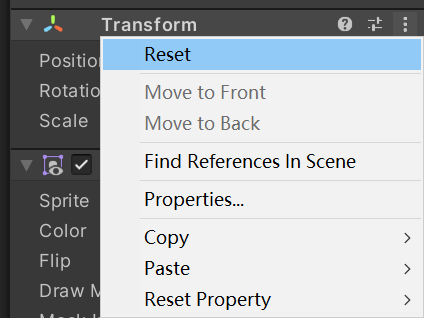
在Inspector->Transform->右侧...->Reset:
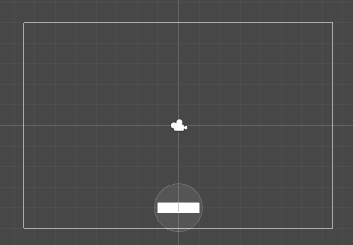
修改大小为2*0.5,将正方形改为长方形。

修改后的效果如下:

修改Player的位置到下边,Position.Y=-4:

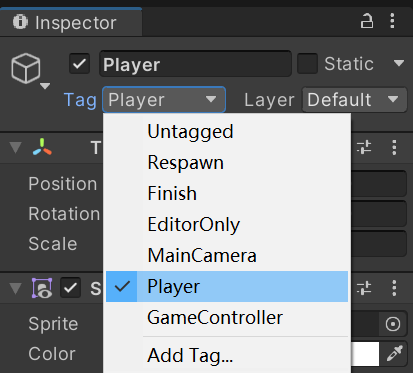
修改Player的Tag为“Player”:
(二)ball弹球
在Hierarchy->右击->2D Object->Sprites->Circle, 新建一个“Circle圆形”:

效果是,Hierarchy中将多出一个角色“Circle”:
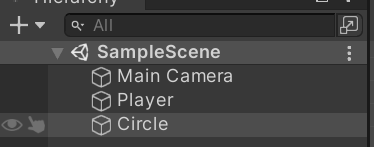
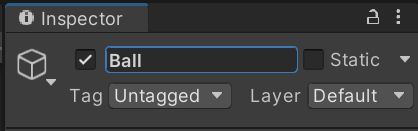
Hierarchy中选中Circle, 并到Inspetor中,修改它的名称为"Ball",回车:
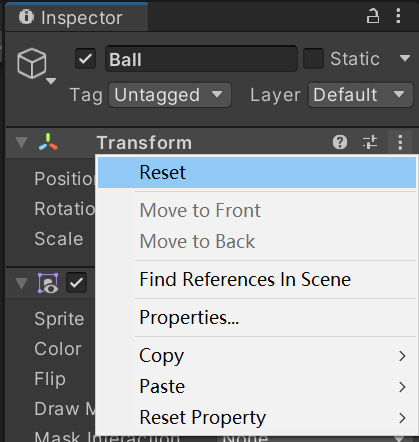
点击Inspector->Transform->右侧...->Reset:
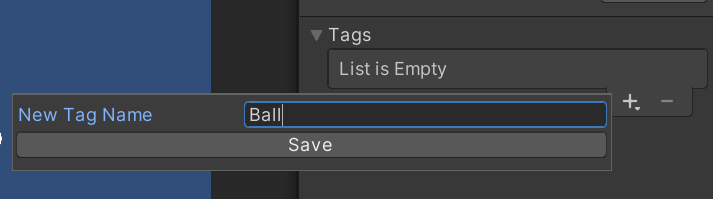
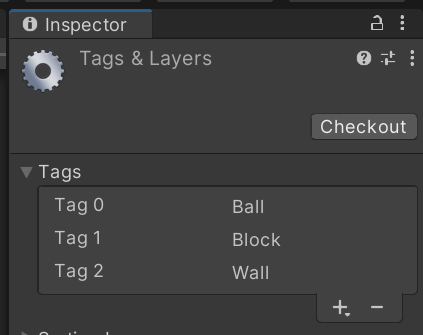
点击Inspector->Untagged->Add Tag...:
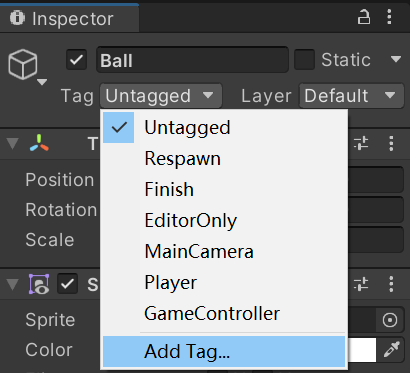
增加一个“Tag标识”叫“Ball”:
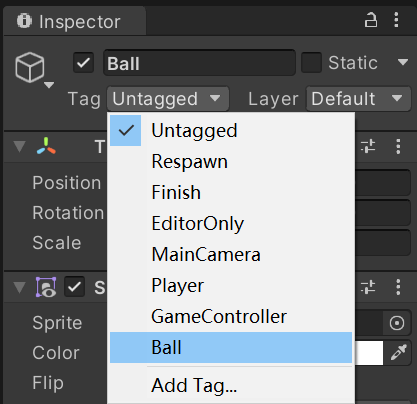
将Ball角色的Tag改为“Ball”:
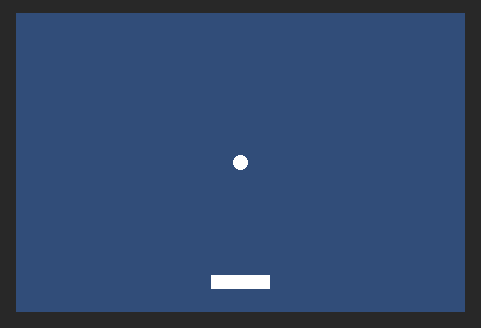
将Ball的大小改为0.5*0.5:

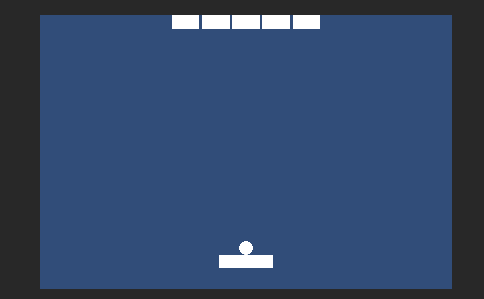
改好后,效果如下图:
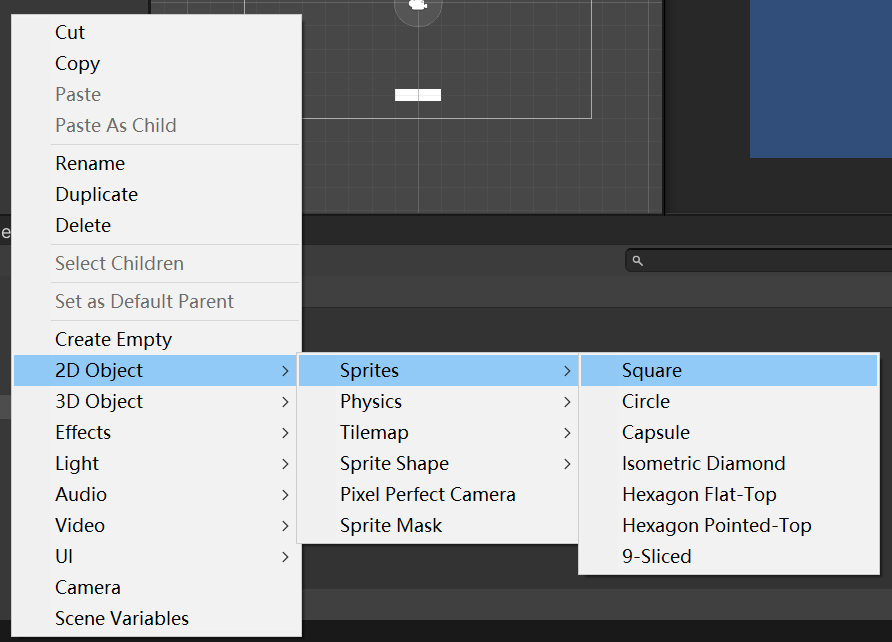
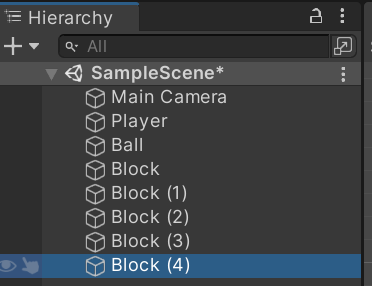
(三)block砖块
新建一个方形角色, Hierarchy->2D Object->Sprites->Square:
修改角色名称为Block:

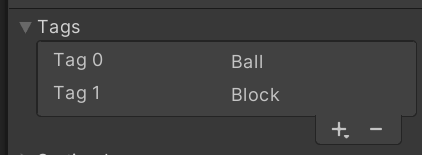
增加一个Tag, Inspector->Untagged->Add Tag...

输入Tag Name=Block:

这时,效果显示多了一个“Block”的Tag:
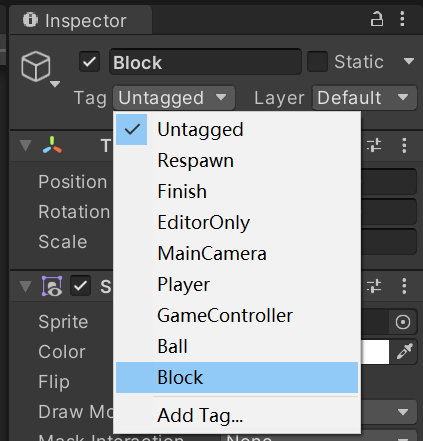
将Block角色的tag设置为"Block":
Inspector->Transform->右侧...->Reset,

设置大小为1*0.5:

看到效果如下:
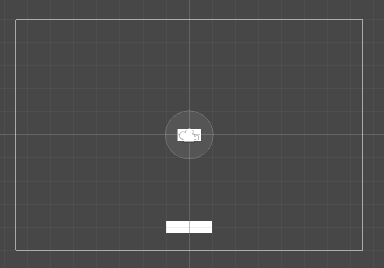
设置砖块的位置为0,4.75:


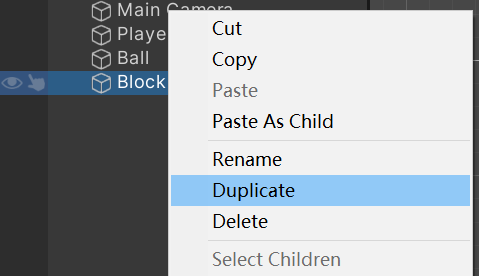
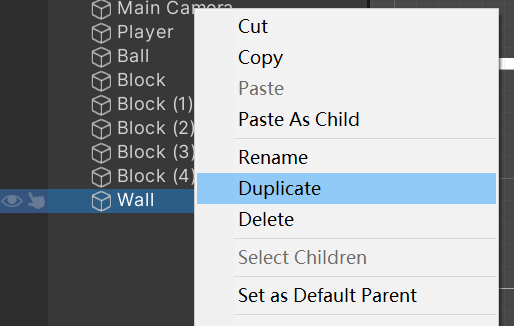
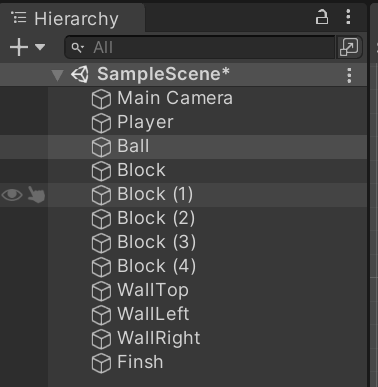
复制砖块,复制出4个一样的砖块: 选中Hierarchy->Block, 右击->Duplicate4次
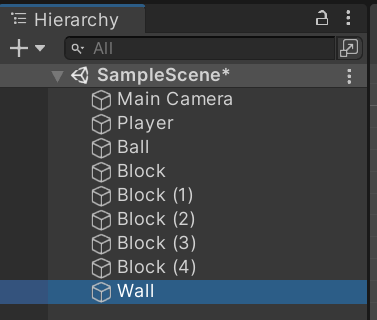
(四)wall墙体
新建一个方形角色, Hierarchy->2D Object->Sprites->Square:
修改角色名称为“Wall”:
新建一个Tag"Wall":
选中Wall,并修改Tag为“Wall”:

Reset角色Wall:

修改大小为17*0.5:

修改位置为0,5.25:

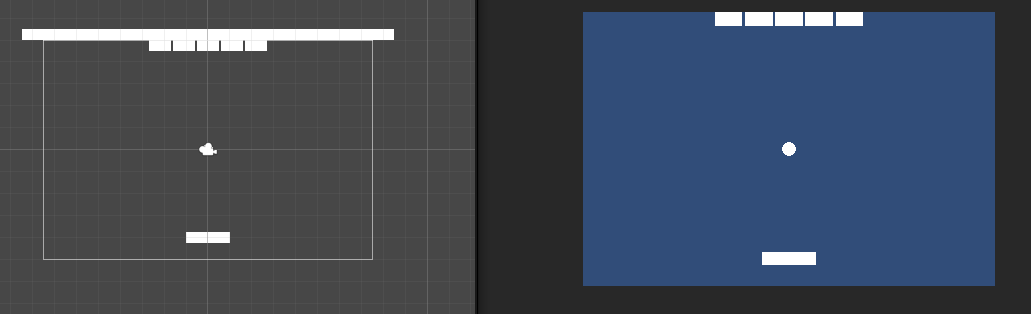
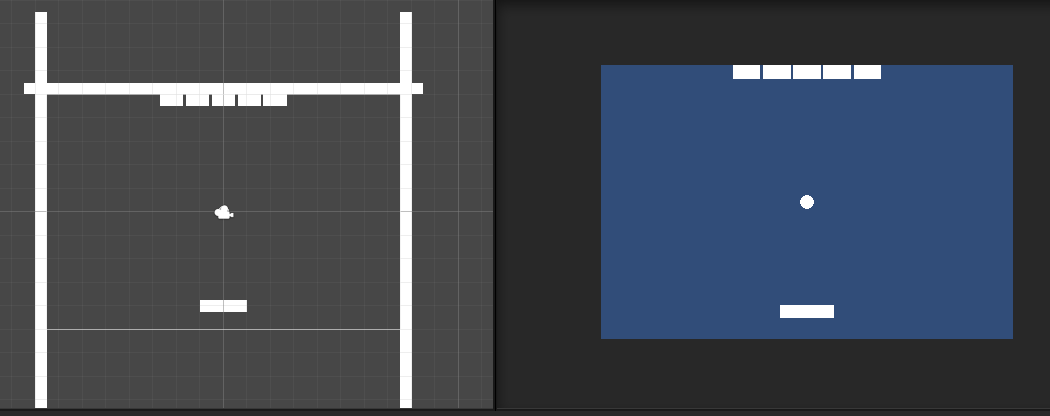
效果如下,出现了一个房顶的墙, 由于墙在摄像机外边缘, 所以Game窗口看不见这个墙体。
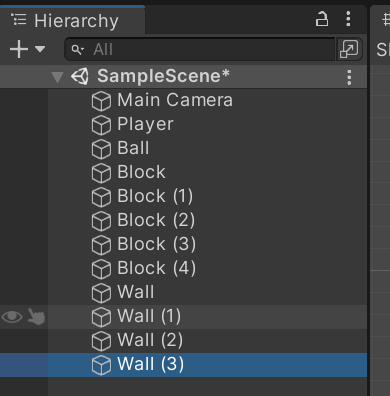
复制墙体3次:
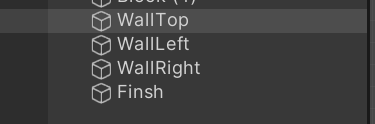
修改墙体的名称:
将WallLeft旋转90度:

位置设为-7.75,0:

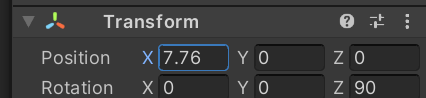
将WallRight旋转90度, 位置设为7.76.0:
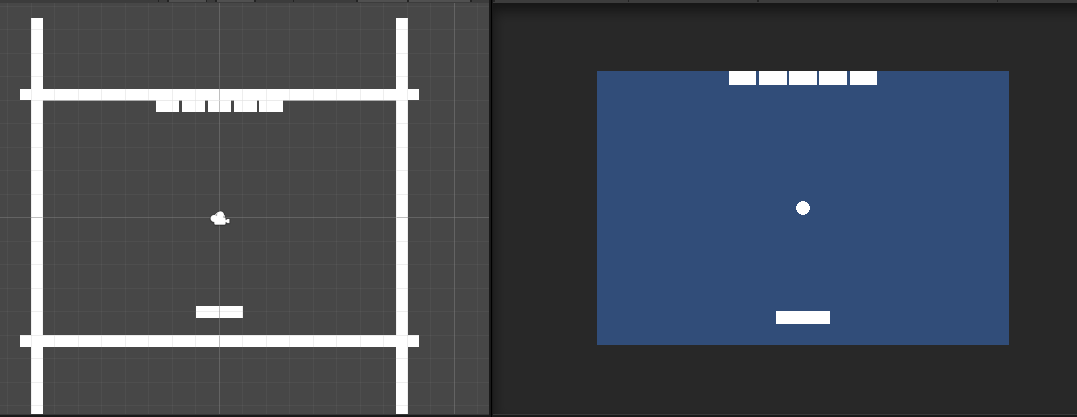
墙体效果如下:
(五)finish地板
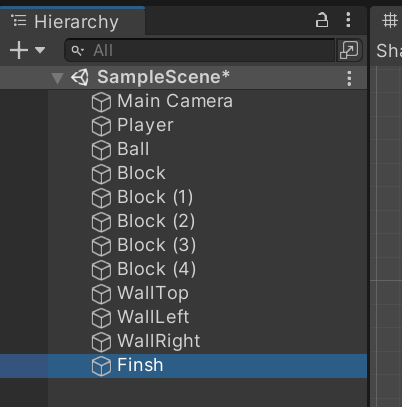
最下面的墙体,名称是finish, 位置设为0,-5.25:

效果如下:
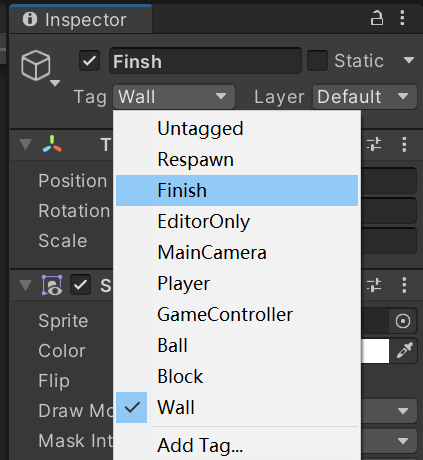
将最下面墙体的Tag设置为finish:
透明度设置为53, 让它显得看不见的样子:

##(六)为角色们增加组件
选择所有的角色,除了Ball:
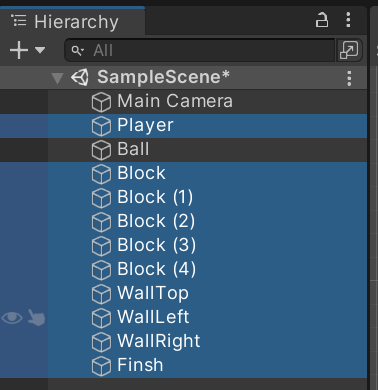
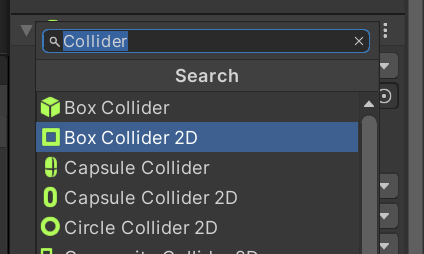
增加组件:

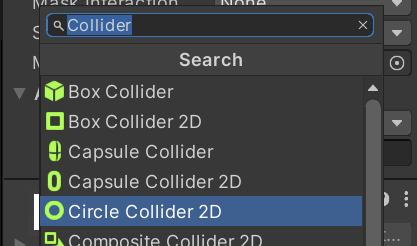
搜索“collider”,选中Box Collider 2D:
选中Finish,勾选“Is Trigger”:
选中Ball,
增加组件Circle Collider 2D:

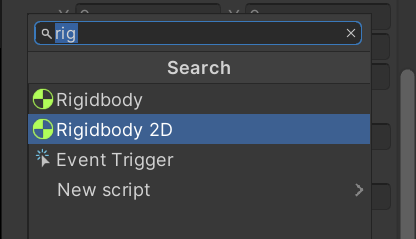
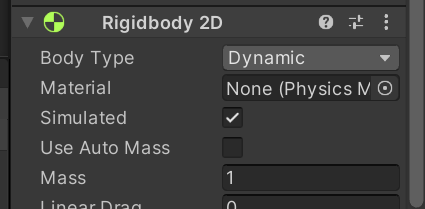
为Ball增加Rigidbody 2D组件, 让它有力学功能:

注意,Body Type要保持为“Dynamic”, 因为Ball角色是会根据受力动态移动的:
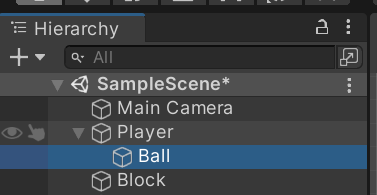
将Ball拖拽为Player的下级, 让他们变为组合,有共同移动的功能, 没有发球前,两者是共同移动的:
设置Ball的位置为0,1:

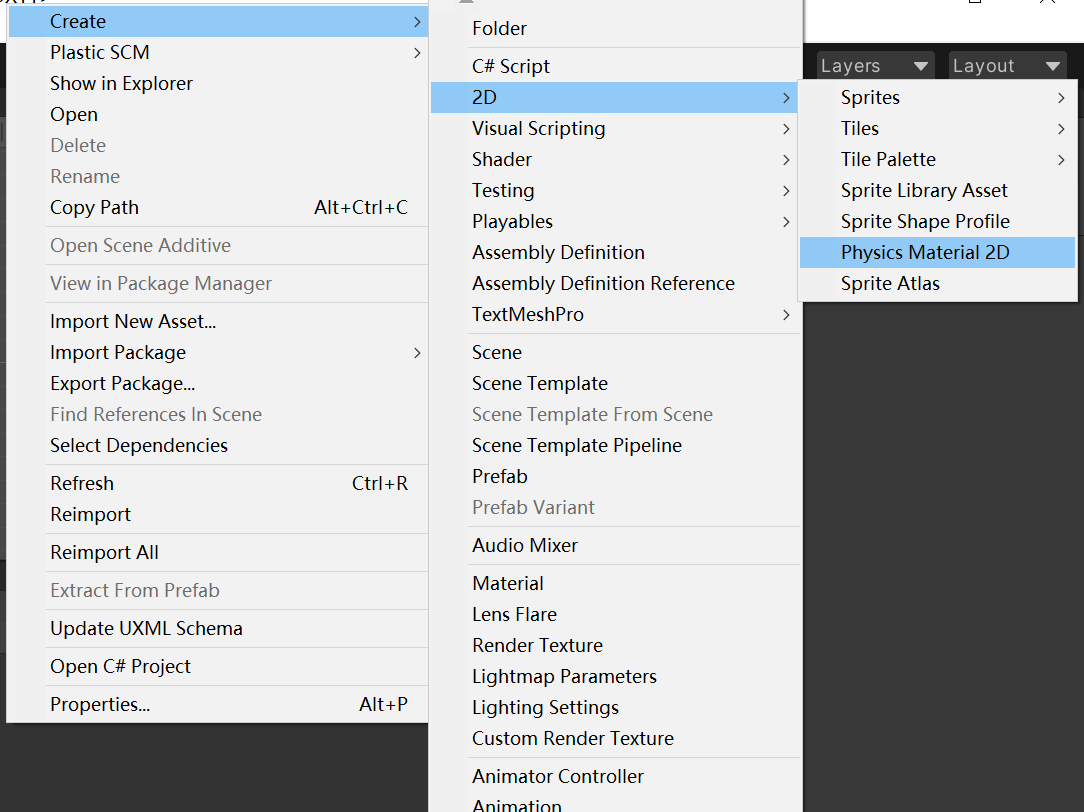
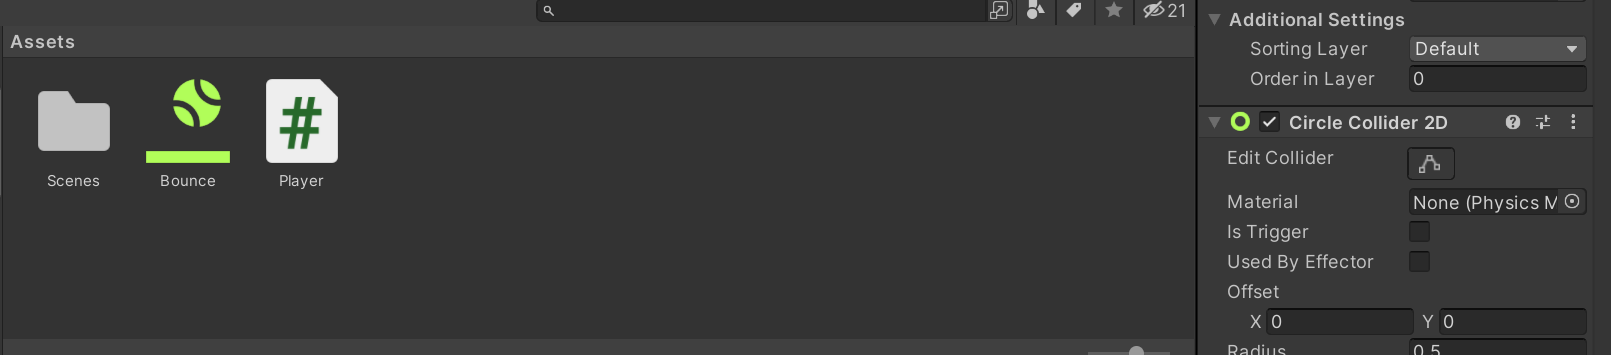
为Ball新建一个材质,将有反弹功能: Project->Assets->空白处右击->Create->2D->Pysics Material 2D: 注意,不要错误新建3D材质哦。
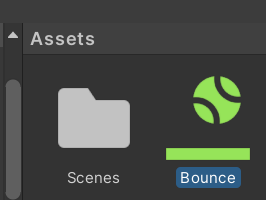
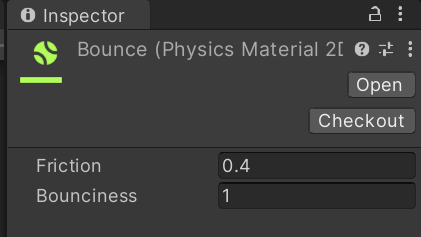
修改材质名称为“Bounce”,
选中Bounce,设置Bounciness为1, 即反弹回力是100%。
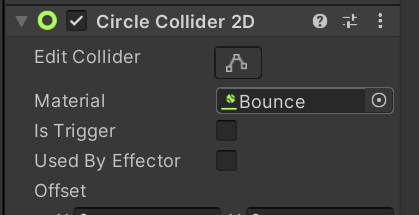
选中Ball角色, 将Bounce材质拖拽赋值给Ball的Circle Collider 2D->Material项:
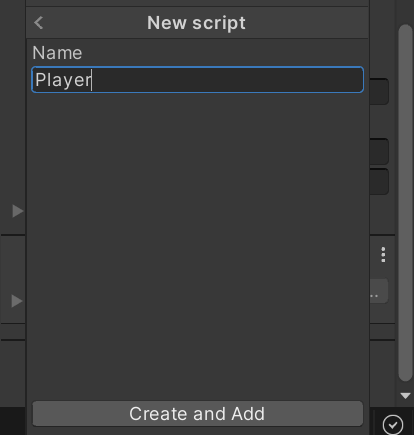
##(七)为角色增加脚本 选中Player,增加Script:


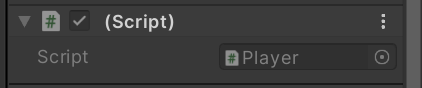
脚本名称输入为“Player”:
双击脚本“Player”:
进入Visual Studio:
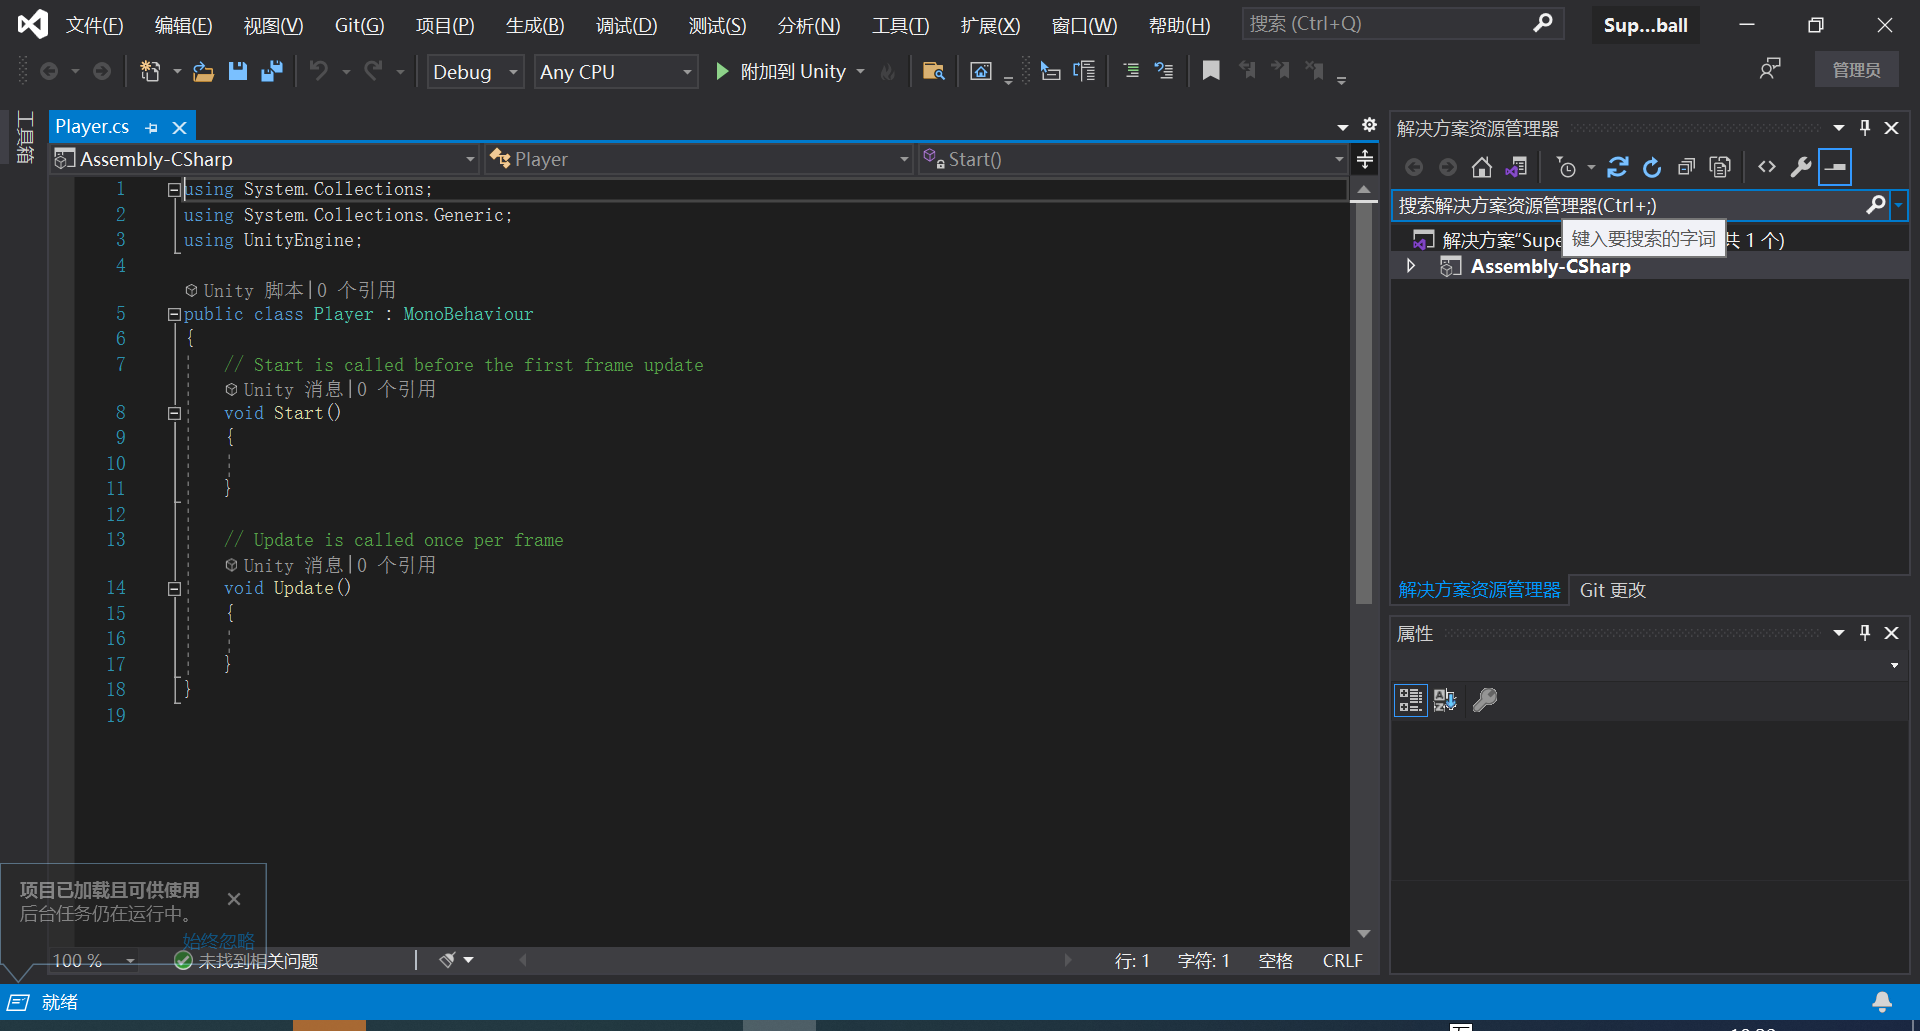
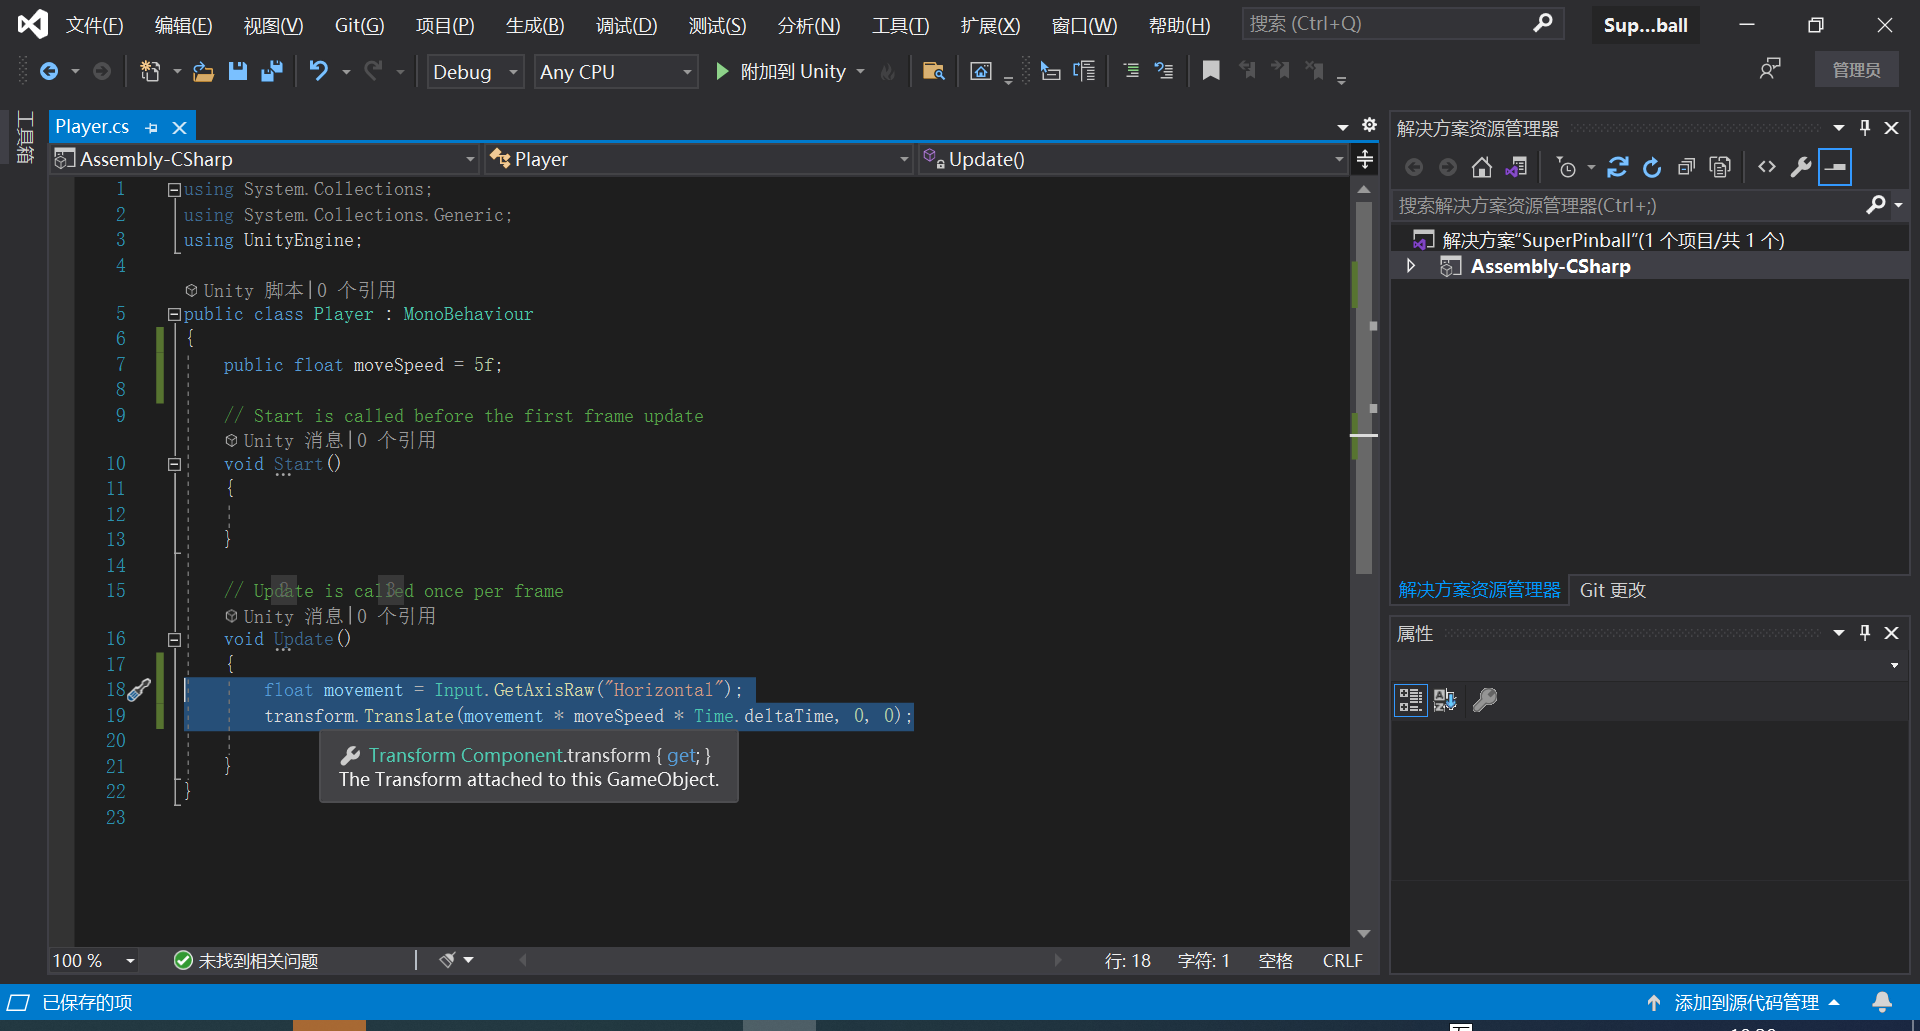
输入代码,为Player增加左右移动功能: using System.Collections; using System.Collections.Generic; using UnityEngine; public class Player : MonoBehaviour { public float moveSpeed = 5f; // Start is called before the first frame update void Start() {
}
// Update is called once per frame
void Update()
{
    float movement = Input.GetAxisRaw("Horizontal");
    transform.Translate(movement * moveSpeed * Time.deltaTime, 0, 0);

}
}
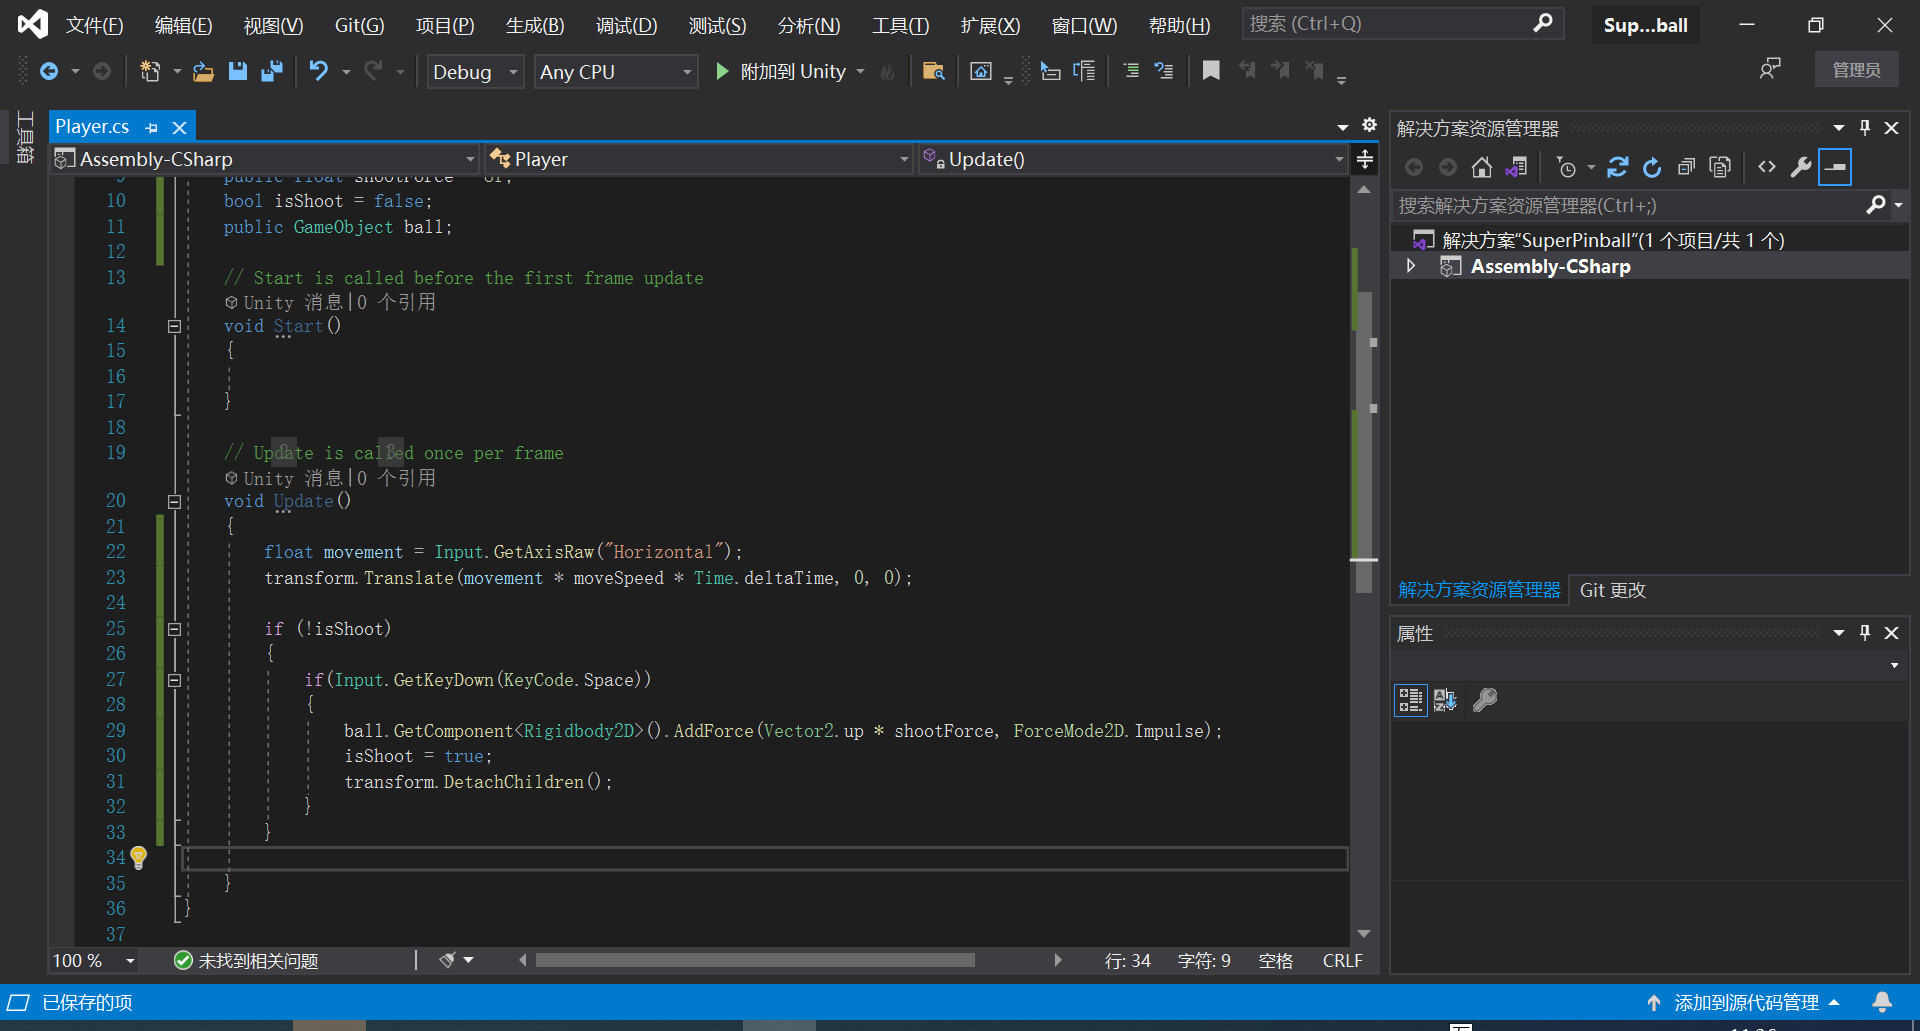
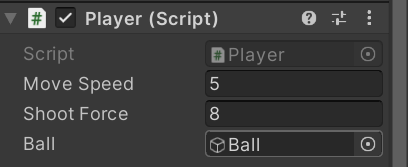
继续增加代码, 为Player增加发球功能: using System.Collections; using System.Collections.Generic; using UnityEngine; public class Player : MonoBehaviour { public float moveSpeed = 5f; public float shootForce = 8f; bool isShoot = false; public GameObject ball; // Start is called before the first frame update void Start() {
}
// Update is called once per frame
void Update()
{
    float movement = Input.GetAxisRaw("Horizontal");
    transform.Translate(movement * moveSpeed * Time.deltaTime, 0, 0);
    if (!isShoot)
    {
        if(Input.GetKeyDown(KeyCode.Space))
        {
            ball.GetComponent<Rigidbody2D>().AddForce(Vector2.up * shootForce, ForceMode2D.Impulse);
            isShoot = true;
            transform.DetachChildren();
        }
    }

}
}
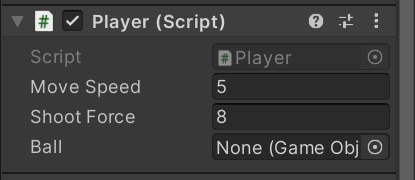
将Ball赋值给Player脚本的Ball变量, 方法是从Hierarchy窗口中拖拽Ball到Inspector->Player(Script)->Ball中:
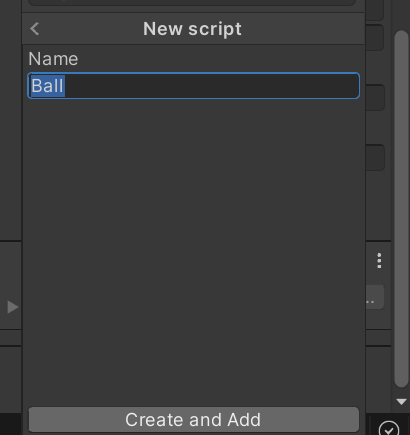
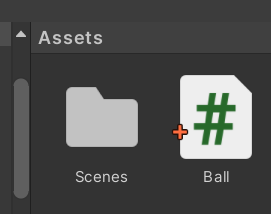
为Ball增加一个脚本文件“Ball.cs”:
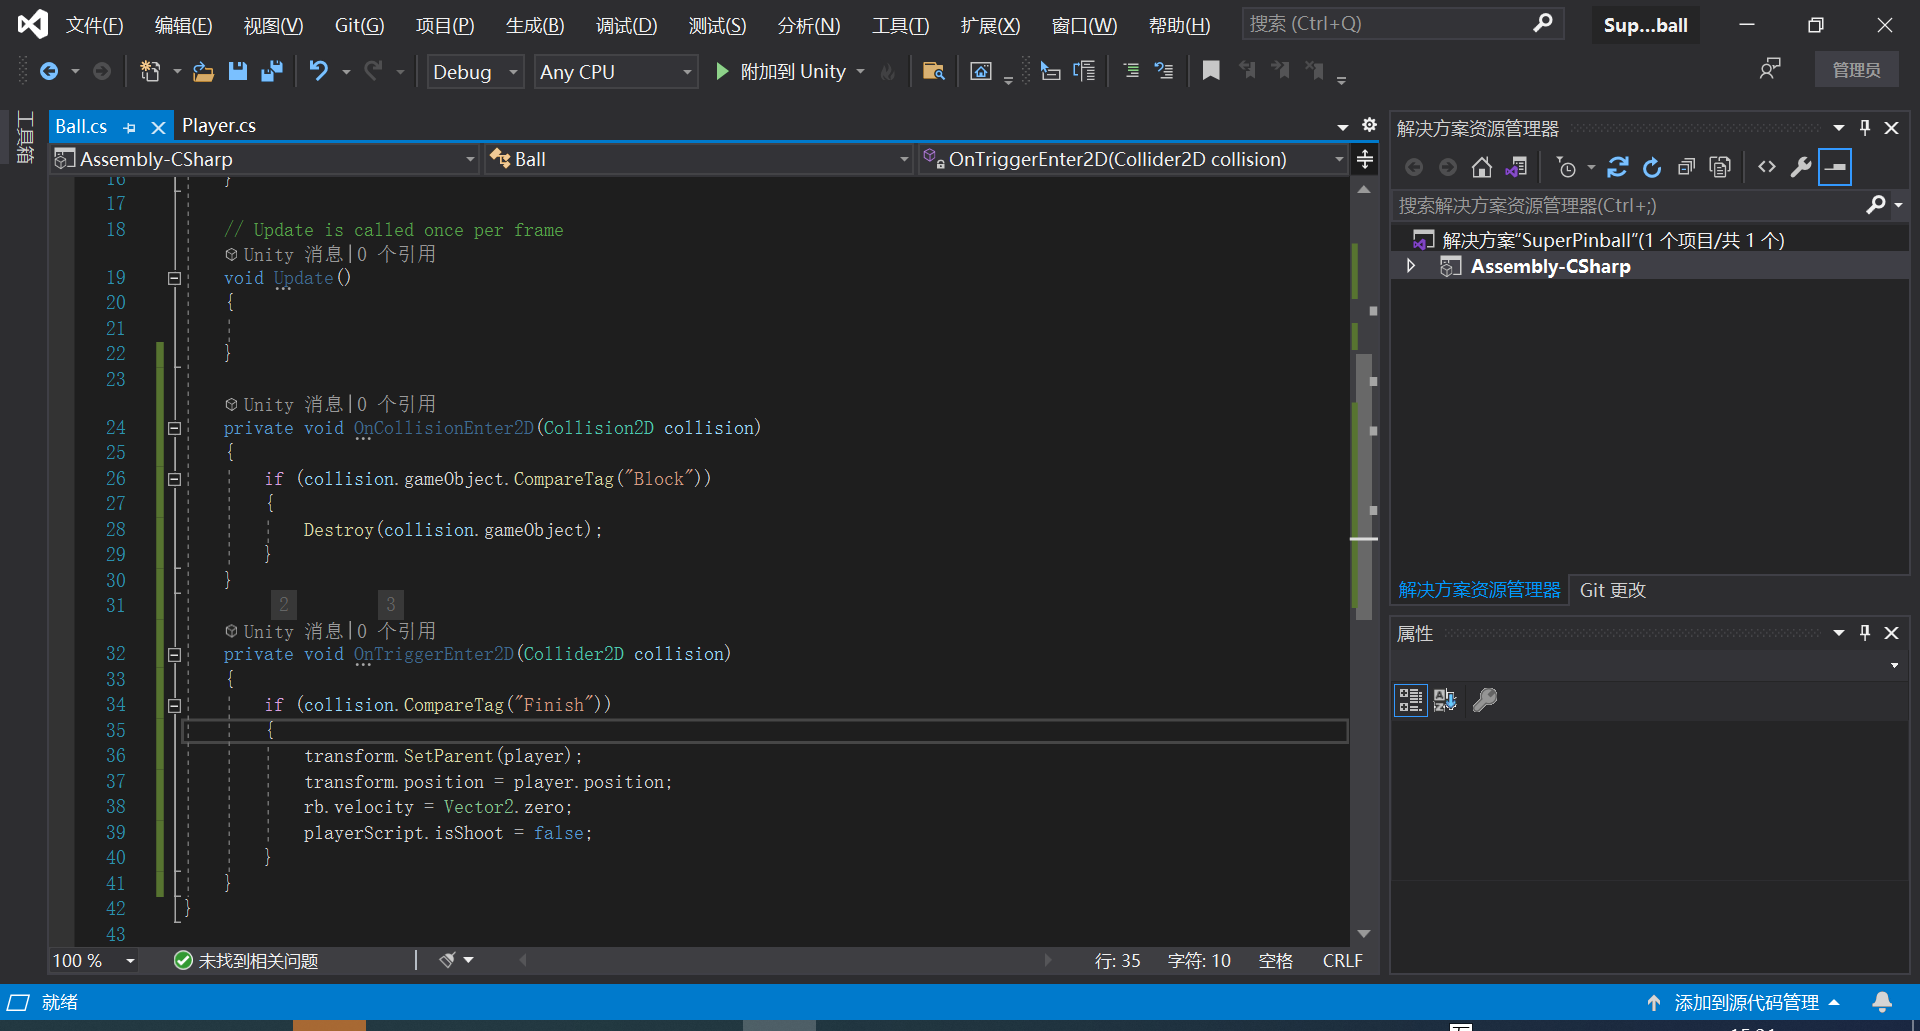
双击Ball.cs,打开Visual Studio:
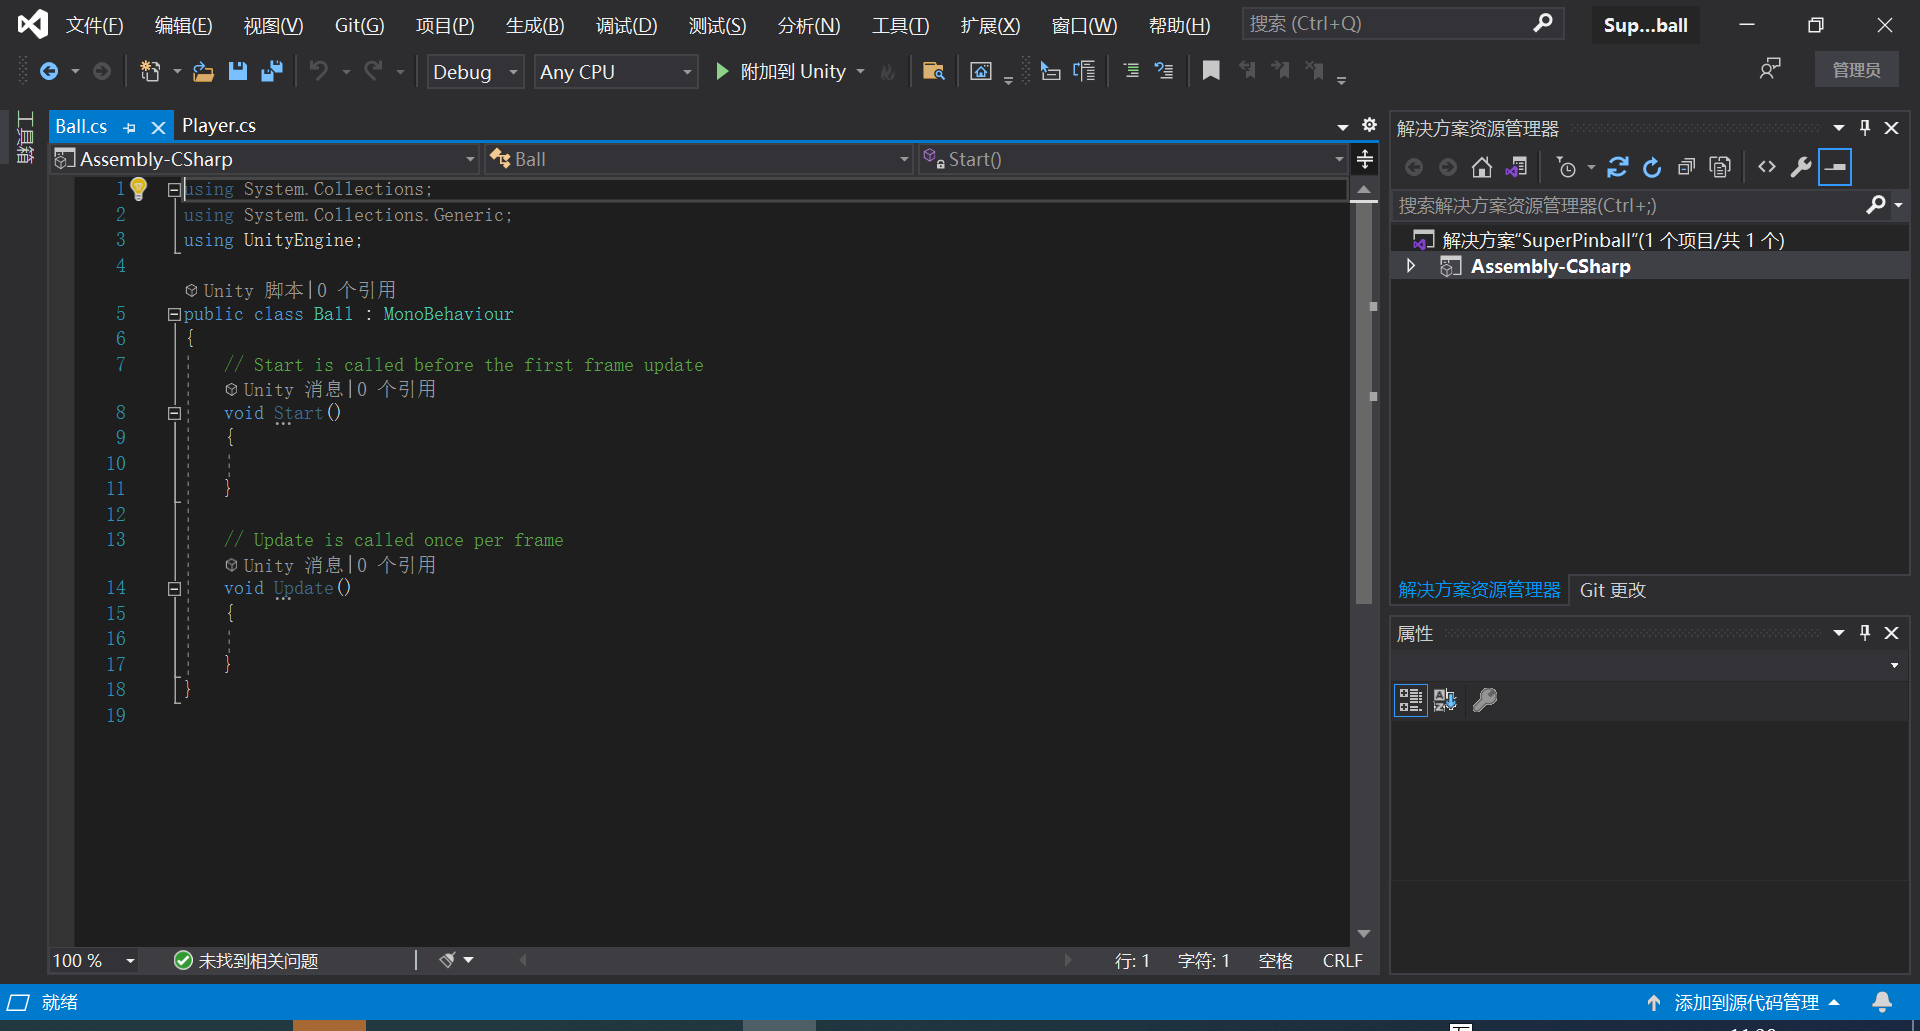
增加代码,为Ball增加“消灭砖块”及“游戏失败重新开始”功能: using System.Collections; using System.Collections.Generic; using UnityEngine; public class Ball : MonoBehaviour { Transform player; Rigidbody2D rb; public Player playerScript; // Start is called before the first frame update void Start() { player = transform.parent; rb = GetComponent<Rigidbody2D>(); } // Update is called once per frame void Update() {
}
private void OnCollisionEnter2D(Collision2D collision)
{
    if (collision.gameObject.CompareTag("Block"))
    {
        Destroy(collision.gameObject);
    }
}
private void OnTriggerEnter2D(Collider2D collision)
{
    if (collision.CompareTag("Finish"))
    {
        transform.SetParent(player);
        transform.position = player.position;
        rb.velocity = Vector2.zero;
        playerScript.isShoot = false;
    }
}
}
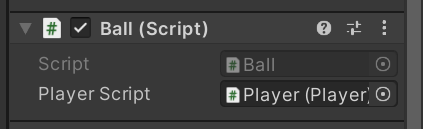
将Player角色赋值给Ball(Script)->PlayerScript变量, 为了实现对Player.isShoot变量的控制。
增加UI,实现计分功能, 新建一个Text控件:

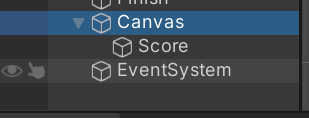
修改名称为Score:
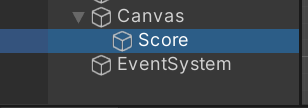
UI Text的上级是Canvas, 系统自动创建的,选中它:
修改UI Scale Mode 为“Scale With Screen Size”:

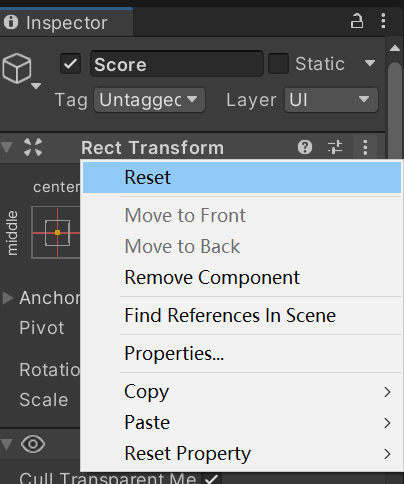
选中Score,Reset一下:
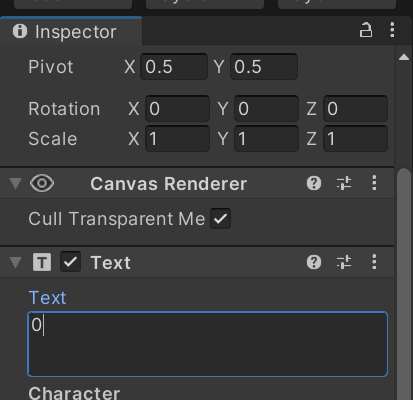
设置显示值为0:
字体大小为50:

颜色为白色:

Anchor Presets选择为左上:

点击左上角的移动按钮:

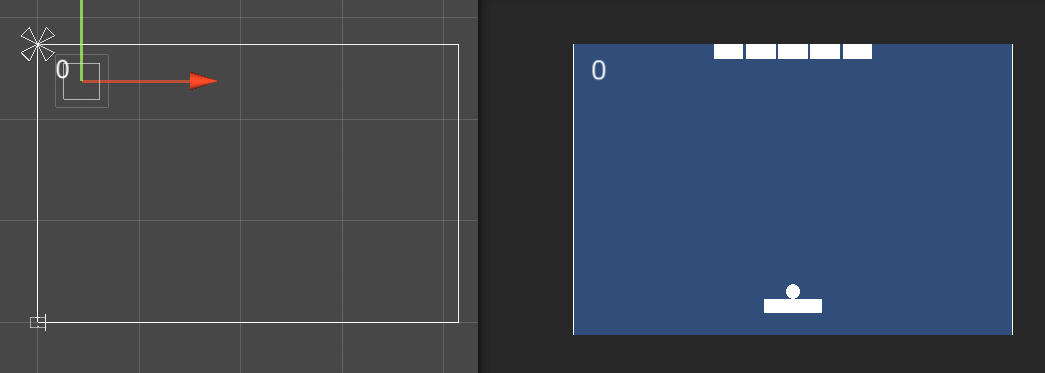
移动Score到左上角合适的位置:
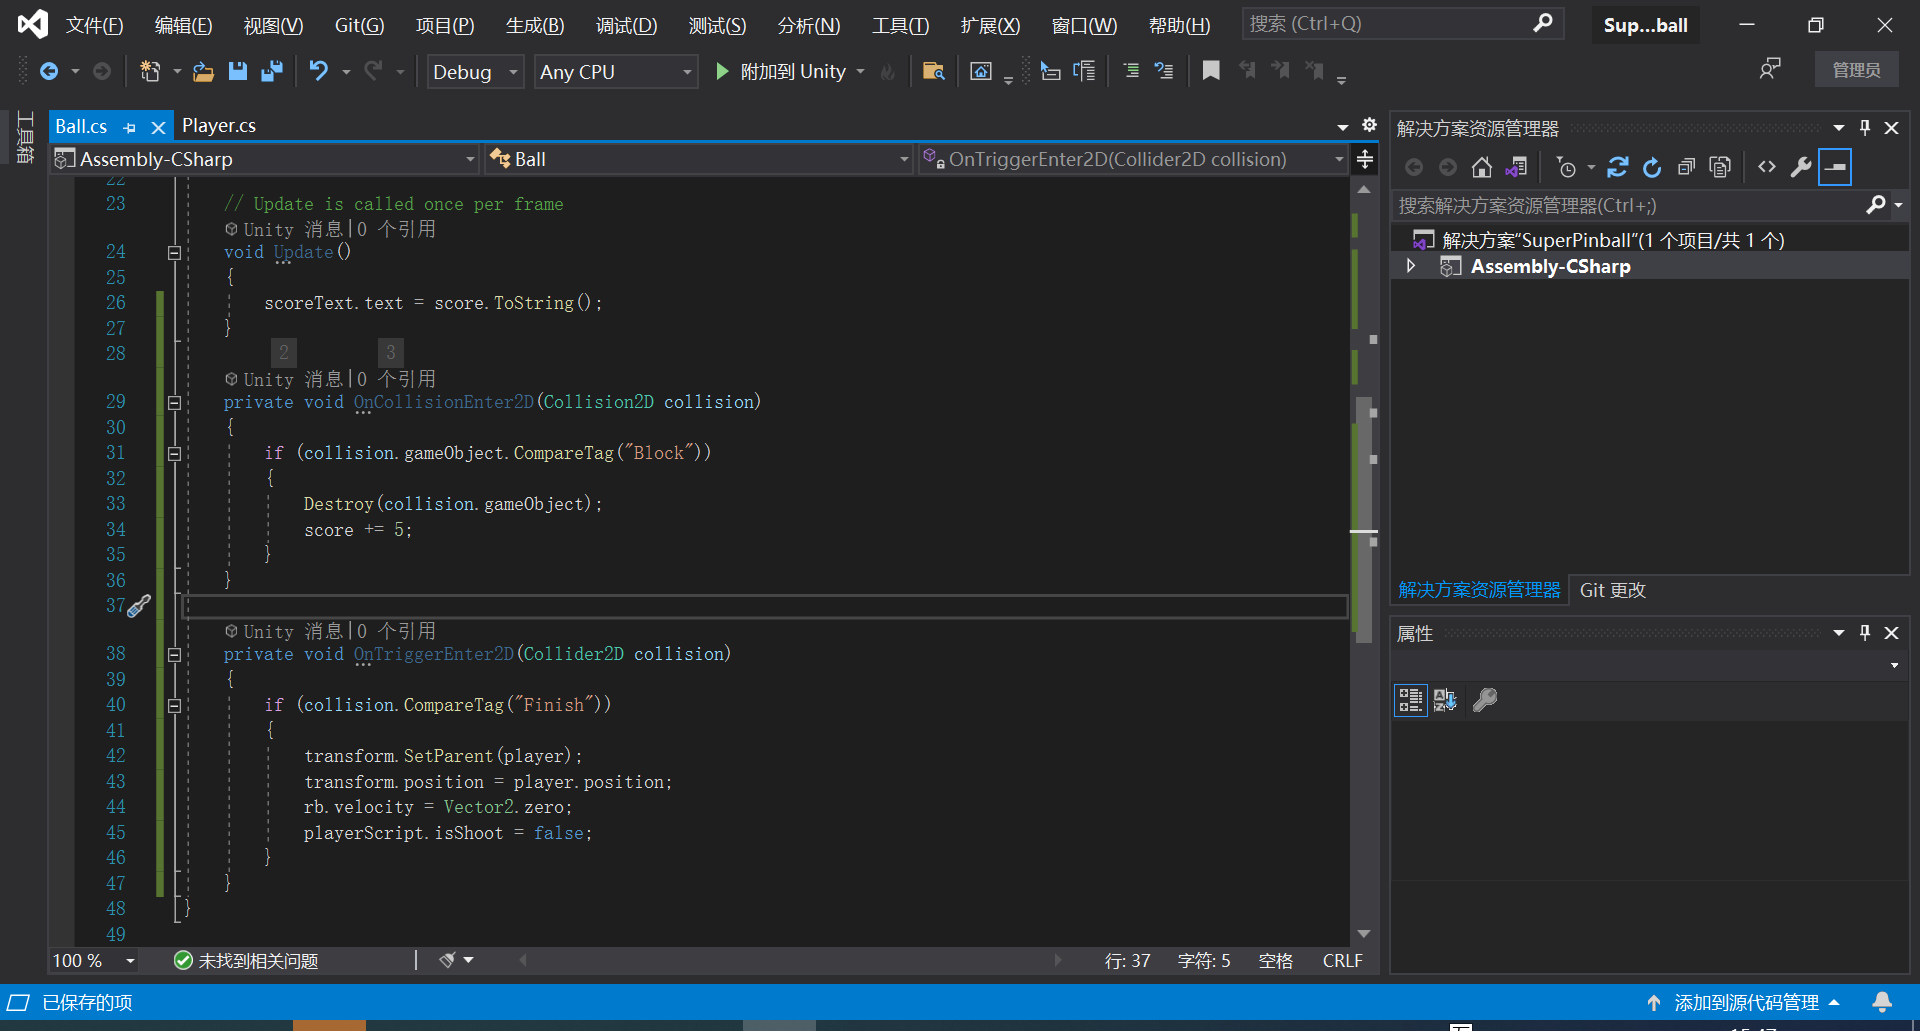
修改Ball的代码, 增加UI实时显示分数的功能: using System.Collections; using System.Collections.Generic; using UnityEngine; using UnityEngine.UI; public class Ball : MonoBehaviour { Transform player; Rigidbody2D rb; public Player playerScript; int score; public Text scoreText; // Start is called before the first frame update void Start() { player = transform.parent; rb = GetComponent<Rigidbody2D>(); score = 0; } // Update is called once per frame void Update() { scoreText.text = score.ToString(); } private void OnCollisionEnter2D(Collision2D collision) { if (collision.gameObject.CompareTag("Block")) { Destroy(collision.gameObject); score += 5; } } private void OnTriggerEnter2D(Collider2D collision) { if (collision.CompareTag("Finish")) { transform.SetParent(player); transform.position = player.position; rb.velocity = Vector2.zero; playerScript.isShoot = false; } } }
将Score角色拖拽赋值给ScoreText变量:

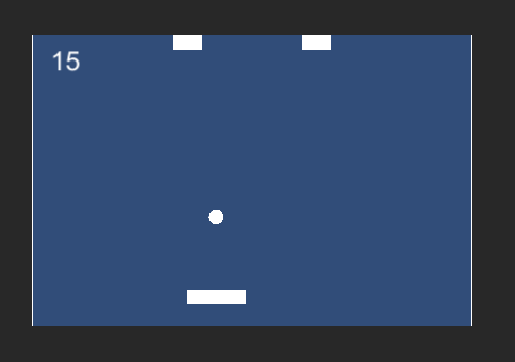
游戏成功,效果如下:
一步步写教程,真得很累,大伙给个点赞吧。


 1986
1986

 被折叠的 条评论
为什么被折叠?
被折叠的 条评论
为什么被折叠?
 到【灌水乐园】发言


