


 本文详细介绍如何使用Django框架创建Web项目,包括环境配置、项目创建、模板和静态文件设置、视图处理及URL配置,最后演示了如何运行项目并处理AJAX请求。
1.安装django
pip install django
2.使用找到django的安装路径,将其添加到环境变量path中。(注意加上分号)

3.在想创建项目的目录下,右键进入Powershell(也可以通过cmd进入目录),创建项目
django-admin startproject 【项目名】
4.在pycharm中创建项目,跟刚才项目名字一样,路径也一样,就会提示项目已存在,是否从已有源代码创建项目,选择是。

5.得到的文件夹为:
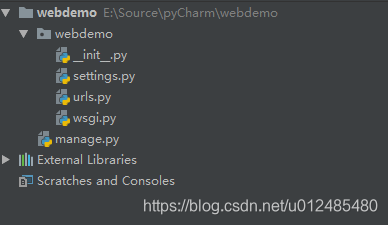
6.**创建templates文件夹,**用于存放HTML文件。
**创建static文件夹,**用于存放css、img、js等资源文件
**创建Process文件夹,**用于存放后台处理过程,例如在该文件加下面创建views.py
7.修改setting.py文件的配置。
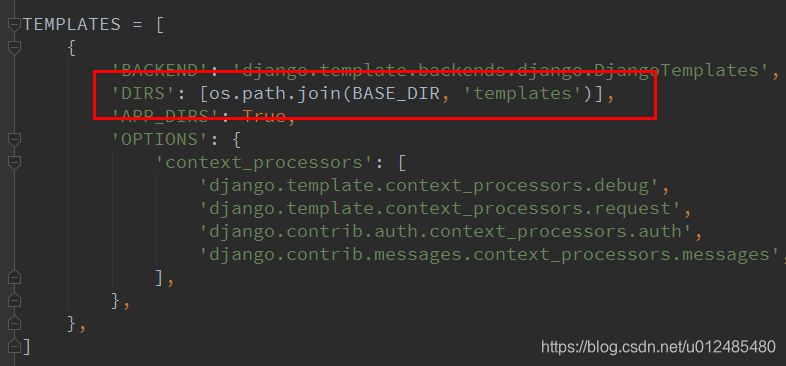
a)设置HTML的路径:
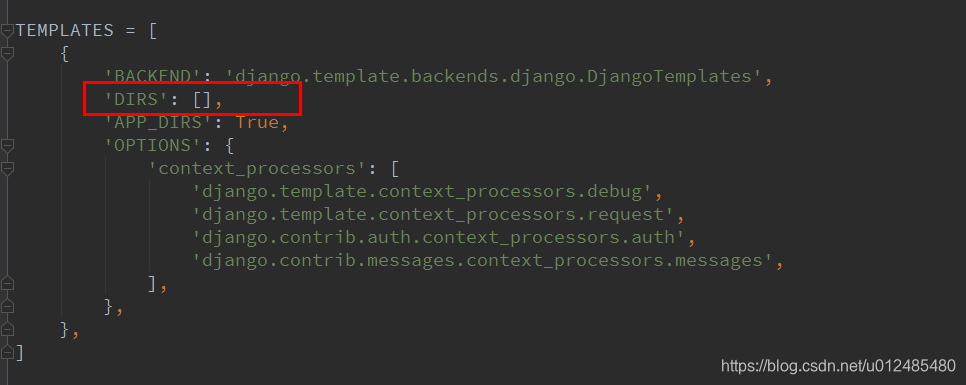
将在DIRS中加上:os.path.join(BASE_DIR, ‘templates’)
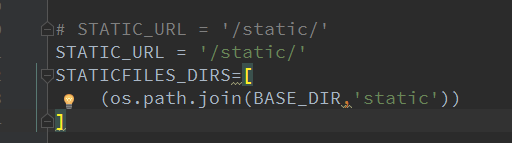
b)配置静态文件的位置:即css、js、img等文件的根目录
在setting.py最后面加上
STATICFILES_DIRS=[
    (os.path.join(BASE_DIR,'static'))
]
然后在html中如果要使用css等文件,src的属性值设为‘src=“static/*”’( *号表示文件的在static下面的路径)
例子:
1.MainHTML
<!DOCTYPE html>
<html>
<head>
    <meta http-equiv="Content-Type" content="text/html;charset=utf-8">
	<meta http-equiv="Expires" content="0">
	<meta http-equiv="Pragma" content="no-cache">
	<meta http-equiv="Cache-control" content="no-cache">
	<meta http-equiv="Cache" content="no-cache">
    <title>DEMO</title>
    <script type="text/javascript" src="static/commonjs/jquery-2.1.3.min.js"></script>
	<script type="text/javascript">
		function query()
		{
			var question = $("#question").val();
			if(question != "" )
			{
				$.ajax({
					type: "POST",
					url: '/query',<!--对应urls.py中的名字-->
					data: "question="+question,
					dataType: "json",
					success : function(r) {
						console.log(r);
						if (r.isSuccess) {
							 alert(r.msg);
						} else {
							alert(r.msg);
						}
					},
					error : function(xhr, type, exception) {
						<!--alert(exception);-->
						$("#answer").html('系统异常!');
					}
				});
			}
		}
	</script>
</head>

<body>
   <div class="title">
		<H2>WebDemo</H2>
   </div>
	<div class="main">
		<input class="question" id="question" name="question"/>
		<button id="submit" name="submit" onclick="query()">搜索</button>
	</div>
</body>
</html>
2.在views.py中添加处理该请求的函数
from django.http import JsonResponse
from django.shortcuts import render

# Create your views here.
def index(request):
    return render(request,'Main.html')#实际上是起始页

from django.shortcuts import  render
def query(request):
    if request.is_ajax():
        print(request.body)
        print(request.POST)
        question = request.POST.get('question', '')
        return JsonResponse({"isSuccess":True,'msg':'测试成功,您提交的问题为'+question,'status': 200, 'message': 'add event success'})
3.在urls.py中添加路径
注意要导入 views.py
from django.contrib import admin
from django.urls import path
from Process import views

urlpatterns = [
    path('admin/', admin.site.urls),
    path(r'', views.index, name='Main'),#起始页
    path("query", views.query, name='query'),#url为‘query’对应的处理方法为views.py中的query
]
4.开启服务
python manage.py runserver localhost:8008
5.在浏览器中输入http://localhost:8008/
界面如下:
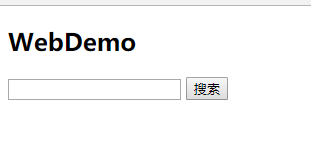
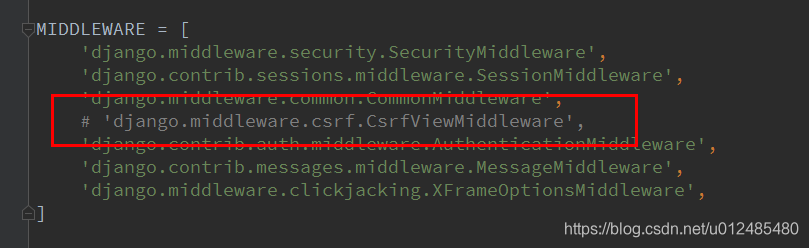
但是点击搜索的时候发生了异常,这时,需要将setting.py文件中注释下图内容。
刷新页面,在文本框中输入查询内容,点击【搜索】按钮,后弹出对话框
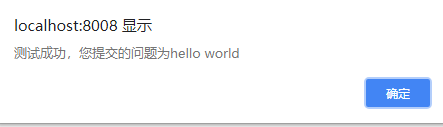
证明数据提交成功,并成功接收到返回的json数据。注意,返回的数据一定要用 django的JsonResponse对JSON数据进行封装
JsonResponse({"isSuccess":True,'msg':'测试成功','status': 200, 'message': 'add event success'})
以上。


 1366
1366

 被折叠的 条评论
为什么被折叠?
被折叠的 条评论
为什么被折叠?
 到【灌水乐园】发言


