


 本文详细介绍了Redis的Java客户端Jedis,包括基本使用、连接池JedisPool、管道、事务、发布/订阅以及新加入的streams支持。通过实例展示了如何实现一个简单的分布式锁,并提供了相关测试,帮助读者全面掌握Jedis的使用技巧。
目录
Jedis是Redis的Java客户端实现,支持Redis的全部特性,如:事务、管道、发布/订阅、集群等,还支持连接池等特性。
1 基本使用
首先需要引入依赖,目前最新的3.1.0-m1版本已经提供了对Redis 5 streams的支持:
<dependency>
    <groupId>redis.clients</groupId>
    <artifactId>jedis</artifactId>
    <version>3.1.0-m1</version>
</dependency>
Jedis支持Redis的全部操作,下面是一个使用set、get命令的单连接示例:
public static void main(String[] args) {
    Jedis jedis=new Jedis("localhost",6379);
    System.out.println(jedis.set("hello","world"));
    System.out.println(jedis.get("hello"));
    jedis.close();
}
运行后输出“OK”和“world”。 Jedis的构造方法还支持配置连接超时时间和读写超时时间。set方法和get方法支持byte[]类型的参数,意味着可以将对象序列化后传入Redis。
2 高级特性
由于还没有介绍哨兵和集群机制,所以这里仅介绍事务、管道、发布/订阅机制等已经介绍了的特性,脚本机制比较简单就不做介绍了。
2.1 连接池JedisPool
连接池相比于单连接,具有开销少、易控制的优点,Jedis也提供了连接池实现:JedisPool。下面将上一节的例子改编为连接池实现:
public static void main(String[] args) {
    JedisPool jedisPool=new JedisPool("localhost",6379);
    try(Jedis jedis=jedisPool.getResource()) {
        System.out.println(jedis.set("hello", "world"));
        System.out.println(jedis.get("hello"));
    }
    jedisPool.close();
}
输出不变。这里使用了 try-with-resource ,会在try块执行完毕后自动关闭Jedis连接,其close方法如下:
public void close() {
    if (this.dataSource != null) {
        JedisPoolAbstract pool = this.dataSource;
        this.dataSource = null;
        if (this.client.isBroken()) {
            pool.returnBrokenResource(this);
        } else {
            pool.returnResource(this);
        }
    } else {
        super.close();
    }
}
可见如果是通过连接池方式获取连接实例,其close方法会归还连接。
JedisPool的构造方法可以传入GenericObjectPoolConfig对象,对连接池进行配置,比较常用的属性有:
| 参数 | 含义 | 默认值 |
|---|---|---|
| maxTotal | 最大连接数 | 8 |
| maxIdle | 最大空闲连接数 | 8 |
| minIdle | 最小空闲连接数 | 0 |
| maxWaitMillis | 连接池资源耗尽后,请求最大等待时间 | -1,代表一直等待 |
| jmxEnabled | 是否启用jmx监控 | true |
| jmxNameBase | 在jmx中的名称 | null |
| jmxNamePrefix | 在jmx中的名称前缀 | pool |
| minEvictableIdleTimeMillis | 连接的最小空闲时间,达到此值后会被移除 | 1800000(30分钟) |
| numTestsPerEvictionRun | 空闲连接检测时的取样数 | 3 |
| testOnBorrow | 从连接池取出连接时是否检测有效性(发送ping命令检测),失效连接会被移除,下同 | false |
| testOnCreate | 连接池创建连接时是否检测有效性, | false |
| testOnReturn | 归还连接时是否检测有效性 | false |
| testWhileIdle | 是否在连接空闲时检测有效性 | false |
| timeBetweenEvictionRunsMillis | 空闲连接的检测周期 | -1,即不检测 |
| blockWhenExhausted | 连接池资源耗尽时,请求是否等待,该值为true时,maxWaitMillis才有意义 | true |
| evictionPolicy | 连接移除策略 | DefaultEvictionPolicy |
| fairness | 连接池内部存放空闲连接的的阻塞队列是否是公平的 | false |
2.2 管道
Redis原生的管道一大缺陷就是用户必须将命令编写为RESP格式,非常冗长,还容易出错,Jedis的Pipeline实现提供了类似Jedis类的操作,非常友好:
public static void main(String[] args) {
    JedisPool jedisPool=new JedisPool("localhost",6379);
    try(Jedis jedis=jedisPool.getResource()) {
        Pipeline pipeline=jedis.pipelined();
        pipeline.set("hello","world");
        Response<String> response=pipeline.get("hello");
        pipeline.sync();
        System.out.println(response.get());
        pipeline.close();
    }
    jedisPool.close();
}
可以看到,Jedis的Pipeline使用和Jedis类使用具有良好的统一性,完全不需要了解RESP消息格式。Jedis实现管道的原理是,每次执行操作时,就讲命令写入RedisOutputStream,当调用sync方法时,再调用flush将数据一同发送出去,之后读取RedisInputStream,将数据写入Response队列即可。
Response类似于Future,仅表示未来的数据,如果这里将resposne.get()移动到pipeline.sync()前面,则会报出如下异常:
Exception in thread "main" redis.clients.jedis.exceptions.JedisDataException: Please close pipeline or multi block before calling this method.
	at redis.clients.jedis.Response.get(Response.java:33)
	at JedisTest.main(JedisTest.java:16)
2.3 事务
Jedis的事务机制和管道机制有类似之处:
public static void main(String[] args) {
    JedisPool jedisPool=new JedisPool("localhost",6379);
    try(Jedis jedis=jedisPool.getResource()) {
        Transaction transaction=jedis.multi();
        transaction.set("hello","world");
        Response<String> response=transaction.get("hello");
        transaction.exec();
        System.out.println(response.get());
    }
    jedisPool.close();
}
都使用到了Response。实际上,如果看源码的话就能发现,Jedis的Transaction类正是继承了PipelineBase,和管道机制师出同门。
同样地,Jedis也支持watch:
public static void main(String[] args) {
    JedisPool jedisPool=new JedisPool("localhost",6379);
    try(Jedis jedis=jedisPool.getResource()) {
        jedis.watch("hello");
        Transaction transaction=jedis.multi();
        Thread.sleep(10000L);
        transaction.set("hello","world");
        Response<String> response=transaction.get("hello");
        transaction.exec();
        System.out.println(response.get());
    } catch (InterruptedException e) {
        e.printStackTrace();
    }
    jedisPool.close();
}
在线程睡眠的10秒钟内,修改hello对应的值的话,会有如下输出,表明事务没有成功提交:
Exception in thread "main" redis.clients.jedis.exceptions.JedisDataException: Please close pipeline or multi block before calling this method.
	at redis.clients.jedis.Response.get(Response.java:33)
	at JedisTest.main(JedisTest.java:15)
2.4 发布/订阅
发布比较简单,只要调用publish方法即可,重点是订阅机制。无论是subscribe,还是psubscribe,其参数列表中都有一个JedisPubSub对象:
void subscribe(JedisPubSub jedisPubSub, String... channels);可以将它理解为一个事件监听器, 它是一个抽象类,没有默认实现,需要我们编写事件处理逻辑,下面是其可以重写的方法列表:
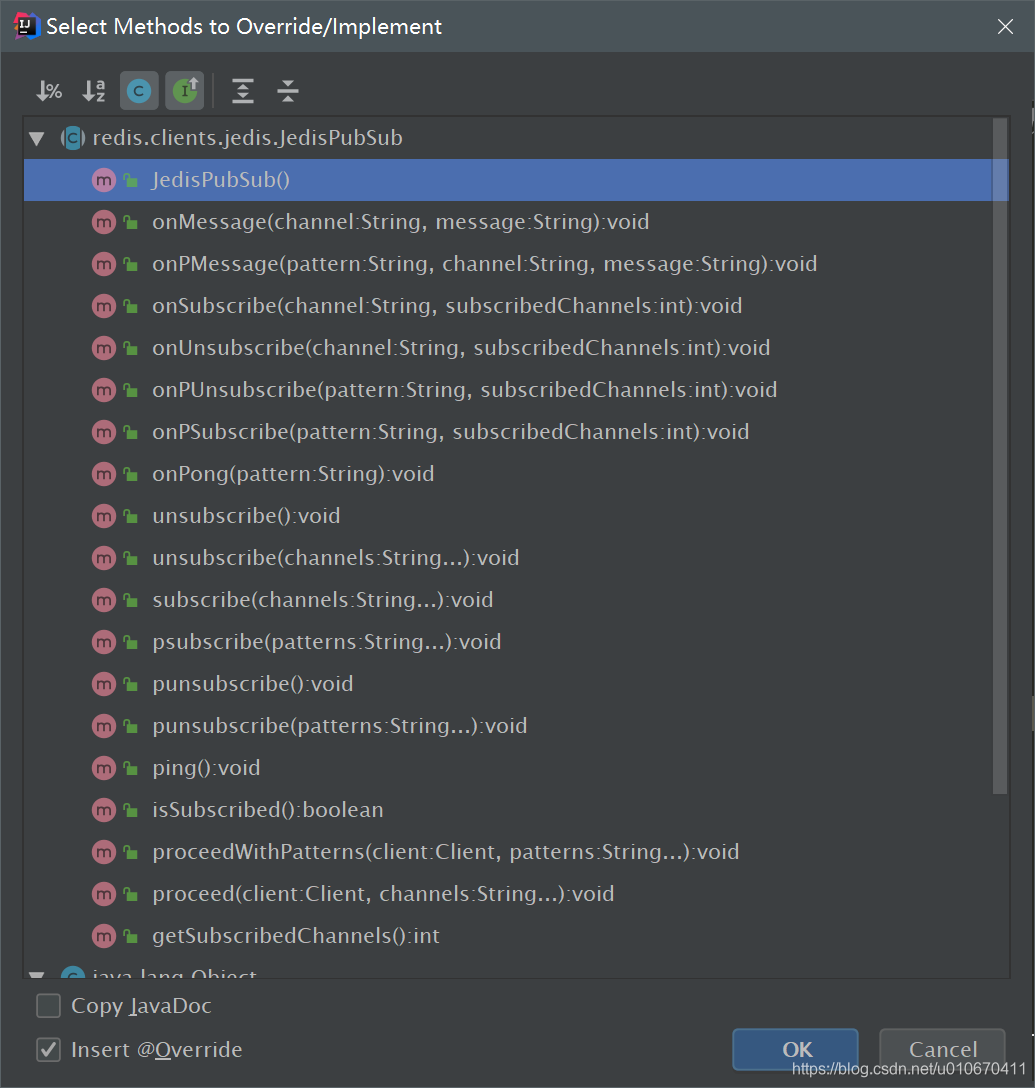
我们以onMessage方法为例:
public static void main(String[] args) {
    JedisPool jedisPool=new JedisPool("localhost",6379);
    try(Jedis jedis=jedisPool.getResource()) {
        jedis.subscribe(new TestListener(),"test");
    }
    jedisPool.close();
}

static class TestListener extends JedisPubSub{
    @Override
    public void onMessage(String channel, String message) {
        System.out.println("Received Message:"+message+" from "+channel);
    }
}
然后在命令行客户端输入 publish test helloworld,从而得到如下响应:
Received Message:helloworld from test需要注意的是,subscribe会阻塞调用线程,一直等待消息,最好是在子线程里进行订阅,这样可以在主线程调用unsubscribe来退订。
2.5 streams支持
Jedis 3.1.0最大的更新就是支持了Redis 5 的streams数据类型,以下是一个例子:
public static void main(String[] args) {
    JedisPool jedisPool=new JedisPool("localhost",6379);
    try(Jedis jedis=jedisPool.getResource()) {
        Map<String,String> hash=new HashMap<>();
        hash.put("name","zhangsan");
        hash.put("age","10");
        hash.put("sexual","male");
        jedis.xadd("myteststream",StreamEntryID.NEW_ENTRY,hash);
        System.out.println(jedis.xlen("myteststream"));
    }
    jedisPool.close();
}
hash就是field-string对,最终输出的结果是1,代表成功向myteststream流中写入了1个条目。 而StreamEntryID.NEW_ENTRY就是“*”,除此之外还有代表最后一个Entry的“$”(LAST_ENTRY)和未接收Entry的“>”(UNRECEIVED_ENTRY):
    public static final StreamEntryID NEW_ENTRY = new StreamEntryID() {
        private static final long serialVersionUID = 1L;

        public String toString() {
            return "*";
        }
    };
    public static final StreamEntryID LAST_ENTRY = new StreamEntryID() {
        private static final long serialVersionUID = 1L;

        public String toString() {
            return "$";
        }
    };
    public static final StreamEntryID UNRECEIVED_ENTRY = new StreamEntryID() {
        private static final long serialVersionUID = 1L;

        public String toString() {
            return ">";
        }
    };
3 利用Jedis实现一个简单的分布式锁
基于Redis的分布式锁框架有很多,官网列出的有:
- Redlock-rb(Ruby实现)。
- Redlock-py(Python实现)。
- Aioredlock(Asyncio Python实现)。
- Redlock-php(PHP实现)。
- PHPRedisMutex(进一步的PHP实现)
- cheprasov / php-redis-lock(用于锁的PHP库)
- Redsync.go(Go实现)。
- Redisson(Java实现)。
- Redis :: DistLock(Perl实现)。
- Redlock-cpp(C ++实现)。
- Redlock-cs(C#/ .NET实现)。
- RedLock.net(C#/ .NET实现)
- ScarletLock(带可配置数据存储区的C#.NET实现)
- node-redlock(NodeJS实现)。包括对锁定扩展的支持。
这里使用Jedis实现一个互斥锁。该锁有两个方法:lock和unlock。
3.1 构造方法
由于需要借助Jedis实例来加解锁,因此该类需要有一个Jedis对象,同时需要有相应的构造方法:
private Jedis jedis;

public JedisLock(Jedis jedis) {
    this.jedis = jedis;
}
同时还需要考虑无参的情况,于是我们再添加一个JedisPool成员变量:
private JedisPool pool;

public JedisLock() {
    pool=new JedisPool(PropertiesUtil.get("lock.host"),Integer.parseInt(PropertiesUtil.get("lock.port")));
}
PropertiesUtil是自己实现的类,用来读取classpath下的lock.properties文件中的配置。
3.2 lock方法
互斥锁获取时,要求该锁必须空闲,获取后,该锁必须处于占用状态。这一性质使用setnx就可以实现。
另一个需要考虑的问题是,等待获取锁的超时时间,和锁本身的存活时间,前者可以通过传入参数解决,后者可以通过expire/pexpire命令解决
这里结合以上两个问题,使用set nx px来获取锁。
现在开始实现,首先判断jedis是否为null,是的话需要从连接池取出一个连接,flag的作用是在收尾时判断是否需要重新将连接设为null:
boolean flag=false;
if(jedis==null) {
    jedis = pool.getResource();
    flag = true;
}
接下来,根据wait和expire参数是否大于0,选择合适的分支进行获取锁,获取成功则返回true,这里wait单位是秒,expire单位是毫秒:
if(expire>0){
    if(wait>0){
        while(wait>0){
            if(jedis.get(key)==null){
                String result=jedis.set(key,"1",new SetParams().px(expire).nx());
                if(result!=null&&result.equals("OK")){
                    jedis.set(id,"1");
                    close(flag,jedis);
                    return true;
                }
            }
            try {
                Thread.sleep(1000);
            } catch (InterruptedException e) {
                e.printStackTrace();
            }
            wait--;
        }
    }else{
        if(jedis.get(key)==null){
            String result=jedis.set(key,"1",new SetParams().px(expire).nx());
            if(result!=null&&result.equals("OK")){
                jedis.set(id,"1");
                close(flag,jedis);
                return true;
            }
        }
    }
}else{
    if(wait>0){
        while(wait>0){
            if(jedis.get(key)==null) {
                String result = jedis.set(key, "1", new SetParams().nx());
                if (result != null && result.equals("OK")) {
                    jedis.set(id, "1");
                    close(flag, jedis);
                    return true;
                }
            }
            try {
                Thread.sleep(1000);
            } catch (InterruptedException e) {
                e.printStackTrace();
            }
            wait--;
        }
    }else{
        if(jedis.get(key)==null){
            String result=jedis.set(key,"1",new SetParams().nx());
            if(result!=null&&result.equals("OK")){
                jedis.set(id,"1");
                close(flag,jedis);
                return true;
            }
        }
    }
}
key是锁的名称,全局一致,id则是全局唯一ID。如果未能成功获取锁,则返回false:
close(flag,jedis);
return false;
close的逻辑就是如果flag为true,则关闭jedis并设置jedis为null:
private void close(boolean flag, Jedis jedis) {
    if(flag){
        jedis.close();
        jedis=null;
    }
}
3.3 unlock方法
unclock的思路比较简单,只要验证一下自己的id是否存在于Redis即可,是则删除key,否则说明自己不是锁的所有者,没有资格解锁:
    public void unlock(String key)  throws IllegalAccessException {
        boolean flag=false;
        if(jedis==null) {
            jedis = pool.getResource();
            flag = true;
        }
        if(jedis.get(id)==null){
            throw new IllegalAccessException("Permission Denied.");
        }else{
            jedis.del(key);
            jedis.del(id);
        }
        close(flag,jedis);
    }
3.4 测试
我们编写一个长度为10的循环,创建10个子线程,每个子线程都尝试获取锁,获取到锁后,等待2000毫秒再释放锁:
public static void main(String[] args) {
    for(int i=0;i<10;i++){
        new Thread(()->{
            JedisLock lock=new JedisLock();
            if(lock.lock(Thread.currentThread().getName(),10,0)){
                System.out.println("线程"+Thread.currentThread().getName()+"获得锁啦");
                try {
                    Thread.sleep(2000);
                } catch (InterruptedException e) {
                    e.printStackTrace();
                }
                try {
                    lock.unlock(Thread.currentThread().getName());
                System.out.println("线程"+Thread.currentThread().getName()+"释放锁啦");
                } catch (IllegalAccessException e) {
                    e.printStackTrace();
                }
            }
            lock.close();
        }).start();
    }
}
这里就用线程名作为id字段,理论上应该有10/2=5个线程获得锁,输出如下:
线程Thread-9获得锁啦
线程Thread-9释放锁啦
线程Thread-7获得锁啦
线程Thread-7释放锁啦
线程Thread-1获得锁啦
线程Thread-1释放锁啦
线程Thread-0获得锁啦
线程Thread-0释放锁啦
线程Thread-3获得锁啦
线程Thread-3释放锁啦符合预期。以上代码已上传Github:https://github.com/Yanghanchen/jedistest


 875
875

 被折叠的 条评论
为什么被折叠?
被折叠的 条评论
为什么被折叠?
 到【灌水乐园】发言


