


继续进行前端的开发,之前很多次的课程设计虽然也有使用vue进行前端开发,但是很多次是有现成的框架的,于是很多路由或者布局并未炉火纯青,这次更是进行了深刻的学习。
进一步将主页面创立并且完善
本来以为主页面的创建会跟其他的vue一样方便简单操作,其实不然。
涉及到左侧的目录与右侧根据目录点击而进行不同的跳转,而且需要考虑到script setup里面的函数等,其实还是比较麻烦的。
这里采用的策略是设定一个layout.vue
这是其中的js的部分代码,可以看到与router的引用联动等。
import {useRouter} from 'vue-router'
const router = useRouter();
import {ElMessage,ElMessageBox} from 'element-plus'
const handleCommand = (command)=>{
    //判断指令
    if(command === 'logout'){
        //退出登录
        ElMessageBox.confirm(
        '您确认要退出吗?',
        '温馨提示',
        {
            confirmButtonText: '确认',
            cancelButtonText: '取消',
            type: 'warning',
        }
    )
        .then(async () => {
            //退出登录
            //1.清空pinia中存储的token以及个人信息
            tokenStore.removeToken()
            userInfoStore.removeInfo()

            //2.跳转到登录页面
            router.push('/login')
            ElMessage({
                type: 'success',
                message: '退出登录成功',
            })

        })
        .catch(() => {
            ElMessage({
                type: 'info',
                message: '用户取消了退出登录',
            })
        })
    }else{
        //路由
        router.push('/user/'+command)
    }
}
</script>
进一步完善index.js里面的路由信息
//定义路由关系
const routes = [
{ path: '/login', component: LoginVue },
{
path: '/', component: LayoutVue,redirect:'/article/manage', children: [
{ path: '/article/category', component: ArticleCategoryVue },
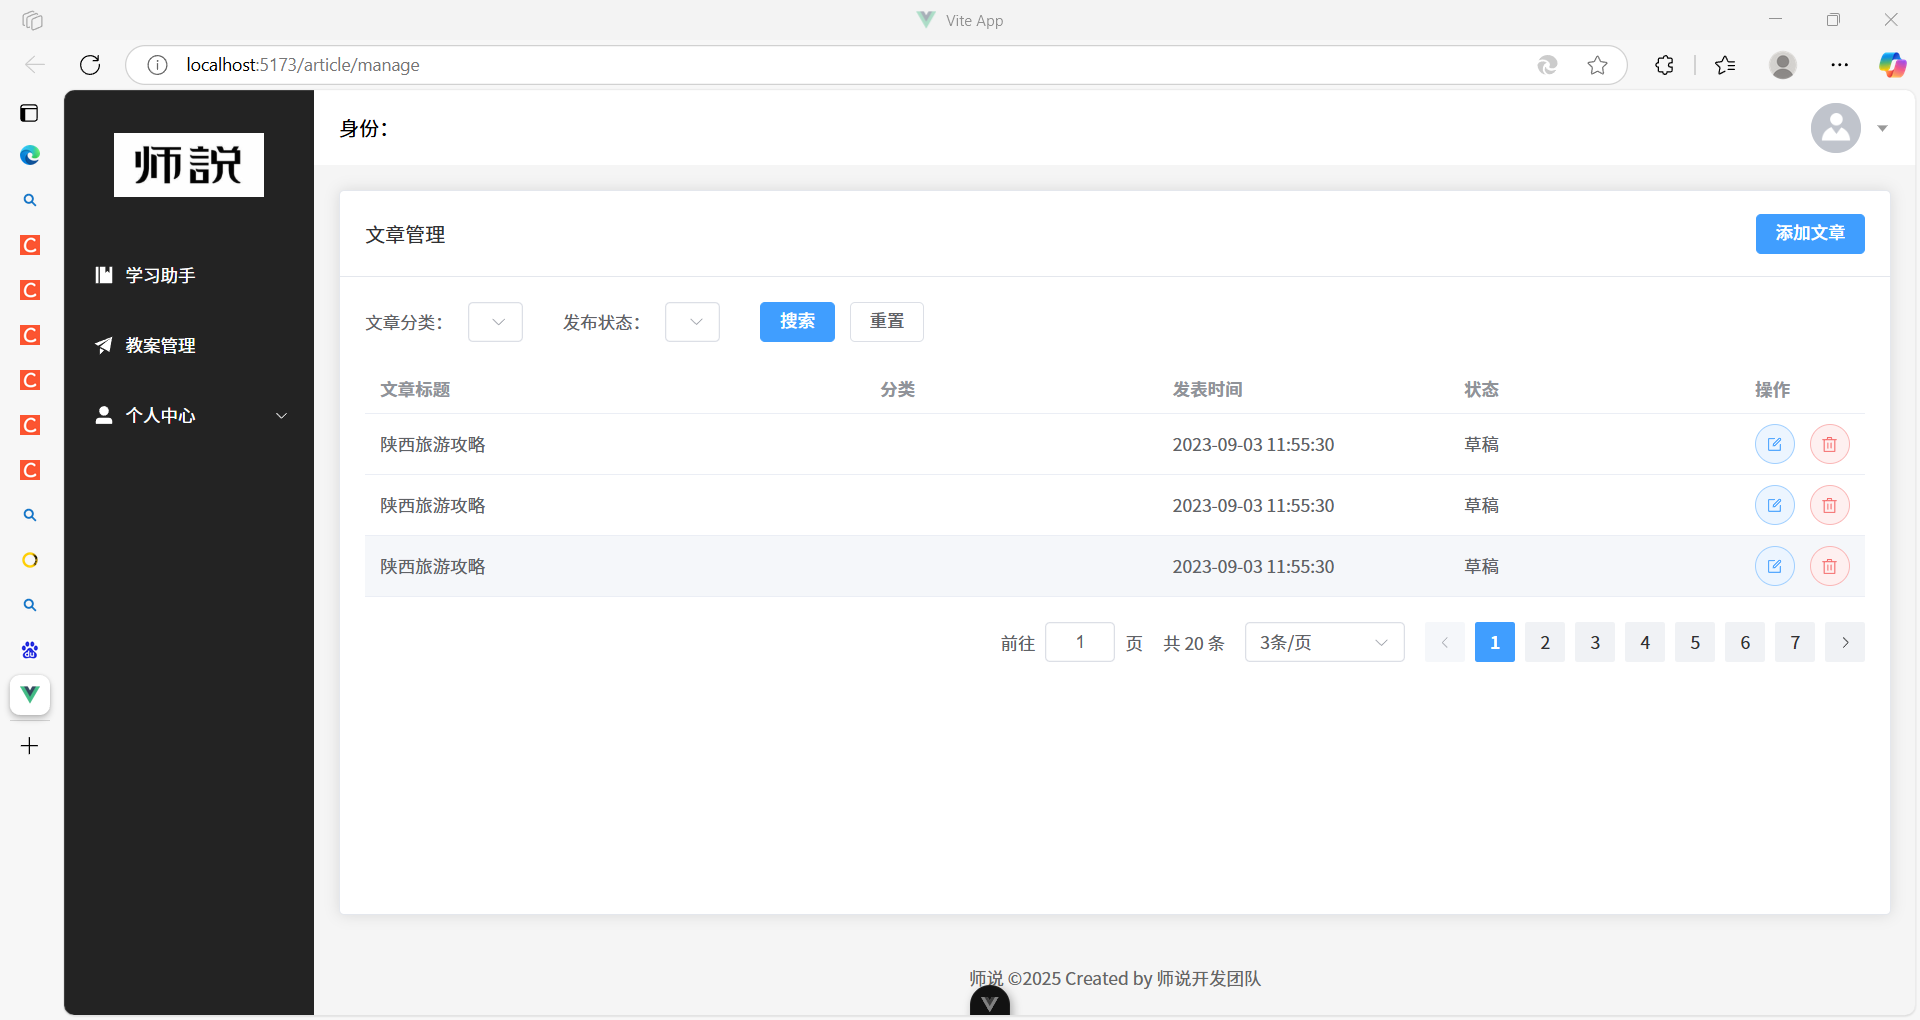
{ path: '/article/manage', component: ArticleManageVue },
{ path: '/user/info', component: UserInfoVue },
{ path: '/user/avatar', component: UserAvatarVue },
{ path: '/user/resetPassword', component: UserResetPasswordVue }
]
},
{path: '/Home', component: HomePage},
]
这里设定了一些子路由的信息。


 1438
1438

 被折叠的 条评论
为什么被折叠?
被折叠的 条评论
为什么被折叠?
 到【灌水乐园】发言


