


 本文介绍了如何在Jenkins中配置Pipeline项目,包括环境准备,如安装git和curl工具,关闭http.sslVerify,设置Git凭据;以及创建Pipeline project的步骤,包括任务名称输入,Pipeline脚本配置等。通过groovy语言编写Pipeline脚本,并演示了如何使用credentialsId与Git进行交互,最终实现构建流程。
一. 环境准备
1. 安装Jenkins所在系统git client, curl工具依赖
yum -y install git curl
2. 关闭Jenkins所在系统Git http.sslVerify安全认证
git config --system http.sslVerify false
3. 添加Jenkins后台Git client user与email
configuration

4. 添加Jenkins后台Git Credentail凭据

点击下面选项
username和password就是登陆git账号的用户和密码
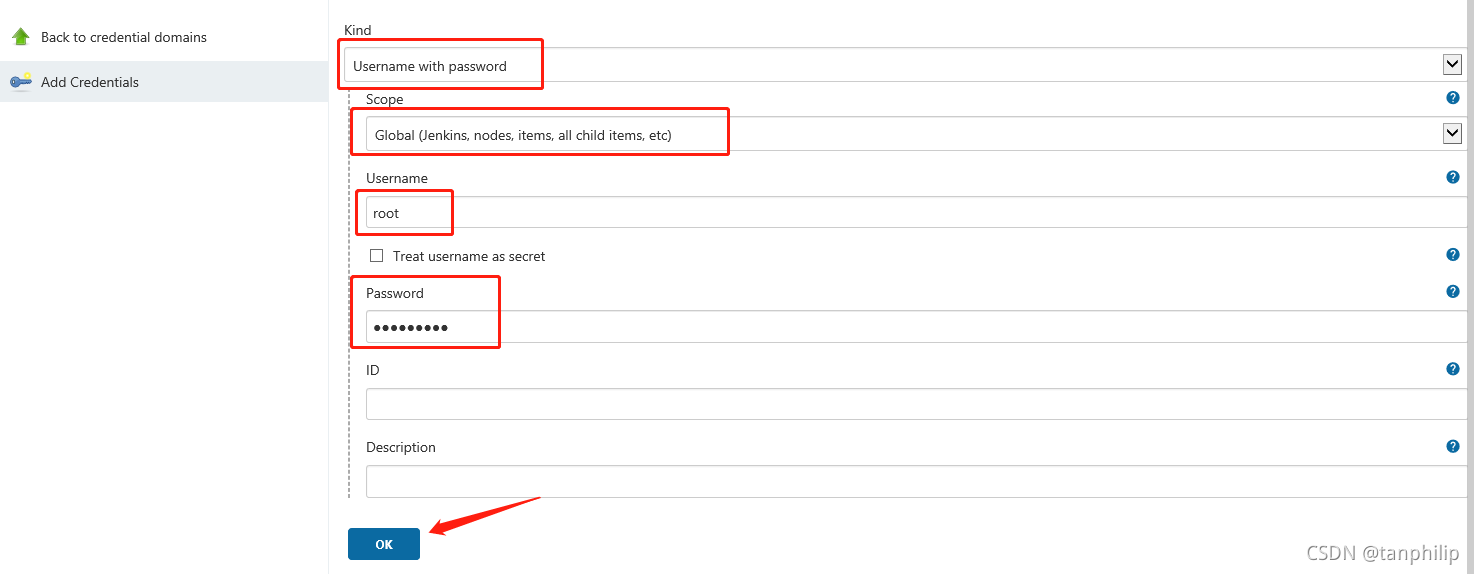
创建出两个CrdentialsId

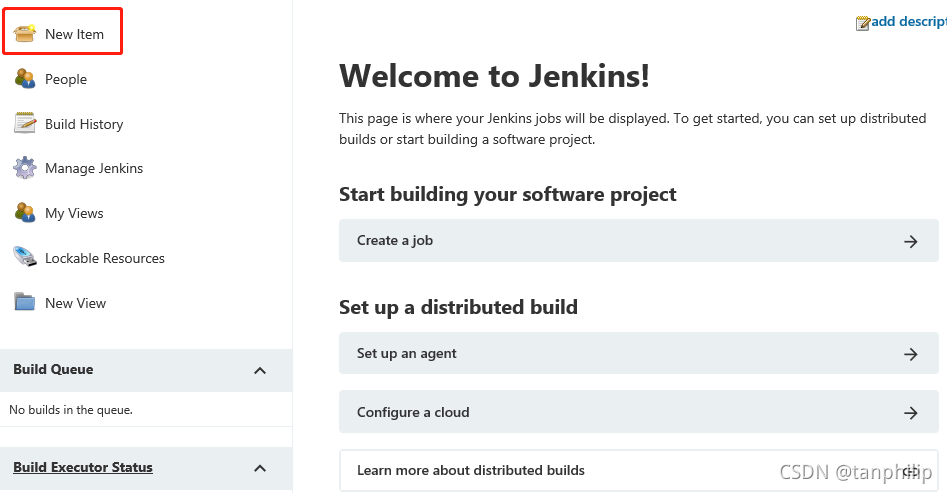
二. 创建一个Pipeline project
1. 点击New item
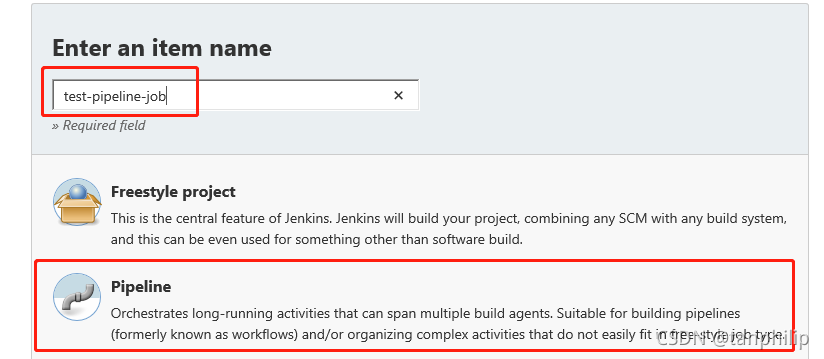
2. 输入任务名称,并选择Pipeline
3. 添加描述信息
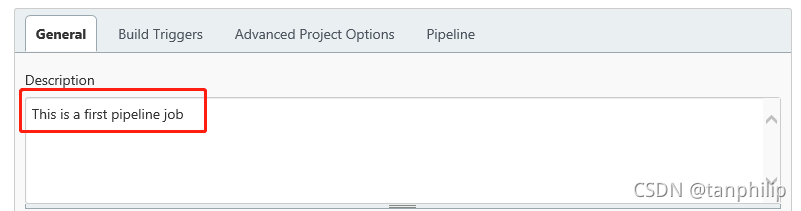
然后点击Apply
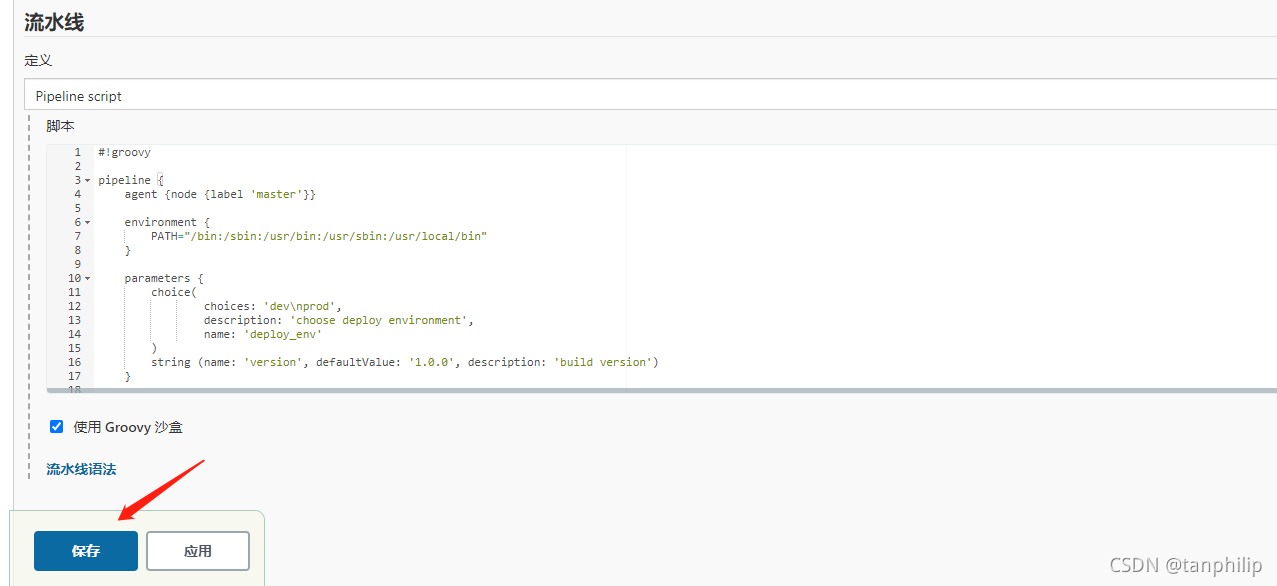
4. Pipeline脚本配置
在这里采用groovy语言进行脚本编写, 以下是示例
#!groovy

pipeline {
    agent {node {label 'master'}}

    environment {
        PATH="/bin:/sbin:/usr/bin:/usr/sbin:/usr/local/bin"
    }

    parameters {
        choice(
                choices: 'dev\nprod',
                description: 'choose deploy environment',
                name: 'deploy_env'
        )
        string (name: 'version', defaultValue: '1.0.0', description: 'build version')
    }

    stages {
        stage("Checkout test repo") {
            steps{
                sh 'git config --global http.sslVerify false'
                dir ("${env.WORKSPACE}") {
                    git branch: 'master', credentialsId:"e89d8a66-591a-4560-8aae-37fc0721539d", url: 'https://root@192.168.220.124/root/demo.git'
                }
            }
        }
        stage("Print env variable") {
            steps {
                dir ("${env.WORKSPACE}") {
                    sh """
                    echo "[INFO] Print env variable"
                    echo "Current deployment environment is $deploy_env" >> test.properties
                    echo "The build is $version" >> test.properties
                    echo "[INFO] Done..."
                    """
                }
            }
        }
        stage("Check test properties") {
            steps{
                dir ("${env.WORKSPACE}") {
                    sh """
                    echo "[INFO] Check test properties"
                    if [ -s test.properties ]
                    then
                        cat test.properties
                        echo "[INFO] Done..."
                    else
                        echo "test.properties is empty"
                    fi
                    """

                    echo "[INFO] Build finished..."
                }
            }
        }
    }
}
将代码保存到Pipeline script点击保存, 其中credentialsId就是从上面第一步去获取
再第一次构建点击build, 会失败一次, 然后接着点击Build with parameter, 开始构建

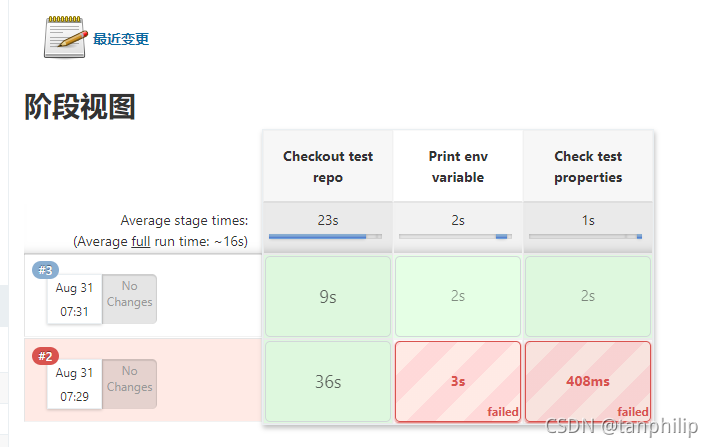
构建成功!!


 1106
1106

 被折叠的 条评论
为什么被折叠?
被折叠的 条评论
为什么被折叠?
 到【灌水乐园】发言


