


目录
kinect for windows SDK 2.0下载安装(开源包)
下载链接:https://www.microsoft.com/en-us/download/details.aspx?id=44561
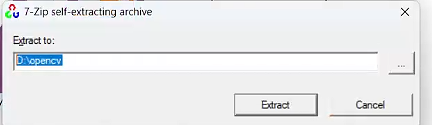
下载完后就直接安装,安装完就可以了。(安装路径好像不能自己选择,默认安装路径:C:\Program Files\Microsoft SDKs)
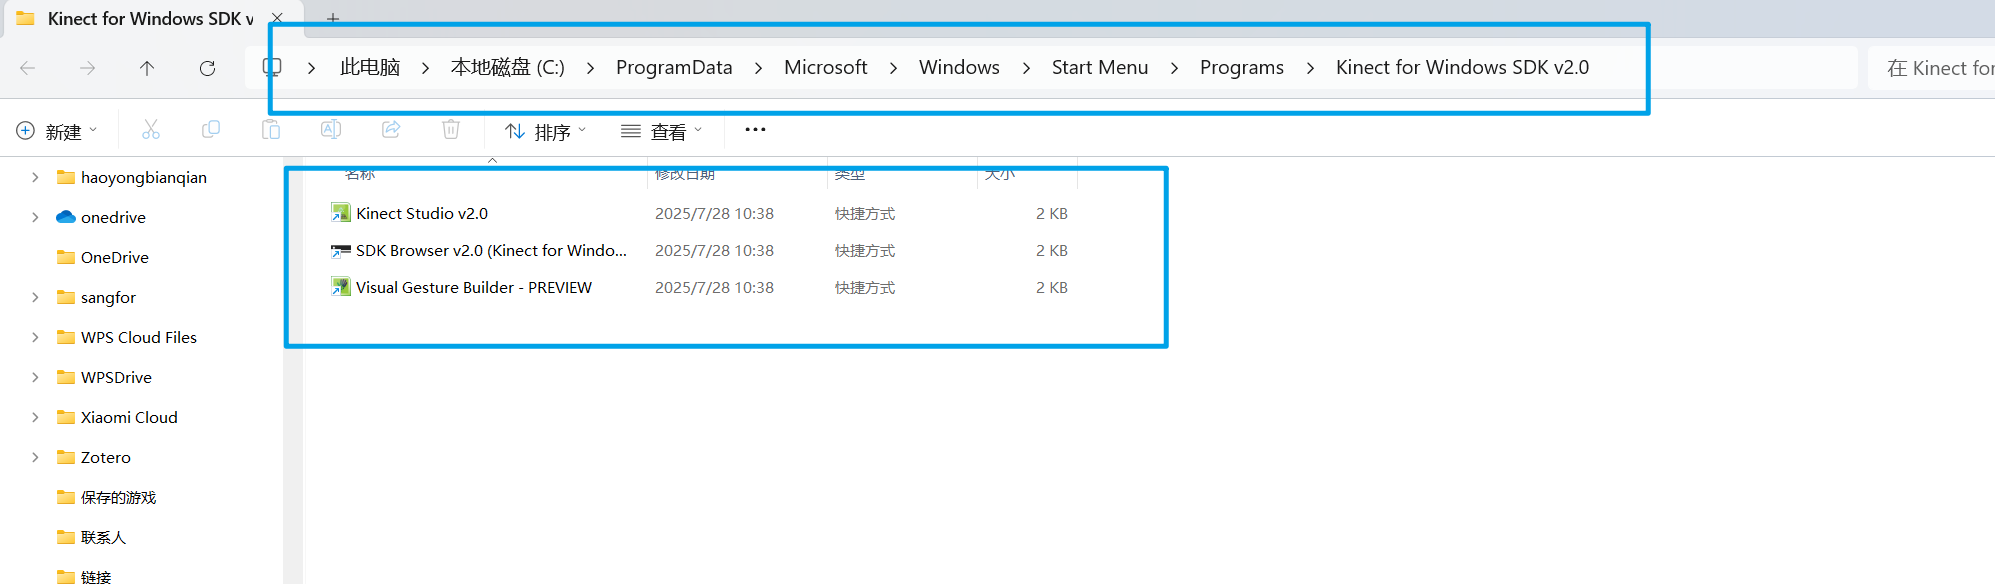
安装完后,按照下图的路径打开找到图中三个文件,全选右键发送到桌面快捷方式,后面会使用到。
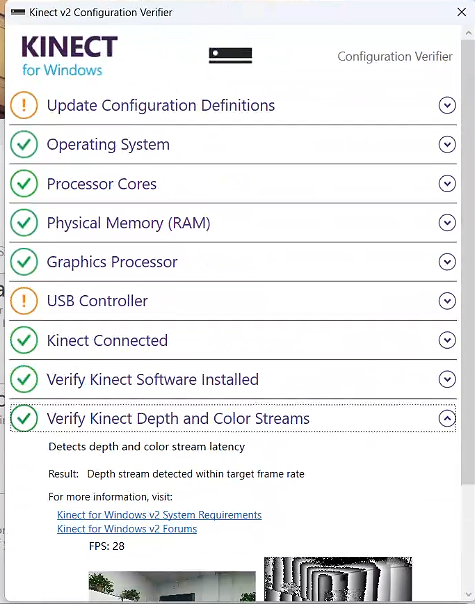
 结果如下图所示,有一两个感叹号没什么问题,还是可以运行。
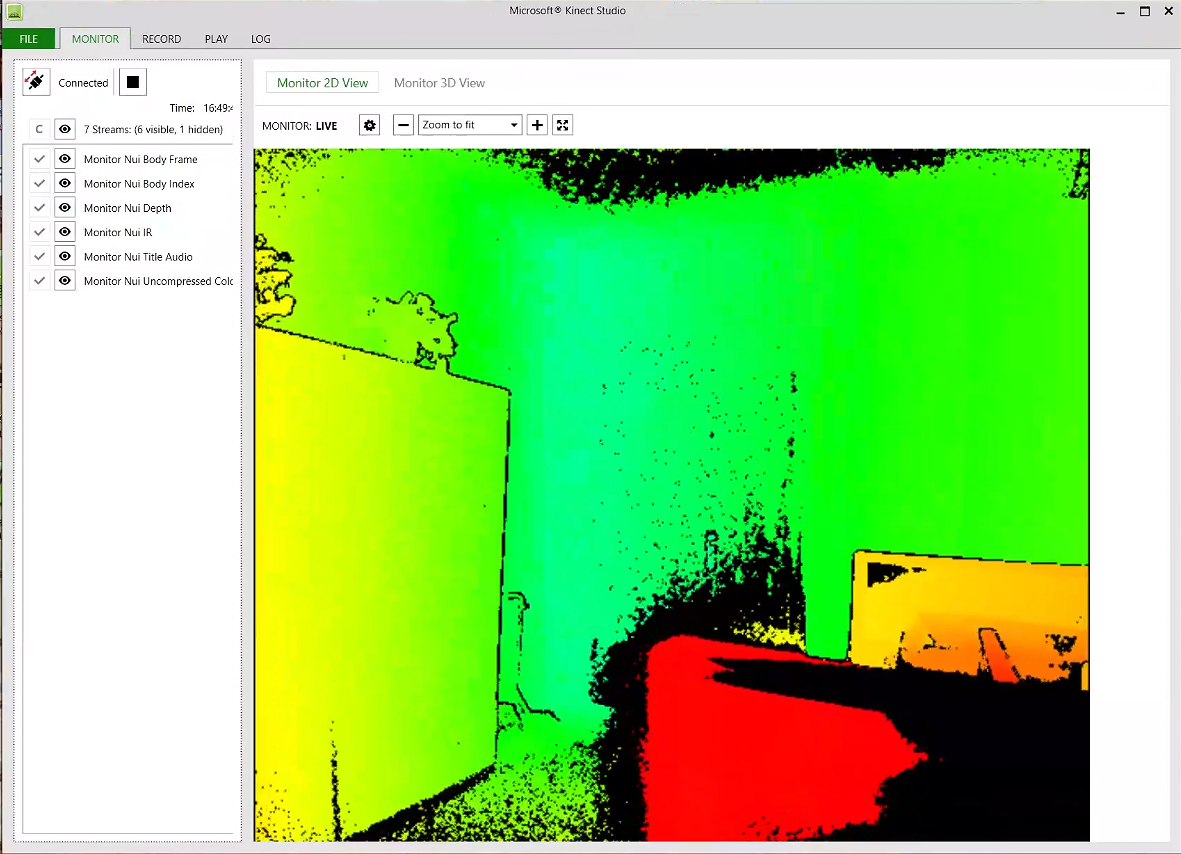
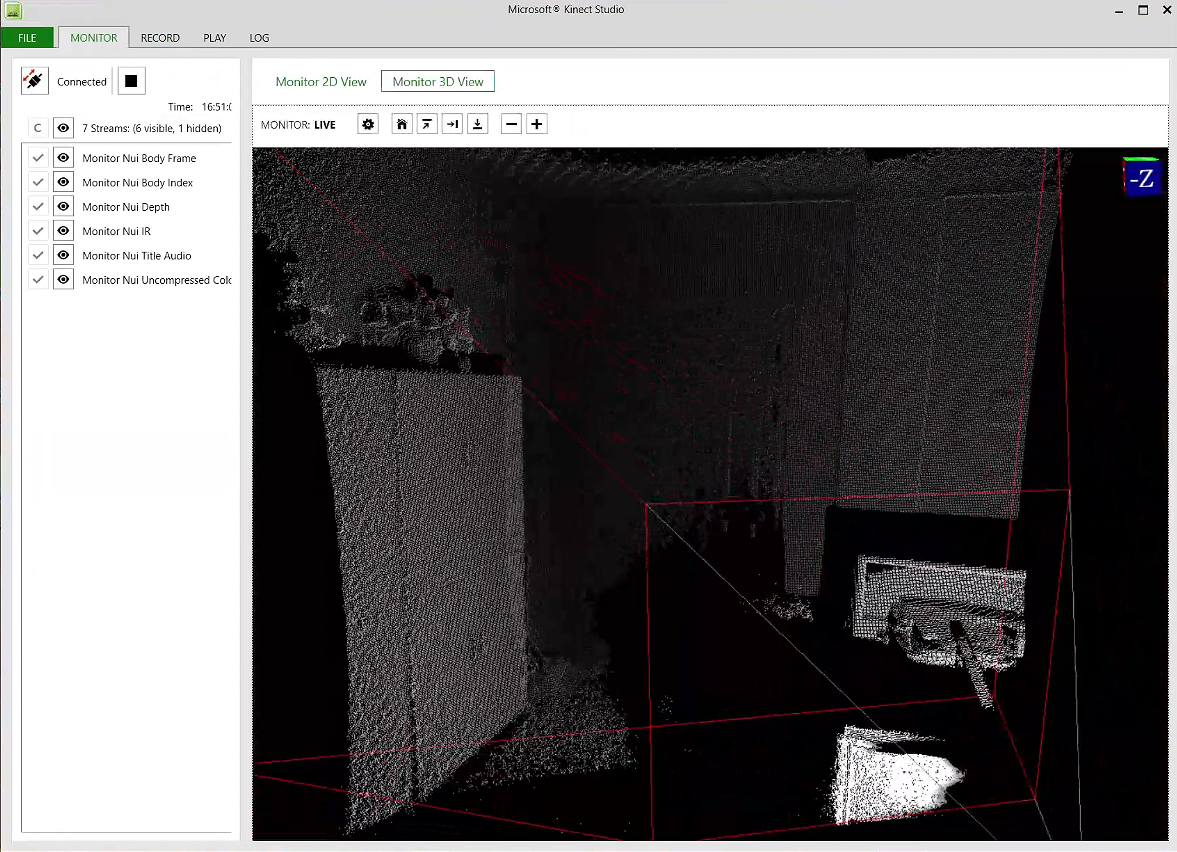
然后打开Kinect Studio v2.0,点击连接,感应器指示灯亮起,并有图像产生就代表连接成功。
参考文章:
kinect for windows SDK 2.0下载和kinect 2安装调试
读书笔记——kinect应用开发实践——Kinect v2安装、环境搭建、测试(3)
点云获取
vscode C++ 环境配置
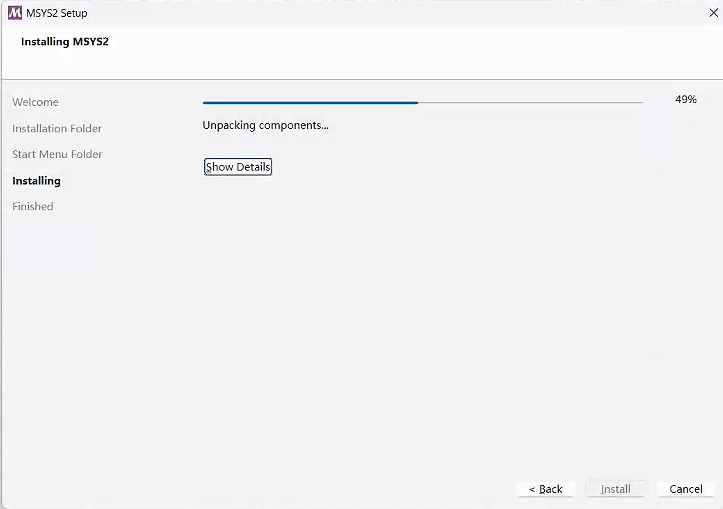
https://github.com/msys2/msys2-installer/releases/
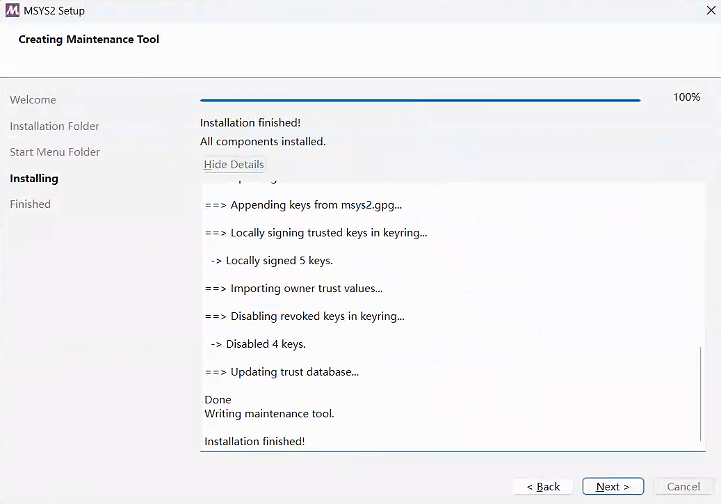
MSYS2 安装卡在密钥更新步骤是比较常见的问题,通常与网络连接或密钥服务器访问有关。耐心等待即可。
在此终端中,通过输入以下命令并按回车键,安装 MinGW-w64 工具链:
pacman -S --needed base-devel mingw-w64-ucrt-x86_64-toolchain
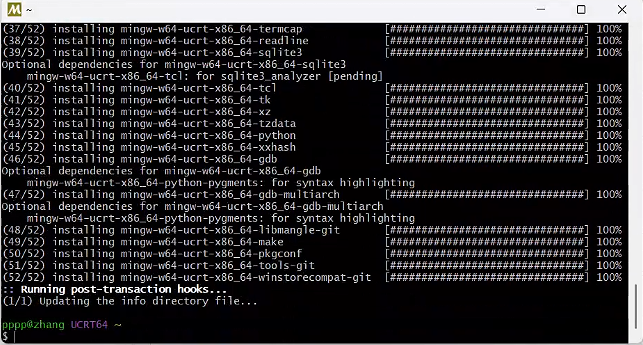
然后是回车,输入y,等待安装完成关闭这个窗口
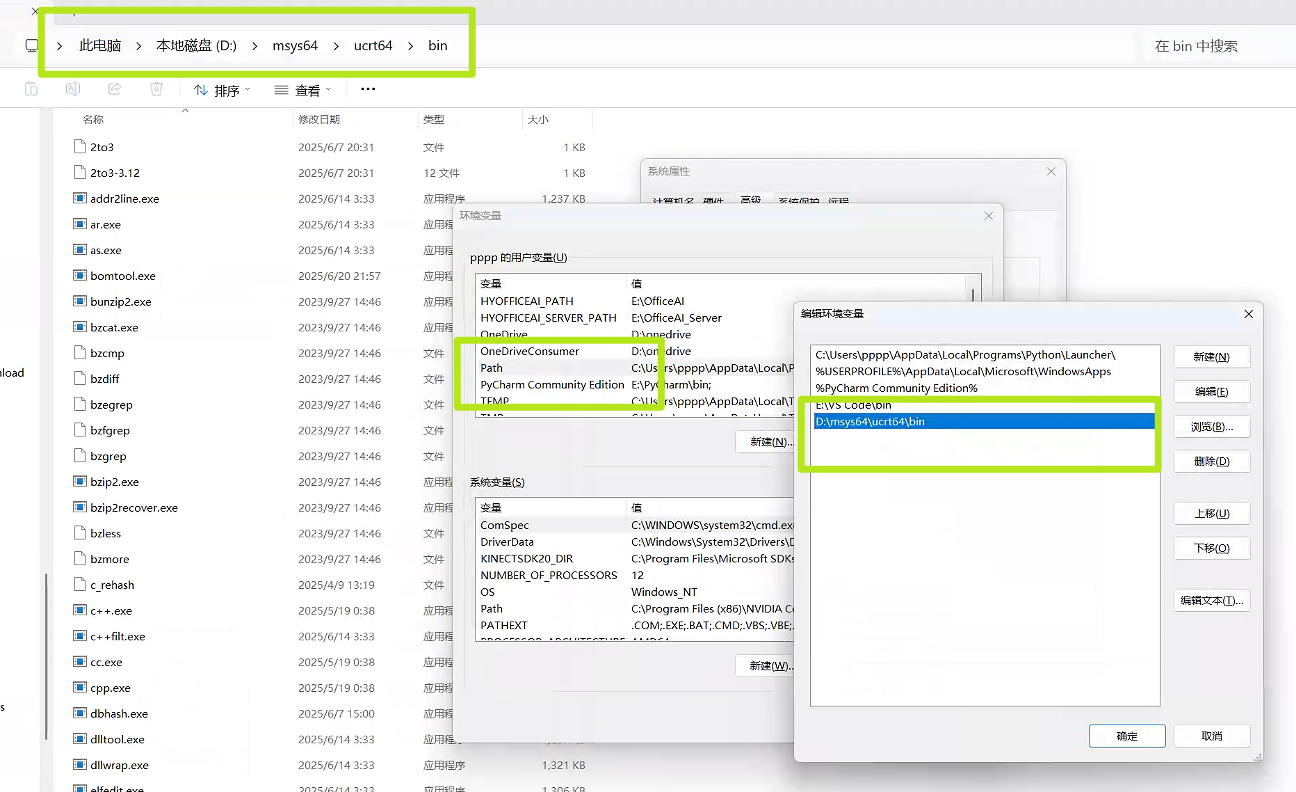
编辑环境变量
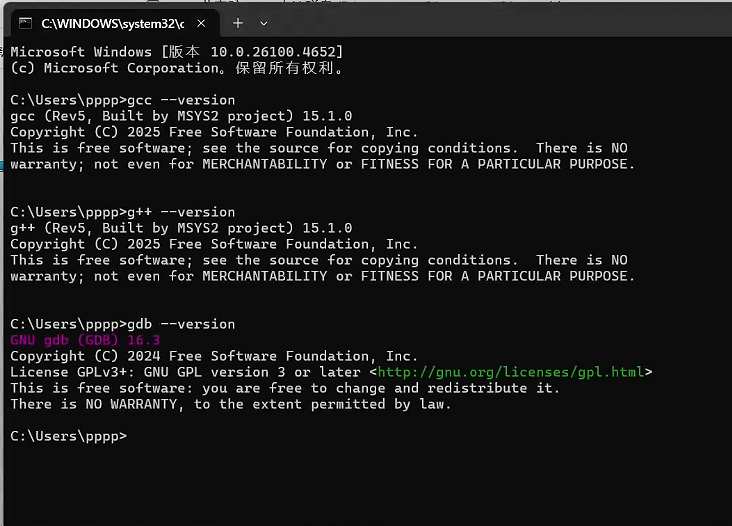
回车之后,就可以调出 CMD 的终端窗口了,然后分别输入下面的命令,每输入一次命令后回车一次。
gcc --version
g++ --version
gdb --version
参考文章:VS Code 配置 C/C++ 编程运行环境(保姆级教程)
获取点云
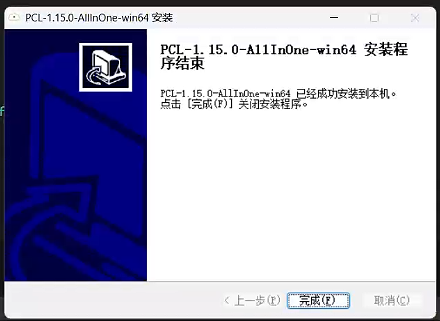
https://github.com/PointCloudLibrary/pcl/releases

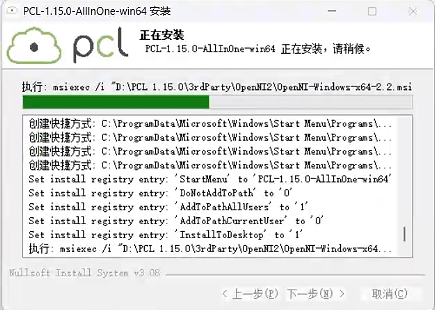
msiexec /i OpenNI-Windows-x64-2.2.msi
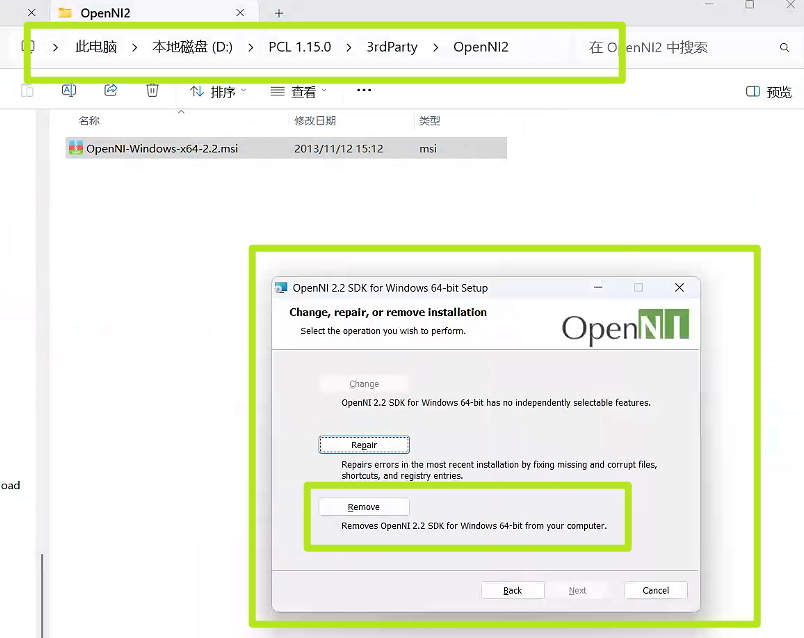
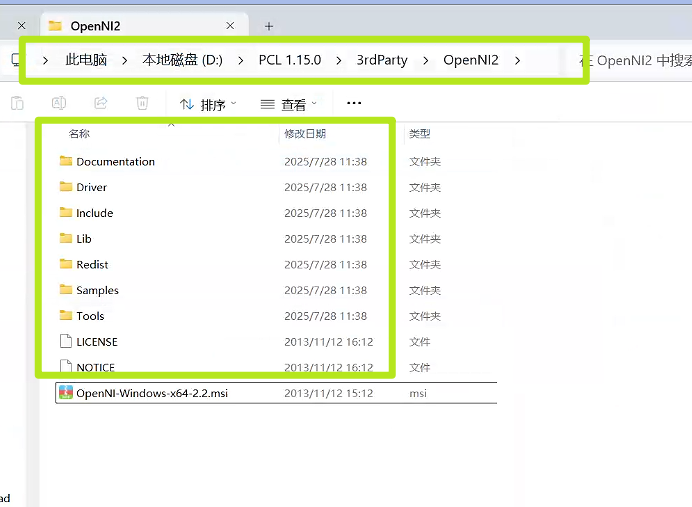
点击Remove,重新安装并选择路径为:D:\PCL 1.12.0\3rdParty\OpenNI2,安装完成以后文件夹里就会有这些文件:
Visual Studio 2000 安装 C++编译器 这个比较nice
参考文章:Visual Studio 2022(VS2022)最新版安装指南(保姆级教程)
pykinect2
https://github.com/KonstantinosAng/PyKinect2-PyQtGraph-PointClouds
pykinect2==0.1.0
ModuleNotFoundError: No module named ‘distutils.msvccompiler‘
pip uninstall setuptools
pip install setuptools==59.5.0 -i https://pypi.tuna.tsinghua.edu.cn/simple
python使用pykinect2库报错
问题 :File “XXX\Anaconda\lib\site-packages\pykinect2\PyKinectV2.py”, line 2216, in assert sizeof(tagSTATSTG) == 72, sizeof(tagSTATSTG)
解决 :去官网下载最新的库:https://github.com/Kinect/PyKinect2/tree/master/pykinect2
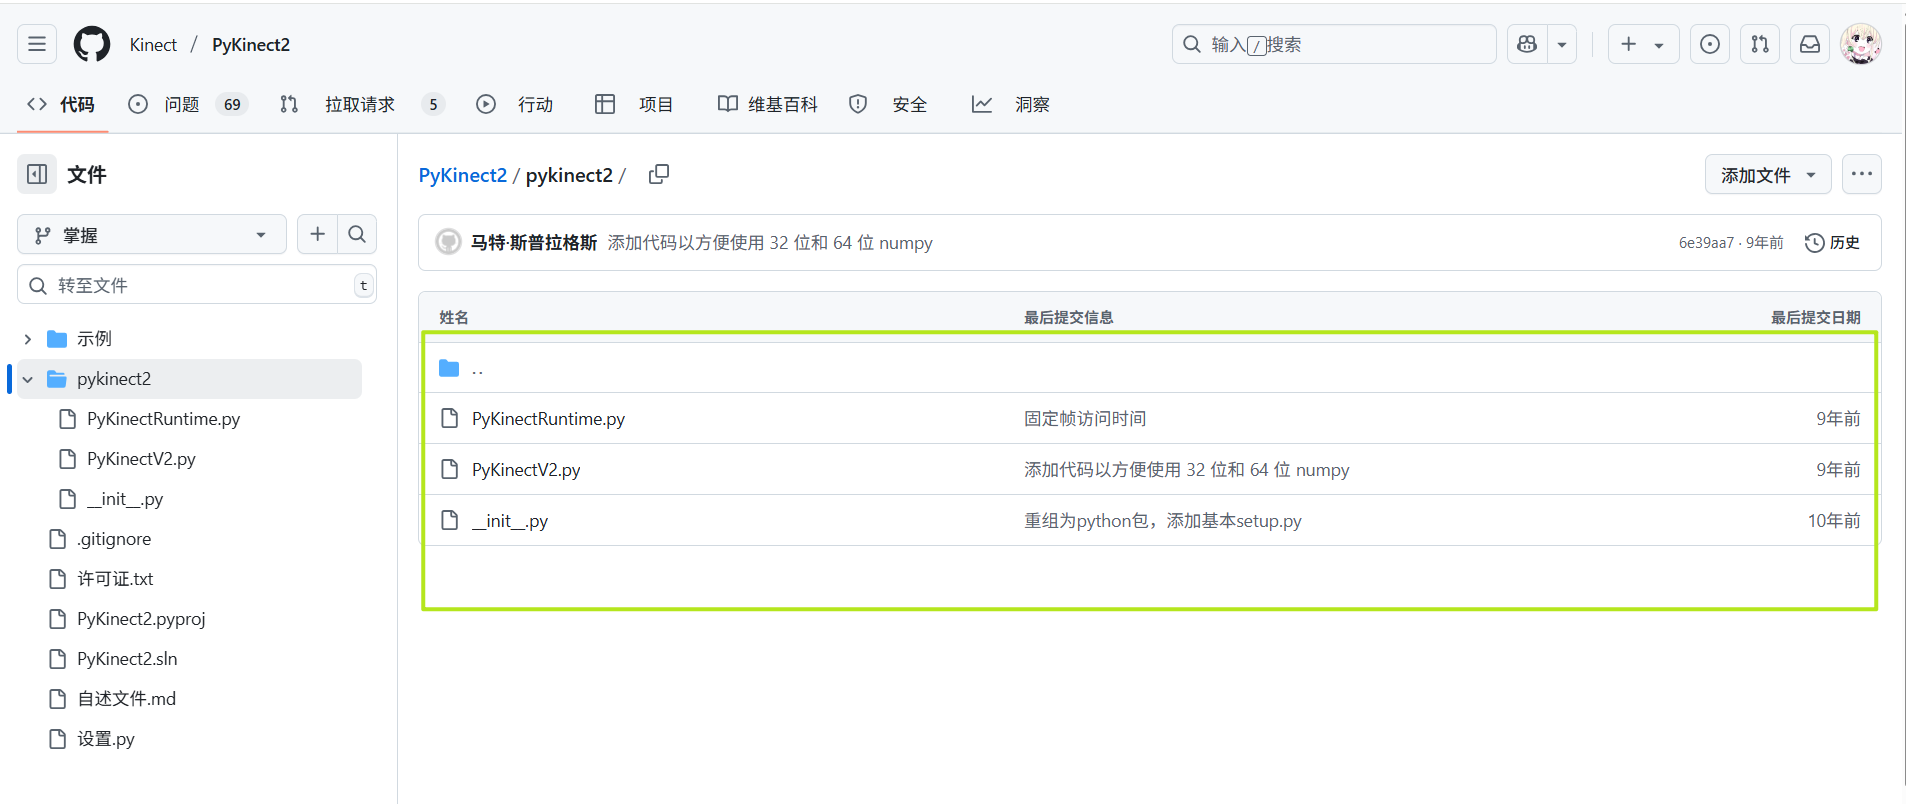
把这三个文件去替换本地XXX\Anaconda\lib\site-packages\pykinect2\这个目录下的三个文件
之后可能会出现新的错误:“XXX\Anaconda\lib\site-packages\pykinect2\PyKinectV2.py”, line 2863, in from comtypes import _check_version; _check_version(‘’)
ImportError: Wrong version
这个问题是comtypes的版本不对,我的是1.1.10,改成1.1.4就行了,命令如下:
pip install comtypes=1.1.4
PykinectRuntime代码修改
PykinectRuntime: 将time.clock()改为time.perf_counter()。 因为3.8以后就不支持time.clock()
python调用Kinect-V2获取rgb与深度图
from pykinect2 import PyKinectV2
from pykinect2 import PyKinectRuntime
import cv2
import numpy as np

# 获取深度图, 默认尺寸 424x512
def get_last_depth():
    frame = kinect.get_last_depth_frame()
    frame = frame.astype(np.uint8)
    dep_frame = np.reshape(frame, [424, 512])
    return cv2.cvtColor(dep_frame, cv2.COLOR_GRAY2RGB)

#获取rgb图, 1080x1920x4
def get_last_rbg():
    frame = kinect.get_last_color_frame()
    return np.reshape(frame, [1080, 1920, 4])[:, :, 0:3]

# 运行模式选择读取深度和rgb
kinect = PyKinectRuntime.PyKinectRuntime(PyKinectV2.FrameSourceTypes_Depth | PyKinectV2.FrameSourceTypes_Color)
# 二选一使用opencv显示
frame_type = 'rgb'
while True:
    if frame_type == 'rgb':
        # if kinect.has_new_color_frame():
        last_frame = get_last_rbg()
    else:
        # if kinect.has_new_depth_frame():
        last_frame = get_last_depth()
    # 使用opencv显示图片
    cv2.imshow('test', last_frame)
    cv2.waitKey(1)
# time:2024.10.1
# by:冒险岛岛主

import pygame
from pykinect2 import PyKinectV2, PyKinectRuntime
import ctypes
import numpy as np

# 初始化 pygame
pygame.init()

# 设置初始窗口大小,可以手动调整此大小
screen_width, screen_height = 960 * 2, 540  # 原始大小缩小一半,方便显示
screen = pygame.display.set_mode((screen_width, screen_height), pygame.RESIZABLE)

# 初始化 Kinect,启用 RGB 和深度帧
kinect = PyKinectRuntime.PyKinectRuntime(PyKinectV2.FrameSourceTypes_Color | PyKinectV2.FrameSourceTypes_Depth)

# 定义主循环标志
done = False
clock = pygame.time.Clock()

# 当前窗口尺寸
current_width, current_height = screen.get_size()

# 初始化缩放的 surface 以避免变量未定义的错误
scaled_color_surface = pygame.Surface((1, 1))  # 用一个小的表面做占位符
scaled_depth_surface = pygame.Surface((1, 1))  # 同样是占位符

while not done:
    # 处理事件
    for event in pygame.event.get():
        if event.type == pygame.QUIT:
            done = True
        elif event.type == pygame.VIDEORESIZE:
            # 更新窗口尺寸
            current_width, current_height = event.size
            screen = pygame.display.set_mode((current_width, current_height), pygame.RESIZABLE)

    # 计算图像显示区域的缩放比例,保持等比例缩放
    scale_factor = min(current_width // 2 / 1920, current_height / 1080)  # 两个图像各占窗口的一半

    # 如果有新的视频帧可用(RGB)
    if kinect.has_new_color_frame():
        try:
            # 获取颜色帧数据
            color_frame = kinect.get_last_color_frame()
            color_frame = color_frame.reshape((1080, 1920, 4))  # RGB 图像 1080p, BGRA 格式
            color_frame = color_frame[:, :, [2, 1, 0]]  # 转换为 RGB
            color_surface = pygame.surfarray.make_surface(color_frame.swapaxes(0, 1))

            # 按比例缩放 RGB 图像
            scaled_color_surface = pygame.transform.scale(
                color_surface, (int(1920 * scale_factor), int(1080 * scale_factor)))
        except:
            print("Error processing RGB frame")
            # 在捕获异常时,不要更新 scaled_color_surface

    # 如果有新的深度帧可用
    if kinect.has_new_depth_frame():
        try:
            # 获取深度帧数据
            depth_frame = kinect.get_last_depth_frame()
            depth_frame = depth_frame.reshape((424, 512))  # 深度图像 424x512

            # 将深度值归一化到 0-255 之间用于显示
            depth_frame = np.uint8(depth_frame.clip(500, 4500) / 4500 * 255)  # 剪裁并缩放深度范围

            # 将单通道扩展为三通道
            depth_frame = np.repeat(depth_frame[:, :, np.newaxis], 3, axis=2)

            # 将深度图像缩放到 1920x1080,然后再按比例缩放
            depth_frame_surface = pygame.surfarray.make_surface(depth_frame.swapaxes(0, 1))
            scaled_depth_surface = pygame.transform.scale(
                depth_frame_surface, (int(1920 * scale_factor), int(1080 * scale_factor)))
        except:
            print("Error processing Depth frame")
            # 在捕获异常时,不要更新 scaled_depth_surface

    # 绘制 RGB 图像在左边
    screen.blit(scaled_color_surface, (0, 0))

    # 绘制深度图像在右边
    screen.blit(scaled_depth_surface, (int(current_width / 2), 0))

    # 更新显示
    pygame.display.update()

    # 控制帧率
    clock.tick(60)

# 退出程序
kinect.close()
pygame.quit()
参考文章:三维视觉–基于Kinect2.0深度相机的点云获取方案实现(C++版)
三维视觉–点云获取(Intel Realsense d455深度相机)方案实现C++版
PCL学习笔记(一)-- Windows下配置安装PCL开发环境
Kinect v2.0 C++ SDK 基础教程
如何使用kinect v2相机—pykinect2
Kinect相机调用 python
KinectV2点云的获取与保存
点云保存已解决,过程有点麻烦,故不在此赘述,看到这句话的人去看别的教程就好了。
以上资料和代码均来源于网络,如果涉及到侵权,请直接私信我,我会立马下架的。


 1万+
1万+


 到【灌水乐园】发言


