


此篇博客引用博客Ubuntu18.04 安装Open3D C++与Python版本_zpwhust的博客-优快云博客_ubuntu 安装open3d
并在此基础上进行整理
环境
linux:ubuntu 18.04
cmake : cmake 3.22(这个取决于open3D的软件包,我使用的Open3D软件包是3.19以上都可以
安装
1.下载Open3D源码包
git clone --recursive https://github.com/intel-isl/Open3D
国内用户使用github下载可能会有问题,所以可以使用以下的命令
git clone --recursive https://hub.fastgit.org/intel-isl/Open3D

#或者使用

git clone --recursive https://github.com.cnpmjs.org/intel-isl/Open3D
2.安装Open3D的依赖项
cd Open3D
util/scripts/install-deps-ubuntu.sh
3.编译安装
mkdir -p build
cd build
cmake ..
make -j4
sudo make install
在执行cmake的时候,可能出现cmake版本过低,解决方法参考
 https://blog.youkuaiyun.com/qq_35398033/article/details/106457777
在cmake ..和make -j4的时候,会因为国内的网络无法访问github,而导致失败,如图示
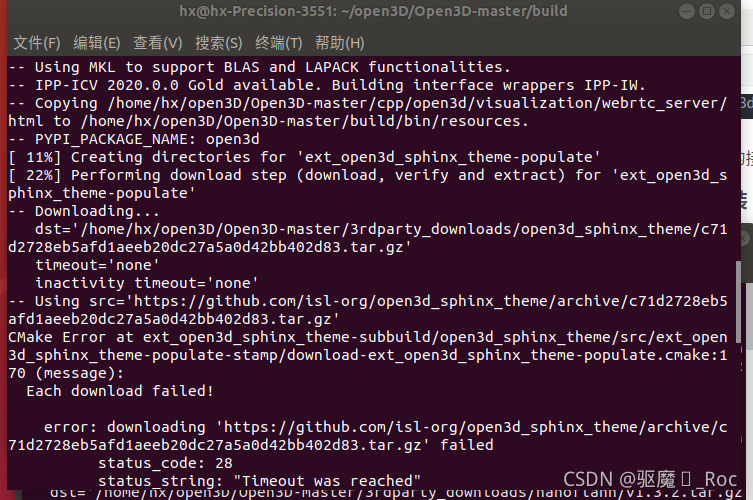
可以在图中的错误中,是因为第三方库下载失败,所以这个时候主要就是把第三方库下载下来,并放入他提示的路径;
友情提示:国内的网络无法访问github,所以只要把错误提示中的链接拷贝到浏览器中,讲 github.com 替换成 hub.fastgit.org,然后下载就可以了,这个方法可以应用github中所有的项目!!!!!!!!!!!!!( ⊙ o ⊙)
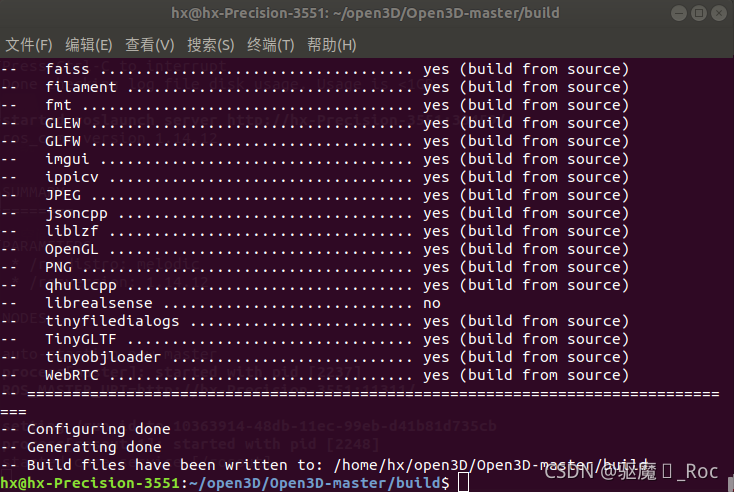
最终完成了cmake
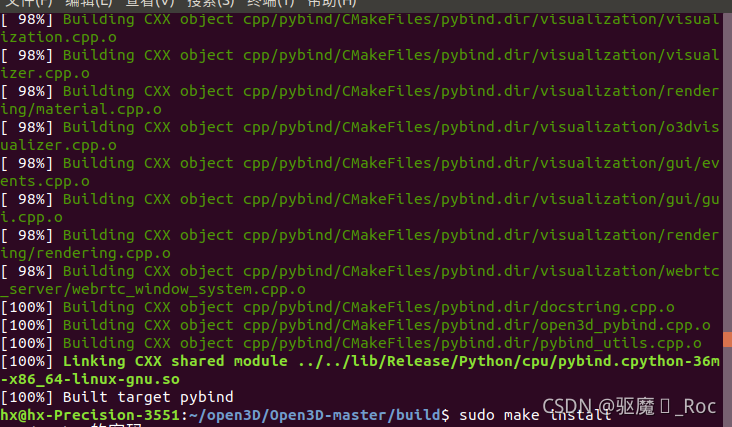
完成make -j4
4.验证
新建一个cpp文件,代码就直接引用原博主的代码,如下
#include <iostream>
#include <memory>
#include <thread>
#include <Open3D/Open3D.h>

int main(int argc, char * argv[]) {
    std::cout << "Hello, Open3D!! " << std::endl;

    open3d::utility::SetVerbosityLevel(open3d::utility::VerbosityLevel::Debug);

    auto pcd = open3d::io::CreatePointCloudFromFile(argv[1]);

    // 1. test downsample
    auto downsampled = pcd->VoxelDownSample(0.05);
    {
        open3d::utility::ScopeTimer timer("FPFH estimation with Radius 0.25");
        open3d::registration::ComputeFPFHFeature(*downsampled, open3d::geometry::KDTreeSearchParamRadius(0.25));
    }
    // 2. 估计点云的法向量
    {
        open3d::utility::ScopeTimer timer("Normal estimation with KNN20");
        for (int i = 0; i < 20; i++){
            downsampled->EstimateNormals(open3d::geometry::KDTreeSearchParamKNN(20));
        }
    }
    std::cout << downsampled->normals_[0] << std::endl;
    std::cout << downsampled->normals_[10] << std::endl;
    {
        open3d::utility::ScopeTimer timer("Normal estimation with Radius 0.01666");
        for(int i=0; i<20; i++){
            downsampled->EstimateNormals(open3d::geometry::KDTreeSearchParamRadius(0.01666));
        }
    }
    std::cout << downsampled->normals_[0] << std::endl;
    std::cout << downsampled->normals_[10] << std::endl;

    open3d::visualization::DrawGeometries({downsampled}, "TestPCD", 1920, 1080);


    return 0;
}
创建一个CMakeLists.txt文件,添加以下内容
cmake_minimum_required(VERSION 2.8)
project(open3d_test)

set(CMAKE_CXX_STANDARD 11)

find_package( Open3D  REQUIRED)

include_directories(${Open3D_INCLUDE_DIRS})
link_directories(${Open3D_LIBRARY_DIRS})

add_executable(TestVisualizer main.cpp)
target_link_libraries(TestVisualizer ${Open3D_LIBRARIES})

target_include_directories(TestVisualizer PUBLIC ${Open3D_INCLUDE_DIRS})
然后执行以下命令
mkdir build
cmake ..
make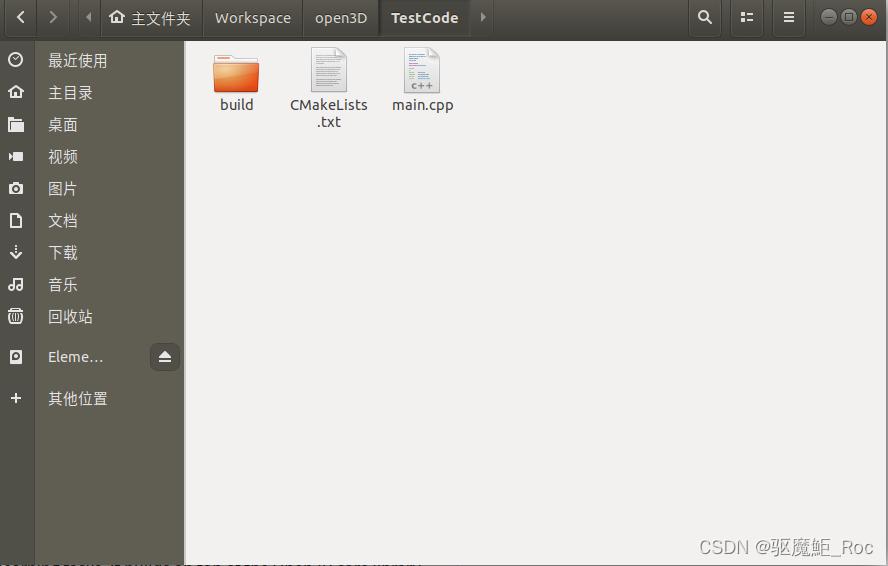
这样就可以生成可执行文件
接着运行测试数据【安装目录下examples/test_data/ICP】,复制数据到测试代码同路径下,运行命令如下
./TestVisualizer ../cloud_bin_0.pcd 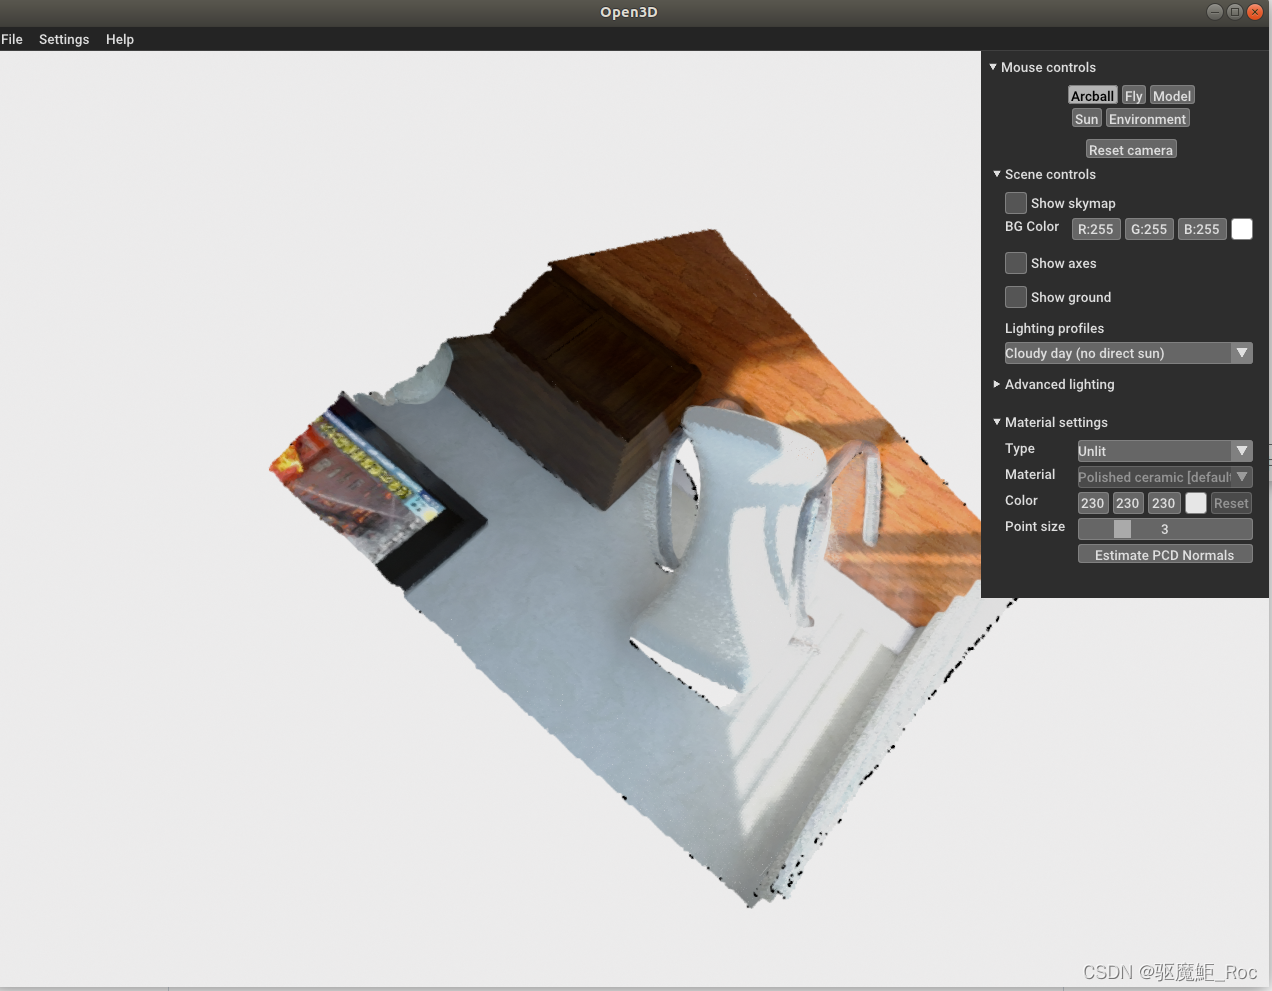
5.总结
在这个过程中,需要很多的第三方库,需要耐心的下载,并放在正确的路径下,看着问题一个个被解决,这对自己是最好的鼓舞,加油!!!!!!!!!!!!!!


 2462
2462

 被折叠的 条评论
为什么被折叠?
被折叠的 条评论
为什么被折叠?
 到【灌水乐园】发言


