


CAS5.3X 之配置默认service
前言
今儿老A问我 :“怎么在没有service的情况下,给CAS配置默认的service,跳转到固定的url啊?”
我:“额,文档不是写了嘛?在springboot的配置文件application.properties里有个配置属性,就下边这个”
官网文档链接:
https://apereo.github.io/cas/5.0.x/installation/Configuration-Properties.html
# Defines a default URL to which CAS may redirect if there is no service
# provided in the authentication request.
cas.view.defaultRedirectUrl=https://www.github.com
过了一会儿…
老A:“哎,不对呀,你过来看看,这怎么还提示我CAS无法使用
呢,页面也没跳转呀”
错误提示:
Error: Exception thrown executing org.apereo.cas.web.flow.login.GenericSuccessViewAction@50118e2e in state ‘viewGenericLoginSuccess’ of flow ‘login’ – action execution attributes were ‘map[[empty]]’
截图: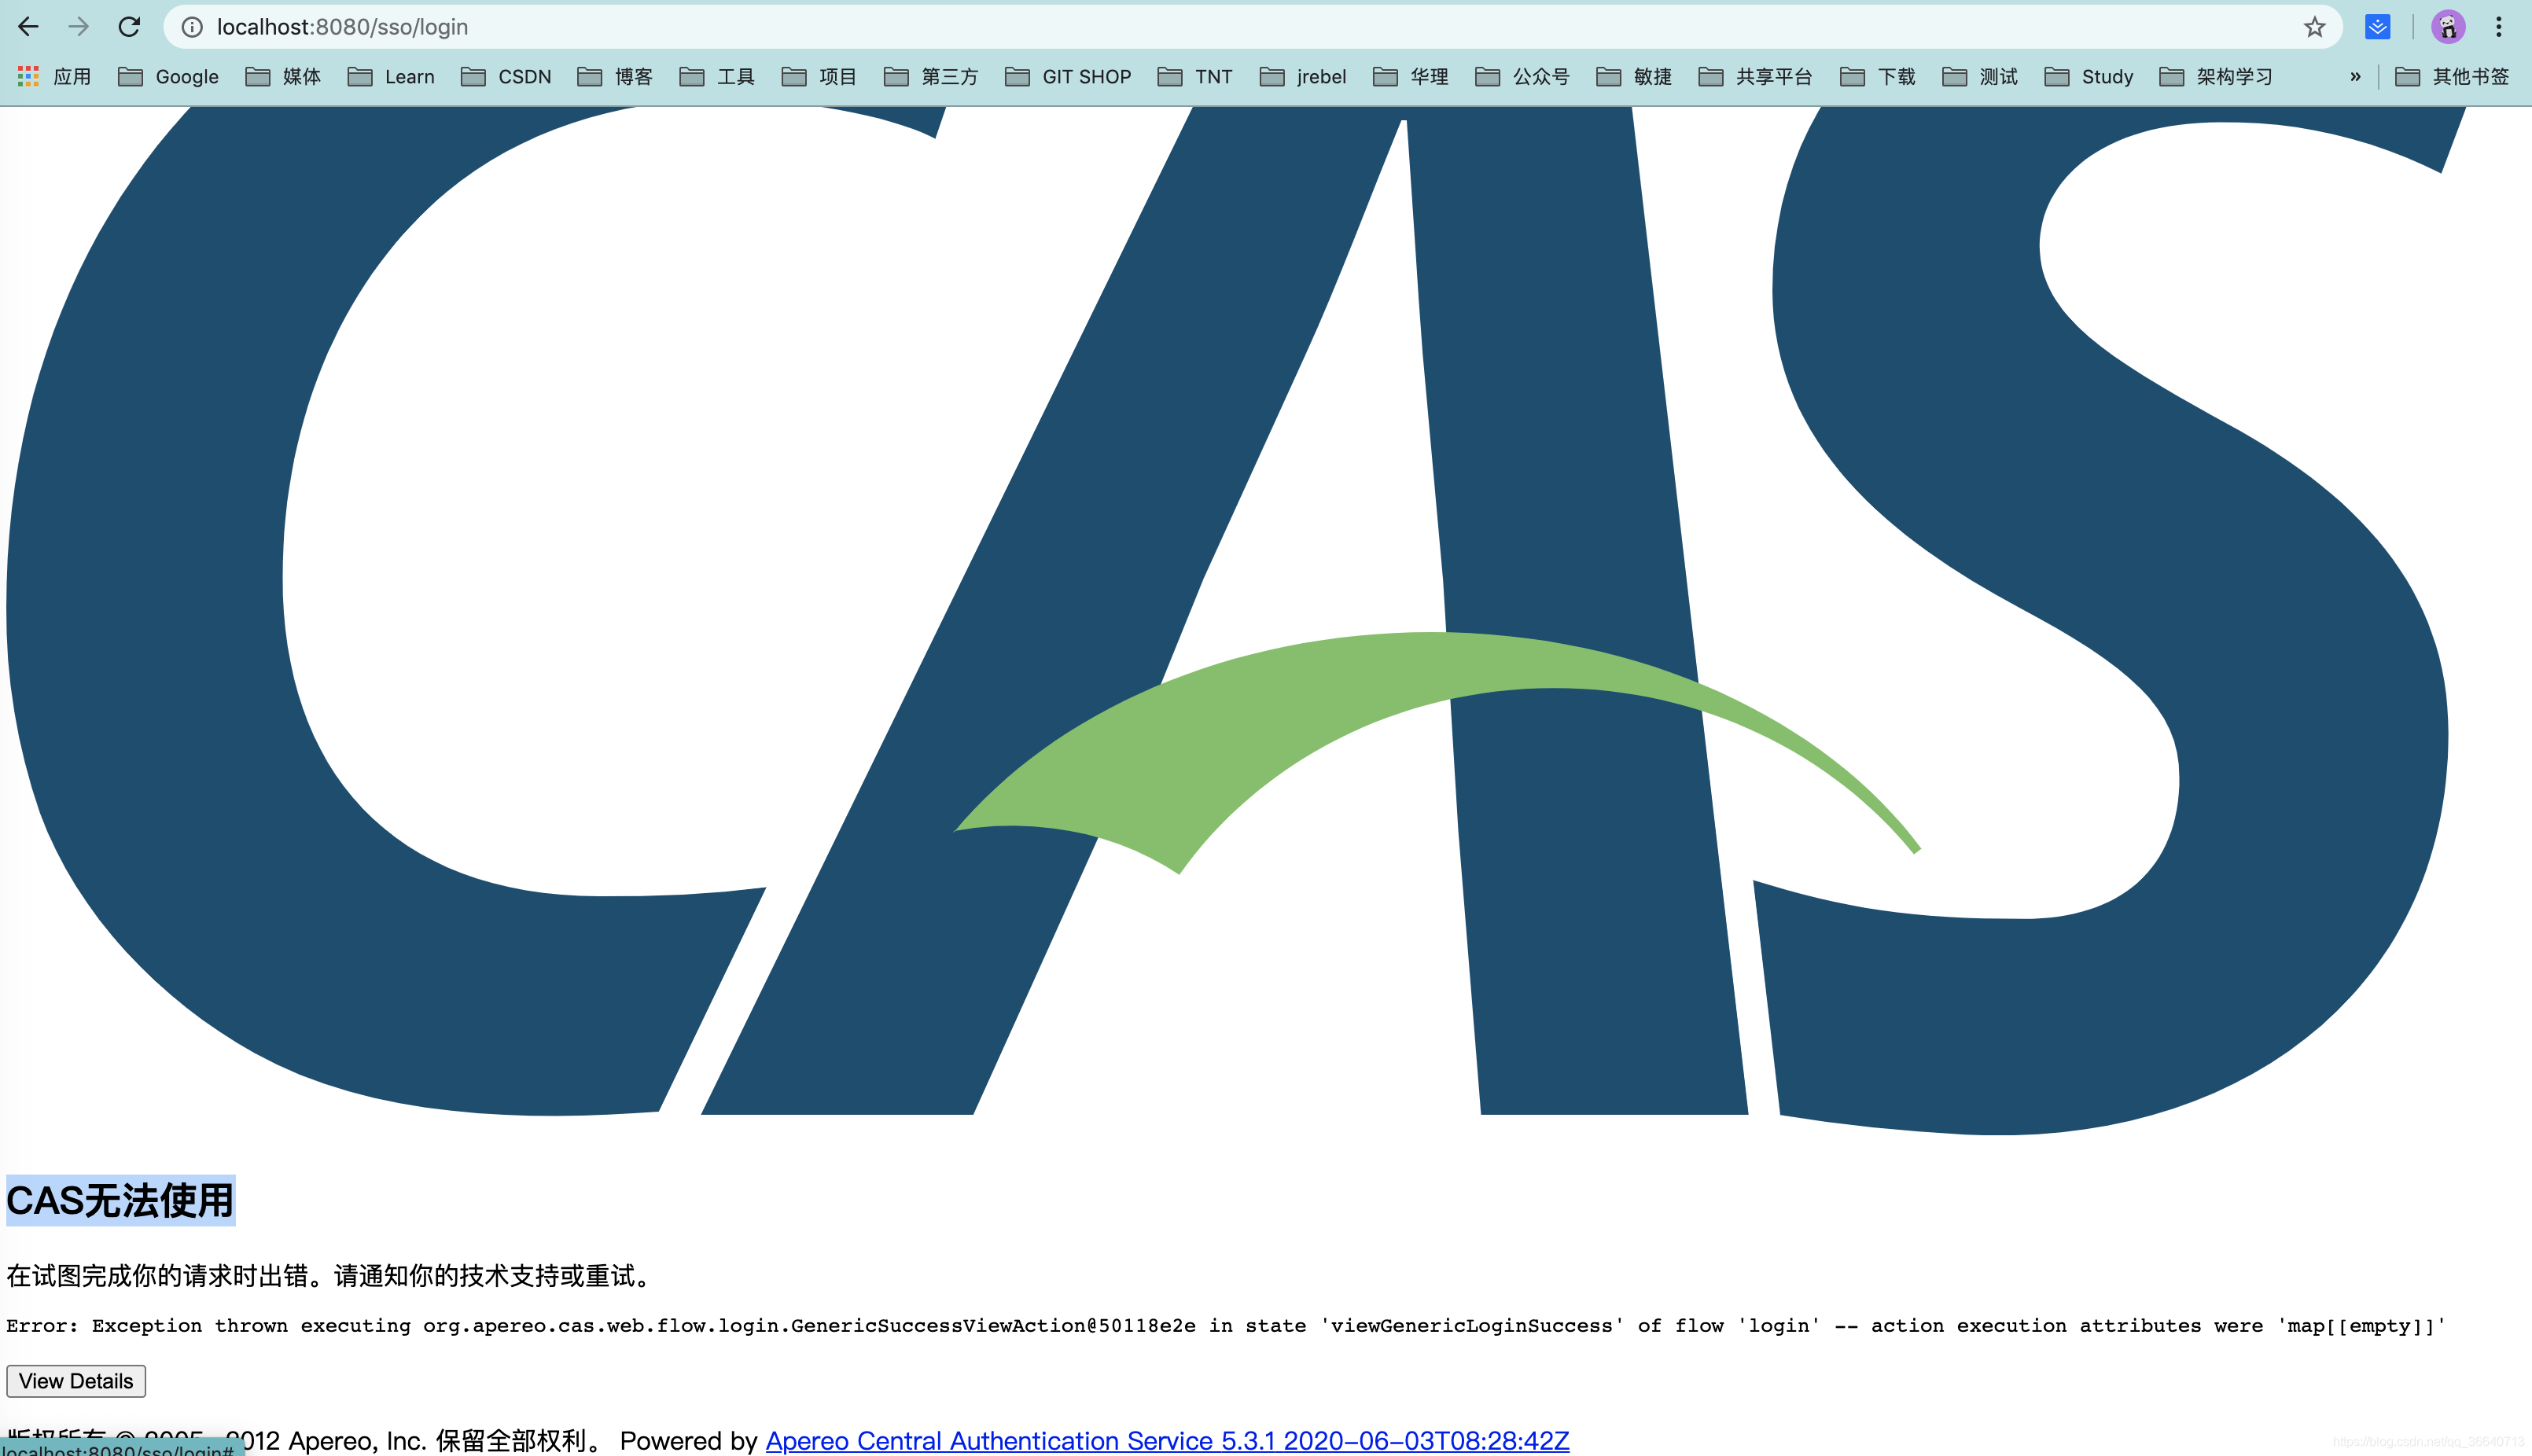
我:“哟,中奖了!来来来,分析分析…”
CAS配置默认service
经过前面的对话,咱都了解了老A的问题,也去看了CAS的文档,知道了有个配置是用来定义一个默认URL,如果没有服务的情况下,CAS可以重定向到该URL。
当然,还要注意一句话:“provided in the authentication request. ”,意思是说你这个URL也不能乱写,必须要通过serviceid的正则验证才行
通过入门文档,咱都知道,在resources/services下新建的主题json文件,基本都长下面这样:
静态Service配置
{


  "@class": "org.apereo.cas.services.RegexRegisteredService",
  "serviceId": "^(http)://localhost.*",
  "name": "本地服务",
  "id": 100001,
  "description": "这是一个本地允许的服务,通过localhost访问都允许通过",
  "evaluationOrder": 1
}
注意:
json文件名字规则为 n a m e − {name}- name−{id}.json, id必须为json文件内容id一致
json文件解释:
- @class:必须为org.apereo.cas.services.RegisteredService的实现类,对其他属性进行一个json反射对象,常用的有RegexRegisteredService,匹配策略为id的正则表达式
- serviceId:唯一的服务id
- name: 服务名称,会显示在默认登录页
- id:全局唯一标志
- description:服务描述,会显示在默认登录页
- evaluationOrder:确定已注册服务的相对评估顺序。当两个服务URL表达式覆盖相同的服务时,此标志尤其重要;评估顺序决定首先评估哪个注册,并作为内部排序因素。 (越小越优先)
除了以上说的还有很多配置策略以及节点,具体还要看官方文档,配置不同的RegisteredService也会有稍微不一样,当然咱也可以写自己的,这是后话,没啥不行的。
按老A的描述,他这里也做了修改,长下面这样,确实把啥url都给放过了,没话说。
{


  "@class" : "org.apereo.cas.services.RegexRegisteredService",
  "serviceId" : "^(https|imaps|http)://.*",
  "name" : "Landing One",
  "id" : 1000,
  "description" : "landingone 项目访问过来,跳转到demo主题",
  "evaluationOrder" : 10,
  "theme": "landingone"
}
Spring Web Flow
咱们都知道CAS目前是集成了Spring Web Flow,在CAS中Spring Web Flow的配置文件最初始的就有login-webflow.xml面主要配置了登录的流程。这个如果用图来表示的话那应该是一个状态图,一些节点会有一些判断然后会有不同的分支。
不知道大伙有没有看过历史版本哈,那玩意真的是,节点挺多的,一眼望不到底,还得翻两页。
哎,咱们用的这个CAS 5.3.1 版本,贼简单,就长下面这样:
<?xml version="1.0" encoding="UTF-8"?>
<flow xmlns:xsi="http://www.w3.org/2001/XMLSchema-instance"
      xmlns="http://www.springframework.org/schema/webflow"
      xsi:schemaLocation="http://www.springframework.org/schema/webflow
                          http://www.springframework.org/schema/webflow/spring-webflow.xsd">

    <action-state id="initializeLoginForm">
        <evaluate expression="initializeLoginAction" />
        <transition on="success" to="viewLoginForm"/>
    </action-state>

    <view-state id="viewLoginForm" view="casLoginView" model="credential">
        <binder>
            <binding property="username" required="true"/>
            <binding property="password" required=
最低0.47元/天 解锁文章


 1114
1114

 被折叠的 条评论
为什么被折叠?
被折叠的 条评论
为什么被折叠?
 到【灌水乐园】发言


