


 文章讲述了如何在C#窗体应用中不使用动态链接库调用Python程序进行图像处理,主要利用OpenCV进行阈值切割和形态学操作来检测图像中的污渍或遮挡物。C#代码示例展示了如何通过IronPython工具包直接运行.py文件,并显示处理结果。
目录
我也是初学者的小白,希望跟大家一块学习。其实我主要是想在C#窗体应用中不使用动态链接库(.dll)来调用python的程序,主要是因为调用时会出现64位的动态链接库与32位的系统不匹配的问题,但是你直接调用自己的.py文件就不会出现不匹配的问题。
python图像处理:
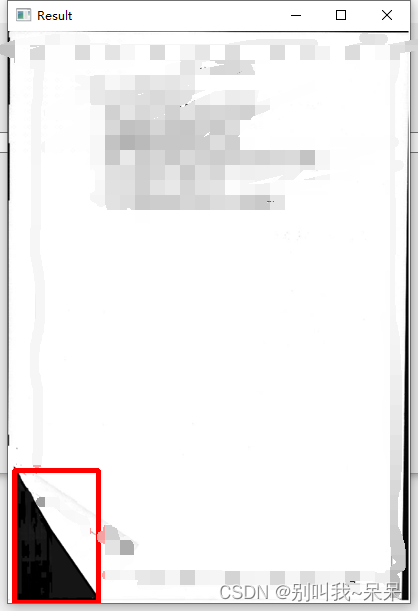
对于python程序,就是简单的使用opencv进行了一个阈值切割,来检测图像中有没有污渍遮挡。
import cv2

# 读取图像文件
img = cv2.imread('youself_img_filepath')  # 填写你自己的路径
# 使用高斯滤波器去除噪声
# img = cv2.GaussianBlur(img, (7, 7), 1)
# 转换成灰度图像
gray = cv2.cvtColor(img, cv2.COLOR_BGR2GRAY)

# 应用二值化操作
ret, thresh = cv2.threshold(gray, 50, 255, cv2.THRESH_BINARY_INV+cv2.THRESH_OTSU)
# 显示二值化后的图像
# cv2.imshow('Binary Image', thresh)
# cv2.waitKey(0)
# cv2.destroyAllWindows()
# 形态学操作
kernel = cv2.getStructuringElement(cv2.MORPH_RECT, (3, 3))
opening = cv2.morphologyEx(thresh, cv2.MORPH_OPEN, kernel, iterations=1)

# 轮廓检测
contours, hierarchy = cv2.findContours(opening, cv2.RETR_EXTERNAL, cv2.CHAIN_APPROX_SIMPLE)

# 绘制轮廓
for c in contours:
    area = cv2.contourArea(c)
    if area > 500:  # 面积小于500的轮廓忽略
        rect = cv2.boundingRect(c)
        x, y, w, h = rect
        # 计算长宽比
        aspect_ratio = float(w)/float(h)

        # 根据长宽比过滤轮廓(祛除了因为扫描造成的边缘黑色印记)
        if aspect_ratio > 0.2 and aspect_ratio < 10:
            cv2.rectangle(img, (x, y), (x+w, y+h), (0, 0, 255), 3)


# 显示处理后的图像
cv2.imshow('Result', img)
cv2.waitKey(0)
cv2.destroyAllWindows()
其中使用高斯滤波器那段,这里使用的话会使得精度很高,产生过过拟合的情况,但是也根据你自己的自己案例的实际情况来定。
C#窗体应用
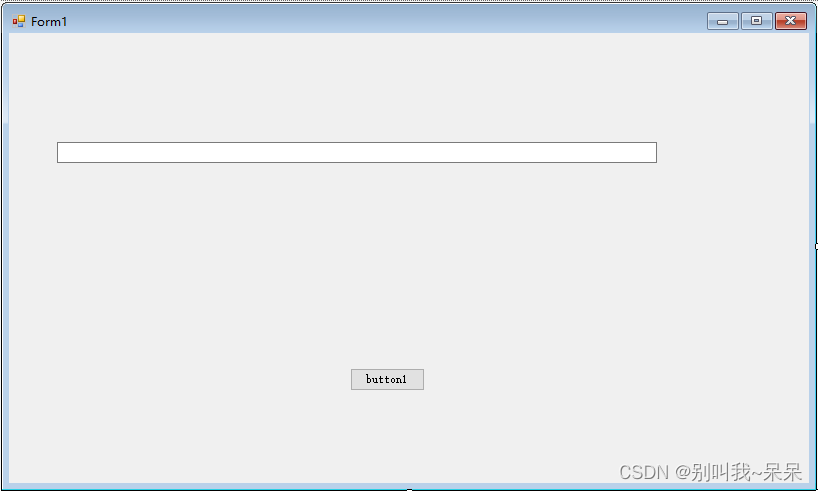
我只是做了一个简单的页面,还没进行优化,实际上可以做一个文件选择的控件来对图像文件选择,或者是直接选择一个图像文件夹进行批量处理。我的大致就是张这个样子。
点击按钮后识别的结果:找出图片内的一些污渍或者是部分遮挡物。
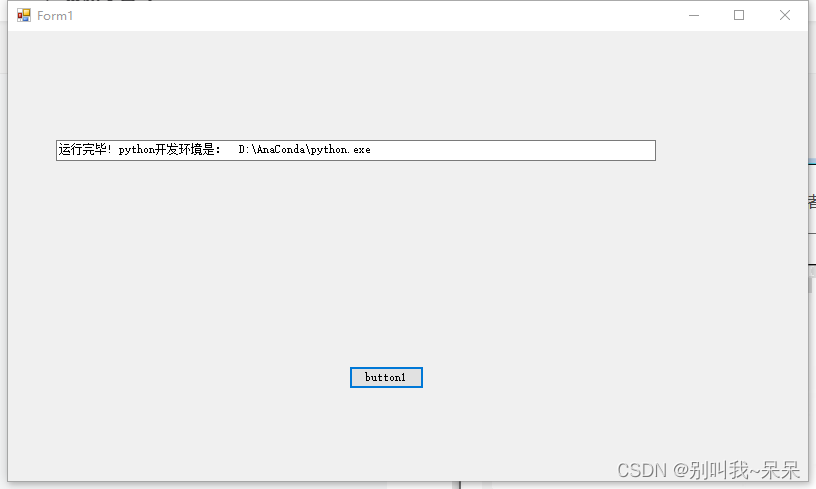
在那个文本框内输出运行结束的标识和我自己C#中调用的Python环境。
最后再附上C#的代码供大家一块学习。
using System;
using System.Collections.Generic;
using System.ComponentModel;
using System.Data;
using System.Diagnostics;
using System.Drawing;
using System.Linq;
using System.Text;
using System.Windows.Forms;
using IronPython.Hosting;
using Microsoft.Scripting.Hosting;

namespace Calling_Py
{
    public partial class Form1 : Form
    {

        public Form1()
        {
            InitializeComponent();

        }

        private void Form1_Load(object sender, EventArgs e)
        {

        }
        private void button1_Click(object sender, EventArgs e)
        {
            Process process = new Process();
            process.StartInfo.FileName = "cmd.exe";

            process.StartInfo.UseShellExecute = false;
            process.StartInfo.RedirectStandardInput = true;
            process.StartInfo.RedirectStandardOutput = true;
            process.StartInfo.CreateNoWindow = true;
            process.Start();

            // 切换到虚拟环境
            process.StandardInput.WriteLine("activate wokespace");
            process.StandardInput.Flush();

            // 执行Python脚本
            process.StandardInput.WriteLine("python wuzi.py");
            process.StandardInput.Flush();

            process.StandardInput.Close();
            string output = process.StandardOutput.ReadToEnd();
            process.WaitForExit();

            // 处理输出结果
            Console.WriteLine(output);

            //显示运行结束的标志到对话框
            ProcessStartInfo start = new ProcessStartInfo();
            start.FileName = "python";
            start.Arguments = "-c \"import sys; print('运行完毕! python开发环境是: ',sys.executable)\"";
            start.UseShellExecute = false;
            start.RedirectStandardOutput = true;

            Process process2 = Process.Start(start);
            string output2 = process2.StandardOutput.ReadToEnd();

            txtResult.Text = output2.Trim();
        }

        private void textBox1_TextChanged(object sender, EventArgs e)
        {


        }
    }
}
这里C#直接调用python中.py文件中需要C#安装一个IronPython的工具包,一定看好了他的版本和自己的.net版本对应,其次就是把运行的,py文件放到“your_project_name\your_project_name\bin\Debug ”下面


 被折叠的 条评论
为什么被折叠?
被折叠的 条评论
为什么被折叠?
 到【灌水乐园】发言


