


ubuntu22.04@laptop OpenCV Get Started: 011_edge_detection
1. 源由
边缘检测是一种图像处理技术,用于识别图像中对象或区域的边界(边缘)。边缘是与图像相关联的最重要的特征之一。
像素强度的突然变化是边缘的特征,在相邻像素中找到这种变化,就找到了边缘,通过图像的边缘了解图像的基本结构。因此,计算机视觉处理应用中广泛使用边缘检测。
接下来,让我们使用OpenCV中提供的两种重要边缘检测算法进行探索:
2. edge_detection应用Demo
011_edge_detection是OpenCV通过两种边缘检测技术展示的示例程序。
2.1 C++应用Demo
C++应用Demo工程结构:
011_edge_detection/CPP$ tree .
.
├── CMakeLists.txt
├── edge_detection.cpp
└── test.jpg

0 directories, 3 files
确认OpenCV安装路径:
$ find /home/daniel/ -name "OpenCVConfig.cmake"
/home/daniel/OpenCV/installation/opencv-4.9.0/lib/cmake/opencv4/
/home/daniel/OpenCV/opencv/build/OpenCVConfig.cmake
/home/daniel/OpenCV/opencv/build/unix-install/OpenCVConfig.cmake


$ export OpenCV_DIR=/home/daniel/OpenCV/installation/opencv-4.9.0/lib/cmake/opencv4/
C++应用Demo工程编译执行:
$ mkdir build
$ cd build
$ cmake ..
$ cmake --build . --config Release
$ cd ..
$ ./build/edge_detection
2.2 Python应用Demo
Python应用Demo工程结构:
011_edge_detection/Python$ tree .
.
├── edge_detection.py
├── requirements.txt
└── test.jpg

0 directories, 3 files
Python应用Demo工程执行:
$ workoncv-4.9.0
$ python edge_detection.py
3. 重点逐步分析
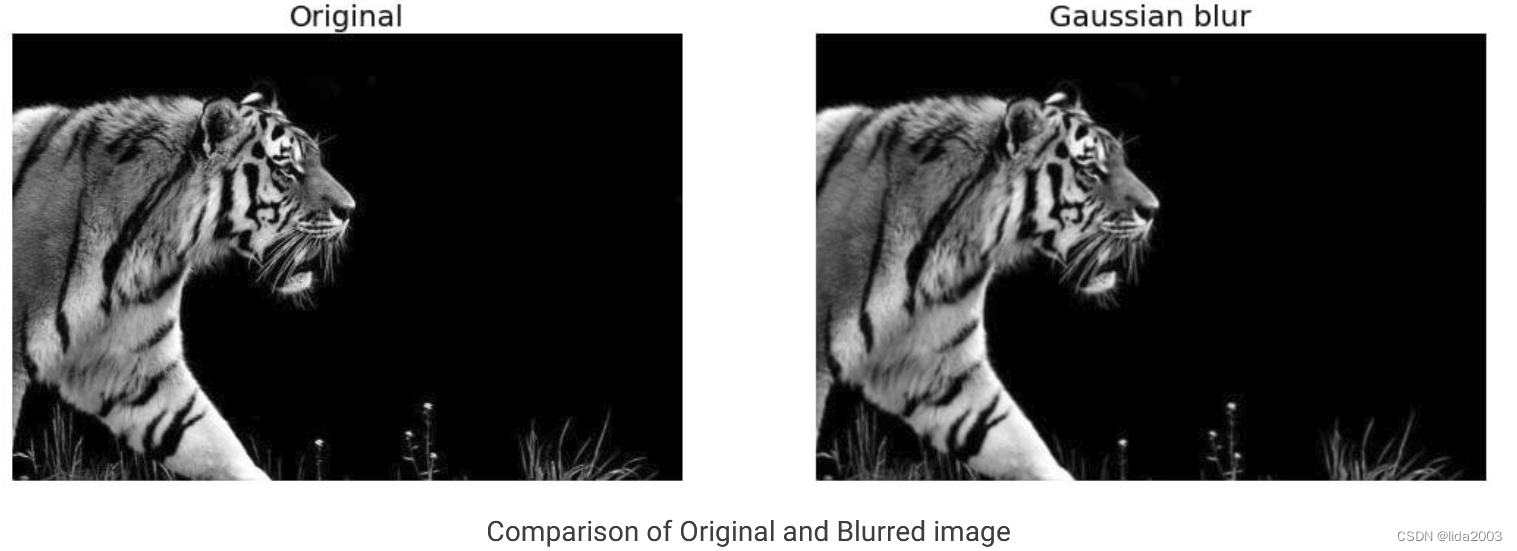
3.1 GaussianBlur去噪
严重的噪声对于边缘检测是非常不利的因素之一。因此,在边缘检测过程之前,先进行一个去噪的动作。
这里采用了一个3x3的矩阵进行 GaussianBlur(src, dst, ksize, sigmaX, sigmaY)去噪。
C++:
// Blur the image for better edge detection
Mat img_blur;
GaussianBlur(img, img_blur, Size(3,3), SigmaX=0, SigmaY=0);
Python:
# Blur the image for better edge detection
img_blur = cv2.GaussianBlur(img,(3,3), SigmaX=0, SigmaY=0)
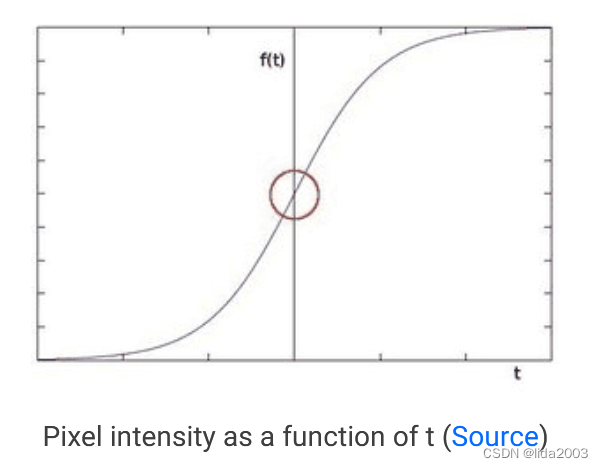
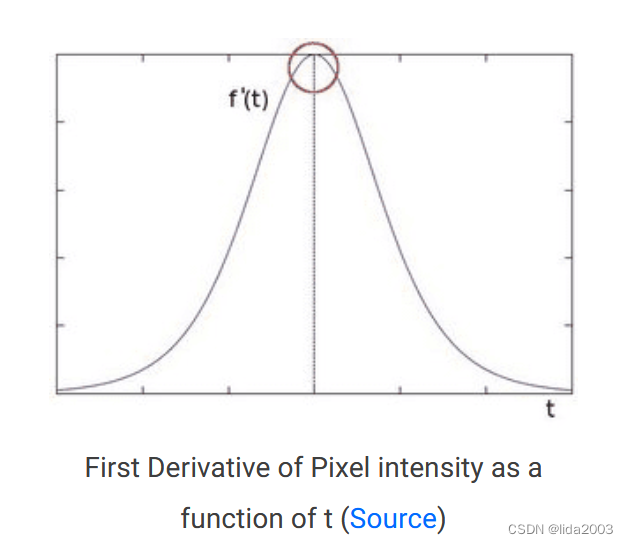
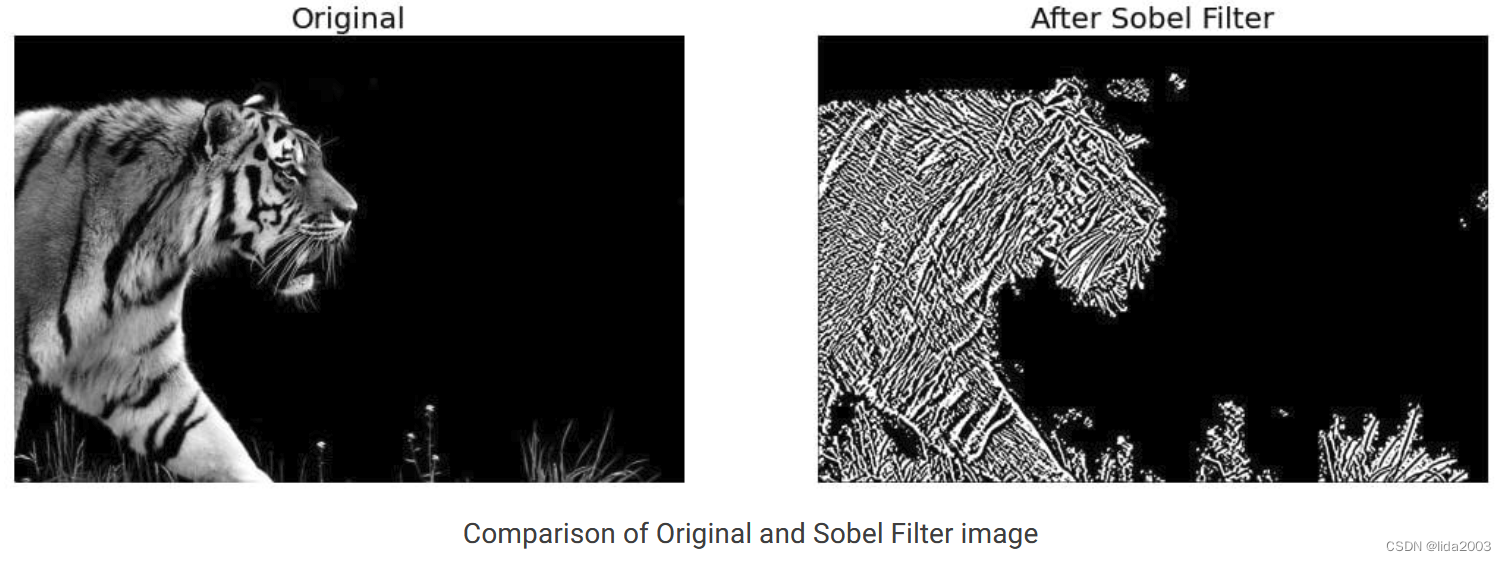
3.2 Sobel边缘检测
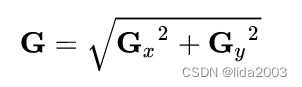
Sobel边缘检测的主要依据就是像素灰度微分变化出现极值,如下图所示:
在计算机二维运算过程中 A A A表示像素矩阵数据,用 G x G_x Gx代表 X X X方向上的微分, G y G_y Gy代表 Y Y Y方向上的微分, G G G代表图像总的微分值。
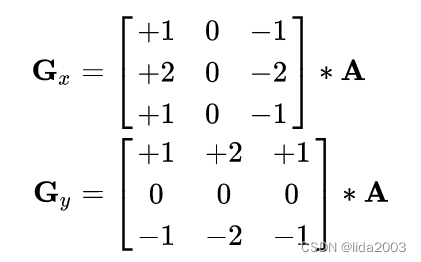
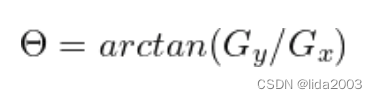
微分变化方向可以通过三角函数获取
θ
\theta
θ:
3.2.1 SobelX方向边缘检测
C++:
Sobel(img_blur, sobelx, CV_64F, 1, 0, 5);
Python:
sobelx = cv2.Sobel(src=img_blur, ddepth=cv2.CV_64F, dx=1, dy=0, ksize=5) # Sobel Edge Detection on the X axis
3.2.2 SobelY方向边缘检测
C++:
Sobel(img_blur, sobely, CV_64F, 0, 1, 5);
Python:
sobely = cv2.Sobel(src=img_blur, ddepth=cv2.CV_64F, dx=0, dy=1, ksize=5) # Sobel Edge Detection on the Y axis

3.2.3 SobelXY方向边缘检测
C++:
Sobel(img_blur, sobelxy, CV_64F, 1, 1, 5);
Python:
sobelxy = cv2.Sobel(src=img_blur, ddepth=cv2.CV_64F, dx=1, dy=1, ksize=5) # Combined X and Y Sobel Edge Detection

3.3 Canny边缘检测
Canny边缘检测是当今使用的最流行的边缘检测方法之一,因为它非常稳健和灵活。
除了前面两个阶段:
- Noise Reduction
- Calculating the Intensity Gradient of the Image
增加两个新增阶段:
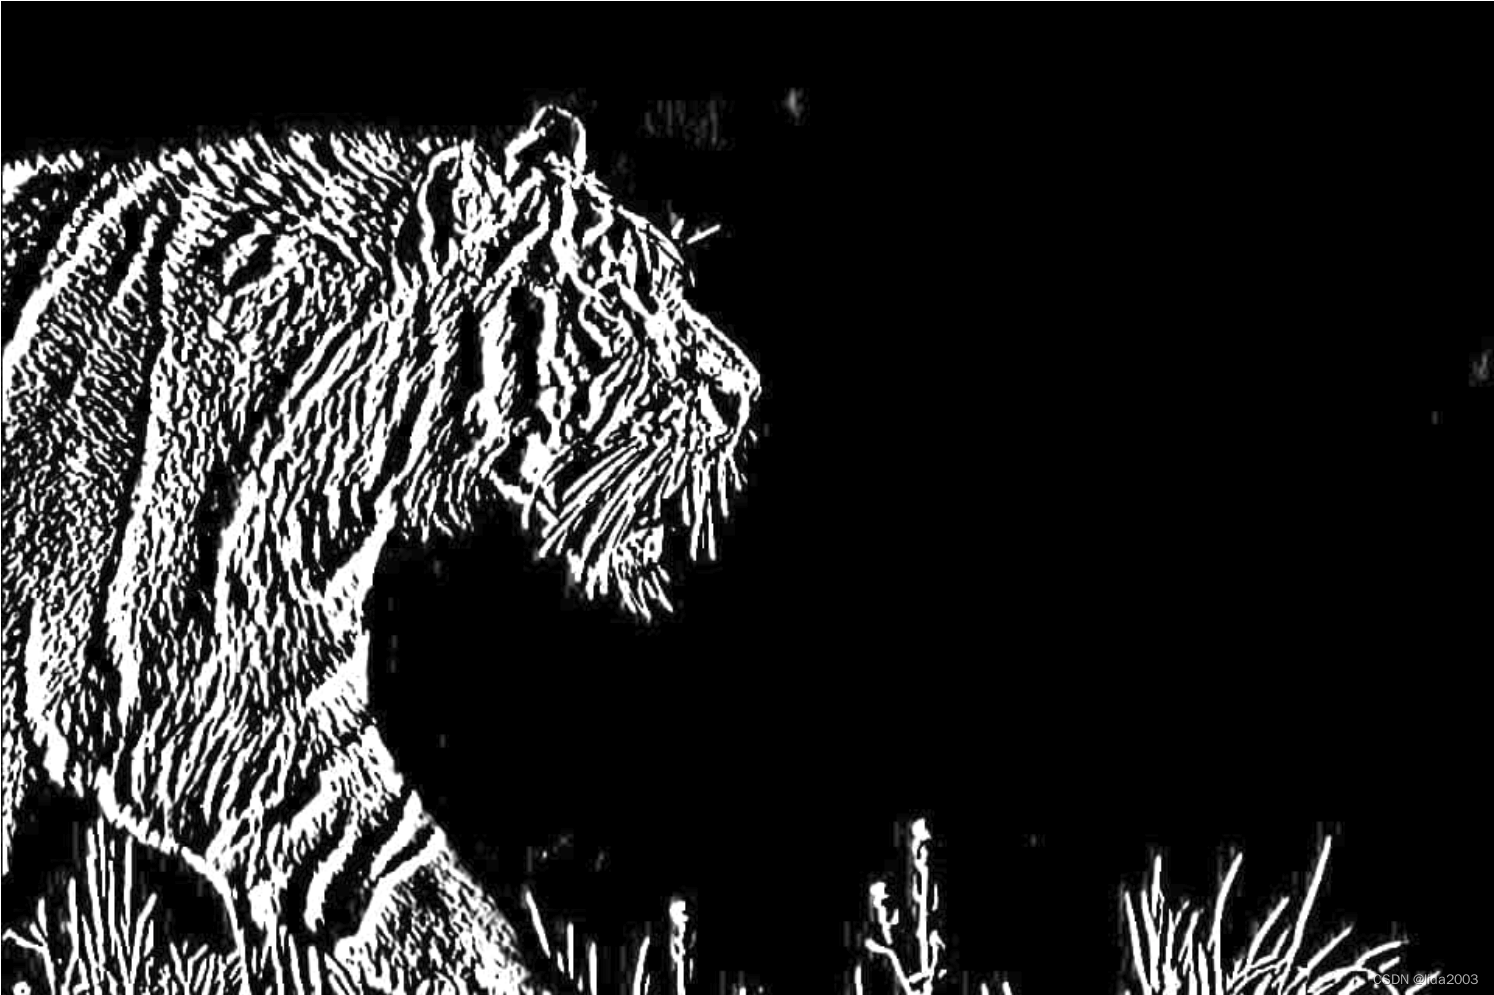
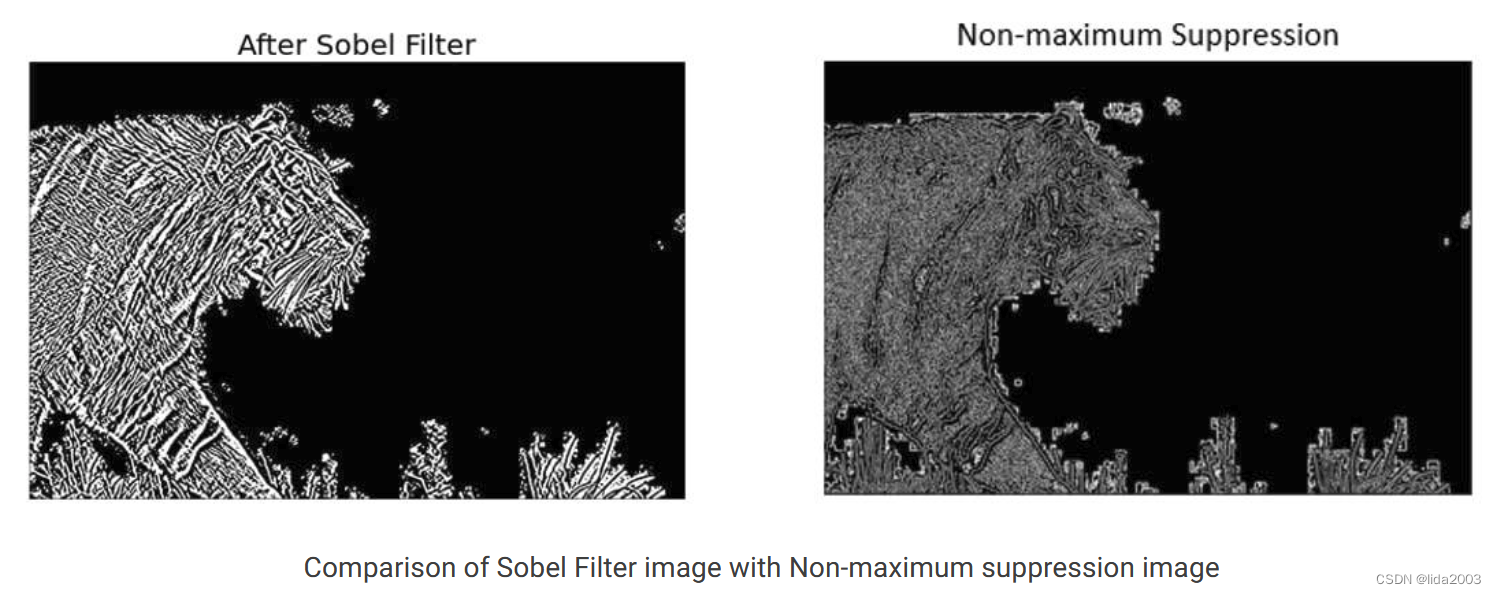
3. Suppression of False Edges
如果当前像素的梯度大小大于其相邻像素,则保持不变。否则,当前像素的大小将设置为零。正如你所看到的,与老虎皮毛相关的许多“边缘”都被显著地抑制了。
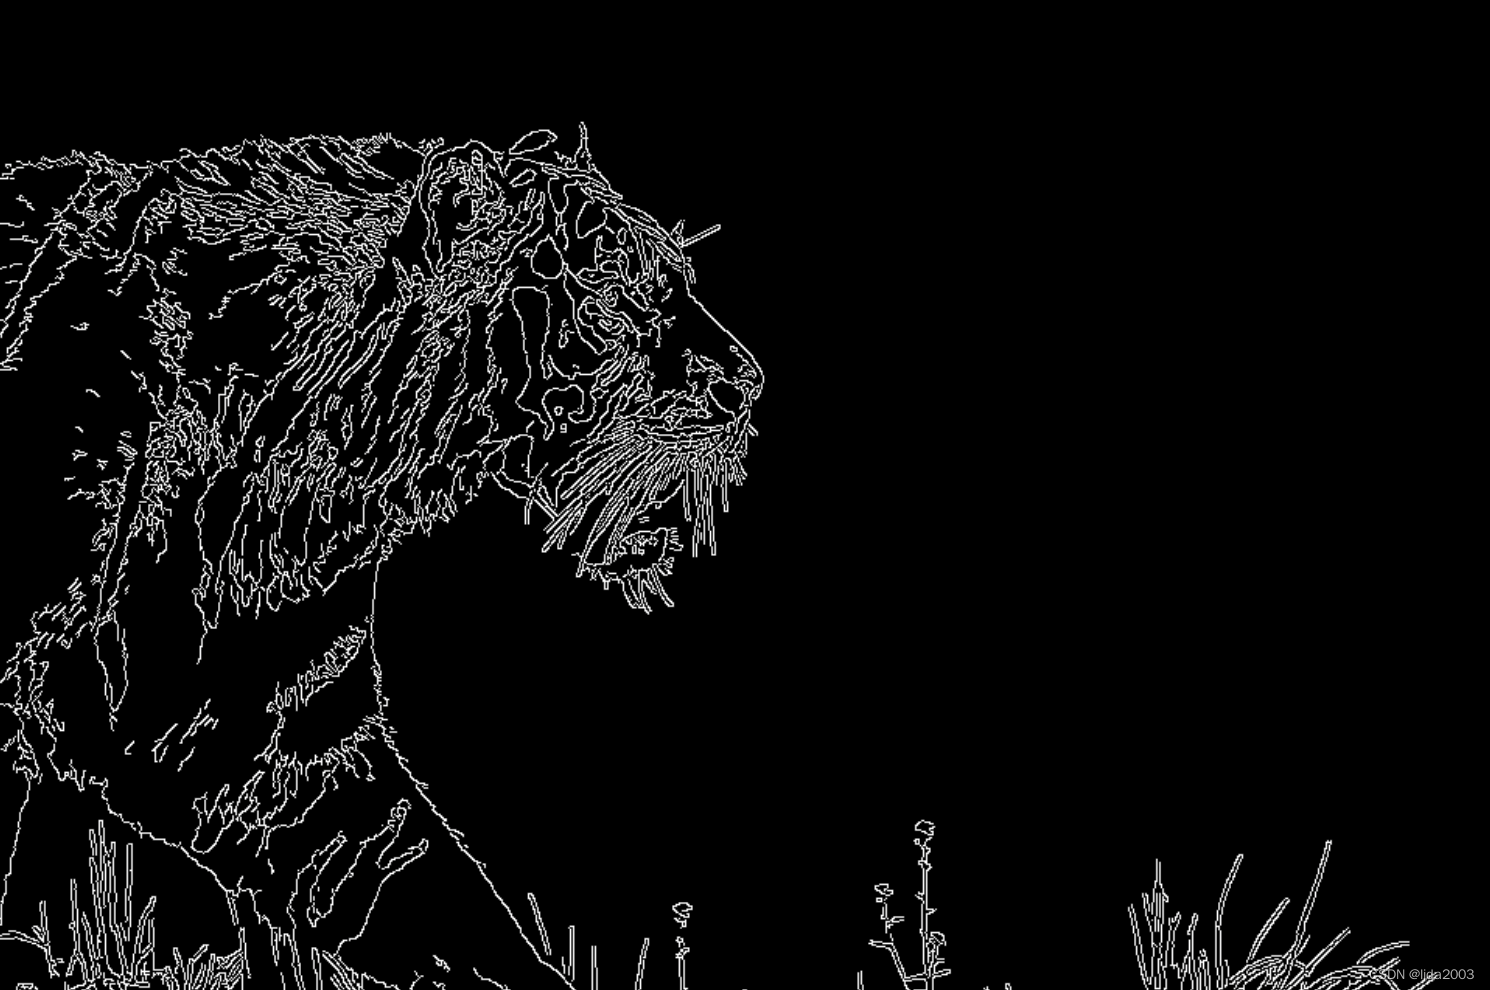
- Hysteresis Thresholding
- 如果梯度幅度值高于较大的阈值,则这些像素与实体边缘相关联,并被包括在最终的边缘图中。
- 如果梯度幅度值低于较小的阈值,则像素被抑制并从最终边缘图中排除。
- 梯度幅度在这两个阈值之间的所有其他像素都被标记为“弱”边缘(即,它们成为被包括在最终边缘图中的候选者)。
- 如果“弱”像素连接到与实心边相关联的像素,则它们也会包含在最终的边贴图中。
C++:
// Canny edge detection
Mat edges;
Canny(img_blur, edges, 100, 200, 3, false);
Python:
# Canny Edge Detection
edges = cv2.Canny(image=img_blur, threshold1=100, threshold2=200)
4. 总结
本文通过Sobel和Canny方法对图像进行边缘检测操作,从原理上讲解了Canny边缘检测实际上是如何使用Sobel算子来计算数值导数的。
Canny算法的稳健和灵活,甚至使用非最大值抑制和滞后阈值来最大限度地发挥优势,使得Canny边缘检测是执行边缘检测的首选和最广泛使用的方法。
- src input image.
- ddepth output image depth, see combinations; in the case of 8-bit input images it will result in truncated derivatives.
- dx order of the derivative x.
- dy order of the derivative y.
- image 8-bit input image.
- edges output edge map; single channels 8-bit image, which has the same size as image .
- threshold1 first threshold for the hysteresis procedure.
- threshold2 second threshold for the hysteresis procedure.
5. 参考资料
【1】ubuntu22.04@laptop OpenCV Get Started
【2】ubuntu22.04@laptop OpenCV安装
【3】ubuntu22.04@laptop OpenCV定制化安装
6. 补充
学习是一种过程,对于前面章节学习讨论过的,就不在文中重复了。
有兴趣了解更多的朋友,请从《ubuntu22.04@laptop OpenCV Get Started》开始,一个章节一个章节的了解,循序渐进。


 1068
1068

 被折叠的 条评论
为什么被折叠?
被折叠的 条评论
为什么被折叠?
 到【灌水乐园】发言


