


1.框架搭建
1.引入依赖,配置数据库
		<!-- MySQL的JDBC驱动包	-->
		<dependency>
			<groupId>mysql</groupId>
			<artifactId>mysql-connector-java</artifactId>
			<scope>runtime</scope>
		</dependency>
		<!--加入mybatis依赖-->
		<!-- 引入starter-->
		<dependency>
			<groupId>org.mybatis.spring.boot</groupId>
			<artifactId>mybatis-spring-boot-starter</artifactId>
			<version>1.3.2</version>
		</dependency>
#可以自动识别
#spring.datasource.driver-class-name =com.mysql.jdbc.Driver
spring.datasource.url=jdbc:mysql://localhost:3306/xdclass?useUnicode=true&characterEncoding=utf-8
spring.datasource.username =root
spring.datasource.password =123456
#如果不使用默认的数据源 (com.zaxxer.hikari.HikariDataSource)
spring.datasource.type =com.alibaba.druid.pool.DruidDataSource
# mybatis 下划线转驼峰配置,两者都可以
#mybatis.configuration.mapUnderscoreToCamelCase=true
mybatis.configuration.map-underscore-to-camel-case=true
#打印sql,方便调试
mybatis.configuration.log-impl=org.apache.ibatis.logging.stdout.StdOutImpl
2.创建文件夹,并添加注解
- 创建mapper文件夹
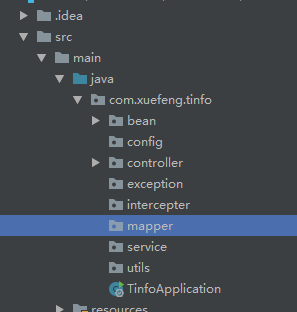
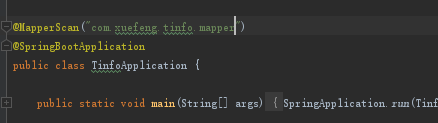
- 添加MapperScan注解
在springboot的启动类添加注解@MapperScan(“包名”)
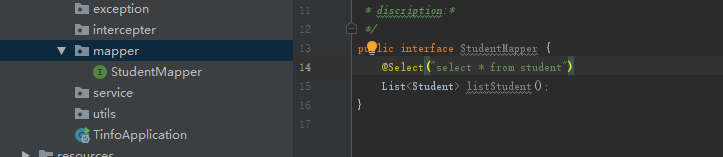
3.编写mapper
创建接口并编写mapper
4.注解学习(待续。。。)
5.mybatis分页插件的使用
1.引入依赖
<!-- 分页插件依赖 -->
		<dependency>
			<groupId>com.github.pagehelper</groupId>
			<artifactId>pagehelper</artifactId>
			<version>4.1.0</version>
		</dependency>
2.配置该插件
@Configuration
public class MyBatisConfig {
    @Bean
    public PageHelper pageHelper(){
        PageHelper pageHelper = new PageHelper();
        Properties p = new Properties();
        // 设置为true时,会将RowBounds第一个参数offset当成pageNum页码使用
        p.setProperty("offsetAsPageNum","true");
        //设置为true时,使用RowBounds分页会进行count查询
        p.setProperty("rowBoundsWithCount","true");
        p.setProperty("reasonable","true");
        pageHelper.setProperties(p);
        return pageHelper;
    }
}


 840
840

 被折叠的 条评论
为什么被折叠?
被折叠的 条评论
为什么被折叠?
 到【灌水乐园】发言


