一、代码
#include "stm32f10x.h"
#include "delay.h"

int main(void)
{
	/*开启时钟*/
	//要点亮PAO口的LED,所以外设选择RCC_APB2外设GPIOA这一项,放到第一个参数,ENABLE使能开启

	RCC_APB2PeriphClockCmd(RCC_APB2Periph_GPIOA, ENABLE);	//开启GPIOA的时钟
															//使用各个外设前必须开启时钟,否则对外设的操作无效

	/*GPIO初始化*/
	GPIO_InitTypeDef GPIO_InitStructure;					//定义结构体变量

	GPIO_InitStructure.GPIO_Mode = GPIO_Mode_Out_PP;		//GPIO模式,赋值为推挽输出模式
	GPIO_InitStructure.GPIO_Pin = GPIO_Pin_0;				//GPIO引脚,赋值为所有引脚
	GPIO_InitStructure.GPIO_Speed = GPIO_Speed_50MHz;		//GPIO速度,赋值为50MHz

	GPIO_Init(GPIOA, &GPIO_InitStructure);					//将赋值后的构体变量传递给GPIO_Init函数
															//函数内部会自动根据结构体的参数配置相应寄存器
															//实现GPIOA的初始化

	while(1)
	{
		GPIO_ResetBits(GPIOA, GPIO_Pin_0);//灯亮
		Delay_ms(1000);
		GPIO_SetBits(GPIOA, GPIO_Pin_0);//灯灭
		Delay_ms(1000);


		GPIO_WriteBit(GPIOA, GPIO_Pin_0,Bit_RESET);//灯亮
		Delay_ms(1000);
		GPIO_WriteBit(GPIOA, GPIO_Pin_0,Bit_SET);//灯灭
		Delay_ms(1000);

		GPIO_WriteBit(GPIOA, GPIO_Pin_0,(BitAction)0);//灯亮     (BitAction)强制类型转化成枚举类型
		Delay_ms(1000);
		GPIO_WriteBit(GPIOA, GPIO_Pin_0,(BitAction)1);//灯灭
		Delay_ms(1000);
	}
}
二、对于一些函数的解释
1、RCC
a、选择外设
Enables or disables the High Speed APB (APB2) peripheral clock.
AHB外设时钟控制的函数就是使能、失能AHB外设时钟
RCC_APB2Periph: specifies the APB2 peripheral to gates its clock.
选择那个外设
b、参数的表示
APB1,和APB2外设时钟控制操作方法一样
RCC_APB2PeriphClockCmd(uint32_t RCC_APB2Periph, FunctionalState NewState)
第一个参数选择外设,第二个参数使能或失能
c、重要的三个函数
void RCC_AHBPeriphClockCmd(uint32_t RCC_AHBPeriph, FunctionalState NewState);
void RCC_APB2PeriphClockCmd(uint32_t RCC_APB2Periph, FunctionalState NewState);
void RCC_APB1PeriphClockCmd(uint32_t RCC_APB1Periph, FunctionalState NewState);
2、GPIO
a、复位函数
void GPIO_DeInit(GPIO_TypeDef* GPIOx);
参数可以写GPIOA,GPIOB等
调用这个函数,所指定的GPIO外设就会被复位
void GPIO_AFIODeInit(void);
复位AFIO
b、初始化GPIO口
void GPIO_Init(GPIO_TypeDef* GPIOx, GPIO_InitTypeDef* GPIO_InitStruct);
函数的作用:用结构体的参数来初始化GPIO口(初始化外设)
需要先定义一个结构体变量,然后给结构体变量赋值,最后调用这个函数,
这个函数内部会自动读取结构体的值,然后自动把外设的参数配置好
void GPIO_StructInit(GPIO_InitTypeDef* GPIO_InitStruct);
函数的作用:把结构体变量附一个默认值
uint8_t GPIO_ReadInputDataBit(GPIO_TypeDef* GPIOx, uint16_t GPIO_Pin);
uint16_t GPIO_ReadInputData(GPIO_TypeDef* GPIOx);
uint8_t GPIO_ReadOutputDataBit(GPIO_TypeDef* GPIOx, uint16_t GPIO_Pin);
uint16_t GPIO_ReadOutputData(GPIO_TypeDef* GPIOx);
GPIO的读取函数
c、读写IO口的功能
void GPIO_SetBits(GPIO_TypeDef* GPIOx, uint16_t GPIO_Pin);
void GPIO_ResetBits(GPIO_TypeDef* GPIOx, uint16_t GPIO_Pin);
void GPIO_WriteBit(GPIO_TypeDef* GPIOx, uint16_t GPIO_Pin, BitAction BitVal);
void GPIO_Write(GPIO_TypeDef* GPIOx, uint16_t PortVal);
GPIO的写入函数
d、GPIO的8种工作魔术
GPIO_Mode_AIN = 0x0,----------------------------------- 模拟输入
GPIO_Mode_IN_FLOATING = 0x04,----------------------- 浮空输入
GPIO_Mode_IPD = 0x28,---------------------------------- 下拉输入
GPIO_Mode_IPU = 0x48,---------------------------------- 上拉输入
GPIO_Mode_Out_OD = 0x14,----------------------------- 开漏输出
GPIO_Mode_Out_PP = 0x10,------------------------------ 推挽输出
GPIO_Mode_AF_OD = 0x1C,------------------------------ 复用开漏
GPIO_Mode_AF_PP = 0x18-------------------------------- 复用推挽
e、四个函数的意义
GPIO_ResetBits(GPIOA, GPIO_Pin_0);
参数把指定位置设置高电平
GPIO_SetBits(GPIOA, GPIO_Pin_0);
参数把指定位置设置低电平
void GPIO_WriteBit(GPIO_TypeDef* GPIOx, uint16_t GPIO_Pin, BitAction BitVal);
三个参数,前俩个指定端口,第三个BitVal根据第三个参数的值来设制指定端口(有点像51)
void GPIO_Write(GPIO_TypeDef* GPIOx, uint16_t PortVal);
第一个参数选择外设,第二个参数是PortVal,这个函数可以同时对16个端口进行写如数据
三、推挽输出和驱动输出的开漏问题?
在推挽模式下高低电平都是有驱动能力的
开漏输出高电平相当于高阻态是不具有驱动能力的,低电平具有驱动能力
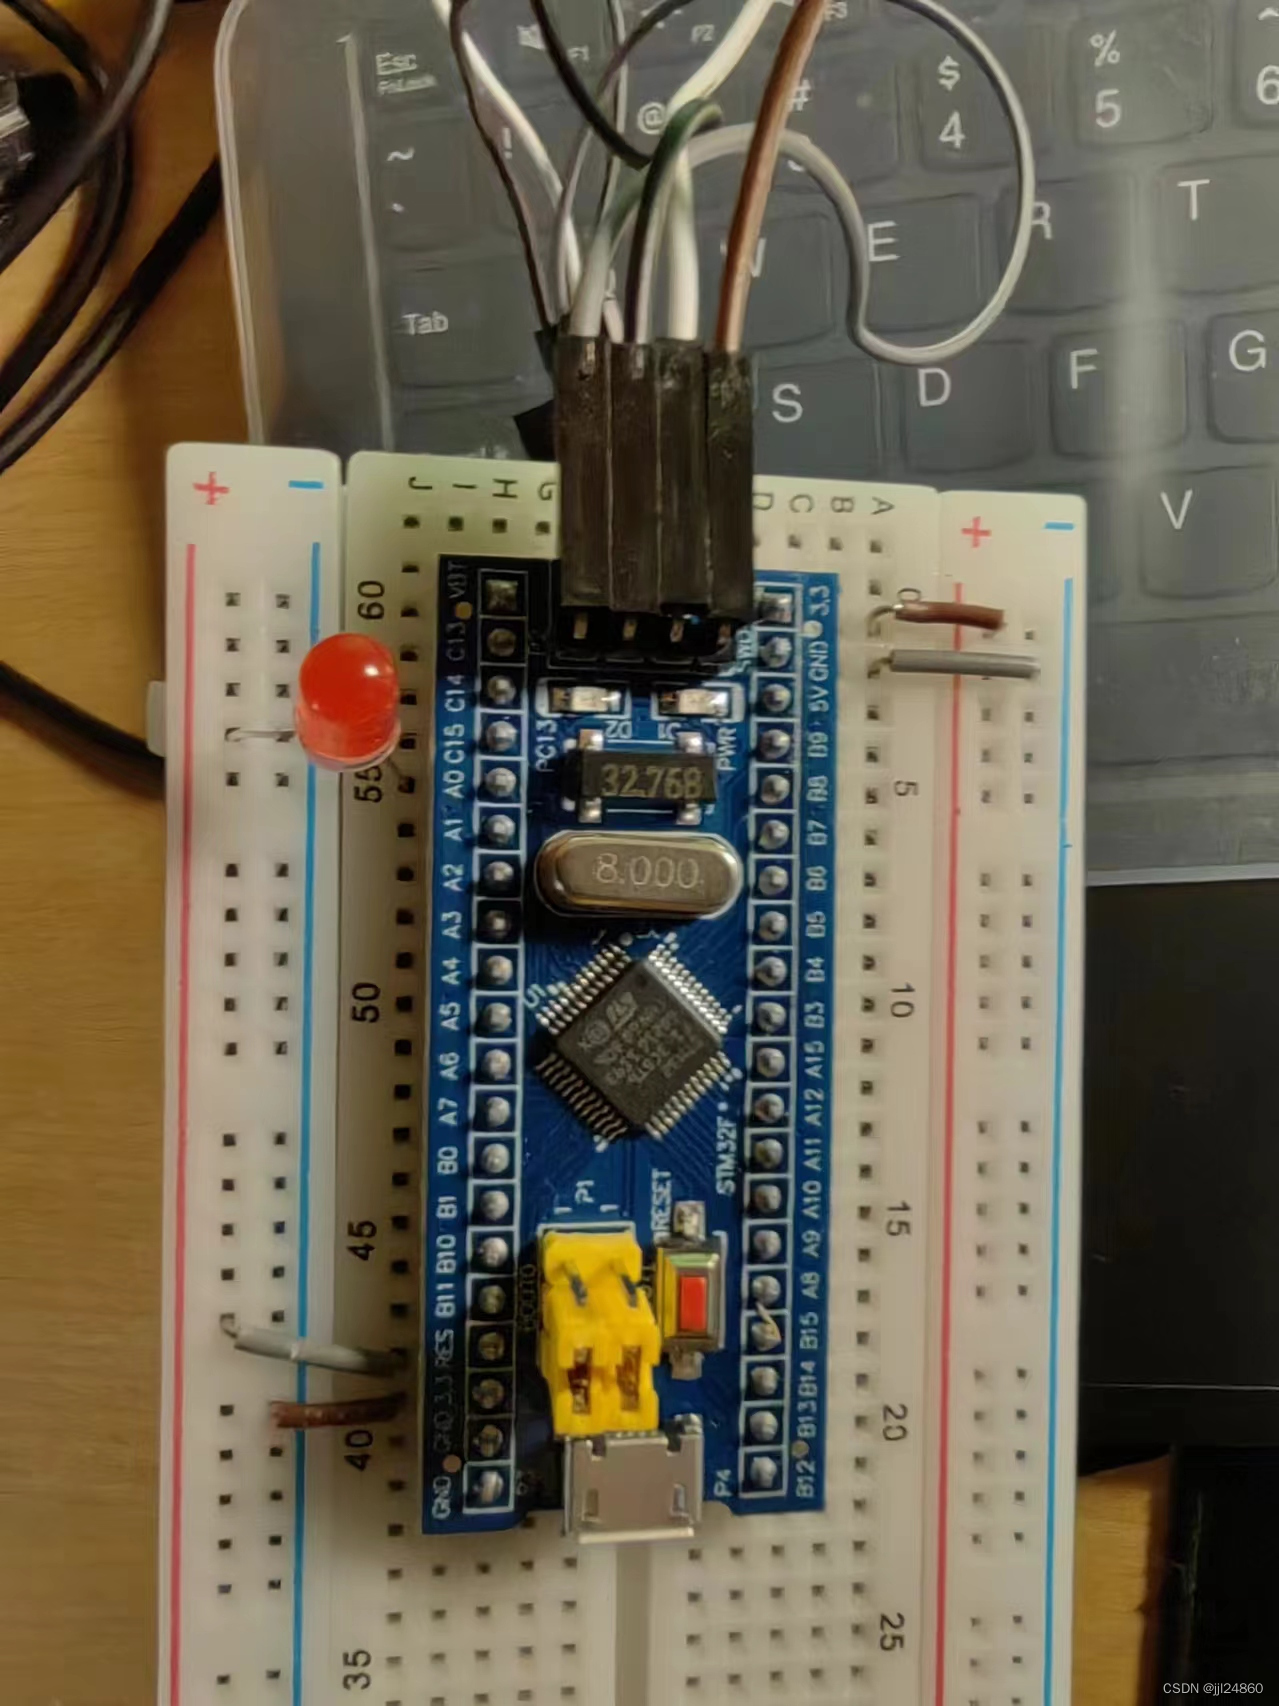
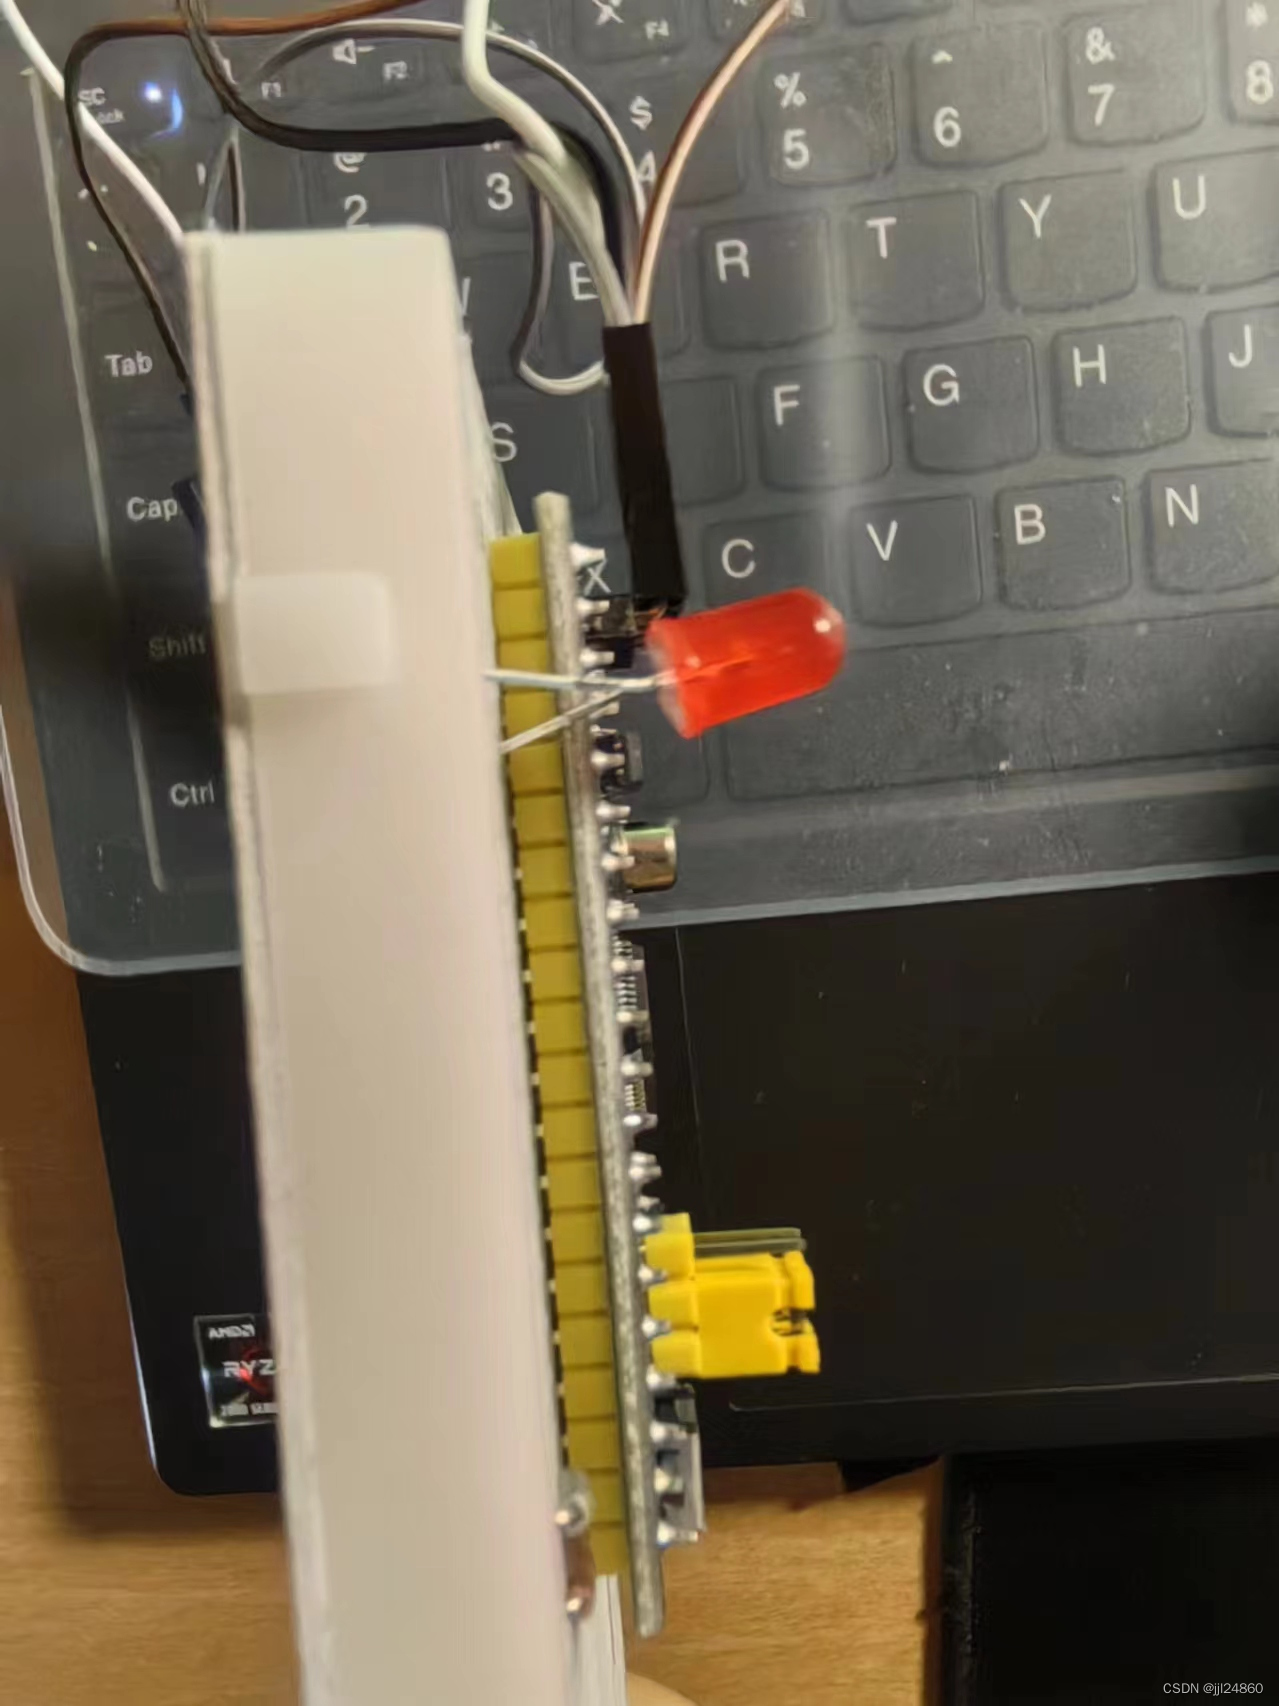
四、接线


 1155
1155

 被折叠的 条评论
为什么被折叠?


