


一、前情提要
1.项目介绍
2.项目demo
3.项目结构
D:
├── ProgramData
│ │ ├── anaconda3
├──Project
│ ├── SenseVoice
│ │ ├──iic
二、环境部署
1.anaconda安装
下载地址:Anaconda Installers and Packages
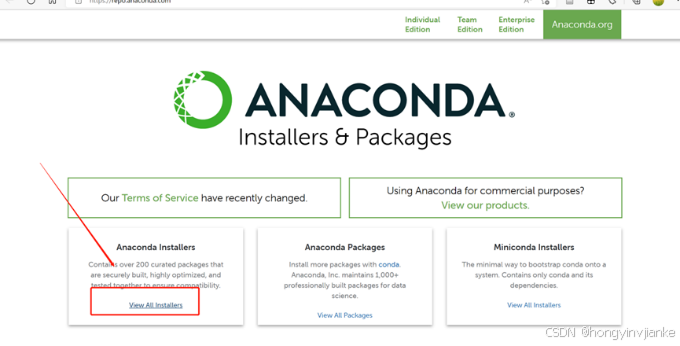
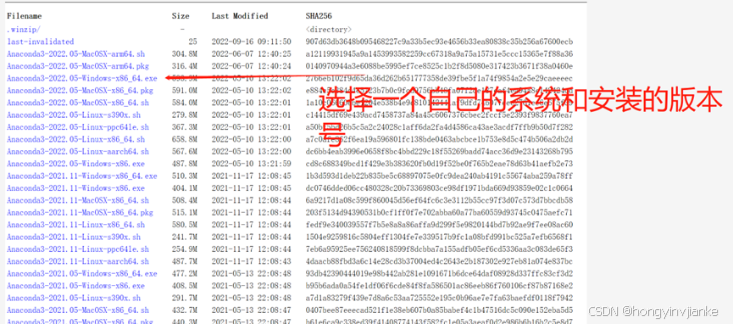
下载好后,双击进行安装。(注意:安装位置在D:\ProgramData\anaconda3)
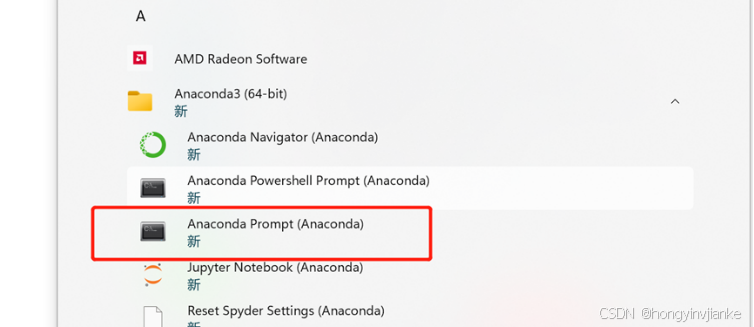
出现Anaconda Prompt说明安装成功。
2.项目下载
cd /d D:\Project
git clone --recursive https://github.com/FunAudioLLM/SenseVoice.git
3.创建conda虚拟环境并下载依赖
打开Anaconda Prompt
cd /d D:\Project\SenseVoice
conda create -n sensevoice python=3.10
conda activate sensevoice
pip install -r requirements.txt -i https://mirrors.aliyun.com/pypi/simple/ --trusted-host=mirrors.aliyun.com
4.下载模型
cd /d D:\Project\SenseVoice\iic
git clone https://www.modelscope.cn/iic/SenseVoiceSmall.git
三、项目部署
1.使用webui部署
cd /d D:\Project\SenseVoice
python webui.py --port 50000
2.使用fastapi部署
cd /d D:\Project\SenseVoice创建main.py文件
from fastapi import FastAPI, File, UploadFile
from funasr import AutoModel
from funasr.utils.postprocess_utils import rich_transcription_postprocess
from fastapi.staticfiles import StaticFiles
import shutil
import uuid
import os
from fastapi.openapi.docs import (
    get_redoc_html,
    get_swagger_ui_html,
    get_swagger_ui_oauth2_redirect_html,
)

app = FastAPI(docs_url=None, redoc_url=None)
app.mount("/static", StaticFiles(directory="../static"), name="static")
#模型文件存放位置
model_dir = "iic/SenseVoiceSmall"
model = AutoModel(
    model=model_dir,
    trust_remote_code=True,
    remote_code="./model.py",
    vad_model="fsmn-vad",
    vad_kwargs={"max_single_segment_time": 30000},
    device="cuda:0",
)

@app.post("/")
def upload_file(file: UploadFile = File(...)):
    #生成文件uuid
    filename = "./upload" + str(uuid.uuid4()) + ".wav"
    #保存上传的语音文件
    with open(filename, "wb") as buffer:
        shutil.copyfileobj(file.file, buffer)
    file.file.close()
    #执行模型
    res = model.generate(
    input=f"{model.model_path}/example/en.mp3",
    cache={},
    language="auto",  # "zh", "en", "yue", "ja", "ko", "nospeech"
    use_itn=True,
    batch_size_s=60,
    merge_vad=True,
    merge_length_s=15,
)
    #生成文本
    result = rich_transcription_postprocess(res[0]["text"])
    #删除上传的语音文件
    os.remove(filename)

    return {"result": result}


@app.get("/docs", include_in_schema=False)
async def custom_swagger_ui_html():
    return get_swagger_ui_html(
        openapi_url=app.openapi_url,
        title=app.title + " - Swagger UI",
        oauth2_redirect_url=app.swagger_ui_oauth2_redirect_url,
        swagger_js_url="/static/swagger-ui-bundle.js",
        swagger_css_url="/static/swagger-ui.css",
    )


@app.get(app.swagger_ui_oauth2_redirect_url, include_in_schema=False)
async def swagger_ui_redirect():
    return get_swagger_ui_oauth2_redirect_html()


@app.get("/redoc", include_in_schema=False)
async def redoc_html():
    return get_redoc_html(
        openapi_url=app.openapi_url,
        title=app.title + " - ReDoc",
        redoc_js_url="/static/redoc.standalone.js",
    )
若使用swagger,需要添加css和js文件(参考依据:https://fastapi.tiangolo.com/zh/how-to/custom-docs-ui-assets/#download-the-files)
.
├── CosyVoice
│ ├── main.py
└── static
├── redoc.standalone.js
├── swagger-ui-bundle.js
└── swagger-ui.css
运行python文件
uvicorn main:app --host 0.0.0.0 --port 8001 --reload


 2738
2738

 被折叠的 条评论
为什么被折叠?
被折叠的 条评论
为什么被折叠?
 到【灌水乐园】发言


