 Web端实现MMD动画播放教程


前言
本文的目标是教会初学者实现对MMD模型的引入以及动作、镜头文件的绑定模型的功能,实现在web端播放MMD动画的效果。
官方mmd内容现状
最新版本的threejs的官方文档已经查不到任何有关mmd的例子了,有些朋友找到网上一些旧的案例也会因为版本太老或者不太清楚官方最近做了什么改动而实现mmd功能不成功
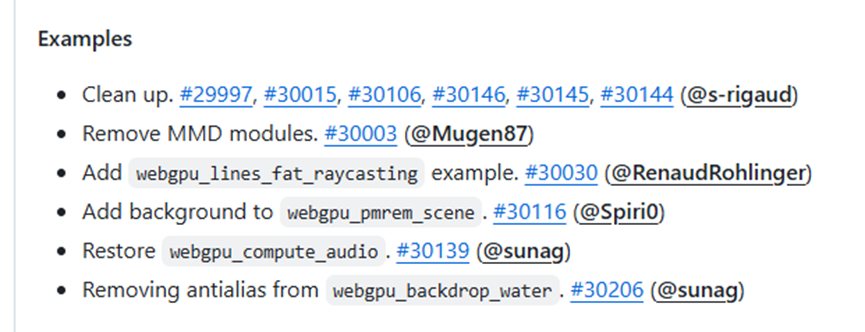
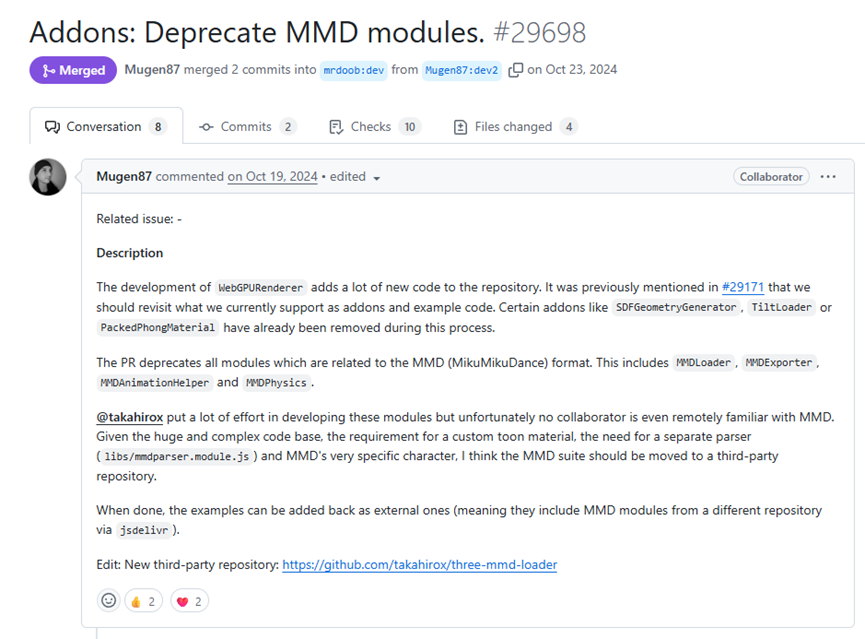
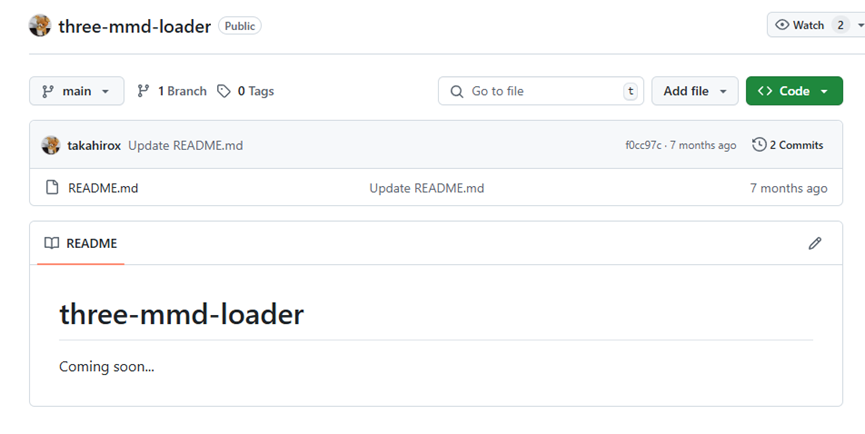
原因是因为官方在172版本删除了mmd的内容,而替代方案又处于一种coming soon的状态
截图自three官方github:
MMD相关知识
模型文件是pmx,模型会有贴图,不要只把mmd资源中的pmx单独提出来会导致模型加载的问题,下载的模型文件如果是个压缩包,解压出来的文件夹最好一起复制到你项目的静态资源文件目录下,避免贴图丢失等问题
动作文件和镜头文件是vmd,通常单独为一个文件
我建议初学的人直接去模之屋找别人已经做好的,地址:www.aplaybox.com
技术版本
| 技术 | 版本 |
|---|---|
| Node.js | 18.20.7 |
| three.js | 0.170.0 |
版本不必与本人的相同,但是注意threejs的版本一定要选择172版本以下的
指定版本安装👇
npm install three@0.1xx.0
主要代码相关内容
index.html
<!DOCTYPE html>
<html lang="en">

<head>
  <meta charset="UTF-8">
  <meta name="viewport" content="width=device-width, initial-scale=1.0">
  <title>Document</title>
  <link href="./styles/main.css" rel="stylesheet" type="text/css">
  <style>
    body {
      margin: 0;
    }
  </style>
  <script src="./node_modules/three/examples/jsm/libs/ammo.wasm.js"></script>
  <script type="module" src="./main.js"></script>
</head>

<body>
  <div id="scene-container">
  </div>
</body>
</html>
注意事项:ammo.wasm.js文件的导入至关重要,可以通过网上获取或者直接从threejs依赖文件中提取,我这里直接将依赖中的对应文件导入,看个人或团队规范去选择自己需要的方式
main.css
body {
  margin: 0;
  overflow: hidden;
  text-align: center;
  font-size: 12px;
  font-family: Sans-Serif;
  color: #444;
  width: 100vw;
  height: 100vh;
}

h1 {
  position: absolute;
  width: 100%;
  z-index: 1;
}

#scene-container {
  position: absolute;
  width: 100%;
  height: 100%;
  background-color: black;
}
main.js
// 引入three.js
import * as THREE from 'three';
// 引入控制器
import { OrbitControls } from 'three/addons/controls/OrbitControls.js';
// 引入MMDLoader
import { MMDLoader } from 'three/examples/jsm/loaders/MMDLoader.js';
import { MMDAnimationHelper } from 'three/examples/jsm/animation/MMDAnimationHelper.js';

// 引入容器元素
const container = document.querySelector('#scene-container');

// 创建场景
const scene = new THREE.Scene();
// 设置场景背景色
scene.background = new THREE.Color('#999999');

// 相机参数设置
const fov = 35; // 视角
const aspect = container.clientWidth / container.clientHeight; // 宽高比
const near = 0.1; // 最近距离
const far = 900; // 最远距离

// 创建相机
const camera = new THREE.PerspectiveCamera(fov, aspect, near, far);

// 设置相机位置
camera.position.z = 75;
camera.position.y = 2;
camera.position.x = 2;
// 设置相机朝向
camera.lookAt(0, 0, 0);

// 添加世界坐标辅助器,可选
// const axesHelper = new THREE.AxesHelper(5);

// scene.add(axesHelper);

// 创建渲染器
const renderer = new THREE.WebGLRenderer();
// 渲染器设置
renderer.setSize(container.clientWidth, container.clientHeight);

renderer.setPixelRatio(window.devicePixelRatio);

renderer.physicallyCorrectLights = true;
// 将渲染器dom添加到容器中
container.append(renderer.domElement);

// 创建控制器
const controls = new OrbitControls(camera, renderer.domElement);
// 设置阻尼
controls.enableDamping = true;
// 设置阻尼系数
controls.dampingFactor = 0.05;
// 添加环境光
scene.add(new THREE.AmbientLight(0xffffff, 0.5));
// 创建平行光
const light = new THREE.DirectionalLight(0xffffff, 1);
// 设置平行光位置
light.position.set(1, 1, 1);
// 添加平行光
scene.add(light);

// 创建MMDLoader
const mmdLoader = new MMDLoader();
// 创建MMDAnimationHelper
const helper = new MMDAnimationHelper();

// 时间轴
const clock = new THREE.Clock();
// 加载mmd
Ammo().then(function (AmmoLib) {
  Ammo = AmmoLib;
  mmdLoader.loadWithAnimation(
    '模型文件.pmx',// 改成你的模型文件路径
    '动作文件.vmd',// 改成你的动作文件路径
    function (mmd) {
      // console.log(mmd);
      // 回调中添加模型到场景中
      scene.add(mmd.mesh);
      helper.add(mmd.mesh, {
        animation: mmd.animation,
        physics: true,
      });

      mmdLoader.loadAnimation(
        '镜头文件.vmd',// 改成你的镜头文件路径
        camera,
        function (cameraAnimation) {
          helper.add(camera, {
            animation: cameraAnimation,
          });
        },
        null,
        null
      );

      // 执行渲染
      function animate() {
        controls.update();
        requestAnimationFrame(animate);
        helper.update(clock.getDelta());
        renderer.render(scene, camera);
      }
      animate();
    }
  );
});
效果图
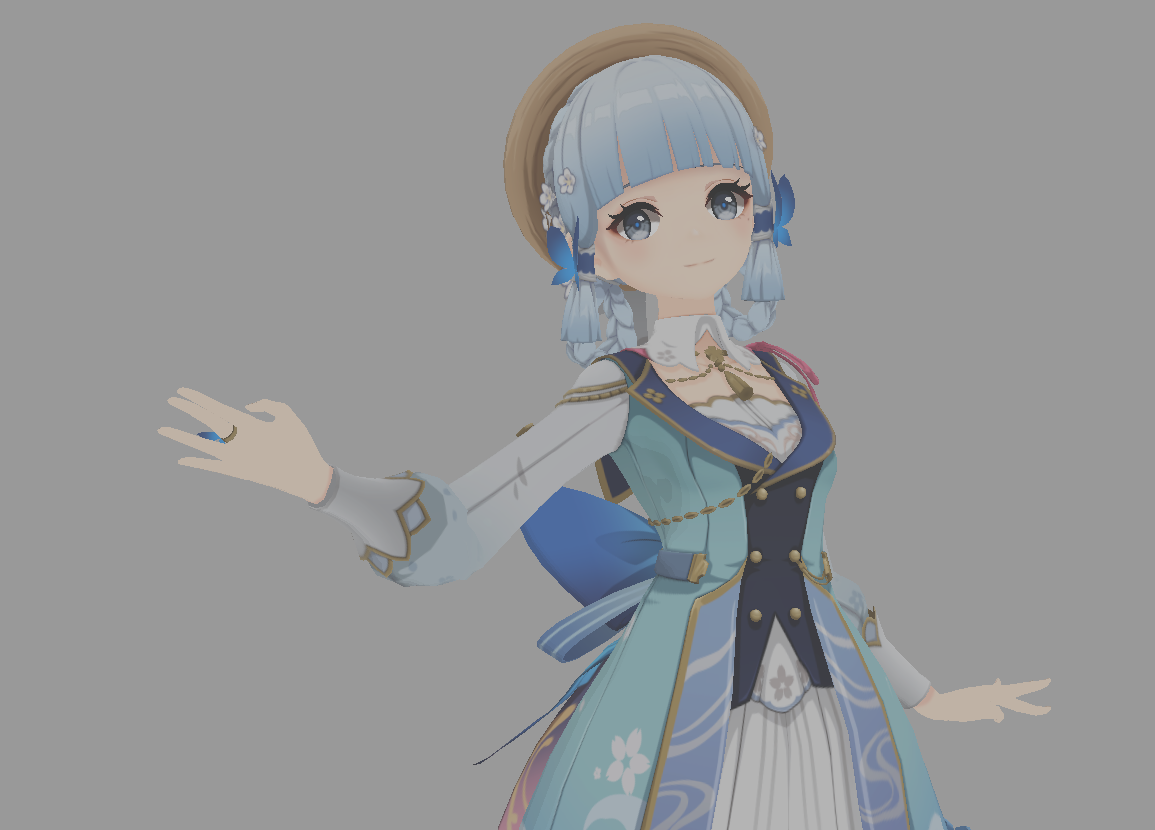
我很久不玩原神了,但是米哈游真的在模之屋放了很多模型
结语
官方现在的最新版本还在不断变化,如果有需要了解官方之前对于mmd的一些参数的介绍,可以到网上寻找threejs旧版本的文档下载下来部署在本地浏览,这只是一个极简的展示,还有很多的内容有待各位开发者的学习,加油!


 1715
1715


 到【灌水乐园】发言


