


 此代码示例展示了如何在Vue.js项目中创建一个响应式导航菜单,当用户点击菜单项或内容区域滚动时,菜单会高亮显示对应的内容区域。通过监听滚动事件和动态设置激活状态,实现了内容与菜单的同步效果。
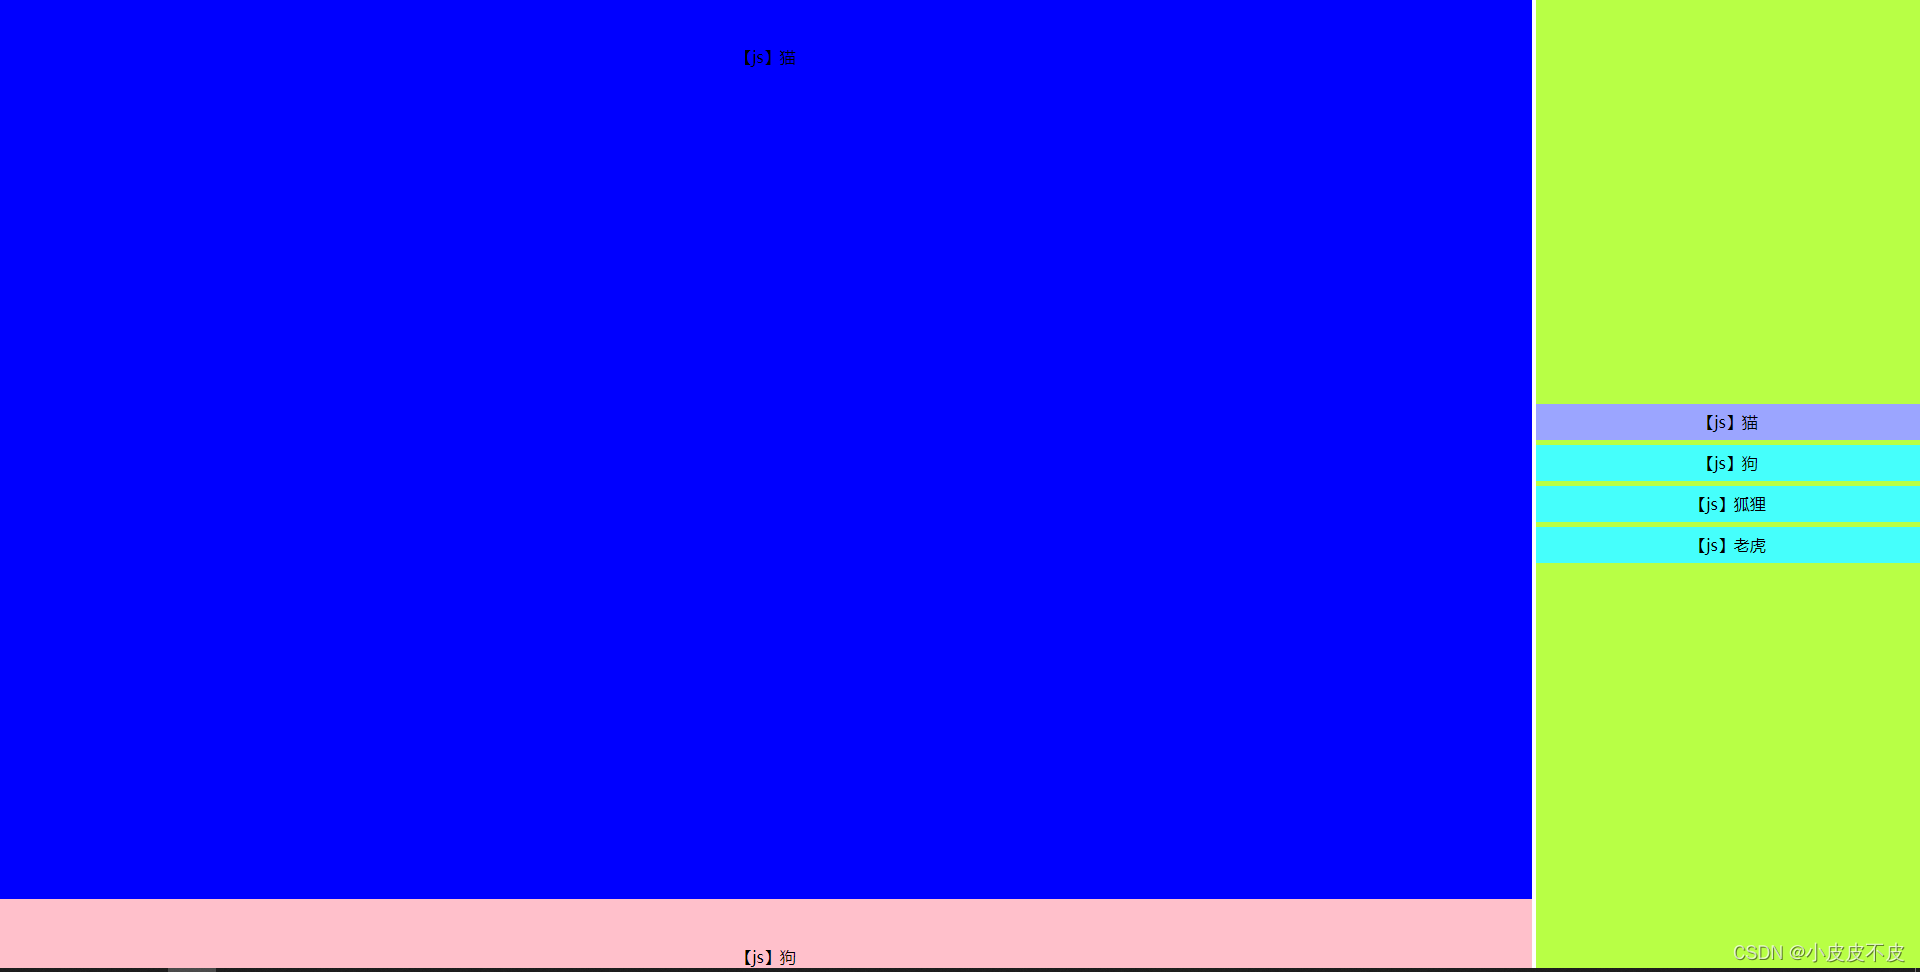
以前写过一个案例,终于用到了项目中,这个是升级版考虑了点击的时候内容要显示对应的区域,内容区域滚动的时候菜单也会随着变化
<template>
  <div class="box" ref="trealTimeMenuMain">
    <div class="menu">
      <ul>
        <li
          v-for="(item, index) in list"
          :key="index"
          :class="{ active: listIndex == index }"
          @click="autoPosition(index)"
        >
          {{ item.value }}
        </li>
      </ul>
    </div>
    <div class="one" v-for="(item, index) in list" :key="index">
      {{ item.value }}
    </div>
  </div>
</template>

<script>
export default {
  data() {
    return {
      listIndex: 0,
      list: [
        {
          value: "【js】猫",
        },
        {
          value: "【js】狗",
        },
        {
          value: "【js】狐狸",
        },
        {
          value: "【js】老虎",
        },
      ],
      listBoxState: true,
    };
  },
  mounted() {
    window.addEventListener("scroll", this.handleScroll, true);
  },
  destroyed() {
    // 必须移除监听器,不然当该vue组件被销毁了,监听器还在就会出错
    window.removeEventListener("scroll", this.handleScroll);
  },
  methods: {
    handleScroll() {
      let scrollTop = document.getElementsByClassName("box")[0].scrollTop;
      let domHight = document.body.offsetHeight;
      let arr = document.getElementsByClassName("one");
      if (this.listBoxState) {
        //作用是点击导航栏时,延迟这里执行。
        for (let i = 0; i < arr.length; i++) {
          let offsetTop = arr[i].offsetTop;
          // 如果 dom滚动位置 >= 元素距离视窗距离 - 一般的屏幕高度
          // 则表示页面已经滚动到可视区了。
          if (scrollTop >= offsetTop - domHight / 2) {
            // 导航栏背景色选中
            this.listIndex = i;
          }
        }
      }
    },
 // 瞄点事件1
    autoPosition(index) {
      this.listBoxState = false;
      this.listIndex = index;
      let ps = document.getElementsByClassName("one");
      let timeId;
      clearTimeout(timeId);
      timeId = setTimeout(() => {
        this.listBoxState = true;
      }, 500);
      ps[index].scrollIntoView({
        behavior: "smooth", // 平滑过渡
        block: "start", // 上边框与视窗顶部平齐。默认值
      });
    },

  },
};
</script>

<style scoped>
* {
  margin: 0;
  padding: 0;
  box-sizing: border-box;
}
.box {
  width: 100%;
  height: 100%;
  position: relative;
  overflow: auto;
}
div {
  width: 100%;
}
.menu {
  width: 20%;
  height: 100%;
  position: fixed;
  top: 0;
  right: 0;
  background: #b8ff45;
  display: flex;
  align-items: center;
}

.menu ul,
.menu ul li {
  width: 100%;
  list-style: none;
}

.menu ul li {
  width: 100%;
  padding: 10px 0;
  text-align: center;
  background: #45fffc;
}
.menu ul li + li {
  margin-top: 5px;
}
.menu ul li.active {
  background-color: #9ba5ff;
}

.one {
  width: 80%;
  height: 800px;
  background: yellow;
  padding-top: 50px;
  text-align: center;
}

.one:nth-child(2) {
  height: 900px;
  background: blue;
}

.one:nth-child(3) {
  height: 200px;
  background: pink;
}

.one:nth-child(4) {
  height: 360px;
  background: greenyellow;
}

.one:nth-child(5) {
  background: #ff6f3c;
}

.one:nth-child(6) {
  background: #ff4cbe;
}

.one:nth-child(7) {
  background: #9ba5ff;
}

.one:nth-child(8) {
  background: #ffda8b;
}
</style>
第二种方法,略有出入只是结构和方式上有调整
   <div class="box">
      <div class="menu">
        <ul>
          <li v-for="(item, index) in menuList" :key="index" :class="{ active: menuIndex == index }" @click="autoPosition(index)">
            {{ item.value }}
          </li>
        </ul>
      </div>
        // 布局略有变化,左右结构没有用定位,而是在main上面加了滚动条来是右侧进行滚动
      <div class="main" ref="trealTimeMenuMain">
        <div class="one" v-for="(item, index) in menuList" :key="index">
            // 具体内容
        </div>
      </div>
    </div>


    // 方法 监听方式和注销还是和上面一样
 // 瞄点事件
    handleScroll() {
      let scrollTop = this.$refs.trealTimeMenuMain.scrollTop;
      let domHight = this.$refs.trealTimeMenuMain.offsetHeight;
      let arr = this.$refs.trealTimeMenuMain.getElementsByClassName("one");
      //作用是点击导航栏时,延迟这里执行。
      for (let i = 0; i < arr.length; i++) {
        let offsetTop = arr[i].offsetTop;
        // 如果 dom滚动位置 >= 元素距离视窗距离 - 一般的屏幕高度
        // 则表示页面已经滚动到可视区了。
        if (scrollTop < 100) {
          this.menuIndex = 0;
        } else if (scrollTop >= offsetTop - domHight / 2) {
          // 导航栏背景色选中
          this.menuIndex = i;
        }
      }
    },
    // 瞄点事件 项目中其实地方使用发现 scrollIntoView有问题,没查清什么原因引起的,但是换了一种方式来实现
    autoPosition(index) {
      this.menuIndex = index;
      let offsetTop = 0;
      if (this.menuIndex != 0) {
        for (let i = 0; i < this.menuIndex; i++) {
          offsetTop +=
            this.$refs.trealTimeMenuMain.getElementsByClassName("one")[i]
              .offsetHeight;
        }
      }
      this.$refs.trealTimeMenuMain.scrollTo({
        top: offsetTop,
        left: 0,
        behavior: "smooth",
      });
    },


 2472
2472

 被折叠的 条评论
为什么被折叠?
被折叠的 条评论
为什么被折叠?
 到【灌水乐园】发言


