


 本文介绍了在项目中遇到的UI设计问题,如何通过事件穿透技术解决底部地图和两侧面板遮罩导致的地图操作受限问题,同时展示了如何按图样进行组件化开发,以便于管理内容。
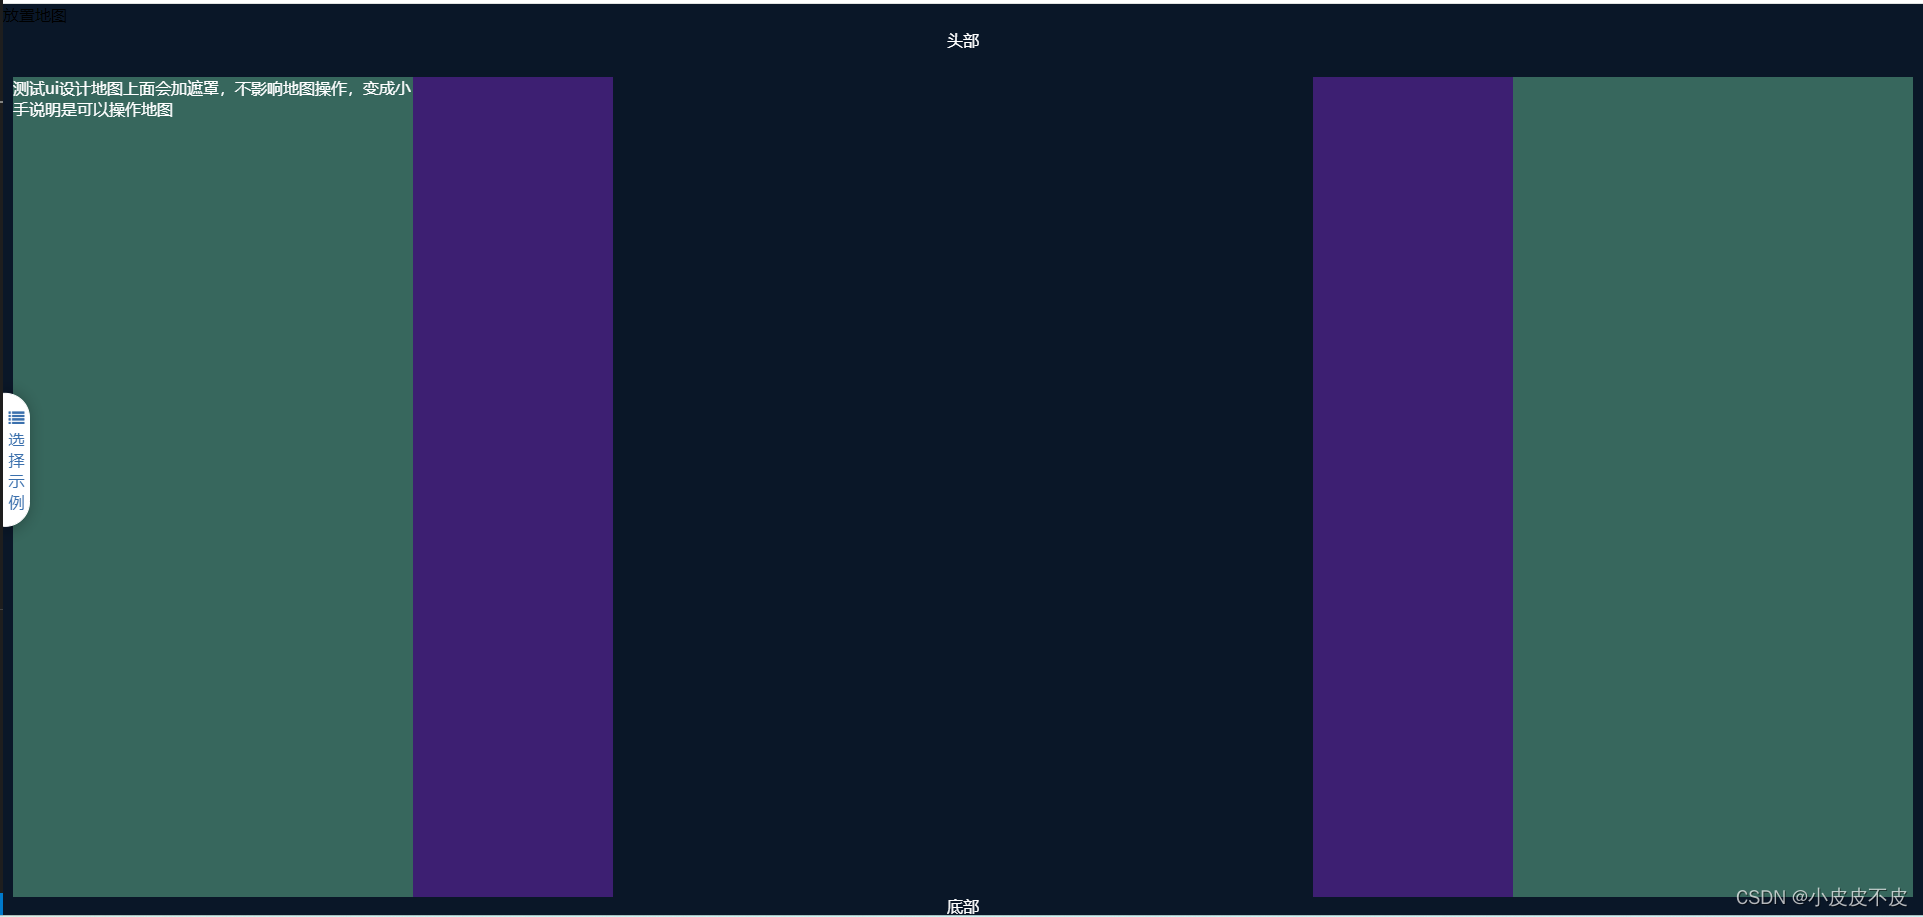
讲述一下事件穿透的需求,大家可以根据实际情况来考虑是否采用这种方式来制作页面,(项目中遇到了底部是地图,两侧面板,但是UI在设计的时候为了好看,会有很大的遮罩阴影部分,如果按照时间制作会导致地图可点击的区域变得很小,这个时候就考虑了使用事件穿透,即按照效果图还原了页面,也不影响地图操作),我们来看案例
 按图上样式来组件化,每次我们只需管左右两侧的内容就可以了
<template>
  <div class="body">
    <header class="animated fadeInDown"> 头部 </header>
    <article>
      <div class="leftMain">
        <div @click="handleModel">
          <slot name="left"></slot>
        </div>
      </div>
      <div class="centerMain">
        <slot name="center"></slot>
      </div>
      <div class="rightMain">
        <div @click="handleModel">
          <slot name="right"></slot>
        </div>
      </div>
    </article>
    <footer class="animated fadeInUp">底部</footer>
  </div>
</template>

<script>
export default {
  data() {
    return {}
  },
  methods: {
    handleModel() {
      console.log("点击左右两侧模版,不触发地图事件")
    }
  }
}
</script>

<style scoped>
.body {
  width: 100%;
  height: 100%;
  position: relative;
}
.body header,
.body footer {
  width: 100%;
  color: #ffffff;
  text-align: center;
  position: absolute;
  left: 0;
  z-index: 1;
}

.body header {
  height: 8vh;
  line-height: 8vh;
  top: 0;
  pointer-events: none; /* 事件穿透 */
}
.body header::before {
  content: "";
  position: relative;
}
.body footer {
  height: 2vh;
  line-height: 2vh;
  bottom: 0;
  pointer-events: none;
}
.body article {
  width: 100%;
  height: 100%;
  position: relative;
}
.body article .leftMain,
.body article .rightMain {
  width: 6rem;
  height: calc(100% - 10vh);
  position: absolute;
  top: 8vh; /* 8vh 是头部的高度 */
  background-color: rgba(137, 43, 226, 0.4);
  z-index: 1;
  pointer-events: none; /* 事件穿透 */
  display: flex;
}
.body article .rightMain {
  justify-content: flex-end;
}
.body article .leftMain > div,
.body article .rightMain > div {
  width: 4rem;
  height: 100%;
  pointer-events: auto; /* 禁止事件穿透 */
  color: #ffffff;
  background-color: rgba(43, 226, 58, 0.37);
}

.body article .leftMain {
  left: 0.1rem;
  animation: bounceLeft 1s;
}
@keyframes bounceLeft {
  0% {
    left: -4rem;
  }
  100% {
    left: 0.1rem;
  }
}

.body article .rightMain {
  right: 0.1rem;
  animation: bounceRight 1s;
}
@keyframes bounceRight {
  0% {
    right: -4rem;
  }
  100% {
    right: 0.1rem;
  }
}

.body article .centerMain {
  width: 100%;
  height: 100%;
  position: relative;
}
.cash {
  position: fixed;
  width: 100%;
  height: 100%;
  left: 0;
  top: 0;
  bottom: 0;
  z-index: -1;
}
</style>
使用组件
<template>
  <panel-model class="demo6">
    <template #left>
        测试ui设计地图上面会加遮罩,不影响地图操作,变成小手说明是可以操作地图
    </template>
    <template #center>
      <div class="gis" id="map" @click="mapHandle">
        放置地图
      </div>

    </template>
    <template #right>

    </template>
  </panel-model>
</template>

<script>
import panelModel from "./common/panelModel.vue";
export default {
  components: {
    panelModel,

  },
  data() {
    return {

    }
  },
  methods: {
    mapHandle() {
      console.log("点击地图")
    }
  }
}
</script>

<style scoped>
.gis {
  width: 100%;
  height: 100%;
  cursor: pointer;
}
</style>
完成,具体效果可以拿到自己项目中去实验一下,通过点击事件的操作来观察具体细节!


 923
923


 到【灌水乐园】发言


