 ESP8266 Micropython固件刷写及网络编程实战


一、ESP8266刷Micropython固件
1.1 物品准备
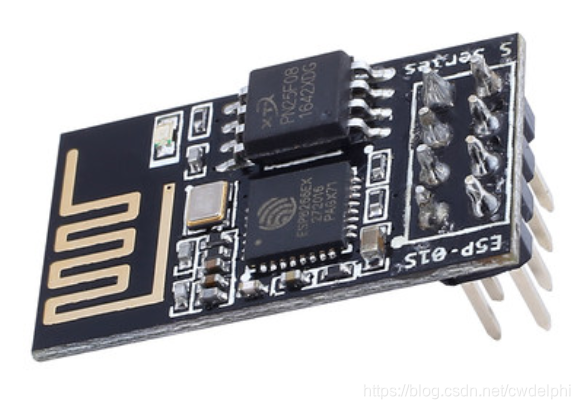
1.1.1 ESP8266-01或ESP8266-01S
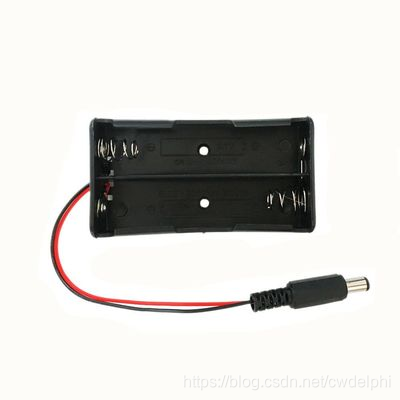
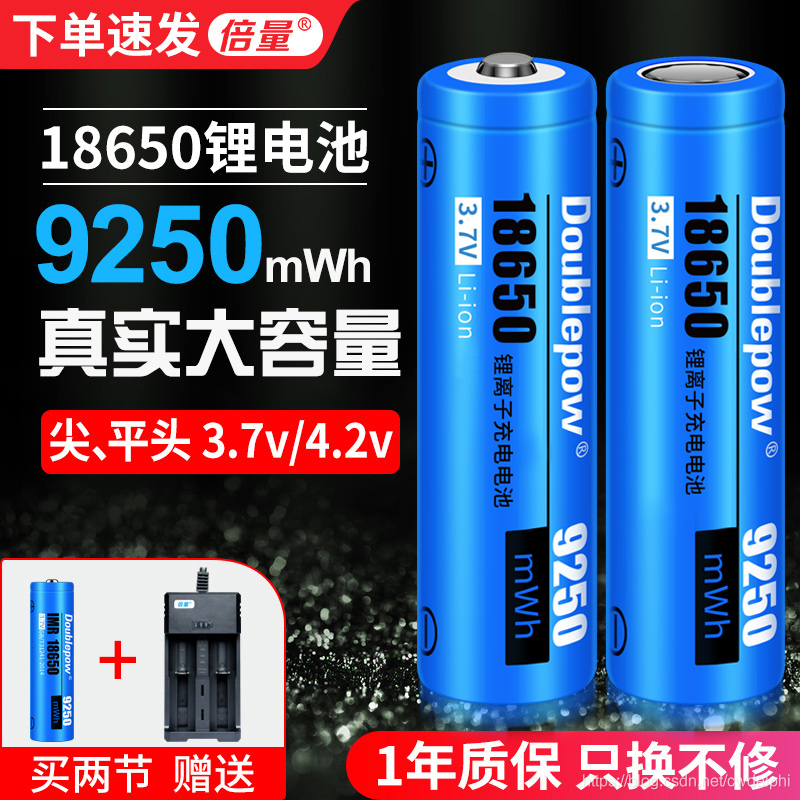
1.1.2 18650电池盒DC头
锂电池2节18650带线 2节7.4V 电池盒 串联充电
1.1.3 多路DC-DC电压转换模块电源
多路DC-DC电压转换模块电源 12V转3.3/5/12V AMS1117

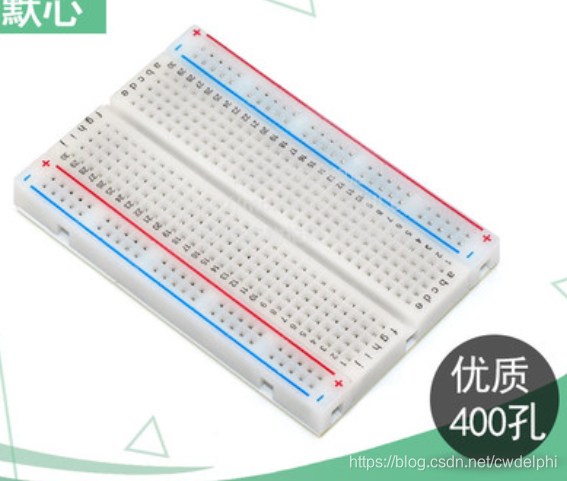
1.1.4 面包板
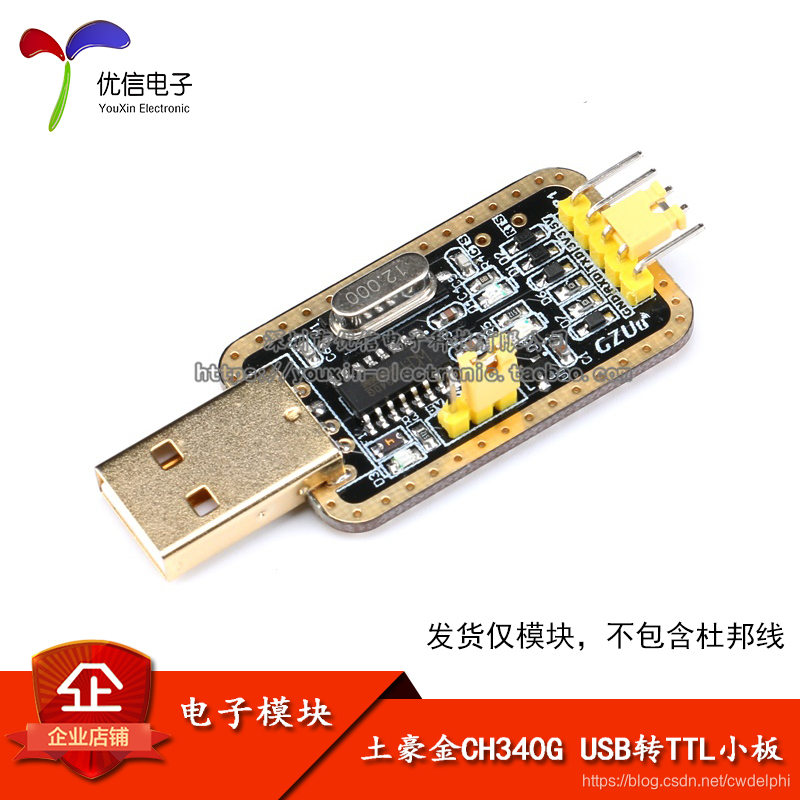
1.1.5 USB-TTL
1.1.6 USB转串口驱动下载
https://download.youkuaiyun.com/download/cwdelphi/16139417
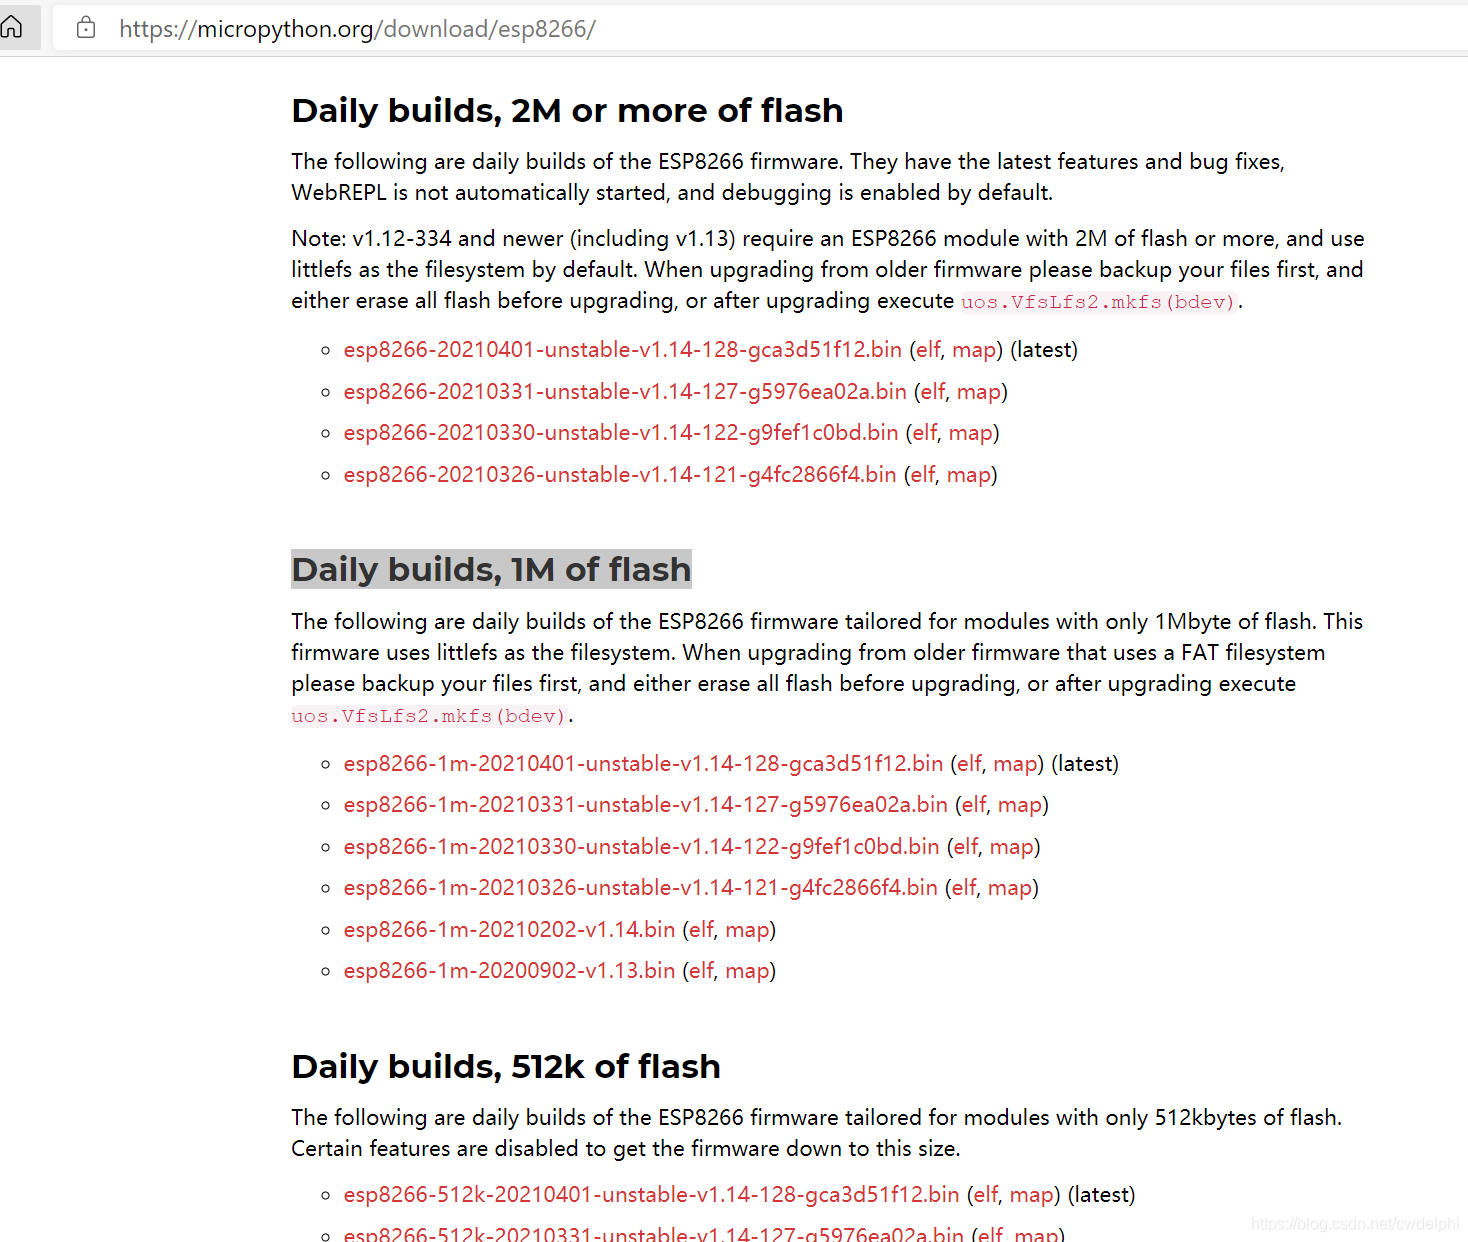
1.1.7 刷机固件下载
https://micropython.org/download/esp8266/
注意,只能选1M的!!!
Daily builds, 1M of flash
https://micropython.org/resources/firmware/esp8266-1m-20210202-v1.14.bin
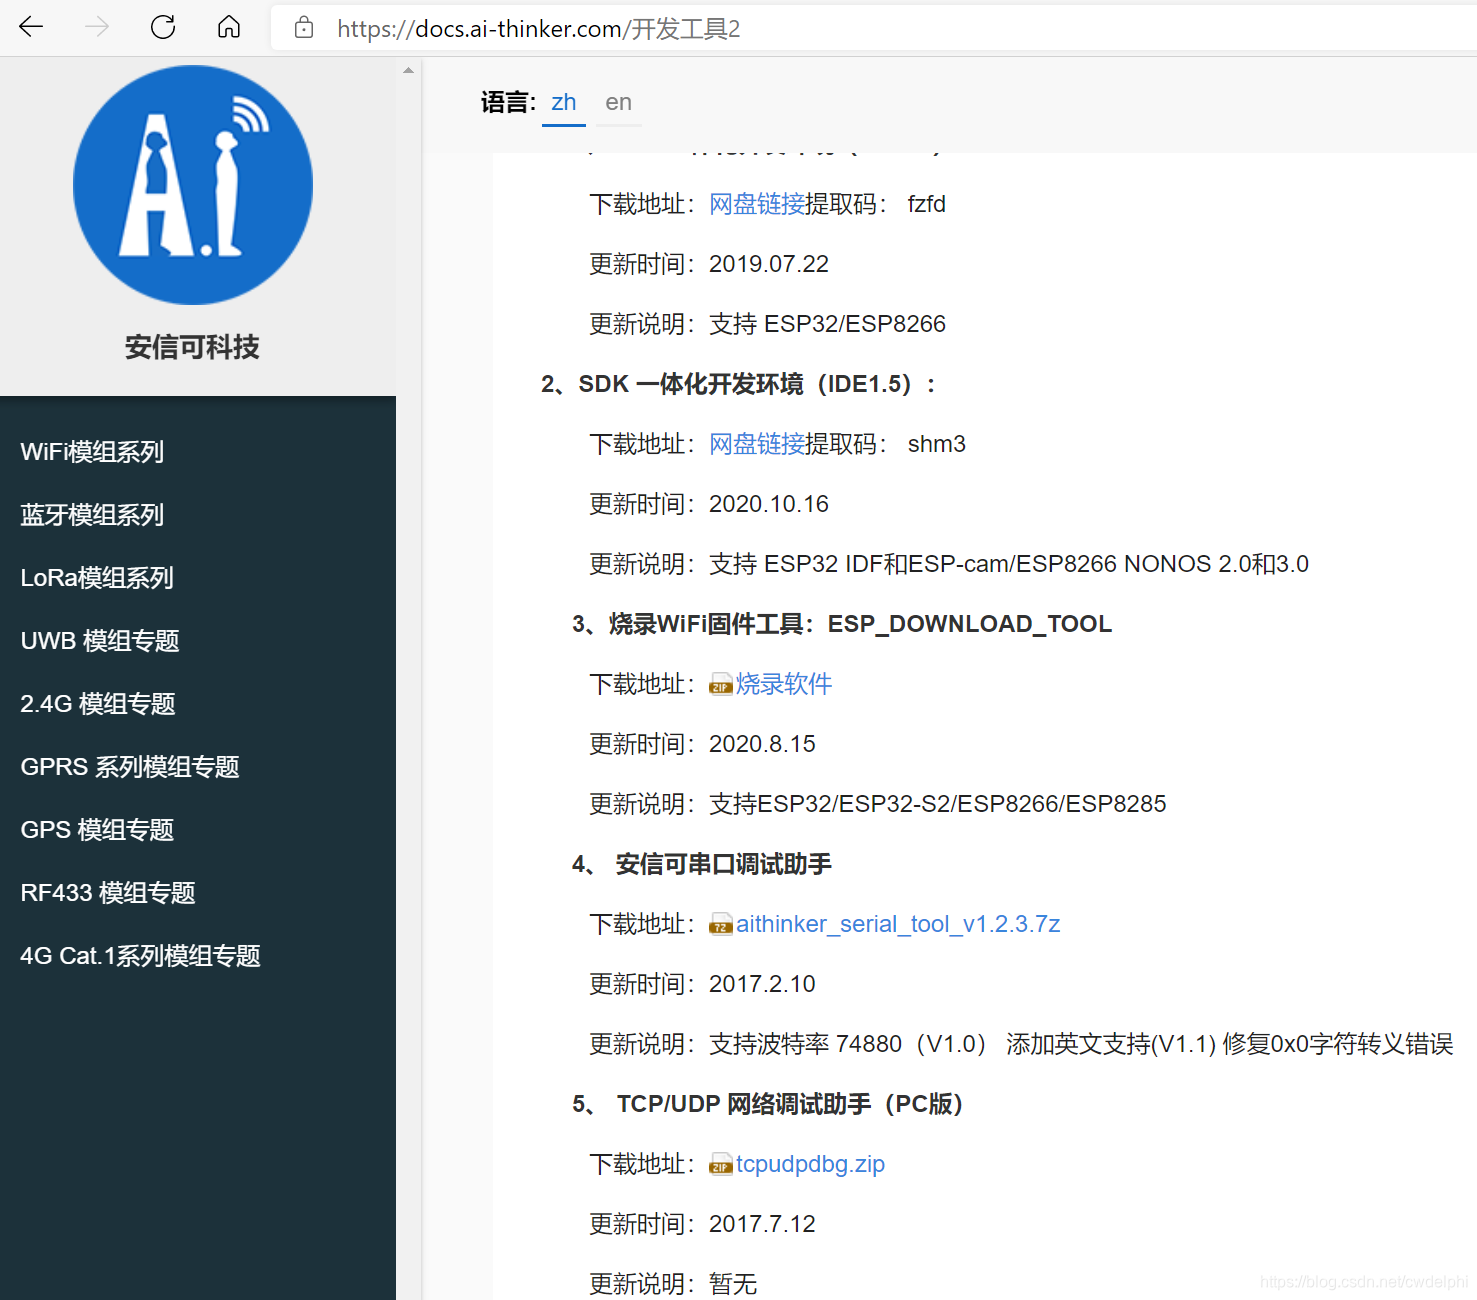
1.1.8 刷机软件下载
https://docs.ai-thinker.com/_media/flash_download_tool_v3.8.5_1.zip
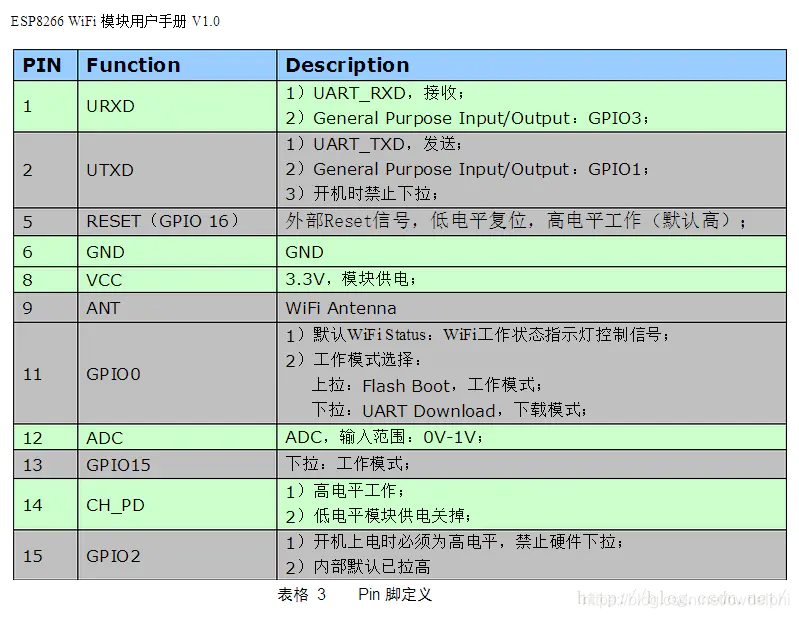
1.2 ESP8266针脚图
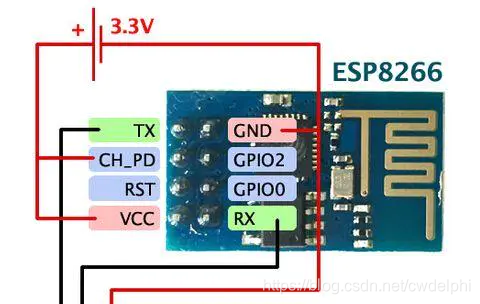
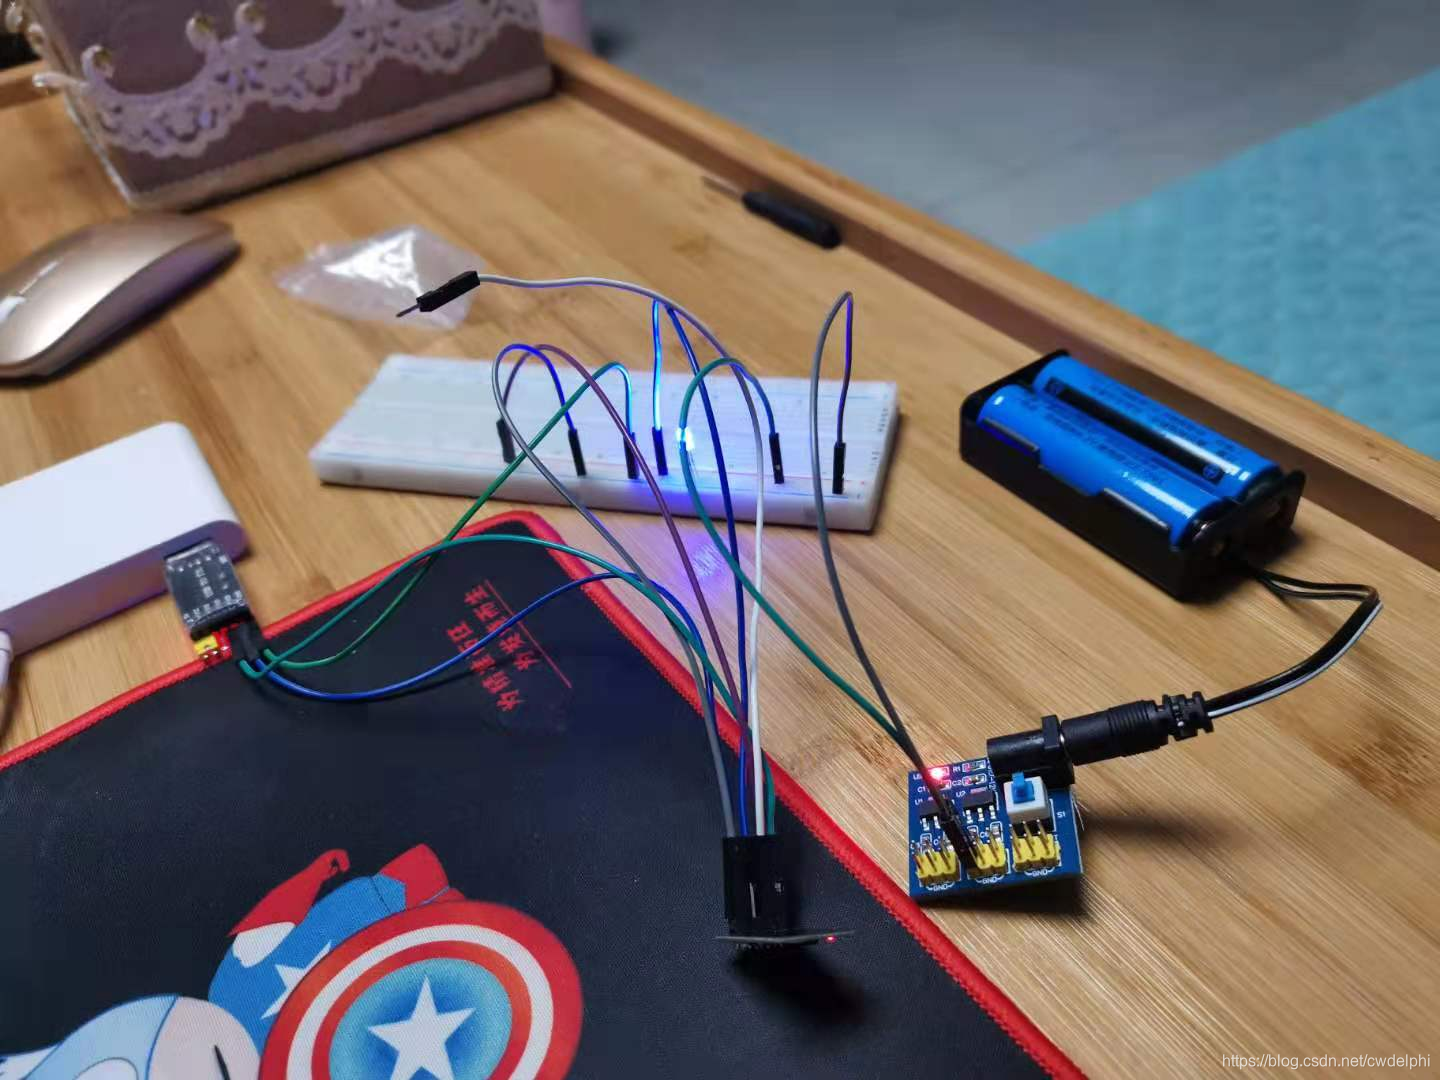
1.3 ESP8266刷机接线
刷机接线图:
| 外接电源 | 面包板 |
|---|---|
| 3V3 | 3V3 |
| GND | GND |
| ESP8266引脚 | USB-TTL刷机器 |
|---|---|
| RXD | TXD |
| TXD | RXD |
| ESP8266引脚 | 面包板 |
|---|---|
| 3V3 | 3V3 |
| GND | GND |
| GPIO0 | GND |
正常工作接线图:
| 外接电源 | 面包板 |
|---|---|
| 3V3 | 3V3 |
| GND | GND |
| ESP8266引脚 | USB-TTL刷机器 |
|---|---|
| RXD | TXD |
| TXD | RXD |
| ESP8266引脚 | 面包板 |
|---|---|
| 3V3 | 3V3 |
| GND | GND |

参数设置按上图,刷机过程中,ESP8266的电源引脚要插拔两次。
二、ESP8266网络程序编写示例
2.1连接WIFI
import network
import time

def connect_wlan
最低0.47元/天 解锁文章


 687
687

 被折叠的 条评论
为什么被折叠?
被折叠的 条评论
为什么被折叠?
 到【灌水乐园】发言


