


本文来源公众号“OpenCV与AI深度学习”,仅用于学术分享,侵权删,干货满满。
原文链接:使用Python和OpenCV实现火焰检测(附源码)
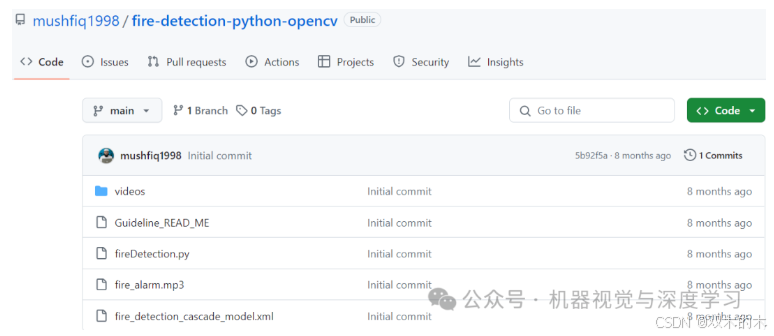
完整项目源码下载:
https://github.com/mushfiq1998/fire-detection-python-opencv?source=post_page-----e55c8fc6fa54--------------------------------图片:
项目结构:

fireDetection.py
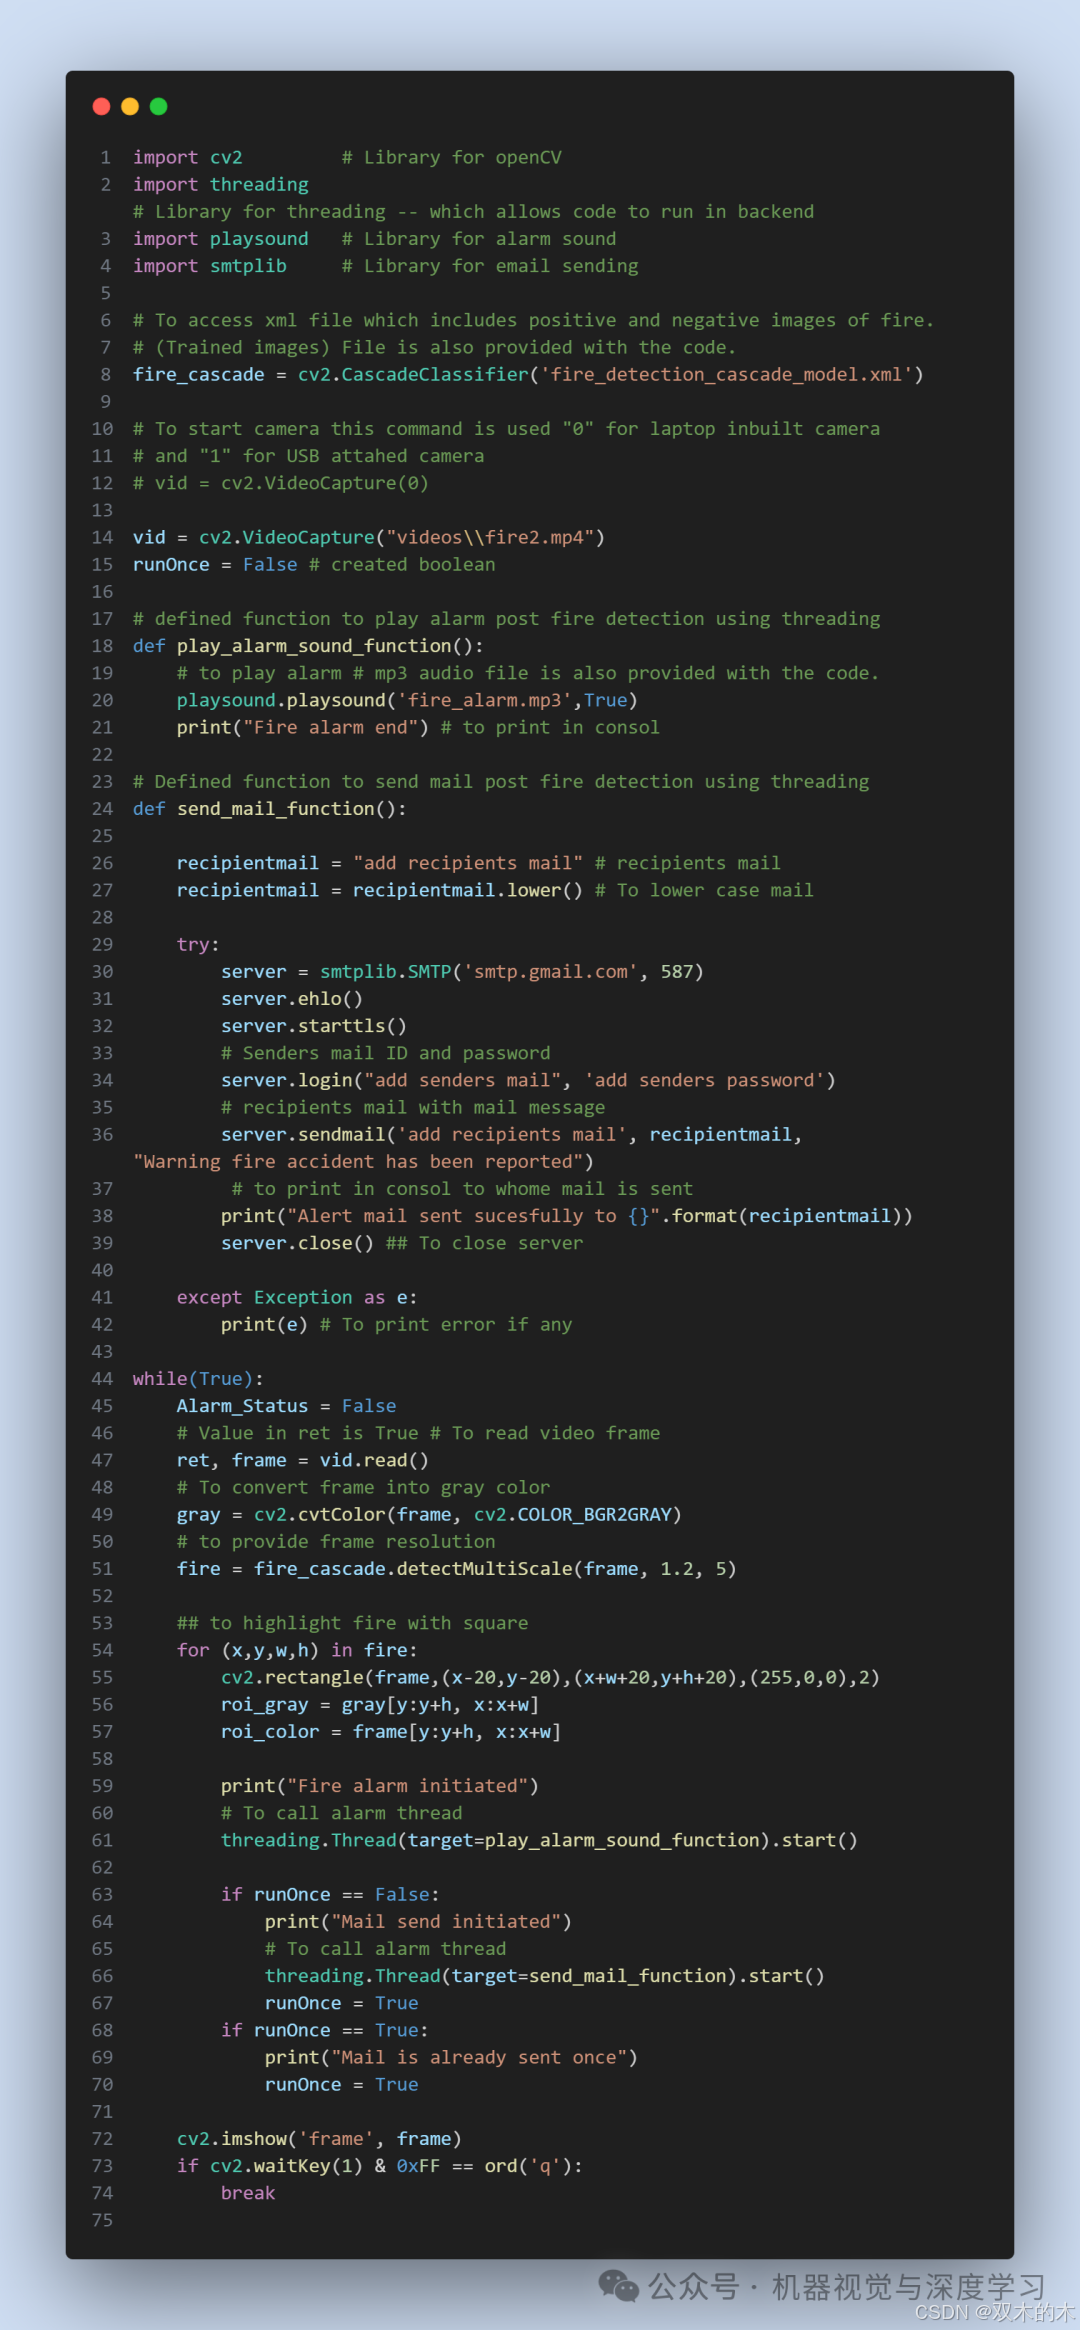
import cv2 # Library for openCV
import threading # Library for threading -- which allows code to run in backend
import playsound # Library for alarm sound
import smtplib # Library for email sending
# To access xml file which includes positive and negative images of fire.
# (Trained images) File is also provided with the code.
fire_cascade = cv2.CascadeClassifier('fire_detection_cascade_model.xml')
vid = cv2.VideoCapture("videos\\fire2.mp4")
runOnce = False # created boolean
# defined function to play alarm post fire detection using threading
def play_alarm_sound_function():
# to play alarm # mp3 audio file is also provided with the code.
playsound.playsound('fire_alarm.mp3', True)
print("Fire alarm end") # to print in console
# Defined function to send mail post fire detection using threading
def send_mail_function():
recipientmail = "add recipients mail" # recipients mail
recipientmail = recipientmail.lower() # To lower case mail
try:
server = smtplib.SMTP('smtp.gmail.com', 587)
server.ehlo()
server.starttls()
# Senders mail ID and password
server.login("add senders mail", 'add senders password')
# recipients mail with mail message
server.sendmail('add recipients mail', recipientmail, "Warning fire accident has been reported")
# to print in console to whome mail is sent
print("Alert mail sent successfully to {}".format(recipientmail))
server.close() # To close server
except Exception as e:
print(e) # To print error if any
while True:
Alarm_Status = False
# Value in ret is True
# To read video frame
ret, frame = vid.read()
# To convert frame into gray color
gray = cv2.cvtColor(frame, cv2.COLOR_BGR2GRAY)
# to provide frame resolution
fire = fire_cascade.detectMultiScale(frame, 1.2, 5)
# to highlight fire with square
for (x, y, w, h) in fire:
cv2.rectangle(frame, (x - 20, y - 20), (x + w + 20, y + h + 20), (255, 0, 0), 2)
roi_gray = gray[y:y + h, x:x + w]
roi_color = frame[y:y + h, x:x + w]
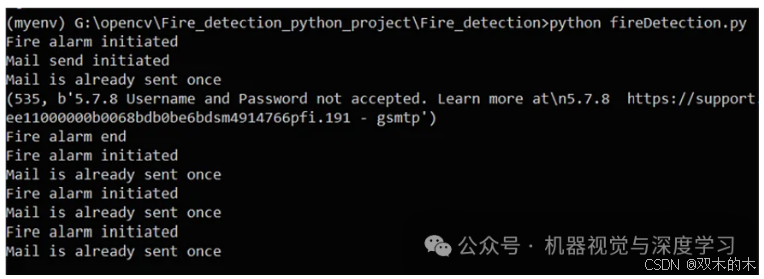
print("Fire alarm initiated")
# To call alarm thread
threading.Thread(target=play_alarm_sound_function).start()
if runOnce == False:
print("Mail send initiated")
# To call alarm thread
threading.Thread(target=send_mail_function).start()
runOnce = True
if runOnce == True:
print("Mail is already sent once")
runOnce = True
cv2.imshow('frame', frame)
if cv2.waitKey(1) & 0xFF == ord('q'):
break要运行该项目,请完成以下步骤:
创建虚拟环境:
python -m venv myenv
激活虚拟环境:
myenv\Scripts\activate安装playsound:
pip install playsound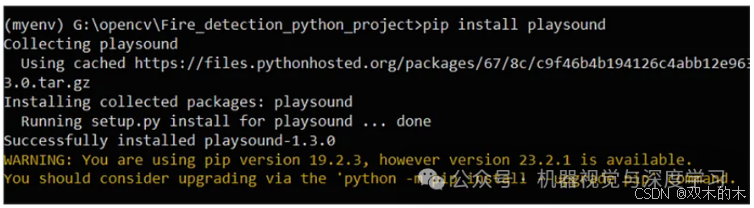
更新pip版本:
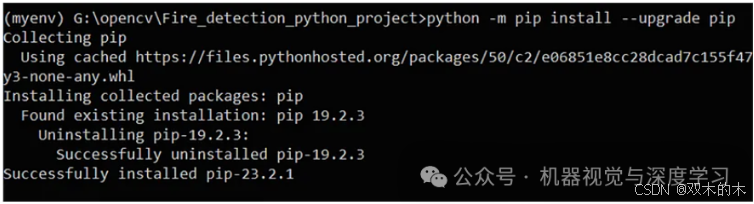
安装OpenCV:
pip install opencv-python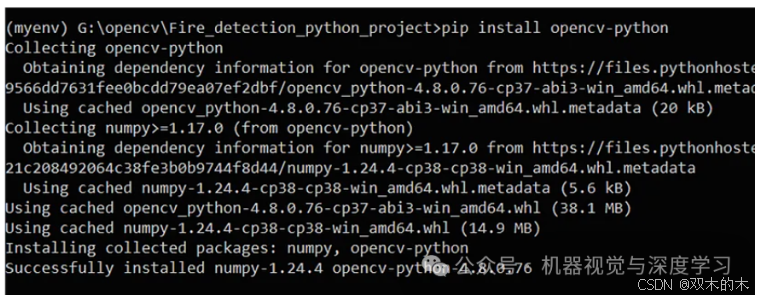
运行脚本fireDetection.py:

现在,我们将从网络摄像头捕获视频。
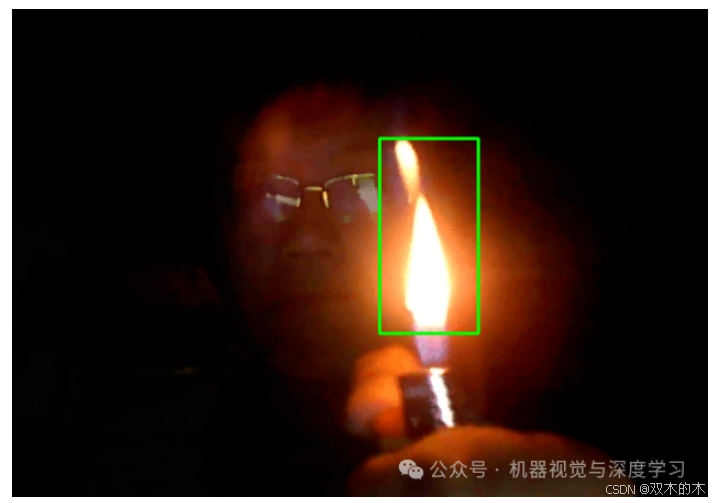
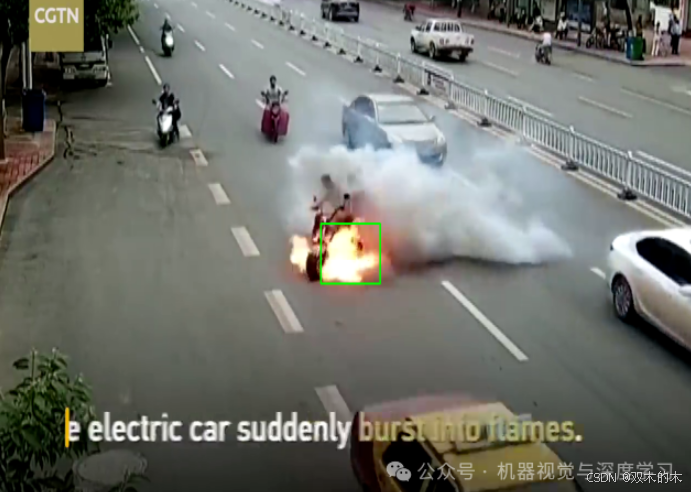
在下图中,我们可以看到系统正在检测打火机火焰绘制边界框的效果:
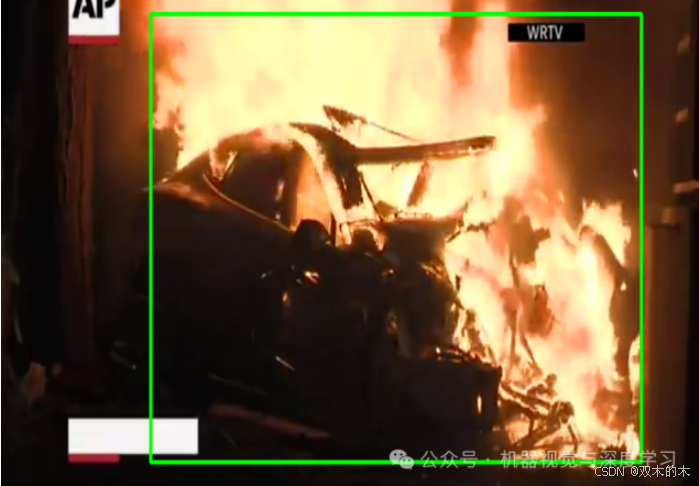
我们的系统从上述视频中检测到火灾,绘制带有警报的矩形框
fireDetection.py文件中的代码说明:
上面代码的解释
此 Python 代码是使用 OpenCV、线程、声音和电子邮件功能的火灾探测系统的简单示例。以下是它的功能的简单描述:
1. 导入库:代码首先导入必要的库:
cv2:用于图像和视频处理,特别是用于检测火灾。
threading:用于同时运行代码的某些部分(在后台)。
playsound:用于播放报警声音。
smtplib:用于发送电子邮件。
2. 加载训练模型:代码加载预训练的机器学习模型(XML 文件),该模型可以检测图像中的火灾。
3. 设置视频源:设置视频输入源,可以是笔记本电脑内置摄像头,也可以是外接USB 摄像头。该代码当前配置为从名为“fire2.mp4”的文件中读取视频。
4. play_alarm_sound_function()4. 播放报警声音:定义播放报警声音的函数。该函数在后台运行(线程)并播放名为“fire_alarm.mp3”的警报声音文件。
5. 发送电子邮件:send_mail_function()定义了另一个函数来发送电子邮件。它使用 Gmail 的 SMTP 服务器向指定收件人发送有关火灾检测的警告电子邮件。代码中需要提供发件人的电子邮件和密码。
6. 主循环:主循环处理视频的每一帧。它执行以下操作:
-
将帧转换为灰度以便于处理。
-
使用加载的模型检测框架中的火灾。
-
如果检测到火灾,它会用蓝色矩形突出显示该区域。
-
如果第一次检测到火灾(由 控制runOnce),则会触发警报声并使用线程发送电子邮件。警报和电子邮件功能在后台运行。
-
一旦警报和电子邮件被触发一次,系统就不会为后续发生火灾的帧重复此过程。
7. 显示视频:代码显示处理后的帧,并在检测到的火灾周围绘制矩形。视频将一直显示,直到您按“q”键。
简而言之,此代码读取视频帧,在帧中查找火灾,如果检测到火灾,它会播放警报声音并发送电子邮件警报。它使用单独的线程来播放警报和发送电子邮件,因此这些任务不会阻塞主视频处理循环。
请注意,这是一个基本示例,可能需要调整和改进才能形成完整且强大的火灾探测系统。
THE END !
文章结束,感谢阅读。您的点赞,收藏,评论是我继续更新的动力。大家有推荐的公众号可以评论区留言,共同学习,一起进步。


 1万+
1万+

 被折叠的 条评论
为什么被折叠?
被折叠的 条评论
为什么被折叠?
 到【灌水乐园】发言


