


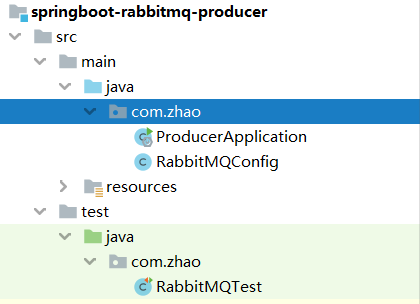
一:生产者
1、导入依赖
2、新建配置文件application.yml
3、新建启动项ProviderApplication
4、新建配置类来创建队列、交换机,并绑定起来
代码奉上:
依赖pom.xml:
<?xml version="1.0" encoding="UTF-8"?>
<project xmlns="http://maven.apache.org/POM/4.0.0"
         xmlns:xsi="http://www.w3.org/2001/XMLSchema-instance"
         xsi:schemaLocation="http://maven.apache.org/POM/4.0.0 http://maven.apache.org/xsd/maven-4.0.0.xsd">
    <parent>
        <groupId>org.springframework.boot</groupId>
        <artifactId>spring-boot-starter-parent</artifactId>
        <version>2.5.7</version>
    </parent>

    <groupId>com.zhao</groupId>
    <version>1.0-SNAPSHOT</version>
    <modelVersion>4.0.0</modelVersion>

    <artifactId>springboot-rabbitmq-producer</artifactId>
    <!--依赖-->
    <dependencies>
        <dependency>
            <groupId>org.springframework.boot</groupId>
            <artifactId>spring-boot-starter-amqp</artifactId>
        </dependency>
        <dependency>
            <groupId>org.springframework.boot</groupId>
            <artifactId>spring-boot-starter-test</artifactId>
        </dependency>
    </dependencies>

</project>
配置文件application.yml:
spring:
  rabbitmq:
    host: 192.168.0.110
    port: 5672
    username: bqsd
    password: xj
    virtual-host: /bqsd
配置启动项:
@SpringBootApplication
public class ProducerApplication {
    public static void main(String[] args) {
        SpringApplication.run(ProducerApplication.class);
    }
}
配置类:
@Configuration
public class RabbitMQConfig {

    //声明交换机
    @Bean(name = "itemExchange")
    public Exchange topicExchange(){
        return ExchangeBuilder.topicExchange("item_ex").durable(true).build();
    }

    //声明队列
    @Bean(name = "itemQueue")
    public Queue itemQueue(){
        return QueueBuilder.durable("item_queue").build();
    }

    //队列绑定到交换机上
    @Bean
    public Binding itemQueueExchange(@Qualifier("itemQueue") Queue queue, @Qualifier("itemExchange") Exchange exchange){
        return BindingBuilder.bind(queue).to(exchange).with("item.#").noargs();
    }
}
****注意队列名和交换机的名字要记住
二、消费者:
1、导入依赖
2、新建配置文件application.yml
3、新建启动项
4、创建监听类
代码奉上:
1、导入依赖
<?xml version="1.0" encoding="UTF-8"?>
<project xmlns="http://maven.apache.org/POM/4.0.0"
         xmlns:xsi="http://www.w3.org/2001/XMLSchema-instance"
         xsi:schemaLocation="http://maven.apache.org/POM/4.0.0 http://maven.apache.org/xsd/maven-4.0.0.xsd">
    <parent>
        <groupId>org.springframework.boot</groupId>
        <artifactId>spring-boot-starter-parent</artifactId>
        <version>2.5.7</version>
    </parent>

    <groupId>com.zhao</groupId>
    <version>1.0-SNAPSHOT</version>
    <modelVersion>4.0.0</modelVersion>

    <artifactId>springboot-rabbitmq-consumer</artifactId>

    <!--依赖-->
    <dependencies>
        <dependency>
            <groupId>org.springframework.boot</groupId>
            <artifactId>spring-boot-starter-amqp</artifactId>
        </dependency>
    </dependencies>

</project>
2、配置文件 :
spring:
  rabbitmq:
    host: 192.168.0.110
    virtual-host: /bqsd
    username: bqsd
    password: xj
    port: 5672
3、启动类:
@SpringBootApplication
public class ConsumerApplication {
    public static void main(String[] args) {
        SpringApplication.run(ConsumerApplication.class);
    }
}
4、监听类:
@Component
public class MessageListener {
/**
* 监听某个队列的消息
* @param message
*/
@RabbitListener(queues = "item_queue")
public void myListener1(String message){
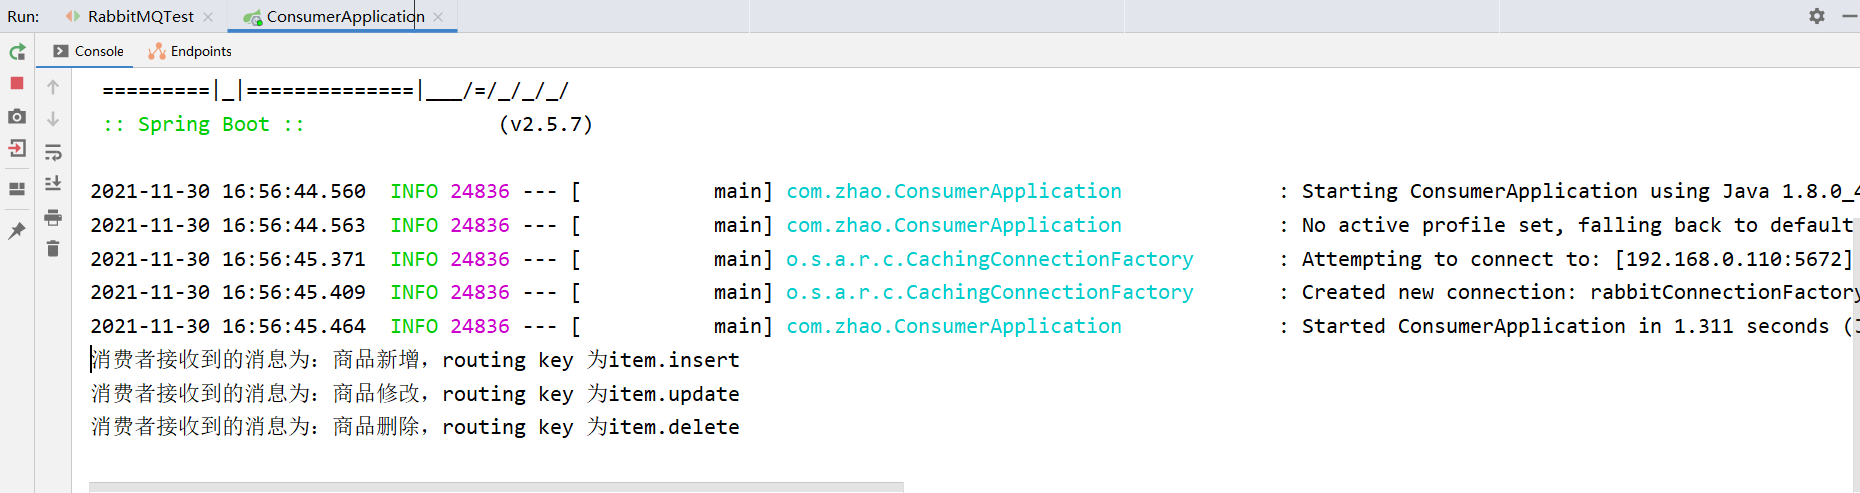
System.out.println("消费者接收到的消息为:" + message);
}
}
至此生产者和消费者就完成了,我们可以在生产者项目里创建测试类来看看是否成功
//@RunWith(SpringRunner.class) 2.5.7 版本已经不用这个注解了
@SpringBootTest
public class RabbitMQTest {

    //用于发送MQ消息
    @Autowired
    private RabbitTemplate rabbitTemplate;


    //消息生产测试
    @Test
    public void testCreateMessage(){
        rabbitTemplate.convertAndSend("item_ex", "item.insert", "商品新增,routing key 为item.insert");
        rabbitTemplate.convertAndSend("item_ex", "item.update", "商品修改,routing key 为item.update");
        rabbitTemplate.convertAndSend("item_ex", "item.delete", "商品删除,routing key 为item.delete");
    }
}
*****注意测试类的目录结构要和项目一致
先打开测试类发送消息,再打开消费者启动项,即可查看到结果
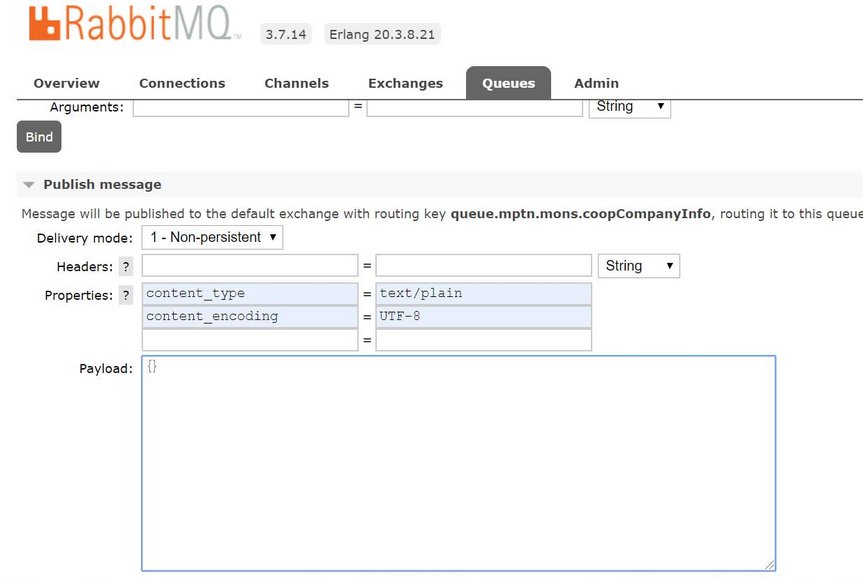
小插曲:之前我用的是springboot2.1.4.RELEASE版本,从RabbitMQ网页端发送消息时接收的信息为数字,要在网页端修改网页头才能正常显示,而2.5.7则不用,测试类也不用加上@RunWith(SpringRunner.class)。


 50万+
50万+

 被折叠的 条评论
为什么被折叠?
被折叠的 条评论
为什么被折叠?
 到【灌水乐园】发言


