


 本文详细介绍了如何在Linux上搭建Nexus私服,包括配置Maven的settings.xml,使用Nexus下载和上传jar包,以及发布项目到Maven私服的步骤。通过Nexus,可以便捷地管理依赖并实现中央仓库的缓存。
先在linux搭建nexus
在maven的settings.xml中配置私服地址
打开maven的settings.xml文件
1 在 servers 标签 中添加 配置私服用户名密码
    <!-- Another sample, using keys to authenticate.
    <server>
      <id>siteServer</id>
      <privateKey>/path/to/private/key</privateKey>
      <passphrase>optional; leave empty if not used.</passphrase>
    </server>
    -->

	<!--配置私服用户名密码-->
	<server>
		<id>releases</id>
		<username>admin</username>
		<password>admin123</password>
		</server>
		<server>
		<id>snapshots</id>
		<username>admin</username>
		<password>admin123</password>
	</server>
	<!--配置私服用户名密码结束-->

  </servers>
2 在 profiles 标签 中添加 配置私服下载jar包的模板
<properties>
<tomcatPath>/path/to/tomcat/instance</tomcatPath>
</properties>
</profile>
-->
<!--配置私服下载jar包的模板 开始-->
<profile>
<id>dev</id>
<repositories>
<repository>
<id>nexus</id>
<!--仓库地址,即nexus仓库组的地址
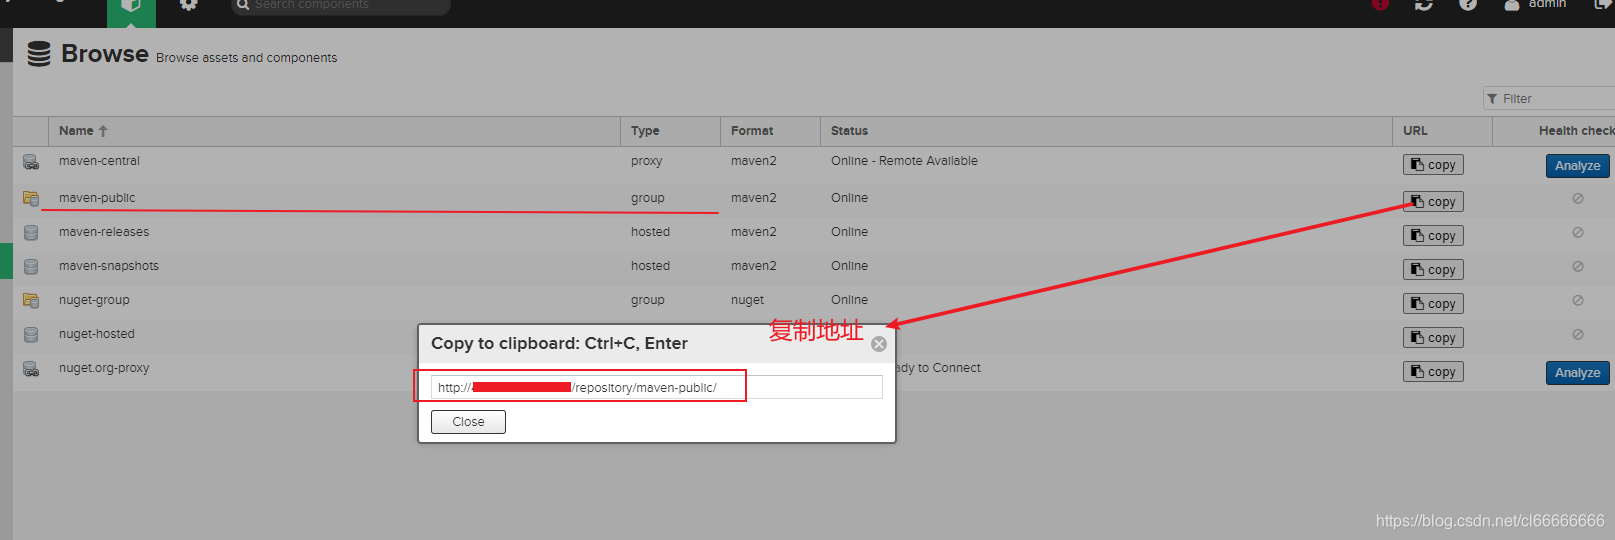
http://localhost:8081/nexus/content/groups/public/
-->
<url>
http://ip:8081/repository/maven-public/
</url>
<!--是否下载releases构件-->
<releases>
<enabled>true</enabled>
</releases>
<!--是否下载snapshots构件-->
<snapshots>
<enabled>true</enabled>
</snapshots>
</repository>
</repositories>
<pluginRepositories>
<!-- 插件仓库,maven的运行依赖插件,也需要从私服下载插件
http://localhost:8081/nexus/content/groups/public/
-->
<pluginRepository>
<id>public</id>
<name>Public Repositories</name>
<url>
http:/ip:8081/repository/maven-public/
</url>
</pluginRepository>
</pluginRepositories>
</profile>
<!--配置私服下载jar包的模板 结束-->
</profiles>
3 在 settings 末尾添加 激活模板
<!-- activeProfiles
   | List of profiles that are active for all builds.
   |
  <activeProfiles>
    <activeProfile>alwaysActiveProfile</activeProfile>
    <activeProfile>anotherAlwaysActiveProfile</activeProfile>
  </activeProfiles>
  -->

  <!--激活模板 开始-->
  <activeProfiles>
	<activeProfile>dev</activeProfile>
  </activeProfiles>
   <!--激活模板 结束-->

</settings>
使用nexus私服下载jar包
即pom.xml中导入jar包坐标,若本地仓库没有,会通过nexus下载;若nexus没有,nexus会向中央仓库下载,nexus配置的仓库中会存放下载的jar包。

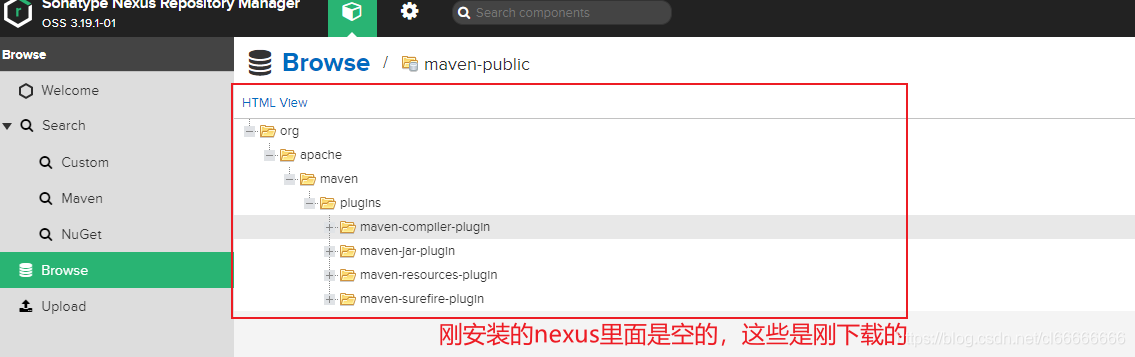
本地仓库没有,nexus下载的jar包
将jar包上传nexus私服
将第三方jar安装到本地仓库
①下载Oracle的jar包(略)
②在cmd中使用mvn install命令进行安装
mvn install:install-file -Dfile=ojdbc14-10.2.0.4.0.jar -DgroupId=com.oracle -DartifactId=ojdbc14 – Dversion=10.2.0.4.0 -Dpackaging=jar
将第三方jar安装到maven私服
①下载Oracle的jar包(略)
②在cmd中执行mvn deploy命令进行安装
mvn deploy:deploy-file -Dfile=ojdbc14-10.2.0.4.0.jar -DgroupId=com.oracle -DartifactId=ojdbc14 –
Dversion=10.2.0.4.0 -Dpackaging=jar –
Durl=http://ip:8081/repository/nuget-hosted/ -DrepositoryId=thirdparty
http://ip:8081/repository/nuget-hosted/ -->即上传jar的仓库地址
将项目发布到maven私服
1 配置maven的settings.xml文件
<server>
	<id>releases</id>
	<username>admin</username>
	<password>admin123</password>
</server>
<server>
	<id>snapshots</id>
	<username>admin</username>
	<password>admin123</password>
</server>
2 配置项目的pom.xml文件
<distributionManagement>
<repository>
   <id>releases</id>
   <url>http://ip:8081/repository/maven-releases/</url>
</repository>
<snapshotRepository>
   <id>snapshots</id>
   <url>http://ip:8081/repository/maven-snapshots/</url>
   </snapshotRepository>
</distributionManagement>
3 执行mvn deploy命令


 1万+
1万+

 被折叠的 条评论
为什么被折叠?
被折叠的 条评论
为什么被折叠?
 到【灌水乐园】发言


