


 本文介绍NS-3中PyViz和NetAnim的安装与使用方法。PyViz是一款在线模拟可视化工具,适用于调试节点通信效果。NetAnim则是一款基于Qt的离线动画播放器,用于展示XML格式的模拟轨迹文件。
1 PyViz
1.1 引言
NS-3 PyViz is a live simulation visualizer, meaning that it uses no trace files. It can be most useful for debugging purposes, i.e. to figure out if mobility models are what you expect, where packets are being dropped, etc. There’s also a builtin interactive python console that can be used to debug the state of the running objects. Although it is mostly written in Python, it works both with Python and pure C++ simulations.
NS-3 PyViz是在线模拟仿真可视化工具,使用python编写,在python和c++环境中都可以使用。
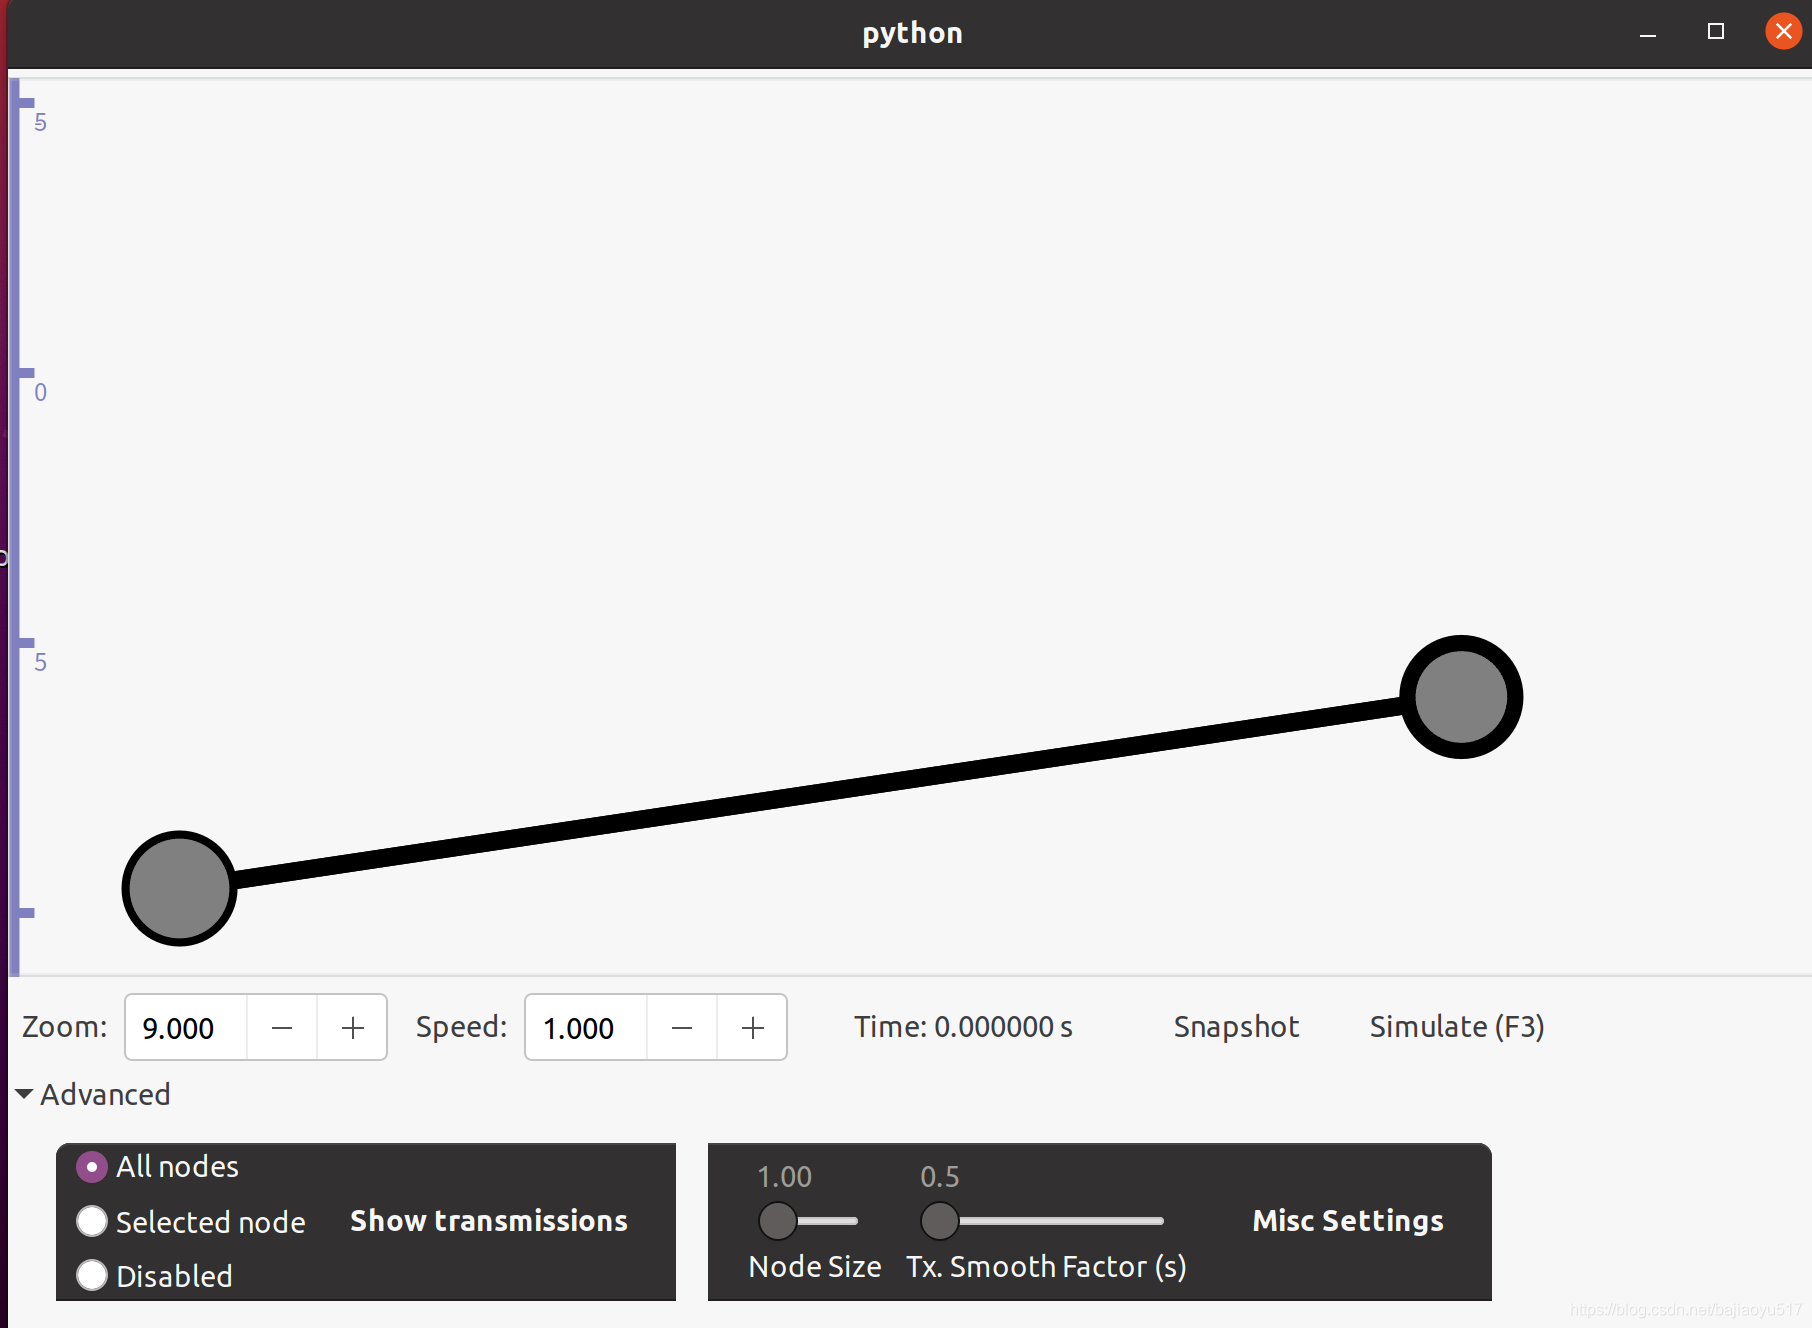
使用Pyviz工具可以更加直观的看出节点间通信的效果。
1.2 安装
在ns-3的3.10版本之后,ns-3中包括了PyViz。(因此不需要单独下载,只需要配置一下就可以了)
sudo ./waf configure --build-profile=debug --enable-example --enable-tests --with-pybindgen=/home/jnbai/tarballs/ns-allinone-3.29/pybindgen-0.17.0.post58+ngcf00cc0 --enable-sudo
若有错误提示:PyViz visualizer : not enabled (Missing python modules: pygraphviz),执行以下:
#3.29:
sudo pip3 install pygraphviz
sudo ./waf configure --build-profile=debug --enable-example --enable-tests --with-pybindgen=/home/jnbai/tarballs/ns-allinone-3.29/pybindgen-0.17.0.post58+ngcf00cc0 --enable-sudo

#3.30:
sudo apt-get install python-pydot python-pydot-ng graphviz graphviz-dev
sudo pip3 install pygraphviz
若有错误提示:No visualization support (No module named _gi_cairo).
No visualization support (No module named _gi_cairo).
Traceback (most recent call last):
File “”, line 2, in
File “/home/w/tarballs/ns-allinone-3.29/ns-3.29/src/visualizer/visualizer/core.py”, line 1847, in start
import sys
RuntimeError: maximum recursion depth exceeded while calling a Python object
安装gi.cairo即可解决:
sudo apt-get install gi.cairo
成功!
测试一下:
#在ns-3.XX目录下:
cp examples/tutorial/first.cc scratch
./waf --run first --vis
2 NetAnim
NetAnim is an offline animator based on the Qt toolkit. It currently animates the simulation using an XML trace file collected during simulation. The first version was developed by George F Riley.
先安装三个插件:
sudo apt-get install qt4-qmake # 安装工具
sudo apt-get purge libqt4-opengl-dev # 绘图工具(用这个命令可能出错sudo apt-get install libqt4-dev)
sudo apt-get install libxml2-dev # netanim读取程序生成的xml文件,离线展示动画
安装:
cd ns-allinone-3.xx
cd netanim-3.xxx
make clean
qmake NetAnim.pro
make
启动:
./NetAnim
出现界面:
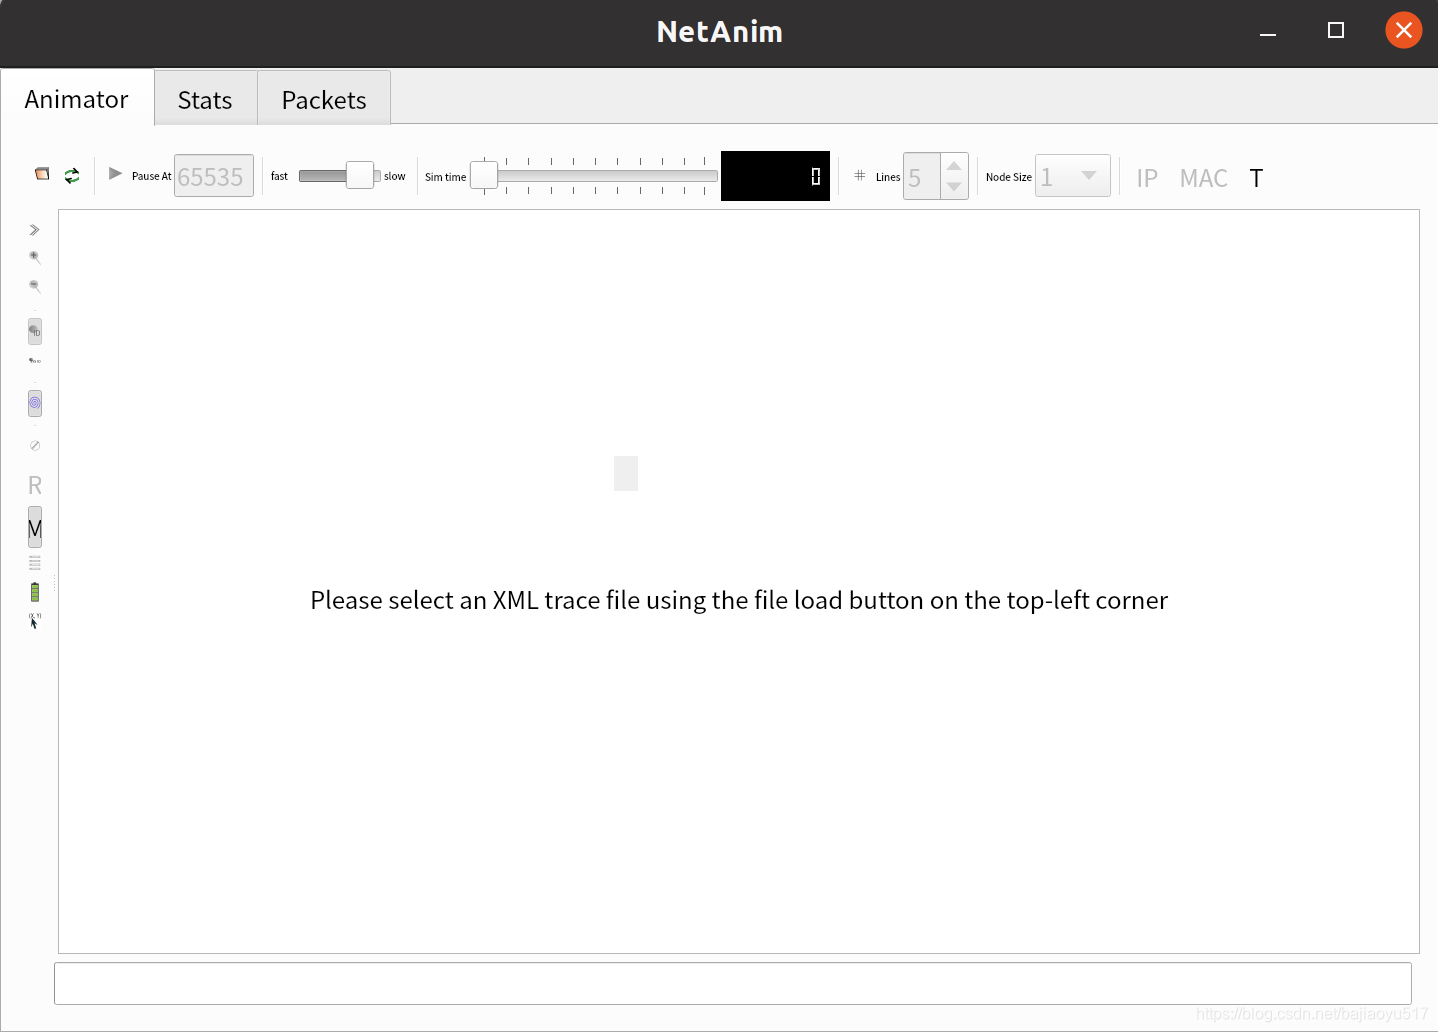
运行:
cp examples/tutorial/first.cc scratch
chmod 777 scratch/first.cc
vim scratch/first.cc
修改scratch/first.cc文件:
//加头文件
#include "ns3/netanim-module.h"
//在Simulator::Run();前面加这三句
//生成文件名为first.xml的xml格式的追踪文件
AnimationInterface anim("first.xml");
//AnimationInterface需要设置所有节点的位置,通过SetConstantPosition(Ptr<Node> n,double x, double y);在移动模型中设置节点静态位置的x、y坐标
anim.SetConstantPosition(nodes.Get(0), 1.0, 2.0);//描述节点0的坐标
anim.SetConstantPosition(nodes.Get(1), 2.0, 3.0);//描述节点1的坐标
其他可选语句:
//设置记录节点位置的周期,默认为250ms
anim.SetMobilityPollInterval(Seconds(1));

//设置动画记录内容在仿真过程中的开始和结束时间
anim.SetStartTime(Seconds(150));
anim.SetStopTime(Seconds(150));

//使用构造函数,使每个动画XML文件仅可包含50000个数据分组,如果动画接口捕获了150000个分组,使用以下构造函数将捕获的记录分成3个XML文件
AnimationInterface anim("first.xml",50000);

//设置XML文件记录包括元数据,用来提供更好的统计和过滤,如TCP序号、源节点和目的节点的IP地址等。启用该特性会导致XML记录文件增大,建议WIMAX仿真不要用
anim.EnablePacketMetadate(true);
保存退出。
# (普通用户)在ns-3.xx文件下,编译程序
sudo ./waf --run scratch/first
# 在netanim文件夹下重新启动
# 注:在超级用户sudo下可能用以下语句不显示界面,因此在普通用户下执行
./NetAnim
在netanim界面中点击open->first.xml->play
成功!


 1410
1410

 被折叠的 条评论
为什么被折叠?
被折叠的 条评论
为什么被折叠?
 到【灌水乐园】发言


