运行效果
由于cuda进行运算是非常快的。本文介绍通过C++调用自定义的cuda类接口,将耗时运算操作交由cuda进行计算。
正问
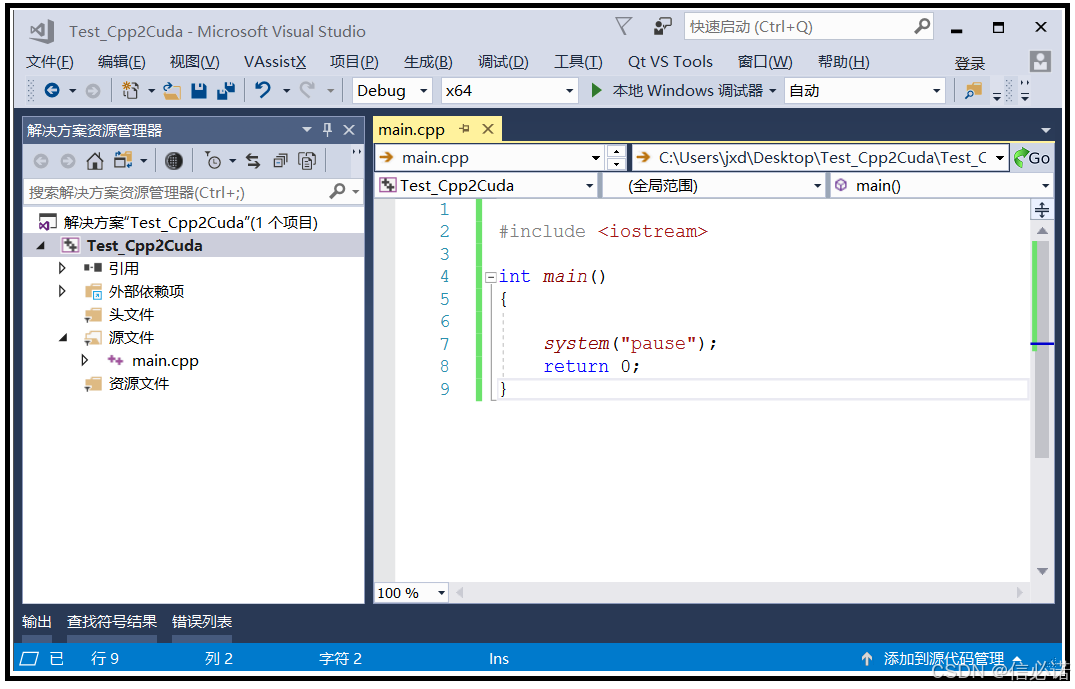
1、打开vs2017,创建C++空项目,并创建main.cpp写入部分代码
2、创建cuda文件与头文件
(1)、右键项目名称 - 添加 - 新建项 - Visual C++,分两次分别创建"CUDA 11.4 C/C++ File"与"CUDA 11.4 C/C++ Header"
(2)、将如下代码分别写入3个代码文件
main.cpp
#include <iostream>
#include "main.cuh"
int main()
{
CudaTest TEST;
TEST.RunCalc();
system("pause");
return 0;
}
CudaTest.cuh
#ifndef MAIN_CUH
#define MAIN_CUH
#include "cuda_runtime.h"
#include "device_launch_parameters.h"
#include <stdio.h>
class CudaTest
{
public:
CudaTest();
int RunCalc();
};
#endif
CudaTest.cu
#include "main.cuh"
#include <Windows.h>
CudaTest::CudaTest()
{
}
cudaError_t addWithCuda(int *c, const int *a, const int *b, unsigned int size);
__global__ void addKernel(int *c, const int *a, const int *b)
{
int i = threadIdx.x;
c[i] = a[i] + b[i];
}
int CudaTest::RunCalc()
{
const int arraySize = 5;
const int a[arraySize] = { 1, 2, 3, 4, 5 };
const int b[arraySize] = { 10, 20, 30, 40, 50 };
int c[arraySize] = { 0 };
cudaError_t cudaStatus = cudaSuccess;
for (unsigned short index = 0; index < 3000; ++index)
{
// Add vectors in parallel.
cudaStatus = addWithCuda(c, a, b, arraySize);
if (cudaStatus != cudaSuccess) { fprintf(stderr, "addWithCuda failed!"); return 1; }
printf("%d --- {1,2,3,4,5} + {10,20,30,40,50} = {%d,%d,%d,%d,%d}\n", index,c[0], c[1], c[2], c[3], c[4]);
Sleep(1);
}
// cudaDeviceReset must be called before exiting in order for profiling and
// tracing tools such as Nsight and Visual Profiler to show complete traces.
cudaStatus = cudaDeviceReset();
if (cudaStatus != cudaSuccess) { fprintf(stderr, "cudaDeviceReset failed!"); return 1; }
return 0;
}
// Helper function for using CUDA to add vectors in parallel.
cudaError_t addWithCuda(int *c, const int *a, const int *b, unsigned int size)
{
int *dev_a = 0;
int *dev_b = 0;
int *dev_c = 0;
cudaError_t cudaStatus;
// Choose which GPU to run on, change this on a multi-GPU system.
cudaStatus = cudaSetDevice(0);
if (cudaStatus != cudaSuccess) {
fprintf(stderr, "cudaSetDevice failed! Do you have a CUDA-capable GPU installed?");
goto Error;
}
// Allocate GPU buffers for three vectors (two input, one output) .
cudaStatus = cudaMalloc((void**)&dev_c, size * sizeof(int));
if (cudaStatus != cudaSuccess) {
fprintf(stderr, "cudaMalloc failed!");
goto Error;
}
cudaStatus = cudaMalloc((void**)&dev_a, size * sizeof(int));
if (cudaStatus != cudaSuccess) {
fprintf(stderr, "cudaMalloc failed!");
goto Error;
}
cudaStatus = cudaMalloc((void**)&dev_b, size * sizeof(int));
if (cudaStatus != cudaSuccess) {
fprintf(stderr, "cudaMalloc failed!");
goto Error;
}
// Copy input vectors from host memory to GPU buffers.
cudaStatus = cudaMemcpy(dev_a, a, size * sizeof(int), cudaMemcpyHostToDevice);
if (cudaStatus != cudaSuccess) {
fprintf(stderr, "cudaMemcpy failed!");
goto Error;
}
cudaStatus = cudaMemcpy(dev_b, b, size * sizeof(int), cudaMemcpyHostToDevice);
if (cudaStatus != cudaSuccess) {
fprintf(stderr, "cudaMemcpy failed!");
goto Error;
}
// Launch a kernel on the GPU with one thread for each element.
addKernel << <1, size >> > (dev_c, dev_a, dev_b);
// Check for any errors launching the kernel
cudaStatus = cudaGetLastError();
if (cudaStatus != cudaSuccess) {
fprintf(stderr, "addKernel launch failed: %s\n", cudaGetErrorString(cudaStatus));
goto Error;
}
// cudaDeviceSynchronize waits for the kernel to finish, and returns
// any errors encountered during the launch.
cudaStatus = cudaDeviceSynchronize();
if (cudaStatus != cudaSuccess) {
fprintf(stderr, "cudaDeviceSynchronize returned error code %d after launching addKernel!\n", cudaStatus);
goto Error;
}
// Copy output vector from GPU buffer to host memory.
cudaStatus = cudaMemcpy(c, dev_c, size * sizeof(int), cudaMemcpyDeviceToHost);
if (cudaStatus != cudaSuccess) {
fprintf(stderr, "cudaMemcpy failed!");
goto Error;
}
Error:
cudaFree(dev_c);
cudaFree(dev_a);
cudaFree(dev_b);
return cudaStatus;
}
3、【重要】工程配置修改,用以识别支持CUDA
3.1、右键项目名称 - 生成依赖项 - 生成自定义 - 勾选CUDA 11.4
3.2、分别右键.cu与.cuh文件,选择: 属性 - 配置属性 - 常规 - 项类型 - 选择"CUDA C/C++"
3.3、工具 - 选项 - 文本编辑器 - 文件扩展名,添加cu和cuh两个文件拓展名
4、项目配置cuda头文件/库(其实若按照 前篇文章 配置环境变量后,则此第4步骤可不做)
4.1、【加入头文件】具体如下图加入cuda头文件
4.2、【加入库文件】具体如下两图加入cuda库路径及文件
5、编译运行
关注
笔者 - 东旭