


 本文档详细介绍了如何在Qt环境中使用QML的多媒体模块来创建一个简单的摄像头应用。从安装Qt5.15.2和QtCreator5.0.2开始,逐步讲解新建QML工程、修改pro文件添加多媒体模块、设计用户界面,特别是使用Camera和VideoOutput组件显示摄像头画面,并通过ComboBox选择不同的摄像头设备。最后展示了在Windows平台上的运行效果,并提供了源码下载。
前言:
qml的使用越来越多,笔者从一开始的排斥,到现在已经使用多年。多媒体模块在win下并不友好,笔者经常使用第三方库,如openCV。但在跨平台的通用上,Qt会更好一些,本教程开始使用Qt的多媒体模块
一、Qt准备
请阅读的小伙伴自己安装Qt5.15.2,笔者使用的是QtCreator5.0.2
qml各版本间差异较大,通用性有点差。当确定使用指定Qt版本后,不要轻易更换版本
二、新建qml工程
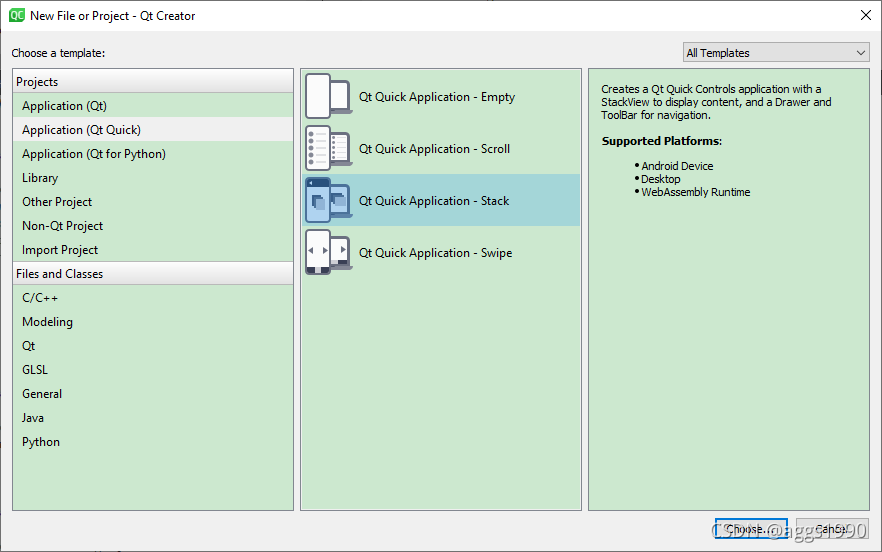
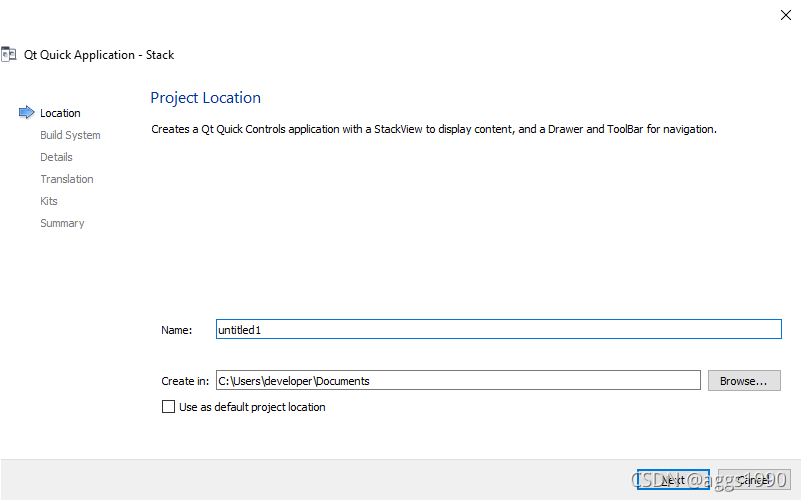

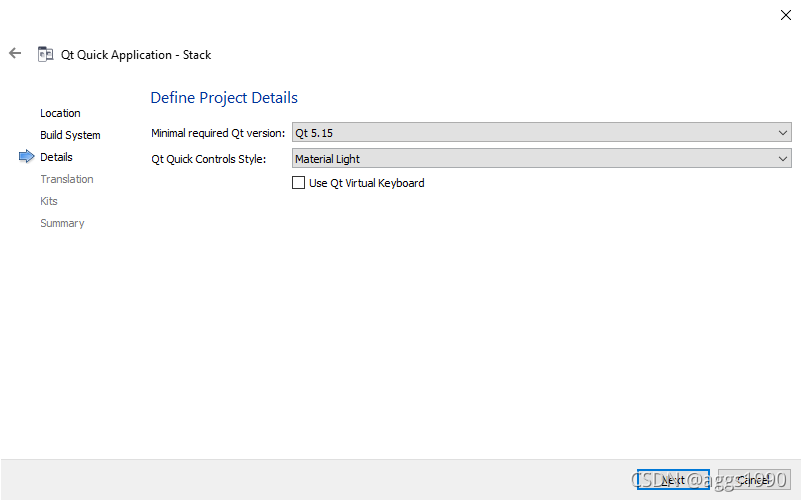
以上操作过程仅供小伙伴参考,请根据实际的QtCreator创建工程
三、修改pro工程文件
QT += qml multimedia笔者开始编写时,并未添加多媒体模块,仍然可以正常编译并运行。笔者要提醒的是,需要加上这些模块,否则换个平台或编译器就无法正常编译或运行了
四、新建Home页面
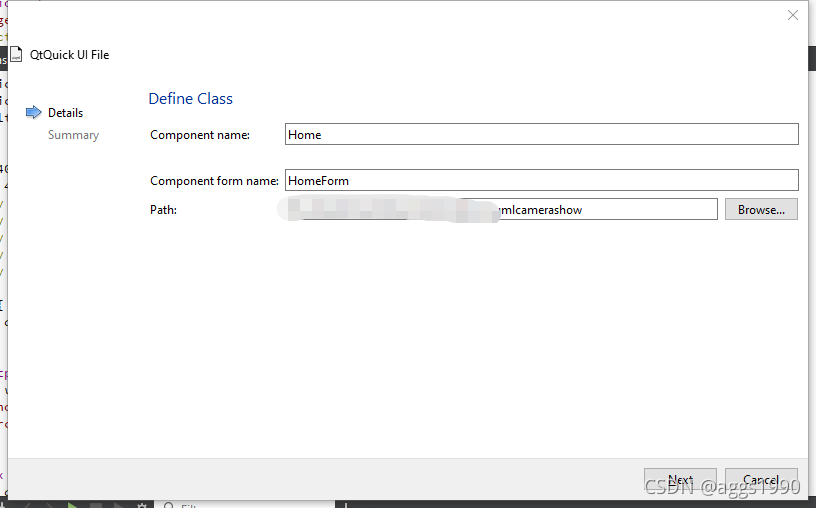
以上添加上步骤仅供小伙伴们参考
使用设计器修改界面如下
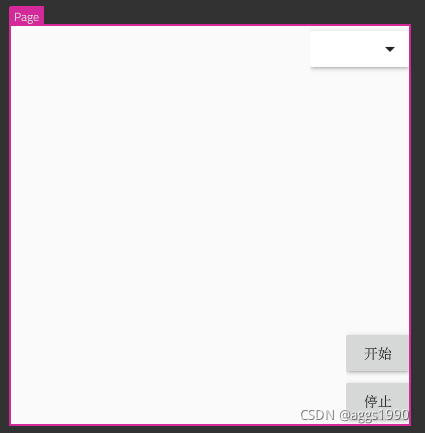
关键UI代码
    //创建摄像头
    Camera {
        id: camera
    }
    //用于显示摄像头数据的取景器
    VideoOutput {
        id: videoOutput
        anchors.fill: parent
        source: camera
    }
以下Home.qml的代码
HomeForm {
    id:page

    comboBox.model:ListModel {
        id: model
    }

    Connections {
        target: comboBox
        function onCurrentValueChanged(){//当前的值发生了变化
            console.debug("222222222222",comboBox.currentValue)
            let camreaDevices = QtMultimedia.availableCameras
            for(let i = 0; i < camreaDevices.length; i ++)
            {
                if(camreaDevices[i].deviceId === comboBox.currentValue)
                    camera.deviceId = comboBox.currentValue
            }
        }
    }

    Connections {
        target: button_start
        function onClicked() {//开启摄像头
            camera.start()
        }
    }

    Connections {
        target: button_stop
        function onClicked() {//关闭摄像头
            camera.stop()
        }
    }

     Component.onCompleted: {
         //初始化摄像头选择框
         let camreaDevices = QtMultimedia.availableCameras
         for(let i = 0; i < camreaDevices.length; i ++)
         {
             let json = {}
             json["text"] = camreaDevices[i].displayName
             json["value"] = camreaDevices[i].deviceId
             model.append(json)
//             console.debug("qqqqqqqqqqqqqq",JSON.stringify(json),camreaDevices[i])
             if(QtMultimedia.defaultCamera.deviceId === camreaDevices[i].deviceId)
                 comboBox.currentIndex = i
         }
     }
}
五、调用创建的页面
修改main.qml,关键代码如下
StackView {
id: stackView
initialItem: component_home //初始页面修改为新增加的页面组件
anchors.fill: parent
}
//新增页面组件
Component {
id: component_home
Home {
width: stackView.width
height: stackView.height
}
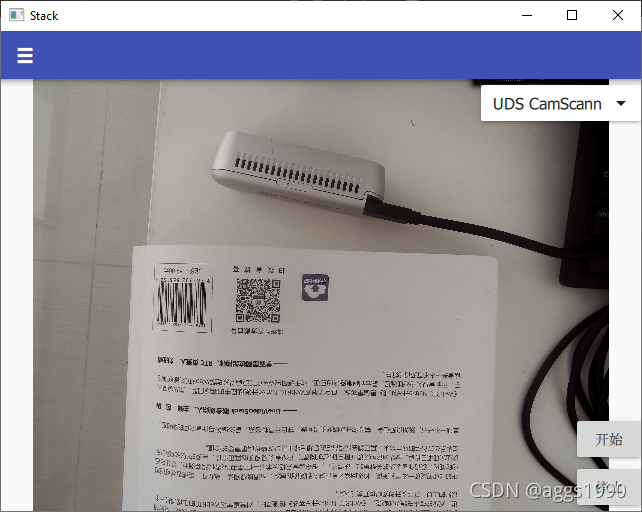
}完成以上操作,就可以运行程序了,以下是笔者在win10下的运行结果
本次教程使用的源码
后记:
因时间关系,笔者只在win10下使用minGW(64+32位)和VS2019(64+32位),android(arm8_64)测试,其他平台未测试,感兴趣的小伙伴可以测试下其他平台


 1833
1833

 被折叠的 条评论
为什么被折叠?
被折叠的 条评论
为什么被折叠?
 到【灌水乐园】发言


