


环境准备
一、云服务器+虚拟机APP
这里我用的是腾讯云服务器,虚拟机用的是FinalShell
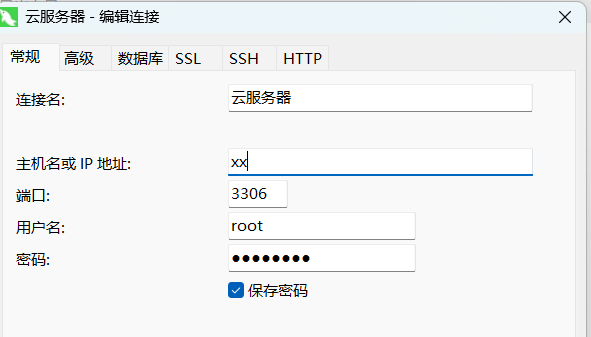
根据ip地址和账号密码进行连接
二、java环境
yum install -y java-1.8.0-openjdk
三、nginx环境
1、将下载好的压缩包传到云服务上并解压缩
2、输入
./configure
这样就算完成了

3、编译安装nginx:
make&&make install
运行完这行命令之后,会在/usr/local/目录产生一个nginx文件夹
4、进入nginx的/sbin目录下运行:
./nginx
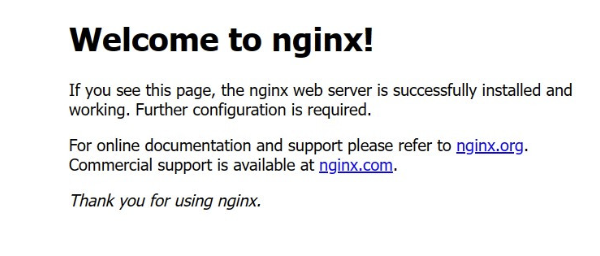
5、通过ip地址+端口号(默认80)的方式访问:
出现这个页面说明运行成功了
四、mysql环境
1.下载并解压mysql
创建mysql安装文件夹
cd /usr/local
mkdir mysql
cd mysql
下载
wget https://dev.mysql.com/get/Downloads/MySQL-8.0/mysql-8.0.16-2.el7.x86_64.rpm-bundle.tar
解压
tar -xvf mysql-8.0.16-2.el7.x86_64.rpm-bundle.tar
2.安装mysql
rpm -ivh mysql-community-common-8.0.16-2.el7.x86_64.rpm --nodeps --force
rpm -ivh mysql-community-libs-8.0.16-2.el7.x86_64.rpm --nodeps --force
rpm -ivh mysql-community-client-8.0.16-2.el7.x86_64.rpm --nodeps --force
rpm -ivh mysql-community-server-8.0.16-2.el7.x86_64.rpm --nodeps --force
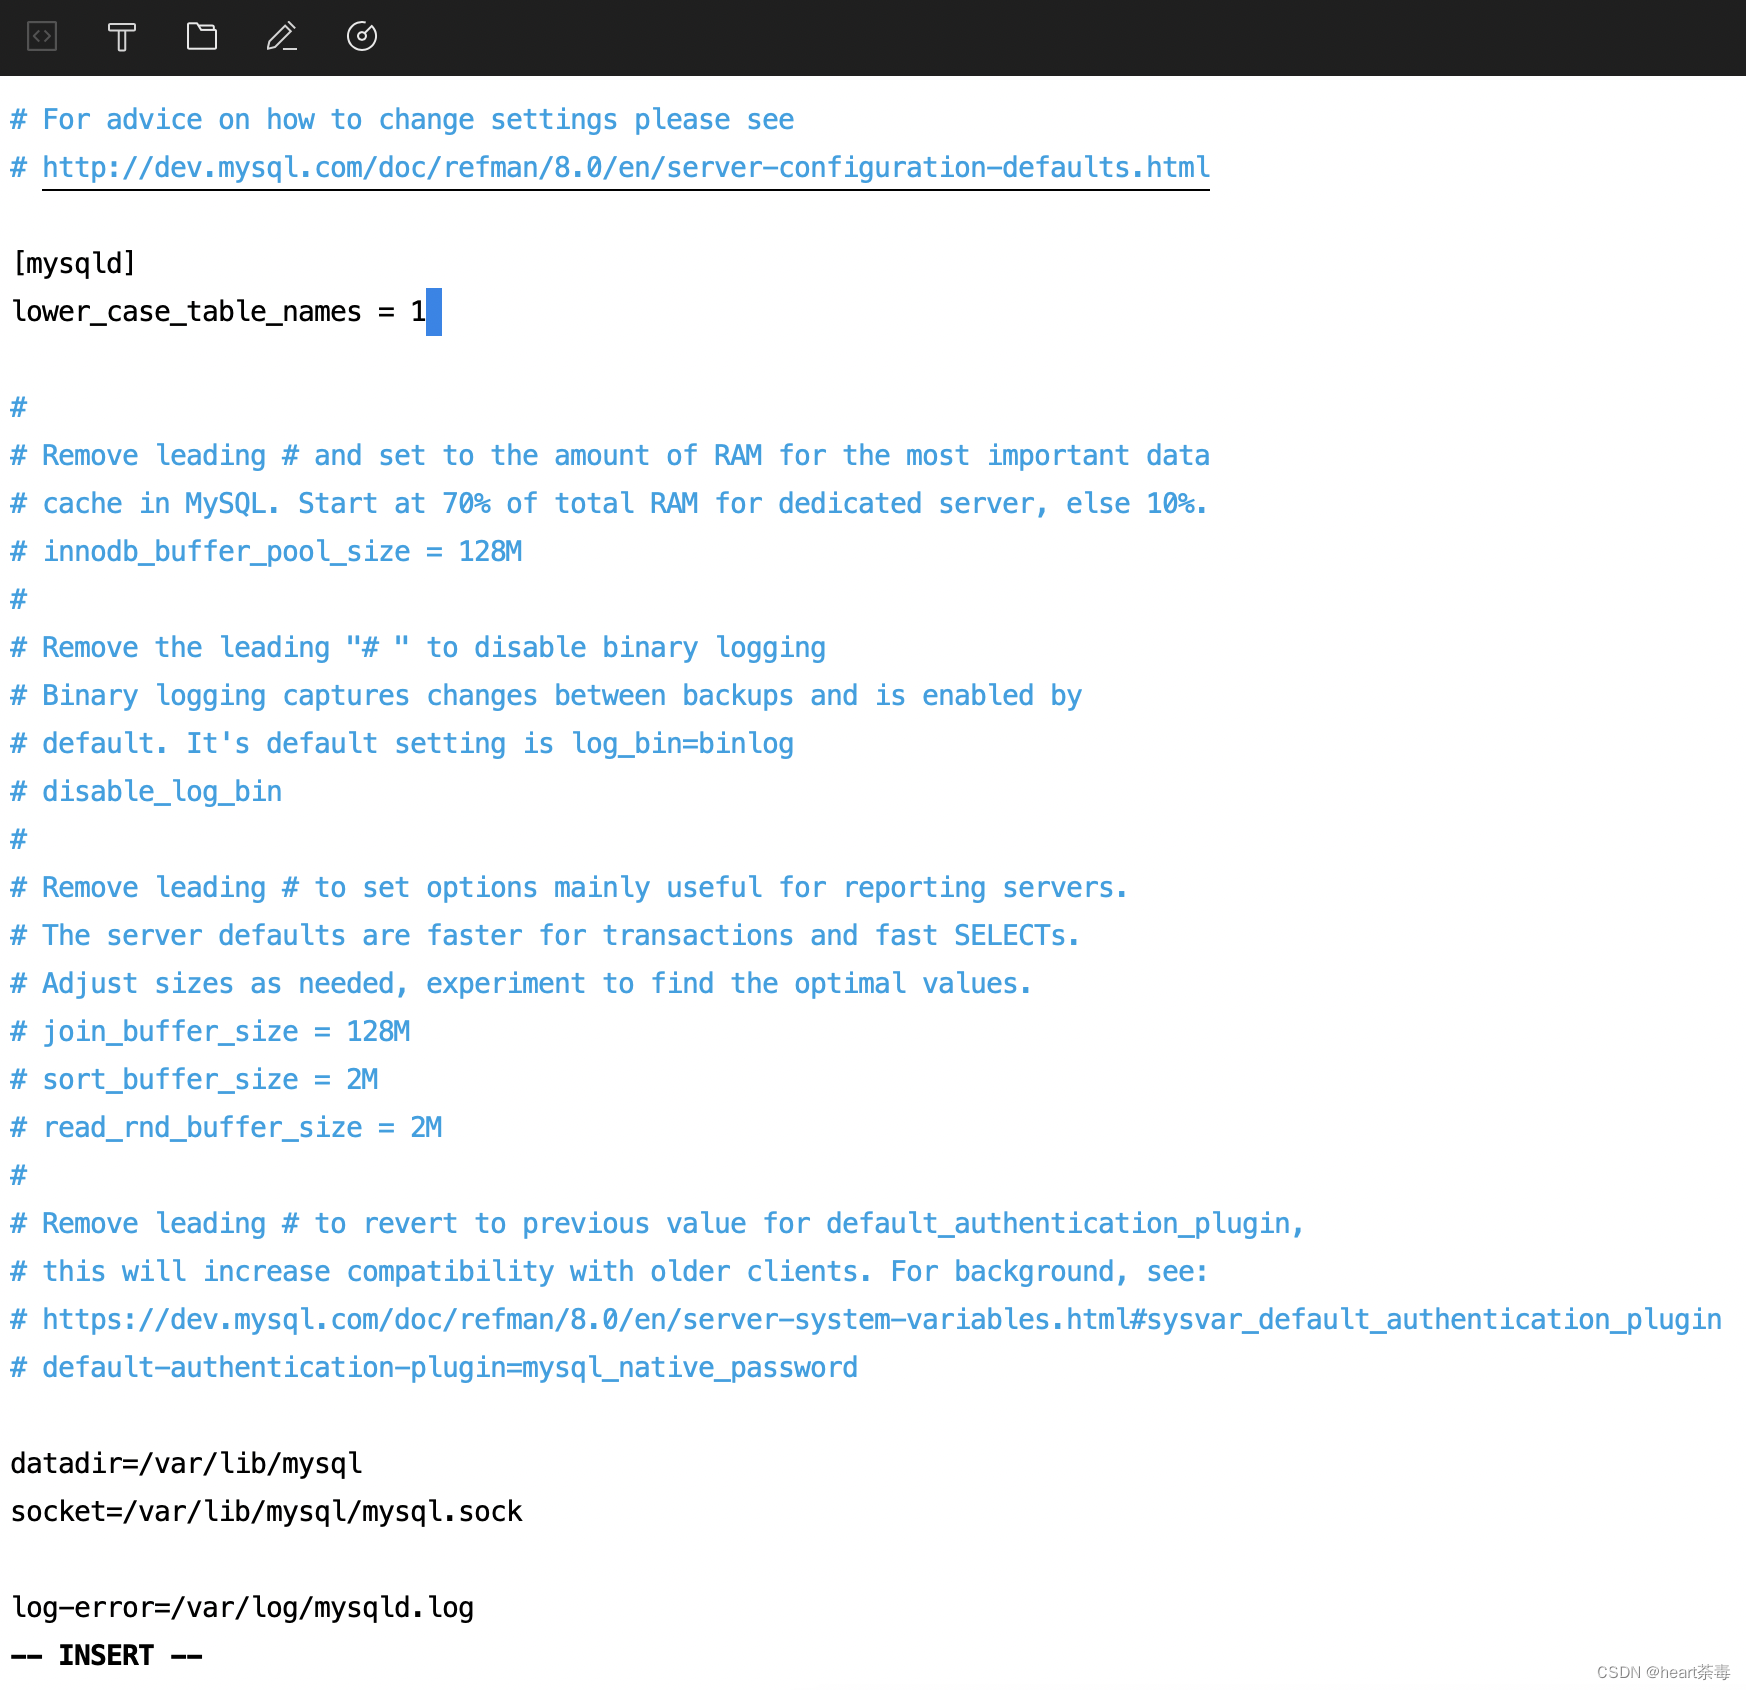
3.修改my.cnf文件
增加
lower_case_table_names = 1
4、初始化配置
mysqld --initialize;
chown mysql:mysql /var/lib/mysql -R;
systemctl start mysqld.service;systemctl enable mysqld;
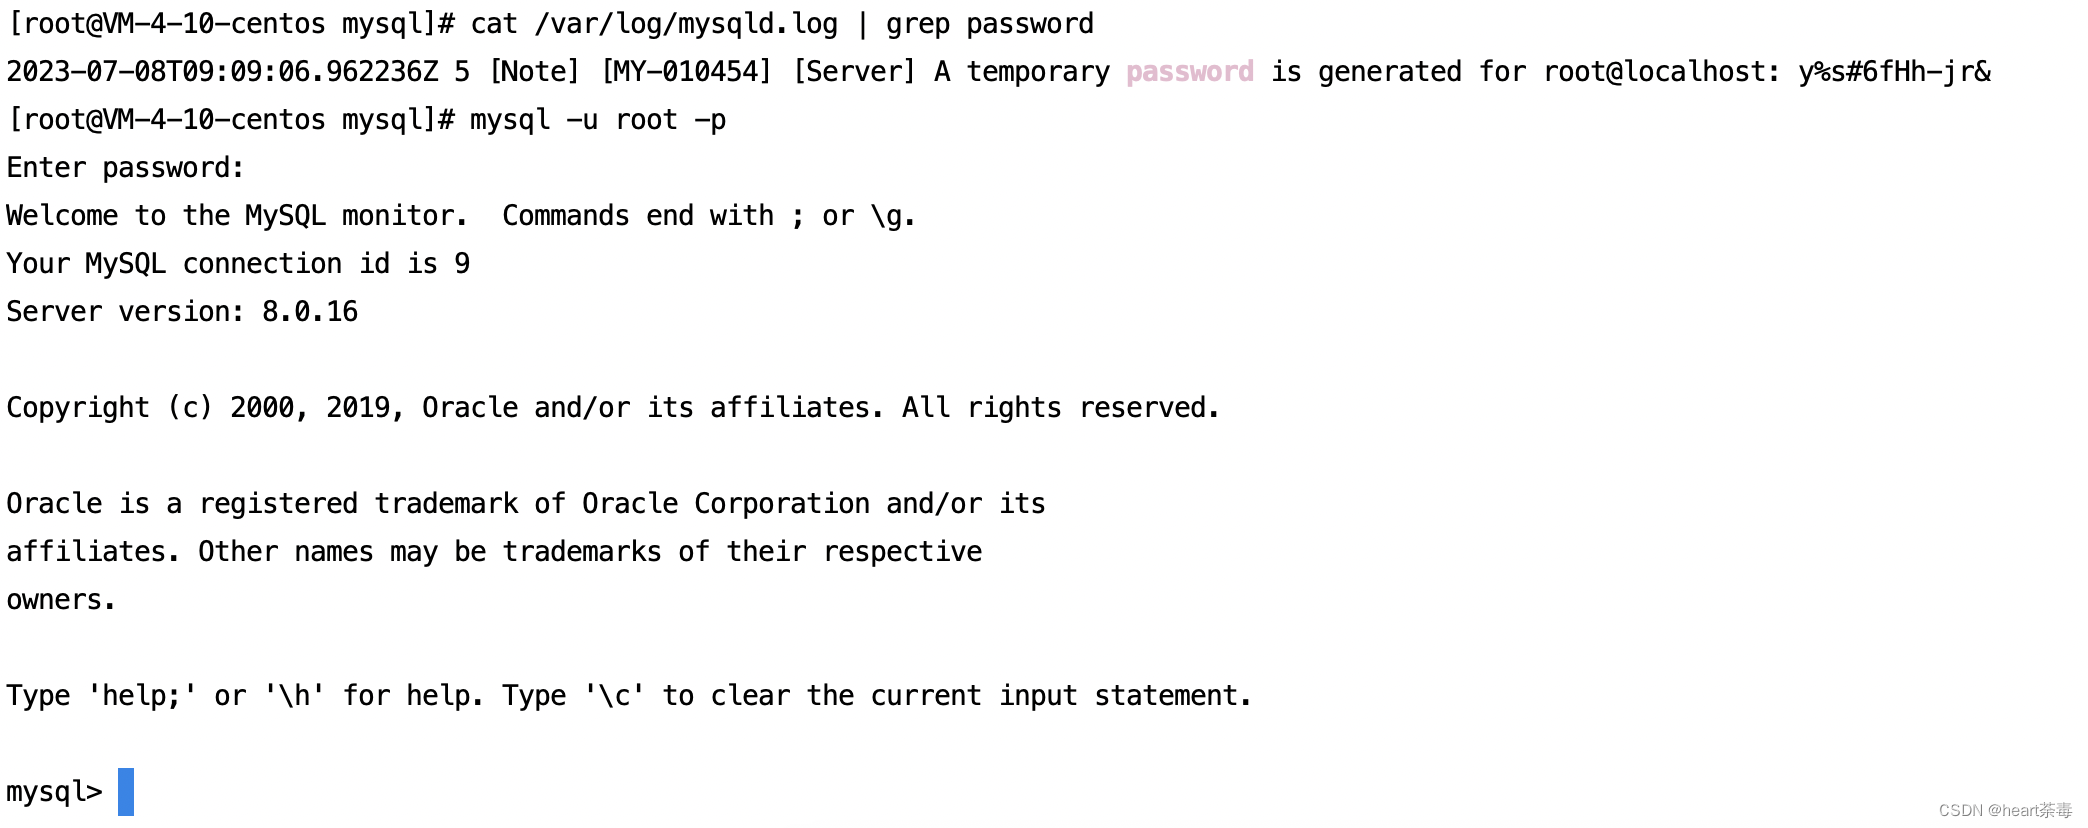
5、修改密码
查看初始密码并登录mysql
cat /var/log/mysqld.log | grep password
修改密码
alter user 'root'@'localhost' identified by '123456';
flush privileges;
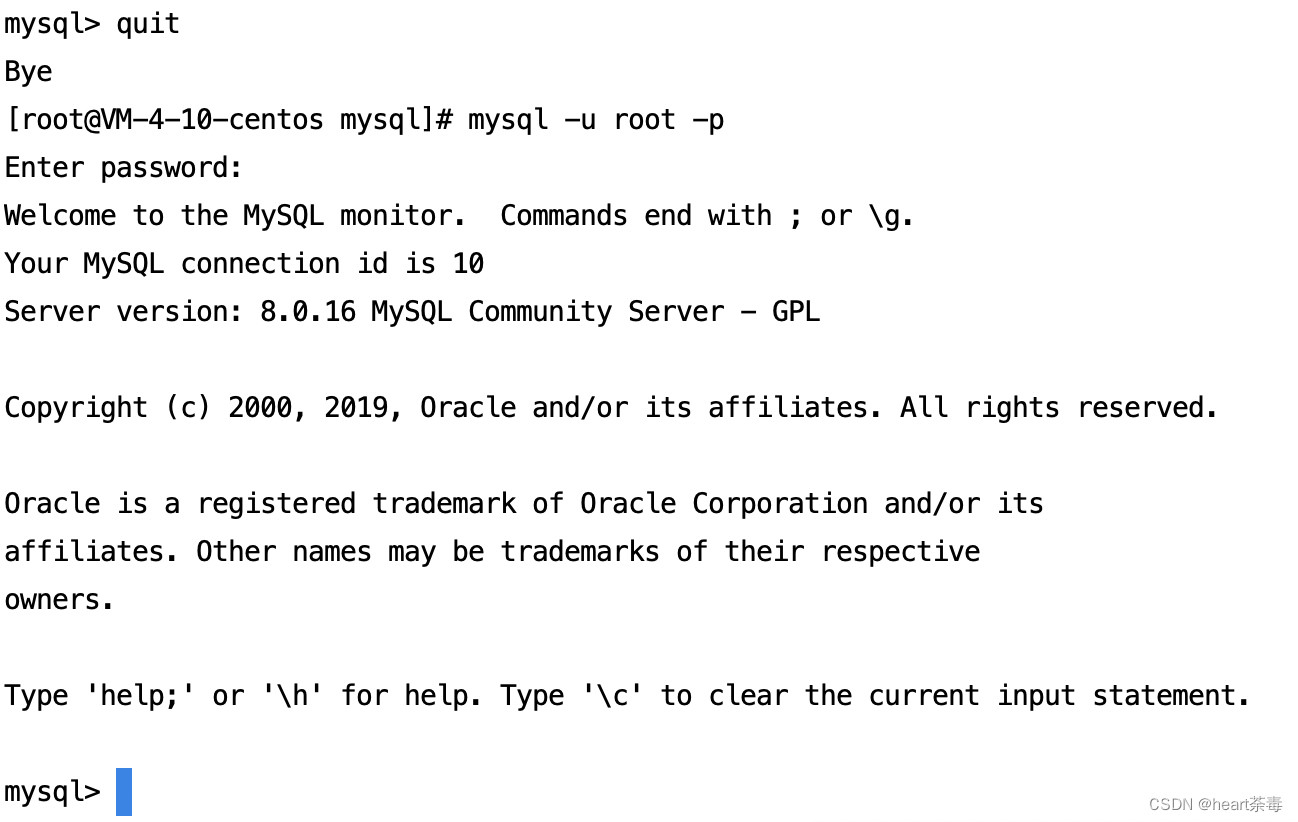
6、使用新密码登录
7.修改mysql_native_password为新密码
alter user 'root'@'localhost' identified with mysql_native_password by '123456';
8.允许所有ip访问云服务器MySql
create user 'root'@'%' identified with mysql_native_password by '123456';
grant all privileges on *.* to 'root'@'%' with grant option;
flush privileges;
9.服务器防火墙添加规则

10.navicat图形化工具连接
五、redis环境
1.将下载好的redis压缩包上传到云服务器
解压命令:tar -zxvf 文件名
2.修改配置文件
修改bind参数,默认配置为127.0.0.1 -::1,表示仅允许本地访问。若需远程访问,可绑定服务器IP或注释该行。
将protected-mode设置为no,避免因未配置密码或非本地连接导致拒绝访问。
默认端口为6379,可根据需求修改port参数。
daemonize参数默认为no,表示Redis在前台运行,适合调试。生产环境可设为yes以启用后台模式。
3.服务器添加规则

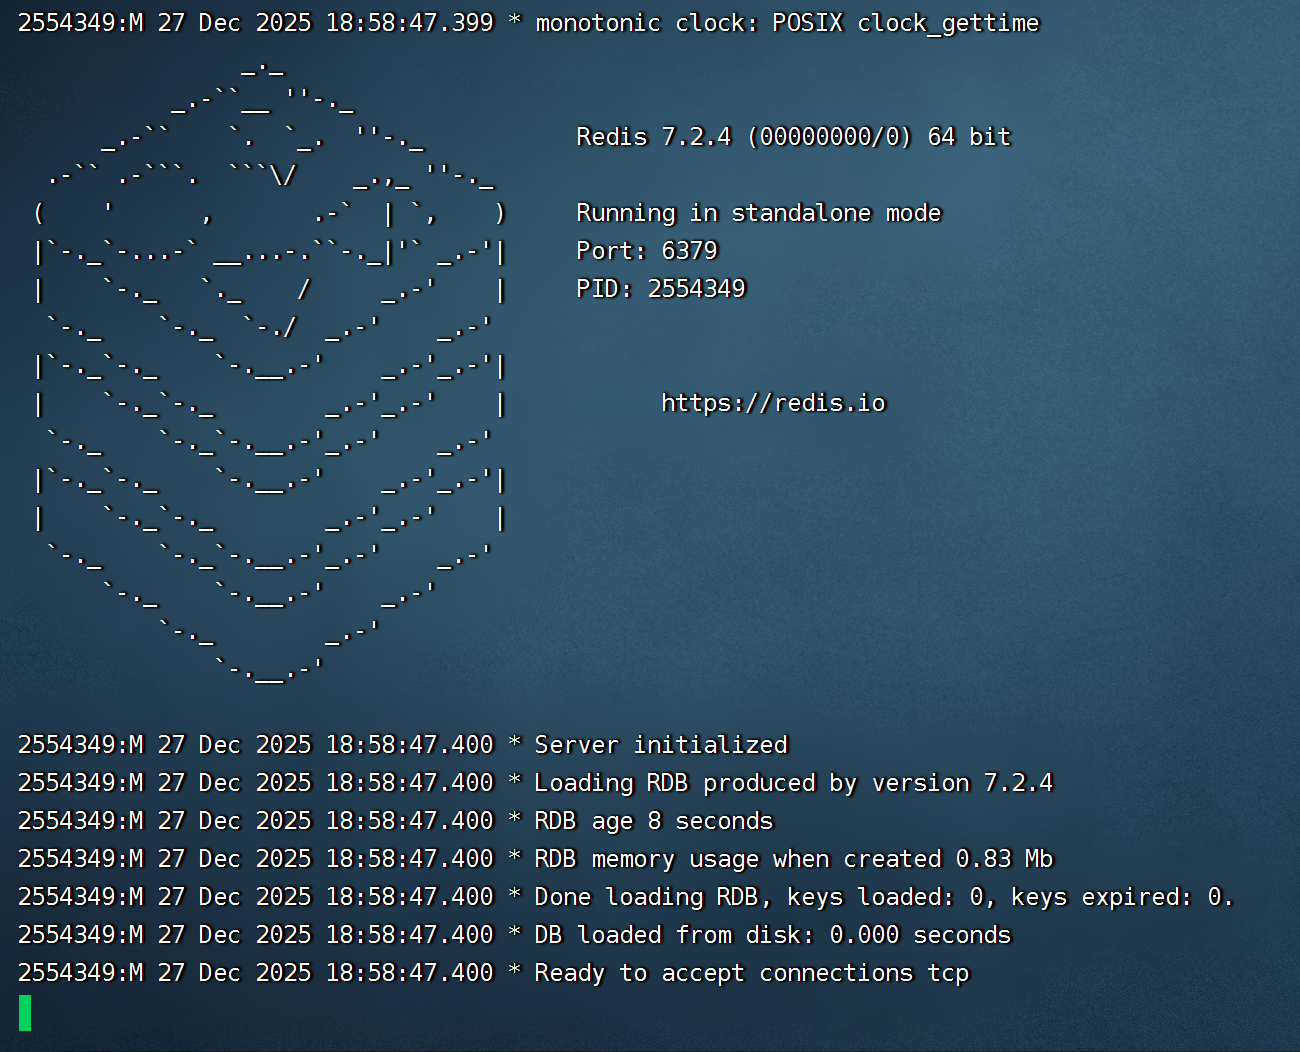
4.运行
在redis根目录文件夹中输入
redis-server redis.conf
启动成功
在此界面敲击ctrl+c可以关闭redis
打包部署
前端项目
1.修改vue.config.js当中的url:
按照自己的ip和后端的springboot端口修改

2.在终端运行命令:
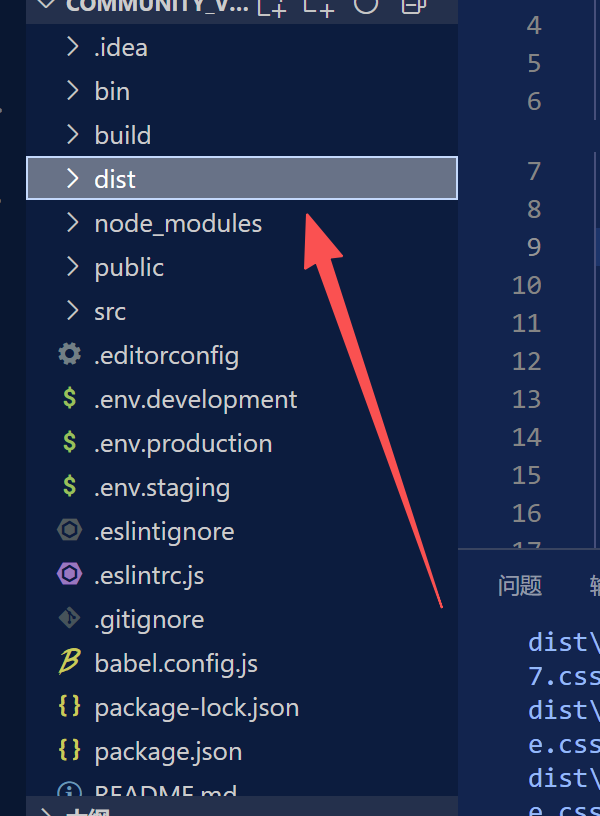
npm run build:prod
运行成功之后会在项目文件夹目录里面生成打包好的文件夹dist
3.在云服务器中创建目录:
/usr/local/src/myLibrary/
把打包好的dist文件夹放到里面
4.修改nginx的配置文件
worker_processes 1;
events {
worker_connections 1024;
}
http {
include mime.types;
default_type application/octet-stream;
#log_format main '$remote_addr - $remote_user [$time_local] "$request" '
# '$status $body_bytes_sent "$http_referer" '
# '"$http_user_agent" "$http_x_forwarded_for"';
#access_log logs/access.log main;
sendfile on;
#tcp_nopush on;
#keepalive_timeout 0;
keepalive_timeout 65;
#gzip on;
server {
listen 80;
server_name 106.55.104.210;
#charset koi8-r;
#access_log logs/host.access.log main;
# 前端静态文件
location / {
root /usr/local/src/myLibrary/dist;
index index.html index.htm;
try_files $uri $uri/ /index.html; # 解决 Vue 路由问题
}
# 后端 API 代理 - 将 /prod-api/ 转发到 Spring Boot
location /prod-api/ {
proxy_pass http://127.0.0.1:8282/; # 转发到 Spring Boot
proxy_set_header Host $host;
proxy_set_header X-Real-IP $remote_addr;
proxy_set_header X-Forwarded-For $proxy_add_x_forwarded_for;
proxy_set_header X-Forwarded-Proto $scheme;
# 增加超时设置
proxy_connect_timeout 30s;
proxy_send_timeout 30s;
proxy_read_timeout 30s;
}
#error_page 404 /404.html;
# redirect server error pages to the static page /50x.html
#
error_page 404 =200 /index.html;
location = /50x.html {
#root html;
root /usr/local/src/myLibrary/dist;
}
}
}
5.重启nginx让配置生效
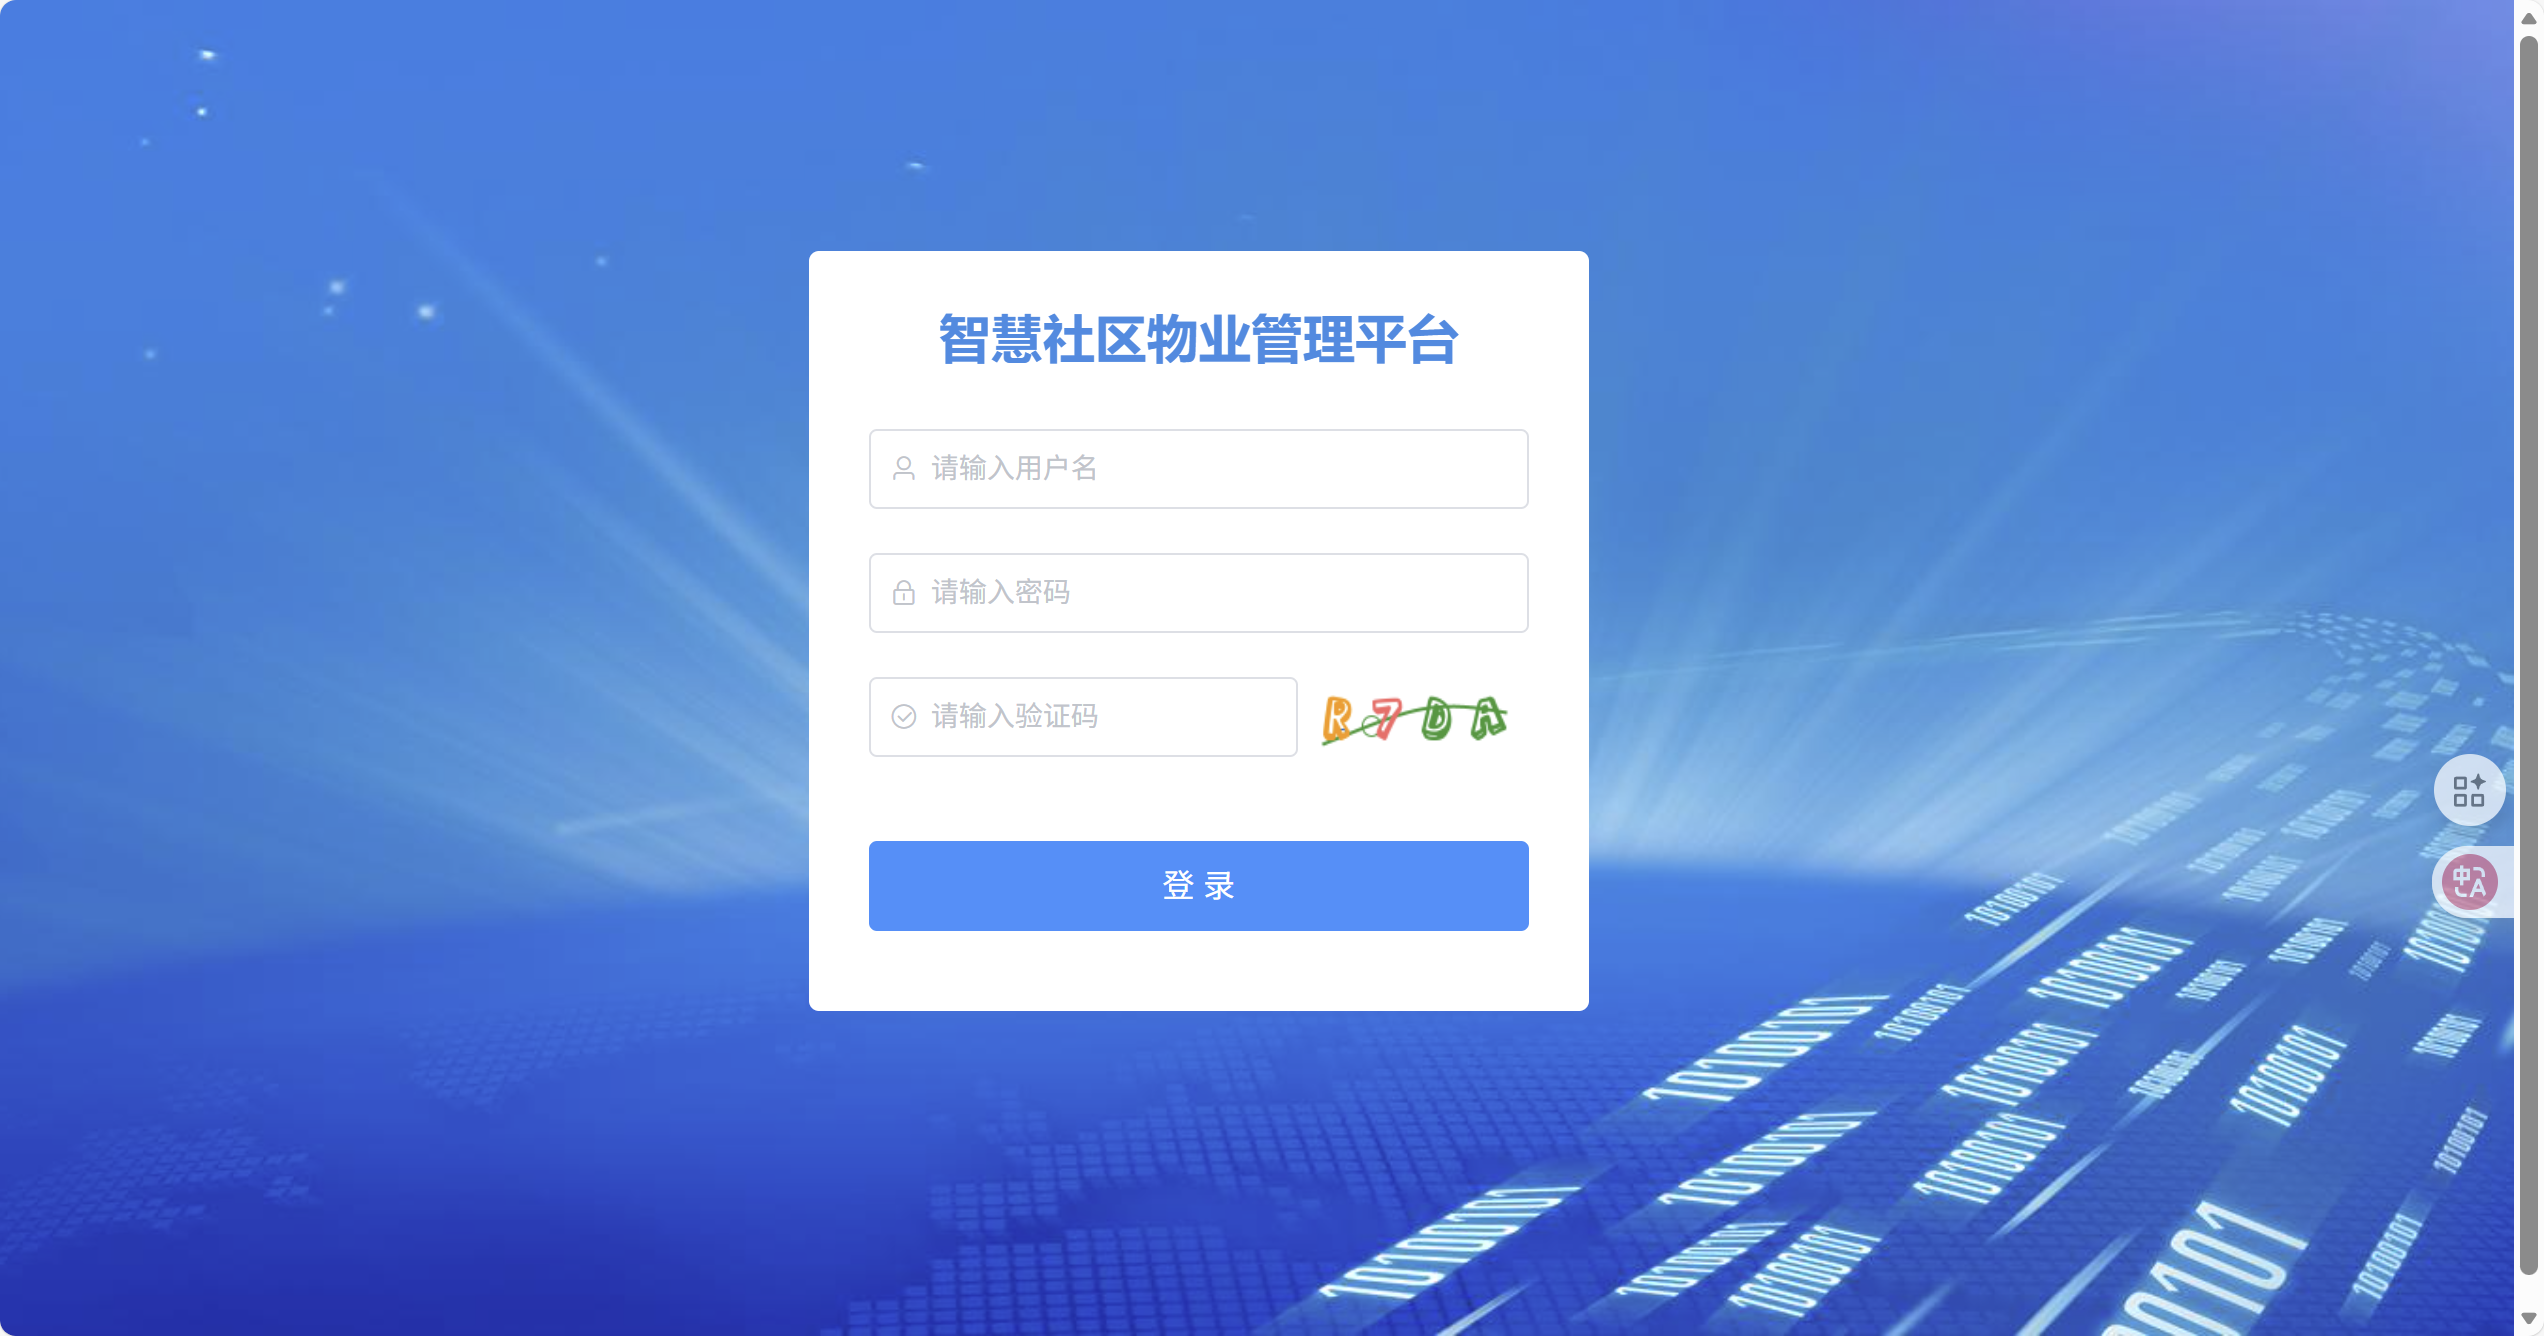
然后再用ip地址+端口的形式访问:
后端项目
1.修改配置文件:
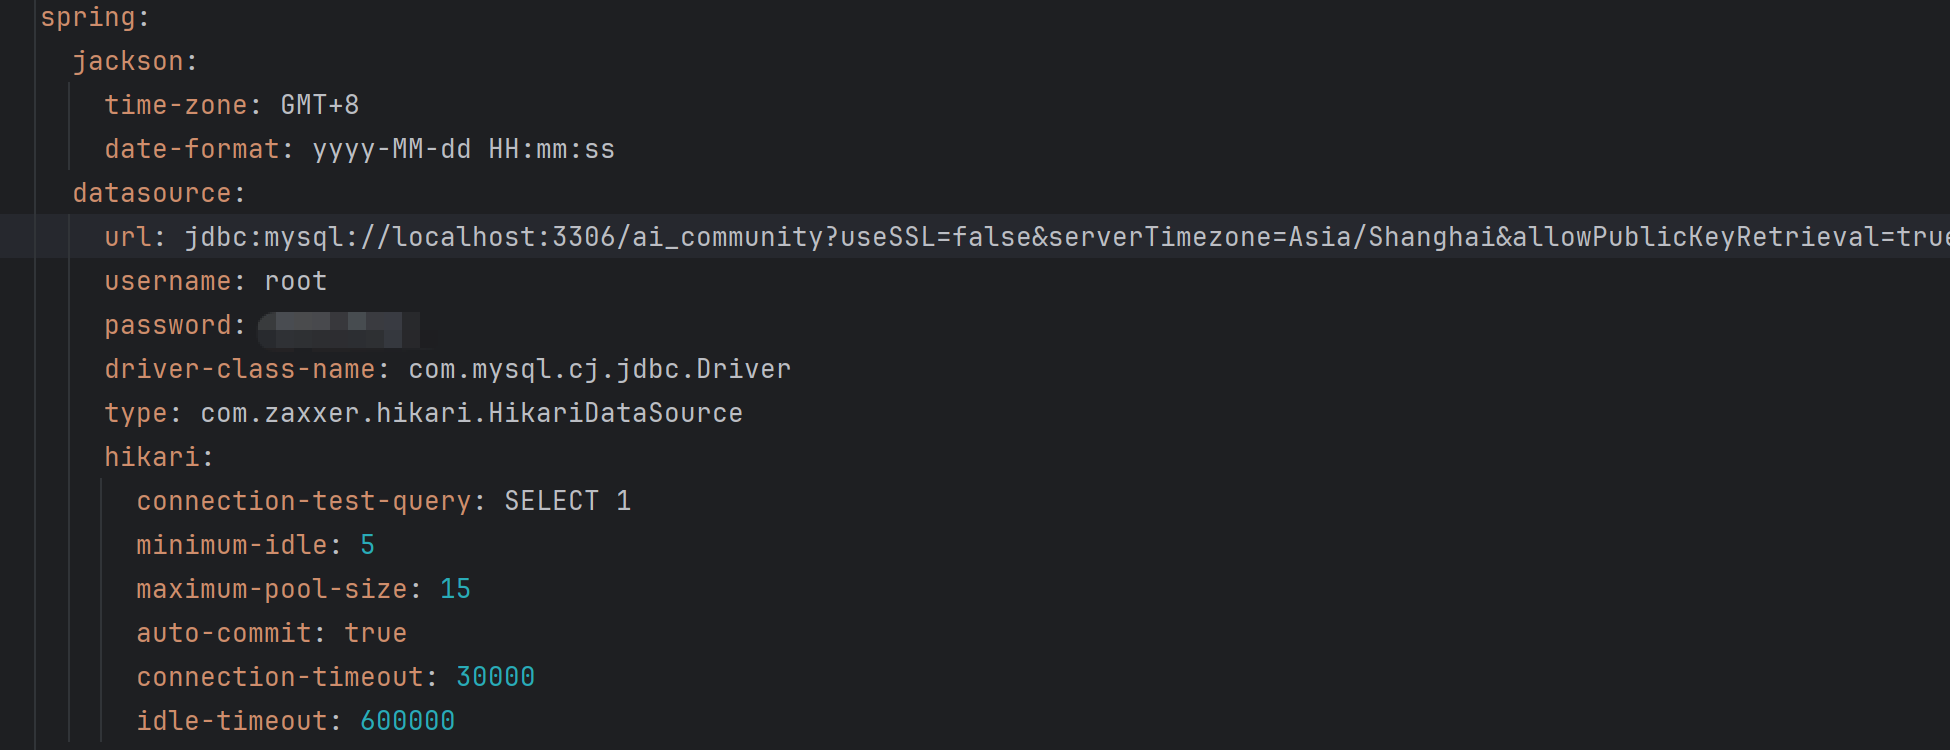
把原来的图片路径改一下,去掉D:前缀,云服务器没有D盘,改到根目录下
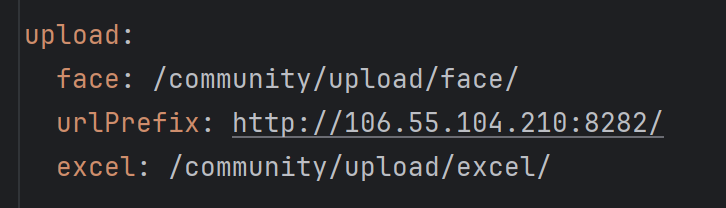
修改数据库的用户名和密码,改成云服务器的
2.用Maven打包:
双击install
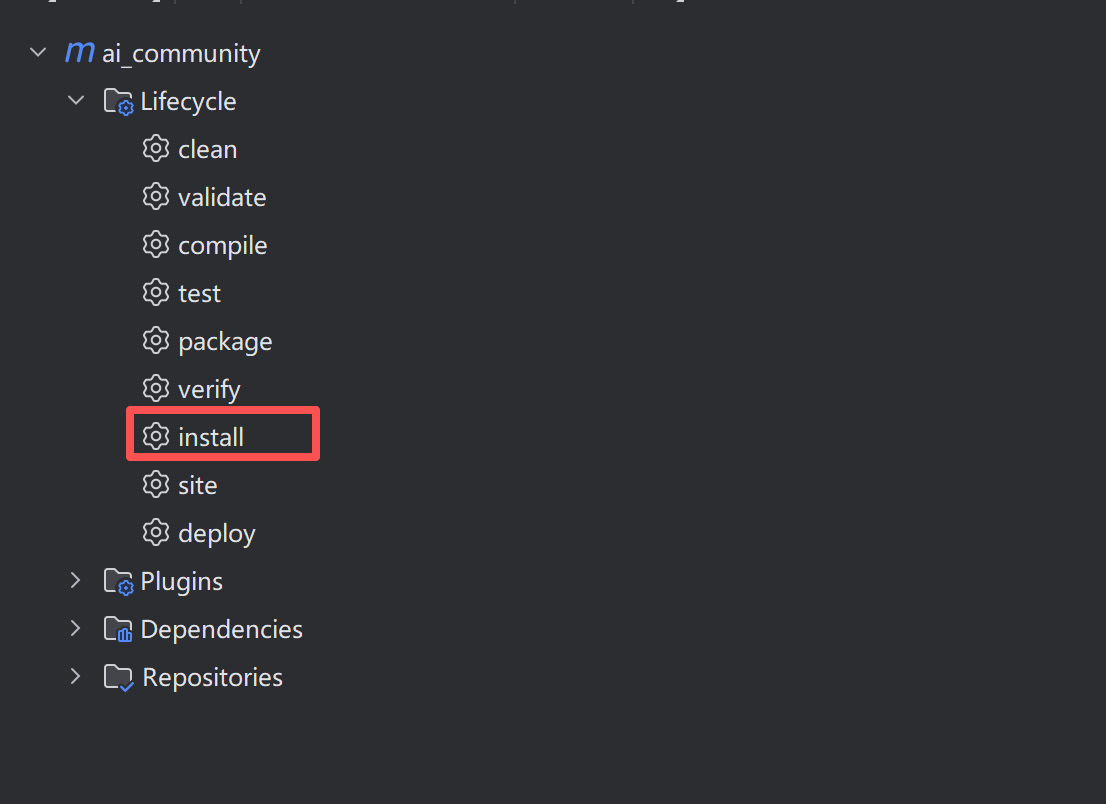
命令执行无误之后会在项目根目录下生成target文件夹,jar包就在里面。
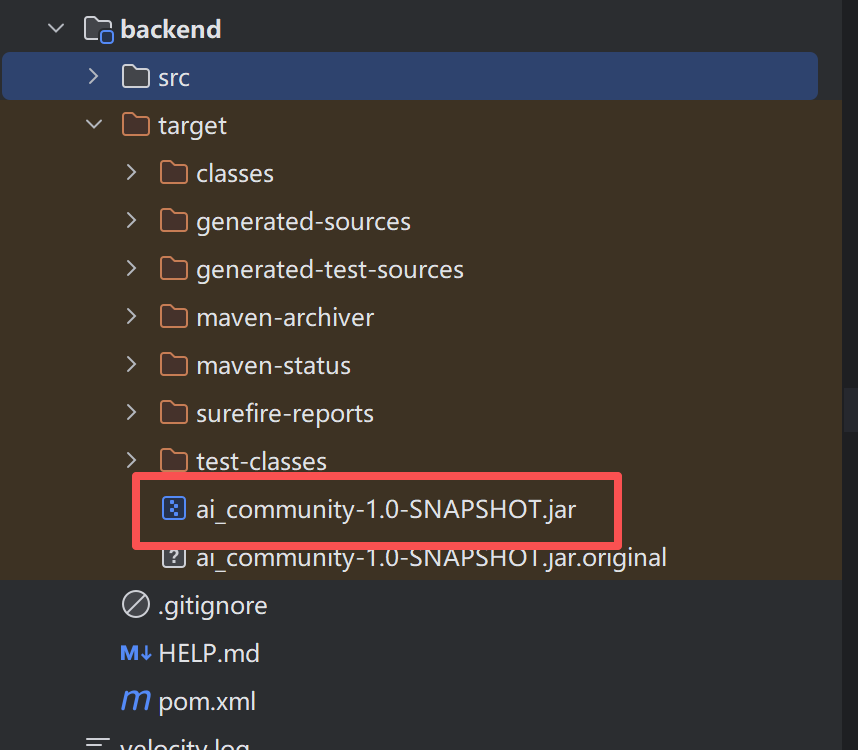
4.把jar包上传到云服务器的目录下
运行
java -jar ai_community-1.0-SNAPSHOT.jar


 431
431

 被折叠的 条评论
为什么被折叠?
被折叠的 条评论
为什么被折叠?
 到【灌水乐园】发言


