


官网demo地址:
这篇讲了如何在地图上添加放大镜效果。
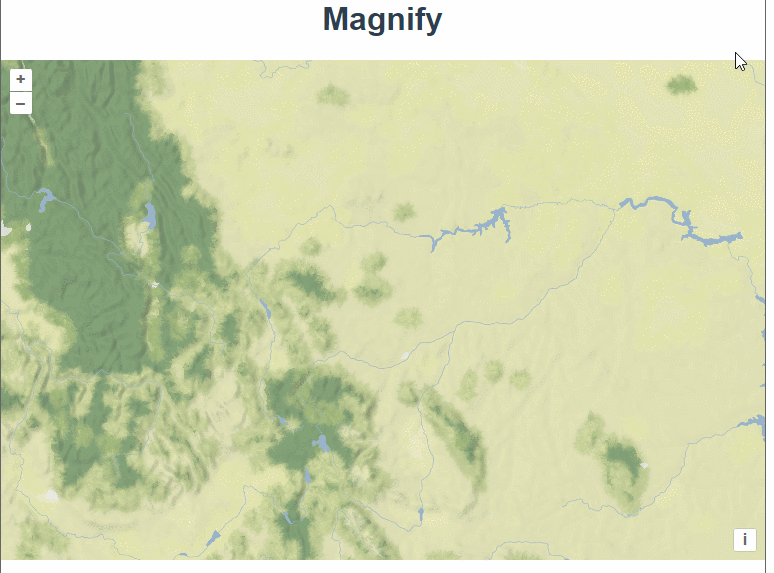
首先加载底图
   const layer = new TileLayer({
      source: new StadiaMaps({
        layer: "stamen_terrain_background",
      }),
    });
    const container = document.getElementById("map");

    const map = new Map({
      layers: [layer],
      target: container,
      view: new View({
        center: fromLonLat([-109, 46.5]),
        zoom: 6,
      }),
    });
鼠标移动的时候,调用render方法,触发postrender事件。
container.addEventListener("mousemove", function (event) {
      mousePosition = map.getEventPixel(event);
      map.render();
    });

    container.addEventListener("mouseout", function () {
      mousePosition = null;
      map.render();
    });
postrender事件中可以获取到鼠标移动的位置,实时绘制圆形和放大后的图像。
先用getRenderPixel将地理坐标转换为屏幕坐标,通过勾股定理(直角三角形的两条直角边的平方和等于斜边的平方)算出半径。
 layer.on("postrender", function (event) {
      if (mousePosition) {
        const pixel = getRenderPixel(event, mousePosition);
        const offset = getRenderPixel(event, [
          mousePosition[0] + radius,
          mousePosition[1],
        ]);
        //计算半径
        const half = Math.sqrt(
          Math.pow(offset[0] - pixel[0], 2) + Math.pow(offset[1] - pixel[1], 2)
        );
      }
    });
获取放大镜范围内所需要的图像。
 //从画布上下文中提取放大镜区域的图像数据:
 const context = event.context;
 const centerX = pixel[0];
 const centerY = pixel[1];
 //正方形左边的顶点
 const originX = centerX - half;
 const originY = centerY - half;
 //计算直径
 const size = Math.round(2 * half + 1);
 const sourceData = context.getImageData(
    originX,
    originY,
    size,
    size
  ).data;
 //获取正方形范围下所有的像素点
 const dest = context.createImageData(size, size);
 const destData = dest.data;
然后开始创建放大后的图像数据。
// 创建放大后的图像数据
        for (let j = 0; j < size; ++j) {
          for (let i = 0; i < size; ++i) {
            //dI 和 dJ 是相对于中心的偏移
            const dI = i - half;
            const dJ = j - half;
            //点到中心的距离
            const dist = Math.sqrt(dI * dI + dJ * dJ);
            let sourceI = i;
            let sourceJ = j;
 最低0.47元/天 解锁文章


 1076
1076


 到【灌水乐园】发言


