


文章目录
深度学习Week3——天气识别
一、前言
二、我的环境
三、前期工作
1、配置环境
2、导入数据
3、划分数据集
四、构建CNN网络
五、训练模型
1、设置超参数
2、编写训练函数
3、编写测试函数
六、结果可视化
七、拔高训练
八、碎碎念
一、前言
- 🍨 本文为🔗365天深度学习训练营 中的学习记录博客
- 🍖 原作者:K同学啊 | 接辅导、项目定制
有了前两周的学习,本周内容相对较简单,不过从本周开始,我们的数据集不再使用dataset下载,而是由K同学提供的网盘链接下载到本地,然后从本地当中读取。
同时由于我的设备没有GPU,因此直接使用device = torch.device("cpu")
二、我的环境
- 电脑系统:Windows 10
- 语言环境:Python 3.11.3
- 编译器:Pycharm2023.2.3
深度学习环境:Pytorch
显卡及显存:无
三、前期工作
1、导入库并配置环境
import torch
import torch.nn as nn
import torchvision.transforms as transforms
import torchvision
from torchvision import transforms, datasets
import os,PIL,pathlib,random
import numpy as np

device = torch.device("cpu")

device
输出:
device(type='cpu')
至此,我们的环境已经配置完成。
2、 导入数据
我们下载好文件到自己的文件夹目录中,复制文件地址备用。
data_dir = "E:\DeepLearning\Data_\第5天-没有加密版本\第5天\weather_photos"
data_dir = pathlib.Path(data_dir)

data_paths = list(data_dir.glob('*'))
classeNames = [str(path).split("\\")[6] for path in data_paths]
classeNames
输出:
['cloudy', 'rain', 'shine', 'sunrise']
data_dir = "E:\DeepLearning\Data_\第5天-没有加密版本\第5天\weather_photos"
data_dir = pathlib.Path(data_dir)

image_count = len(list(data_dir.glob('*/*.jpg')))
print("图片总数为:",image_count)
输出:
图片总数为: 1125
然后我们可以指定一张光照的照片作为测试是否导入数据成功。
roses = list(data_dir.glob('shine/*.jpg'))
PIL.Image.open(str(roses[0]))
输出:

可以看出导入成功!
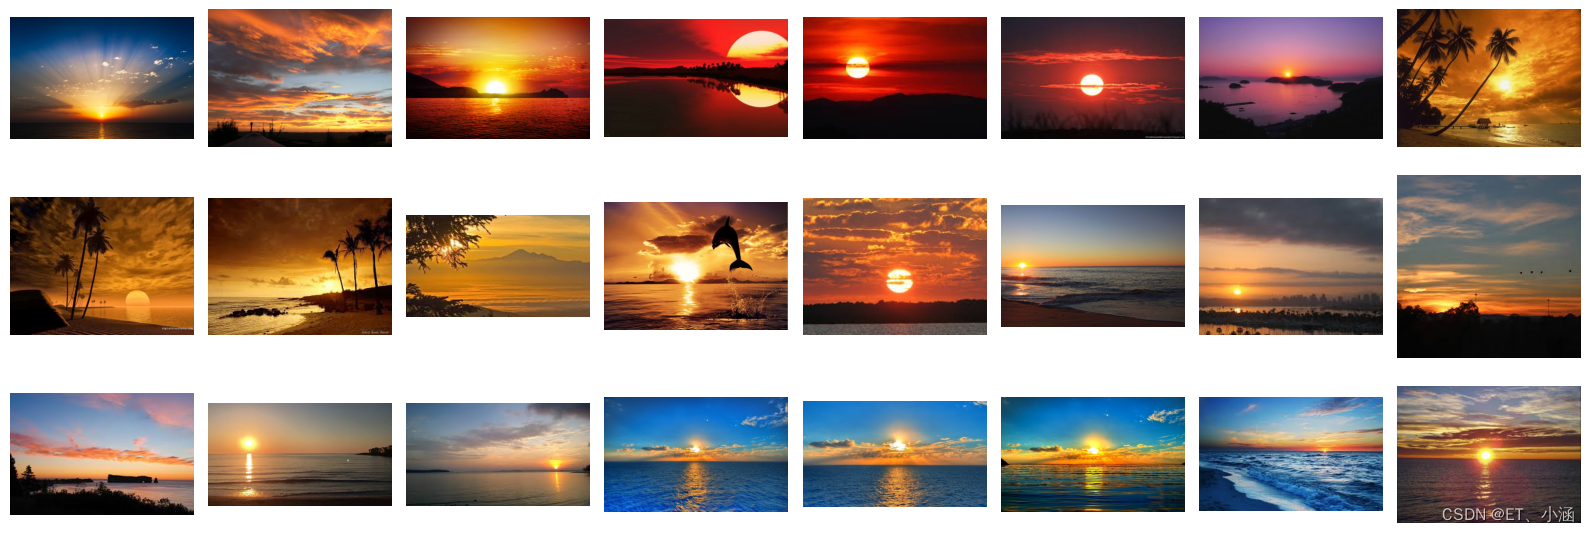
from matplotlib import pyplot as plt
# 指定图像文件夹路径
image_folder = "E:\DeepLearning\Data_\第5天-没有加密版本\第5天\weather_photos\sunrise"

# 获取文件夹中的所有图像文件
image_files = [f for f in os.listdir(image_folder) if f.endswith((".jpg", ".png", ".jpeg"))]

# 创建Matplotlib图像
fig, axes = plt.subplots(3, 8, figsize=(16, 6))

# 使用列表推导式加载和显示图像
for ax, img_file in zip(axes.flat, image_files):
    img_path = os.path.join(image_folder, img_file)
    img = PIT.Image.open(img_path)
    ax.imshow(img)
    ax.axis('off')

# 显示图像
plt.tight_layout()
plt
total_datadir = "E:\DeepLearning\Data_\第5天-没有加密版本\第5天\weather_photos"

# 关于transforms.Compose的更多介绍可以参考:https://blog.youkuaiyun.com/qq_38251616/article/details/124878863
train_transforms = transforms.Compose([
    transforms.Resize
最低0.47元/天 解锁文章


 805
805


 到【灌水乐园】发言


