


步骤一
在 CrewAi 脚手架创建的项目 tool 文件夹下
新建一个 mcp_tool.py 文件,复制以下代码
from crewai_tools import MCPServerAdapter
from mcp import StdioServerParameters
from crewai.agents.agent_builder.base_agent import BaseTool
from typing import List, Dict, Any

# MCP 配置文件
config: Dict[str, Dict[str, Any]] = {
    "tavily": {
        "command": "npx",
        "args": ["-y", "tavily-mcp"],
        "env": {"TAVILY_API_KEY": "tvly-dev-4************3qk"},
    }
}

def get_mcp_tools() -> List[BaseTool]:
        """
        根据配置加载所有 MCP 工具并转换为 CrewAI 兼容的 BaseTool
        :return: list[BaseTool]
        """
        tools:List[BaseTool] = []
        for server_config in config.items():
            # 从server_config中获取command、args、env参数,并创建StdioServerParameters对象
            server_params = StdioServerParameters(
                command=server_config["command"],
                args=server_config.get("args", []),
                env=server_config.get("env", {})
            )
            # 创建MCPServerAdapter对象
            adapter = MCPServerAdapter(server_params)
            # 将adapter中的tools添加到tools列表中
            tools.extend(adapter.tools)
        return tools
可以在 config 数组中追加 MCP 服务配置

# MCP 配置文件
config: Dict[str, Dict[str, Any]] = {
    "tavily": {
        "command": "npx",
        "args": ["-y", "tavily-mcp"],
        "env": {"TAVILY_API_KEY": "tvly-dev-4************3qk"},
    },
    # 新追加的 MCP 服务
    "sequential-thinking": {
      "command": "npx",
      "args": [
        "-y",
        "@modelcontextprotocol/server-sequential-thinking"
      ]
    }
}
步骤二
在 crew.py 文件中
from crewai.project import CrewBase, agent, crew, task
from crewai.agents.agent_builder.base_agent import BaseAgent,BaseTool
# 引入 get_mcp_tools 方法
from crewai_mulitagent.tools.mcp_tool import get_mcp_tools

@CrewBase
class CrewaiMulitagent():
    # 获取 mcp 服务提供的工具集
    tools:List[BaseTool] = get_mcp_tools()
在后续 Agent bean 中使用 MCP 服务工具
 @agent
    def researcher(self) -> Agent:
        return Agent(
            config=self.agents_config['researcher'],
            # 使用注册好的 tools
            tools=self.tools,
            max_iter=5,
            max_rpm=1,
             llm=LLM(
                model="openai/Qwen/Qwen3-8B",
                base_url="https://api.siliconflow.cn/v1/",
                api_key="sk-ne*******wd"
            )
        )
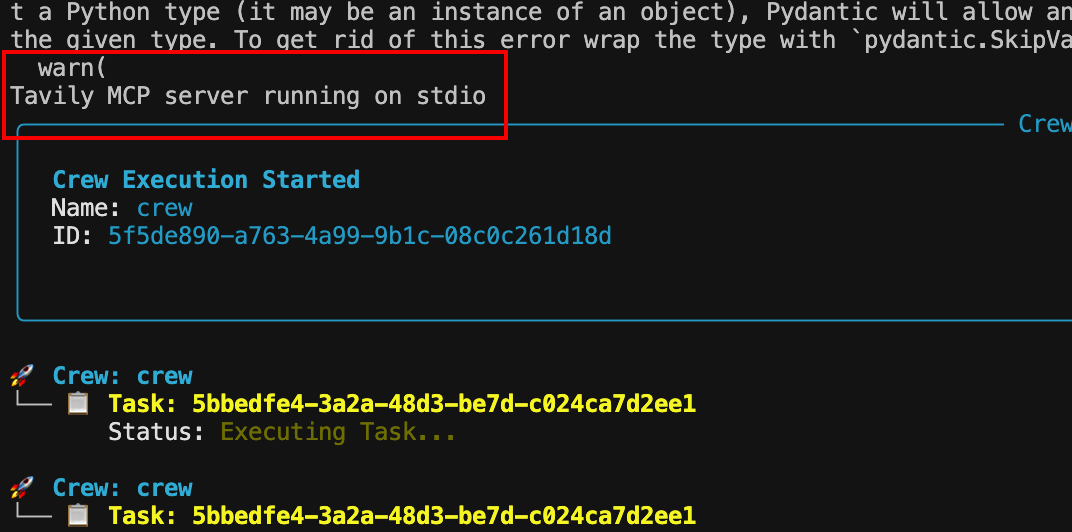
Crewai run 后在控制台中出现以下提示,即 MCP 服务连接成功!
**** MCP server running on stdio


 1102
1102

 被折叠的 条评论
为什么被折叠?
被折叠的 条评论
为什么被折叠?
 到【灌水乐园】发言


