


完美解决X-Anylabeling3.2.2的可视化训练的‘0x80'问题的两种思路
X-Anylabeling 3.2.2刚发布不久,咱可是按照教程一步一步操作的,无奈仍然踩坑。
暮然回首,刚抓到了一个bug,趁着记忆还没远去,先记录一下,官方若看到,记得打钱~
链接在这 :https://github.com/CVHub520/X-AnyLabeling/releases
1.环境配置过程
1.1 anaconda和CUDA
这俩毋庸置疑了,不再赘述
cuda 我配的12.1.0 cudnn配套8.9.7
大家根据自己显卡来配
我是4060 Laptop显卡,如果不用gpu训练可以略过
1.2 参照readme.md
咱可是按教程操作的乖娃子嘿
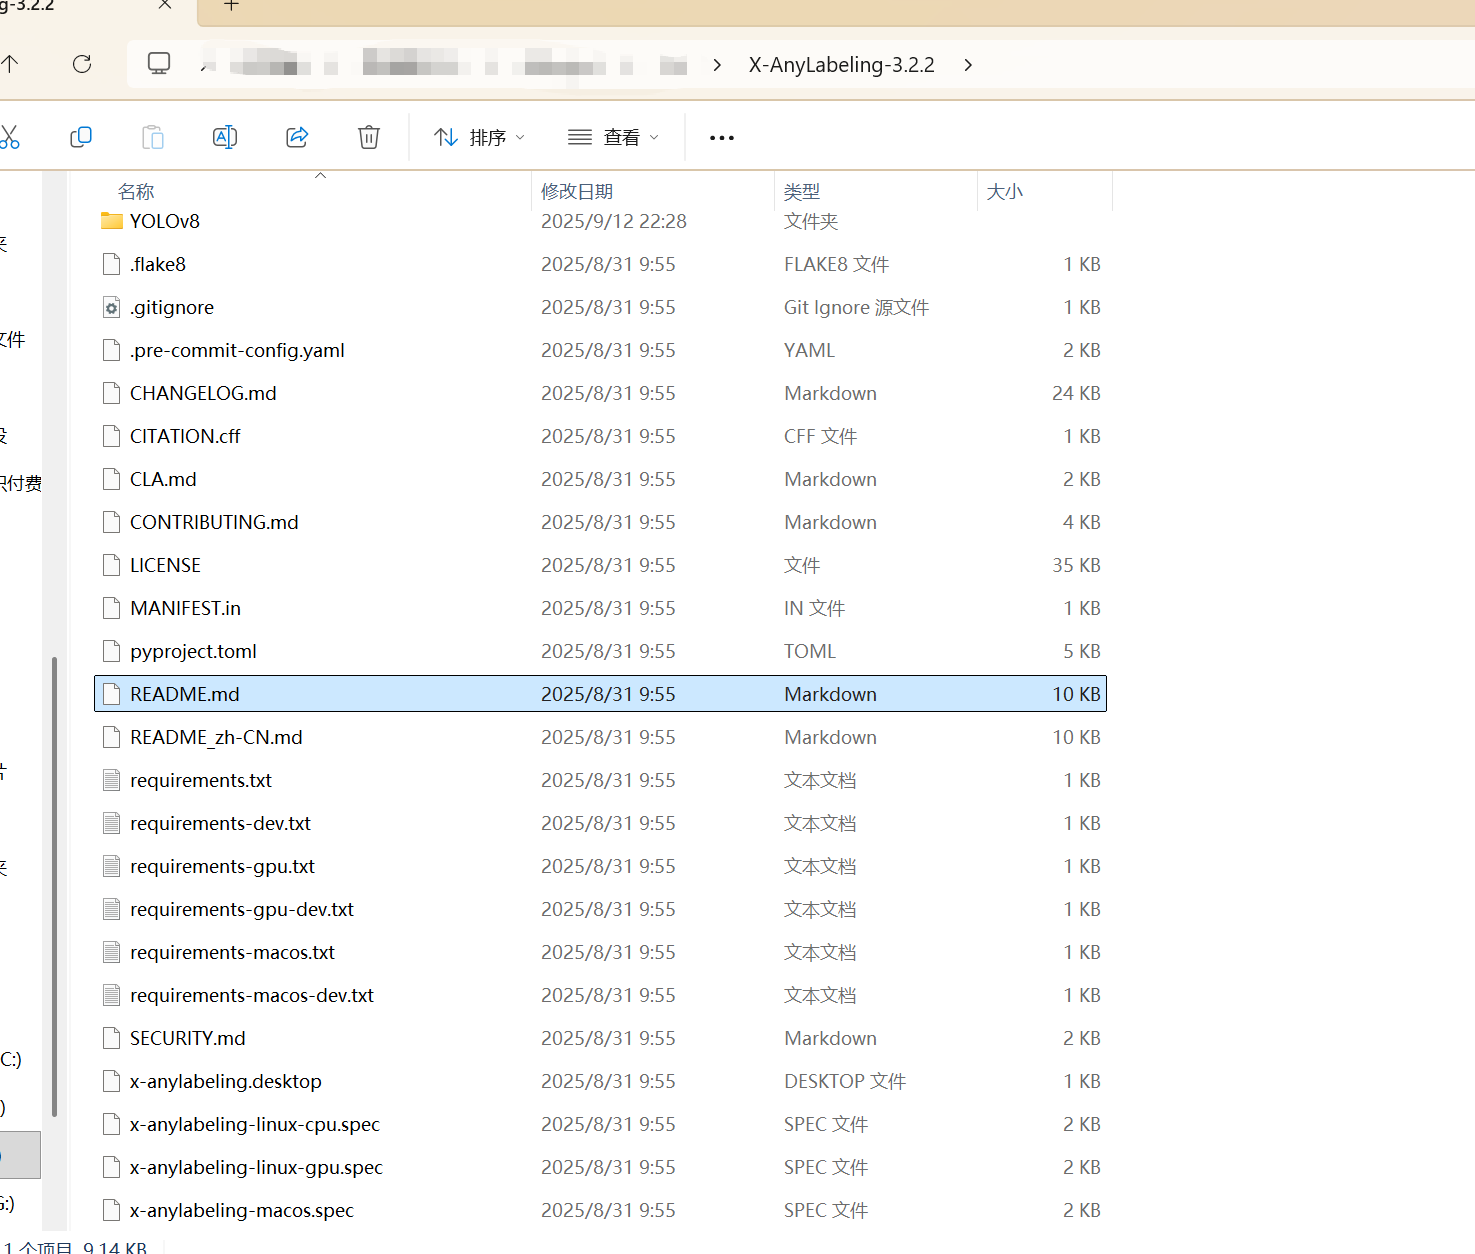
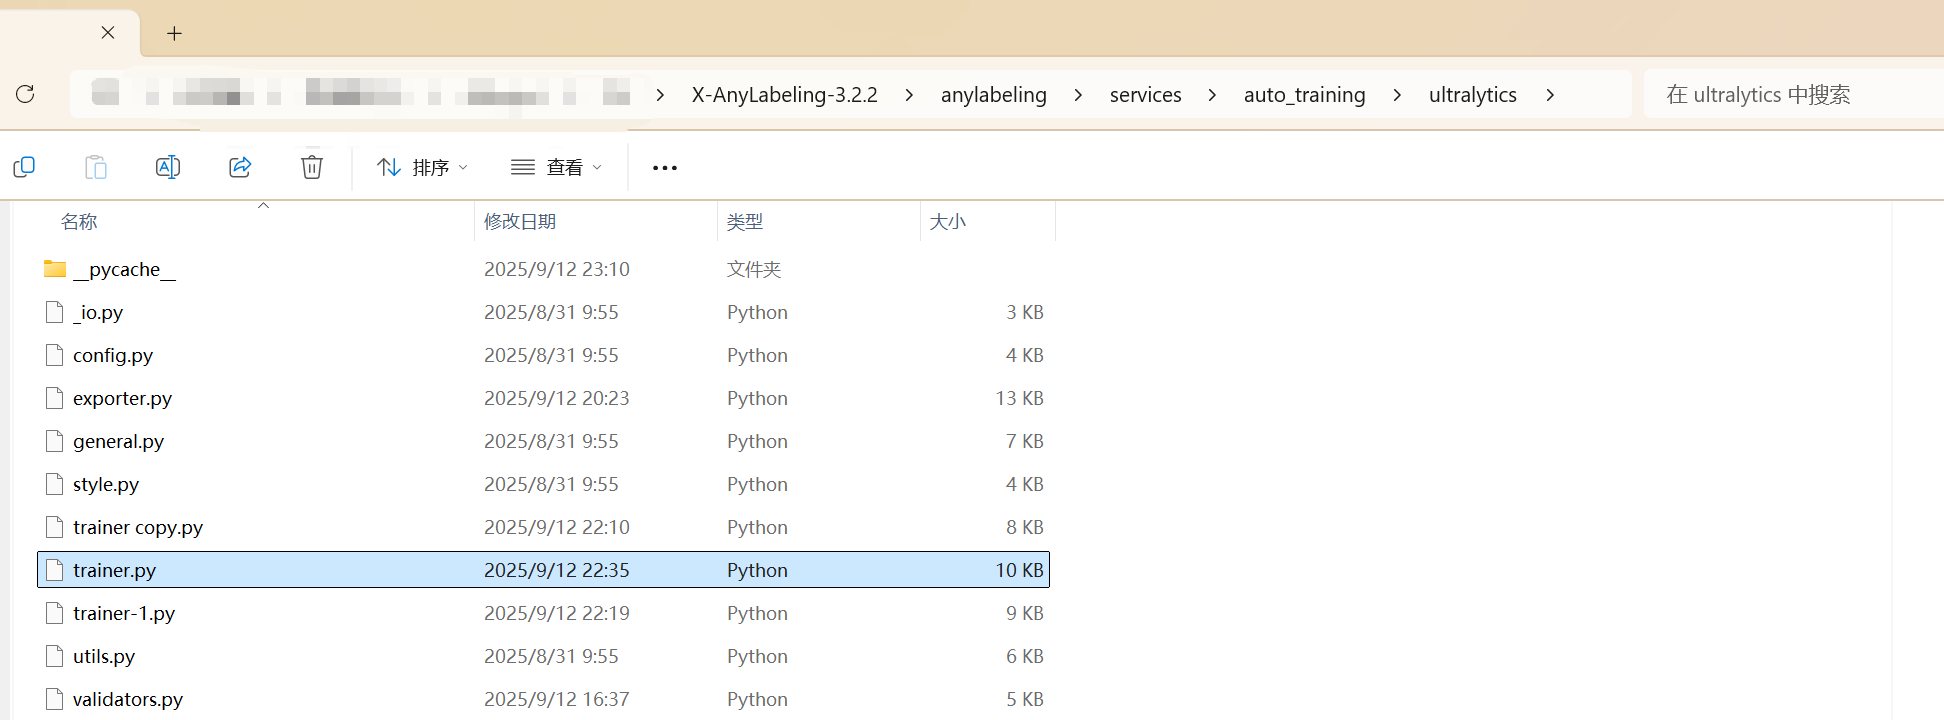
但是注意,他的文件结构比较隐蔽,真实的指令配置在下面的路径
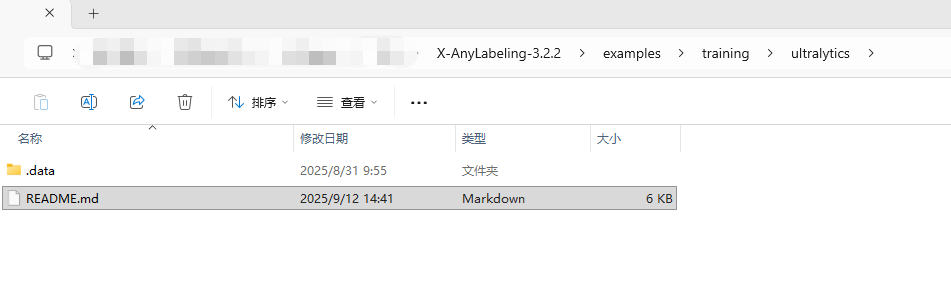
这个才是真的安装指令文件。
下面展示我的安装过程,上指令~
打开anaconda prompt,我的虚拟环境是python 3.11
conda create -n x-anylabeling-yolo python=3.11 -y
conda activate x-anylabeling-yolo
pip install --upgrade uv
#下面的cu121大家换成自己的cuda版本即可,或者只用cpu版本最后的指令可以去掉
uv pip install ultralytics --torch-backend=cu121
#开发版最全,就搞gpu开发版
pip install -r requirements-gpu-dev.txt
保障网速的情况下,三下五除二,如果你下完了,恭喜你,离大坑又近一步。
2.踩到的坑
我用的yolov8n-seg去测试训练的

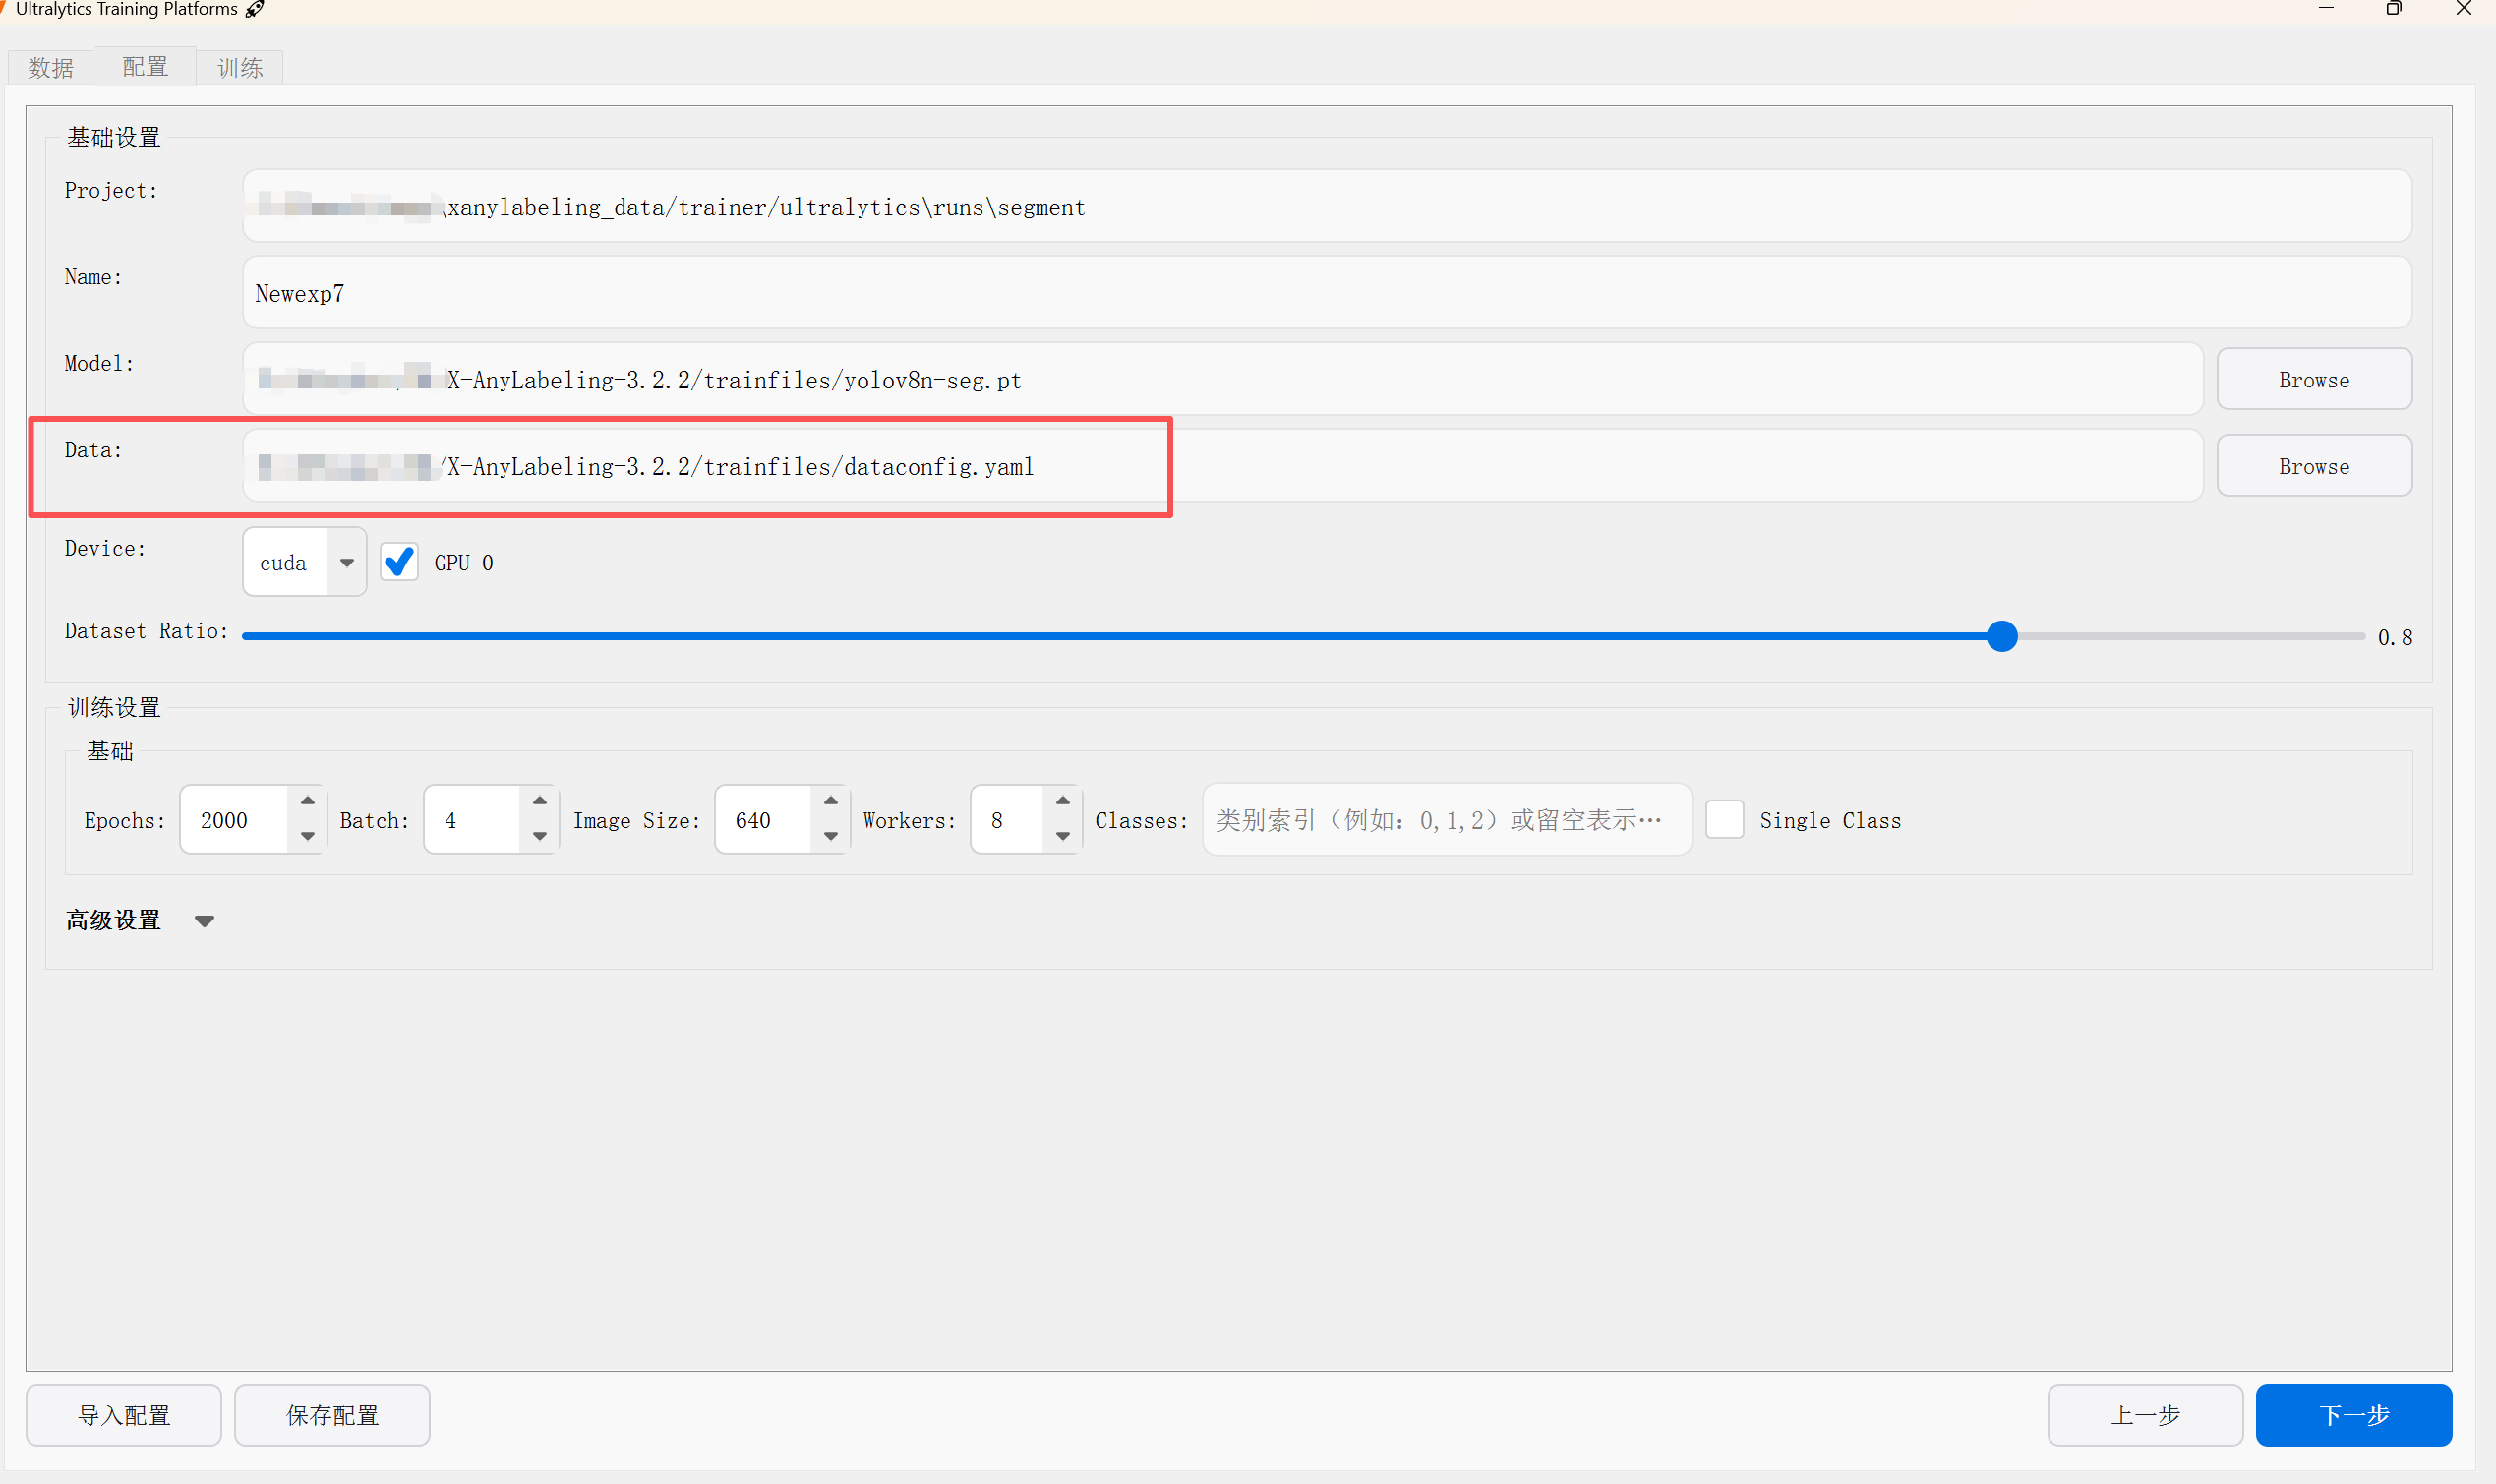
2.1 yaml问题
遇到的第一个问题是yaml,这里要注意:只要在已有的类如coco8.yaml coco128.yaml这类的配置文件,改一下模型种类和标签种类就好了,参考我的格式
# config.yaml
model:
  backbone: yolov8n-seg
  num_classes: 4
data:
  train: images/train
  val: images/val
names:
  0: "BigHang"
  1: "DeviateHangCircle"
  2: "BigFlux"
  3: "SmallFlux"
还需要一个类别的txt,训练后自动标注用
# classes.txt
BigHang
DeviateHangCircle
BigFlux
SmallFlux
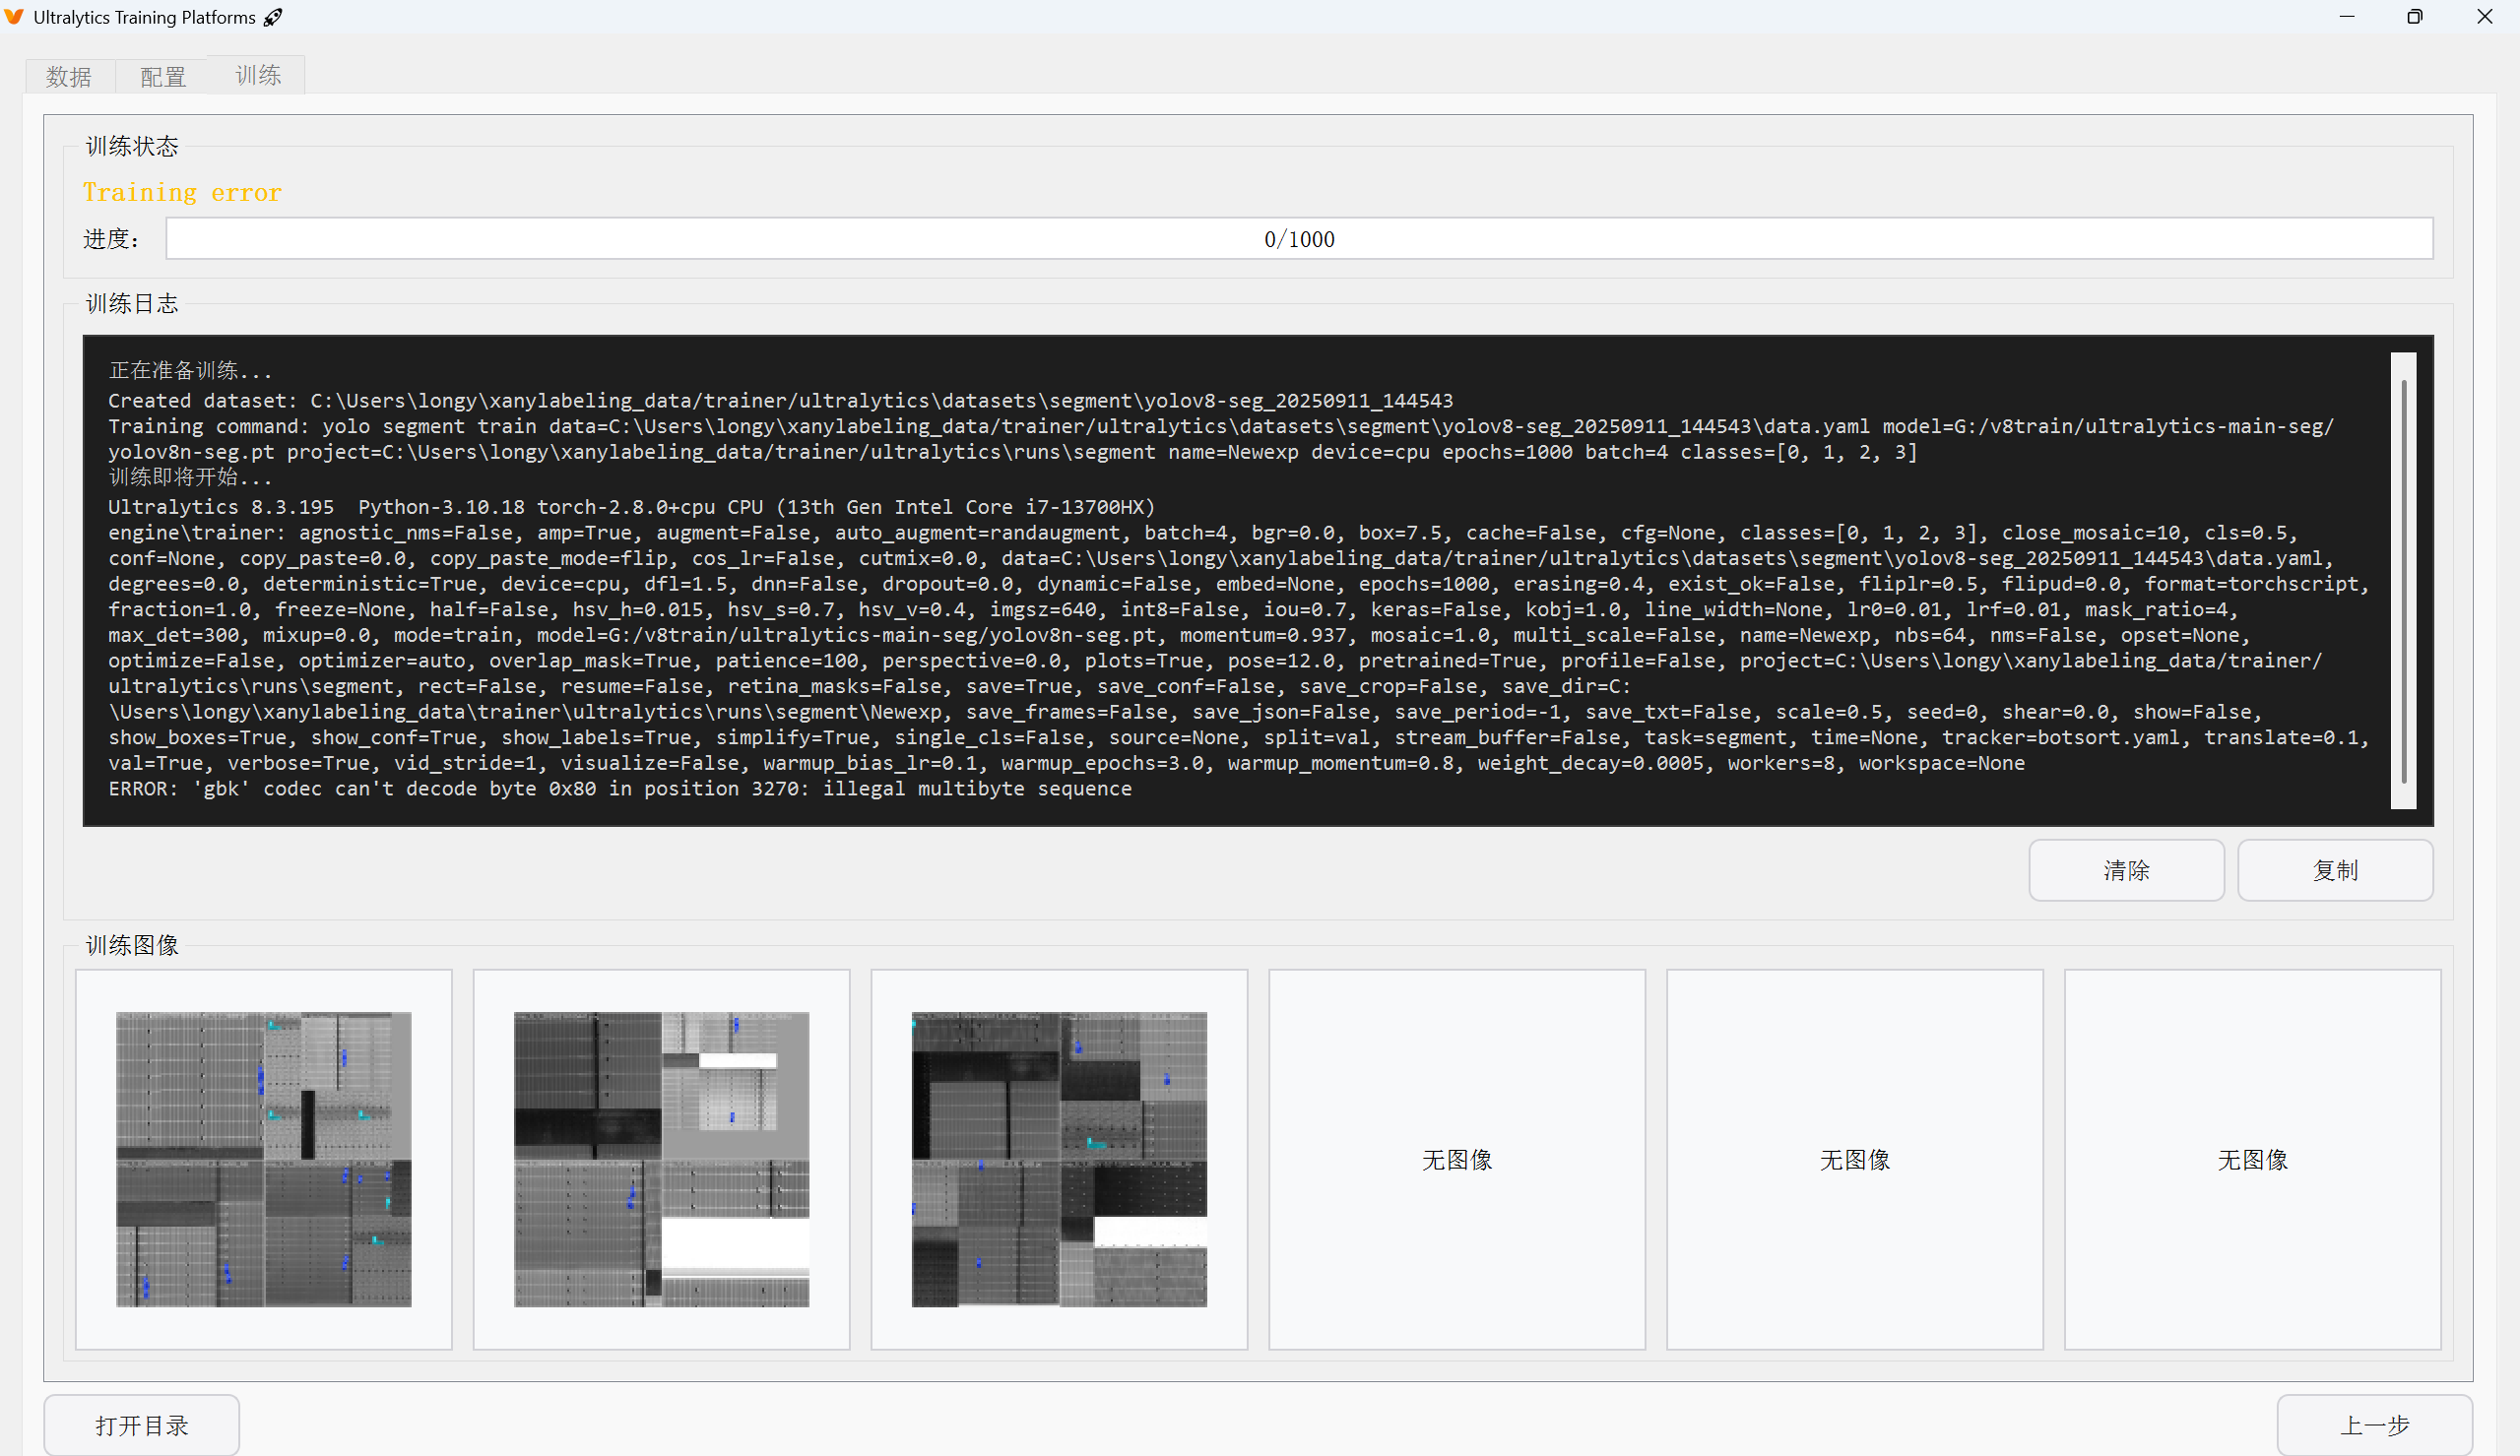
2.2 codec can’t decode byte 0x80: illegal multibyte sequence

这就是文章开头的报错,这个看起来是编码问题,不难,但是这个要缩小区间简直太费劲了
因为他没直接提示这是在哪个文件里的报错,所以只能打断点缩小范围,最后到了这里
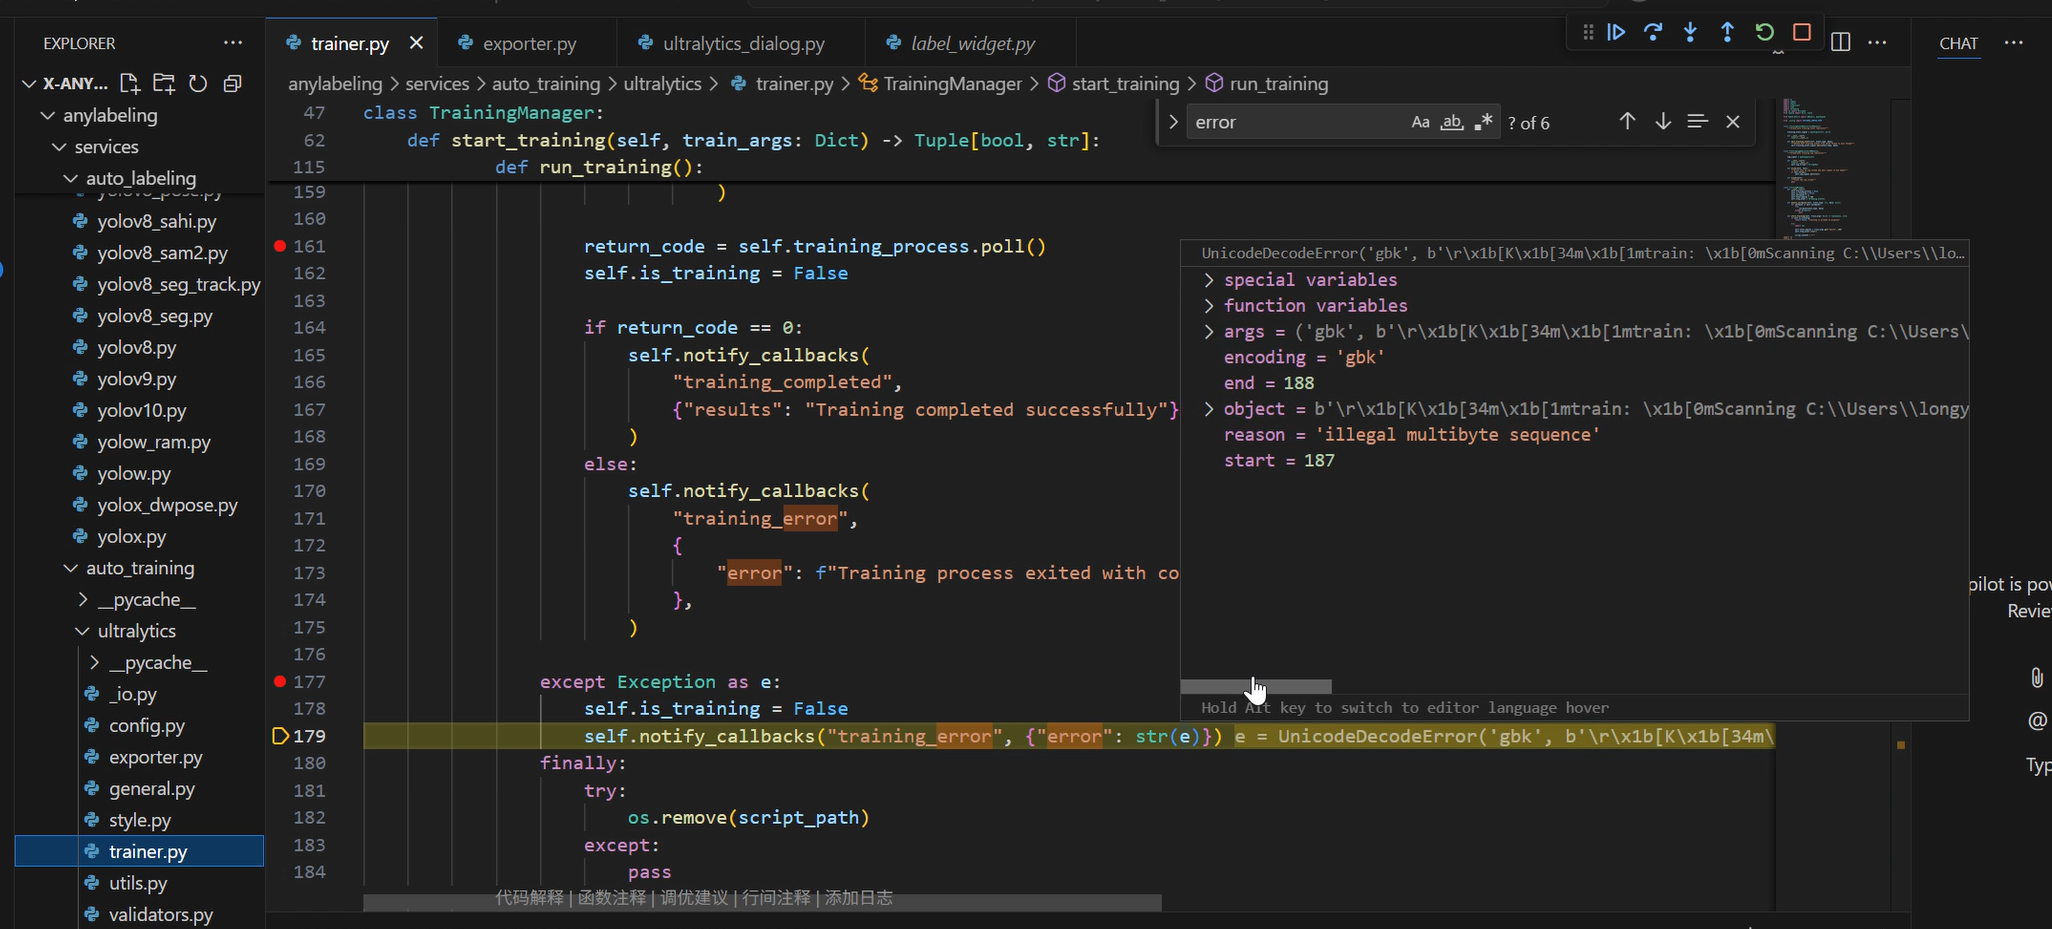
注意这个目录层级,既然找到他了,发现生成的训练指令编码错乱,那么就聚焦在这里,按下述方式来进行修改。
3.解决思路
修改run_training() 函数,这个改动可以和原函数自行比对
思路1:找到合适的编码,推测编码并自适应
这种方法需要先行安装chardet包
pip install chardet
  def run_training():
                try:
                    self.is_training = True
                    self.notify_callbacks(
                        "training_started", {"total_epochs": self.total_epochs}
                    )

                    self.training_process = subprocess.Popen(
                        [sys.executable, script_path],
                        stdout=subprocess.PIPE,
                        stderr=subprocess.STDOUT,
                        bufsize=1,
                        preexec_fn=os.setsid if os.name != "nt" else None
                    )

                    # 使用chardet检测实时编码
                    detector = chardet.UniversalDetector()
                    detected_encoding = None  # 最终确定的编码
                    using_detected_encoding = False  # 是否开始使用检测到的编码

                    while True:
                        if self.stop_event.is_set():
                            self.training_process.terminate()
                            try:
                                self.training_process.wait(timeout=5)
                            except subprocess.TimeoutExpired:
                                if os.name == "nt":
                                    self.training_process.kill()
                                else:
                                    os.killpg(
                                        os.getpgid(self.training_process.pid),
                                        signal.SIGKILL,
                                    )
                            self.is_training = False
                            self.notify_callbacks("training_stopped", {})
                            return

                        # 读取原始字节输出
                        output = self.training_process.stdout.readline()
                        if output == b'' and self.training_process.poll() is not None:
                            break
                        if output:
                            # 如果尚未确定编码,则继续喂数据给检测器
                            if not using_detected_encoding:
                                detector.feed(output)
                                if detector.done:
                                    detected_encoding = detector.result['encoding']
                                    confidence = detector.result['confidence']
                                    # 置信度较高或常见编码则开始使用
                                    if detected_encoding and (confidence > 0.6 or detected_encoding.lower() in ['utf-8', 'ascii', 'iso-8859-1', 'gb2312', 'gbk']):
                                        using_detected_encoding = True
                                    else:
                                        # 置信度低时尝试常用编码或默认值
                                        detected_encoding = 'utf-8'
                                        using_detected_encoding = True
                                    detector.close()

                            # 解码行
                            try:
                                if using_detected_encoding:
                                    cleaned_output = output.decode(detected_encoding, errors='replace').strip()
                                else:
                                    # 在检测过程中,尝试使用UTF-8解码,但允许替换错误
                                    cleaned_output = output.decode('utf-8', errors='replace').strip()
                            except UnicodeDecodeError:
                                # 如果解码失败,使用错误替换策略
                                cleaned_output = output.decode('utf-8', errors='replace').strip()

                            if cleaned_output:
                                self.notify_callbacks(
                                    "training_log", {"message": cleaned_output}
                                )

                    return_code = self.training_process.poll()
                    self.is_training = False

                    if return_code == 0:
                        self.notify_callbacks(
                            "training_completed",
                            {"results": "Training completed successfully"},
                        )
                    else:
                        self.notify_callbacks(
                            "training_error",
                            {
                                "error": f"Training process exited with code {return_code}"
                            },
                        )

                except Exception as e:
                    self.is_training = False
                    self.notify_callbacks("training_error", {"error": str(e)})
                finally:
                    try:
                        os.remove(script_path)
                    except:
                        pass
思路2:直接对应编码型号改逻辑
def run_training():
                try:
                    self.is_training = True
                    self.notify_callbacks(
                        "training_started", {"total_epochs": self.total_epochs}
                    )

                    self.training_process = subprocess.Popen(
                        [sys.executable, script_path],
                        stdout=subprocess.PIPE,
                        stderr=subprocess.STDOUT,
                        bufsize=1,
                        preexec_fn=os.setsid if os.name != "nt" else None,
                    )
                    # 使用本地编码猜测(例如Unix系常用UTF-8,Windows常用GBK)
                    # 这里根据系统默认提供一个初始编码猜测
                    assumed_encoding = 'utf-8' if os.name != 'nt' else 'gbk'

                    while True:
                        if self.stop_event.is_set():
                            self.training_process.terminate()
                            try:
                                self.training_process.wait(timeout=5)
                            except subprocess.TimeoutExpired:
                                if os.name == "nt":
                                    self.training_process.kill()
                                else:
                                    os.killpg(
                                        os.getpgid(self.training_process.pid),
                                        signal.SIGKILL,
                                    )
                            self.is_training = False
                            self.notify_callbacks("training_stopped", {})
                            return

                        # 读取字节流输出
                        output = self.training_process.stdout.readline()
                        if output == b'' and self.training_process.poll() is not None:
                            break
                        if output:
                            try:
                                # 尝试使用假设的编码解码
                                cleaned_output = output.decode(assumed_encoding).strip()
                            except UnicodeDecodeError:
                                try:
                                    # 如果失败,尝试UTF-8(常见的跨平台编码)
                                    cleaned_output = output.decode('utf-8').strip()
                                    assumed_encoding = 'utf-8'  # 更新假设编码
                                except UnicodeDecodeError:
                                    try:
                                        # 如果再失败,尝试GBK(常见于Windows中文环境)
                                        cleaned_output = output.decode('gbk').strip()
                                        assumed_encoding = 'gbk' # 更新假设编码
                                    except UnicodeDecodeError:
                                        # 如果依然无法解码,使用错误忽略策略确保程序继续运行
                                        cleaned_output = output.decode(assumed_encoding, errors='ignore').strip()

                            if cleaned_output:
                                self.notify_callbacks(
                                    "training_log", {"message": cleaned_output}
                                )

                    return_code = self.training_process.poll()
                    self.is_training = False

                    if return_code == 0:
                        self.notify_callbacks(
                            "training_completed",
                            {"results": "Training completed successfully"},
                        )
                    else:
                        self.notify_callbacks(
                            "training_error",
                            {
                                "error": f"Training process exited with code {return_code}"
                            },
                        )

                except Exception as e:
                    self.is_training = False
                    self.notify_callbacks("training_error", {"error": str(e)})
                finally:
                    try:
                        os.remove(script_path)
                    except:
                        pass
只替换trainer.py中的run_training()函数即可。
4.附赠:打包程序为exe
软件很贴心,官方给了个打包的spec文件 我们只需几行代码打包他。
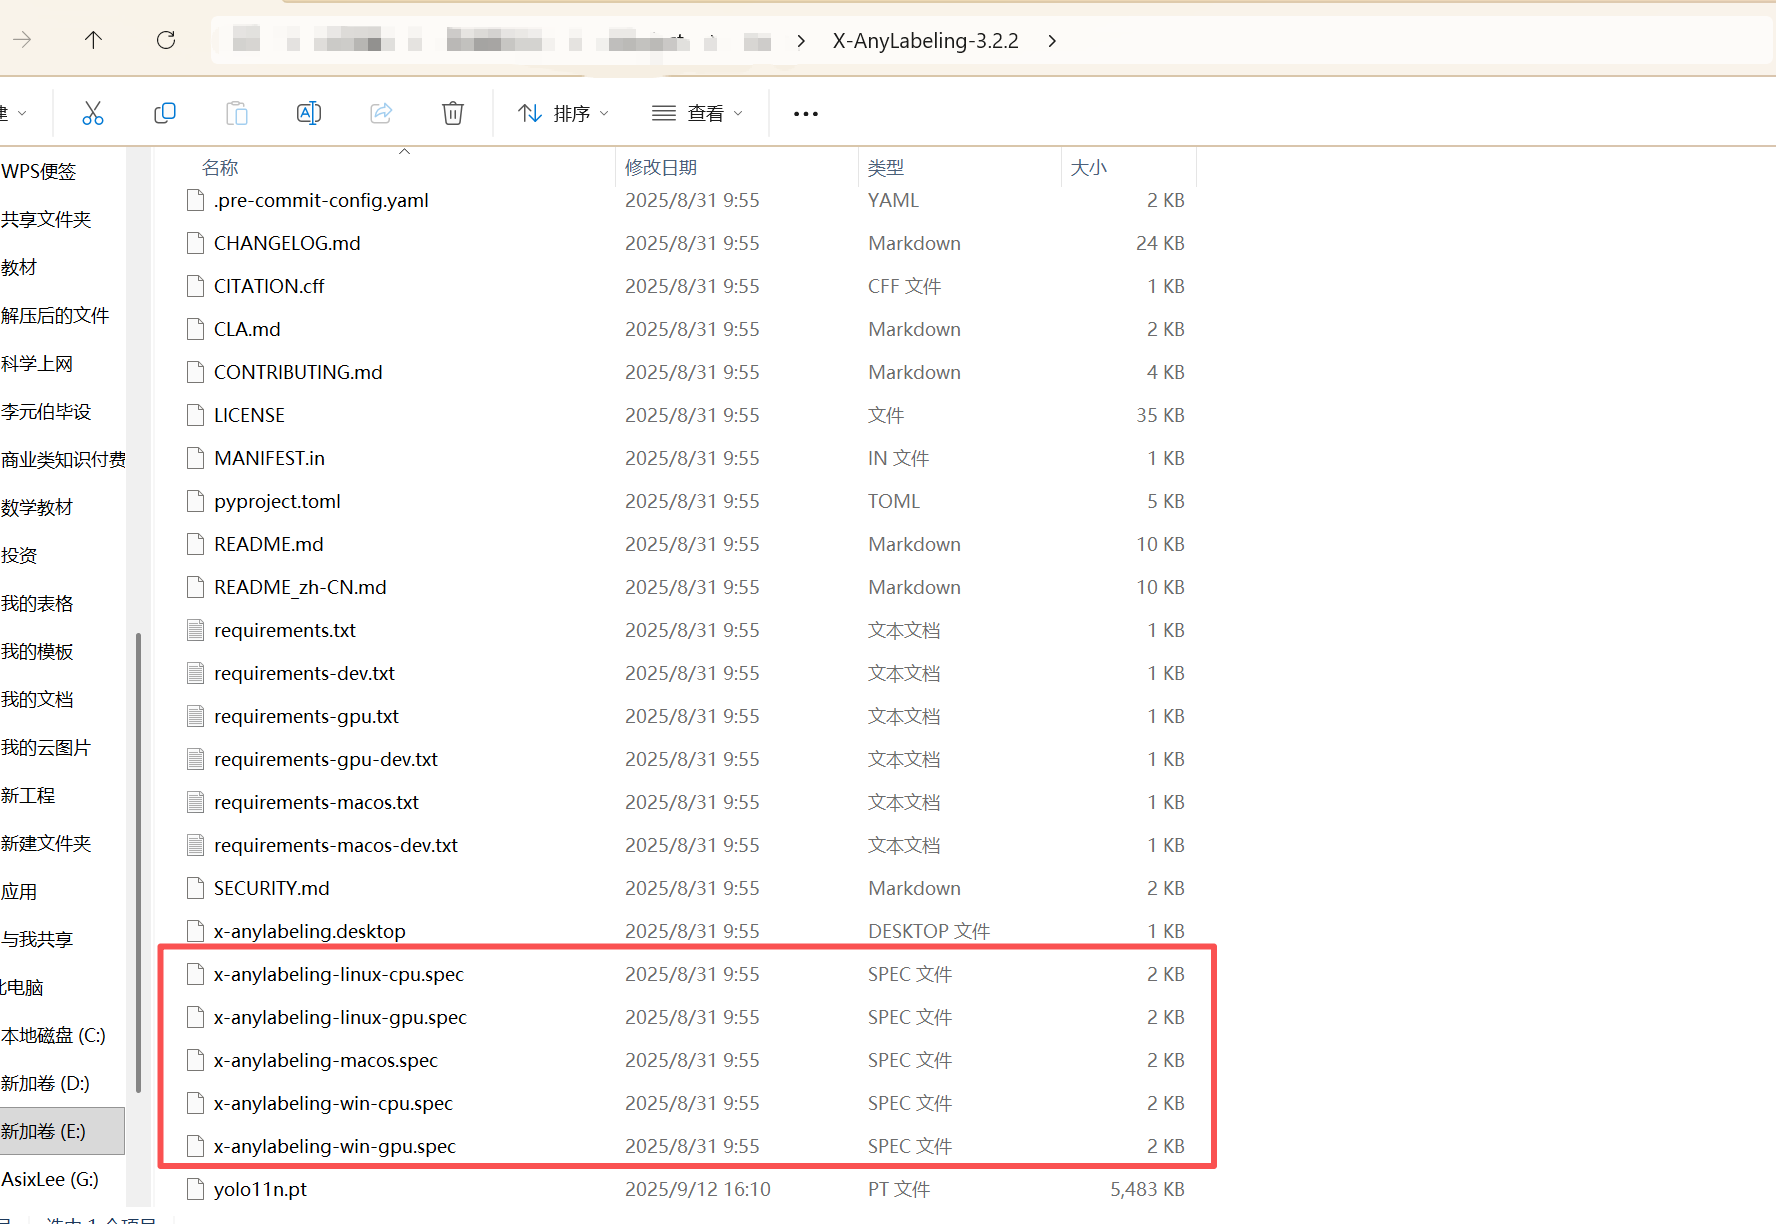
想包谁包谁,放开操作!
把大象放冰箱只需三步
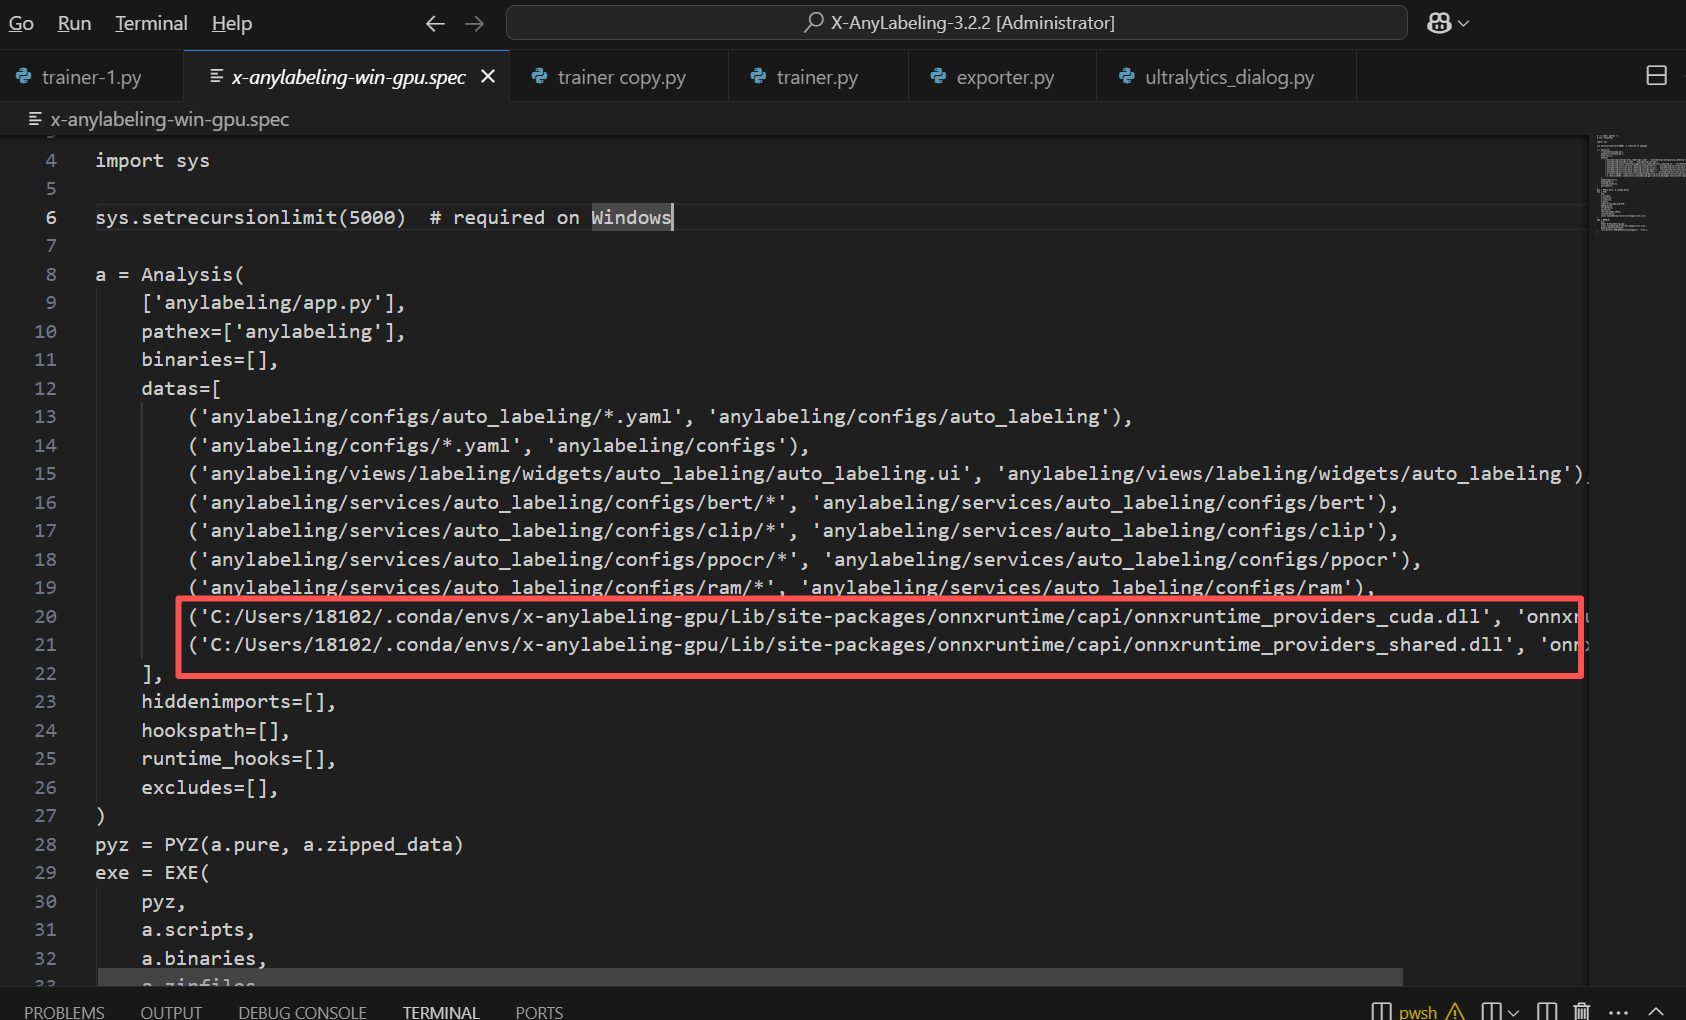
spec文件中的dll路径要改成自己的
cd ../X-AnyLabeling-3.2.2 #换成自己的代码路径
pyinstaller x-anylabeling-win-gpu.spec
一顿hook,等他操作完
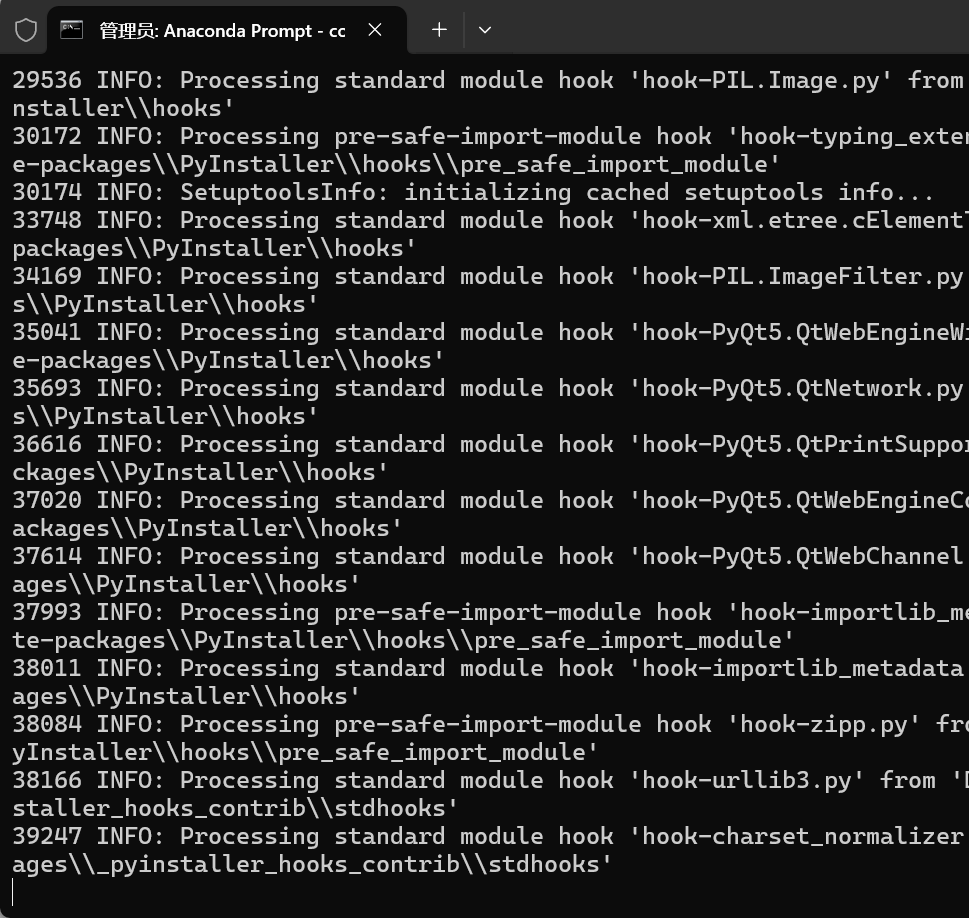
最后在dist目录下找到exe文件,点开验证即可
9.18更新:
今天发现,3.2.3版本已经改善了这个bug 可以直接下载新版本
https://github.com/CVHub520/X-AnyLabeling/releases


 5万+
5万+

 被折叠的 条评论
为什么被折叠?
被折叠的 条评论
为什么被折叠?
 到【灌水乐园】发言


