


 这篇博客详细介绍了SSM整合下的CRUD操作实现。从配置事务管理开始,包括JSP页面的JS操作、后台代码的编写,涉及添加、删除和修改商品的各个步骤,最后展示了操作效果。通过实例展示了SSM整合在实际应用中的基本功能。
一、SSM整合的CRUD操作
本节操作除了需配置事务管理外,不需要配置额外的配置内容。基本都是jsp页面的js操作和后台代码操作。
二、配置内容
事务的配置
在applicationContext-dao.xml中配置
<!-- 定义事务管理器 -->
<bean id="transactionManager" class="org.springframework.jdbc.datasource.DataSourceTransactionManager">
    <property name="dataSource" ref="dataSource"/>
</bean>
<!-- 注解驱动,启动注解 -->
<tx:annotation-driven transaction-manager="transactionManager"/>
在Service的实现类记得添加事务注解
三、后台操作
3.1 增加操作
3.1.1 JSP页面修改
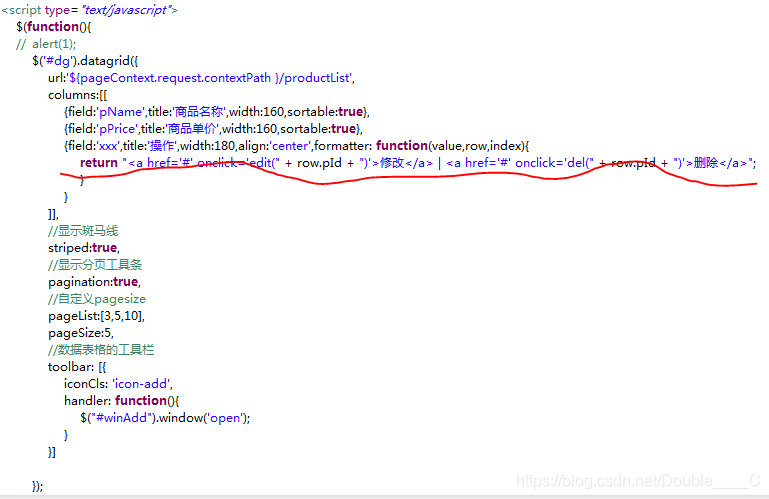
在数据表格的工具栏上增加添加操作按钮
$(function(){
//	alert(1);
	$('#dg').datagrid({
		url:'${pageContext.request.contextPath }/productList',
		columns:[[
			{field:'pName',title:'商品名称',width:160,sortable:true},
			{field:'pPrice',title:'商品单价',width:160,sortable:true},
			{field:'xxx',title:'操作',width:180,align:'center',formatter: function(value,row,index){
				return "<a href='#' onclick='edit(" + row.pId + ")'>修改</a> | <a href='#' onclick='del(" + row.pId + ")'>删除</a>";
				}
			}
		]],
		//显示斑马线
		striped:true,
		//显示分页工具条
		pagination:true,
		//自定义pagesize
		pageList:[3,5,10],
		pageSize:5,
		//数据表格的工具栏
		toolbar: [{
			iconCls: 'icon-add',
			handler: function(){
				$("#winAdd").window('open');
			}
		}]
	});
});
表格中增加隐藏的新增商品表格填写属性内容
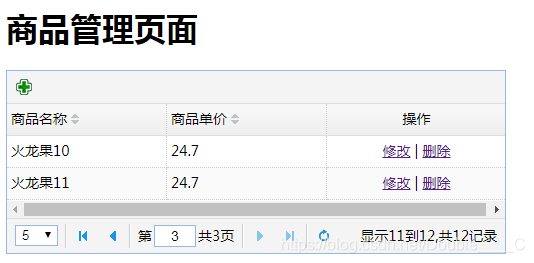
<h1>商品管理页面</h1>
<table id="dg" style="width:500px;"></table>
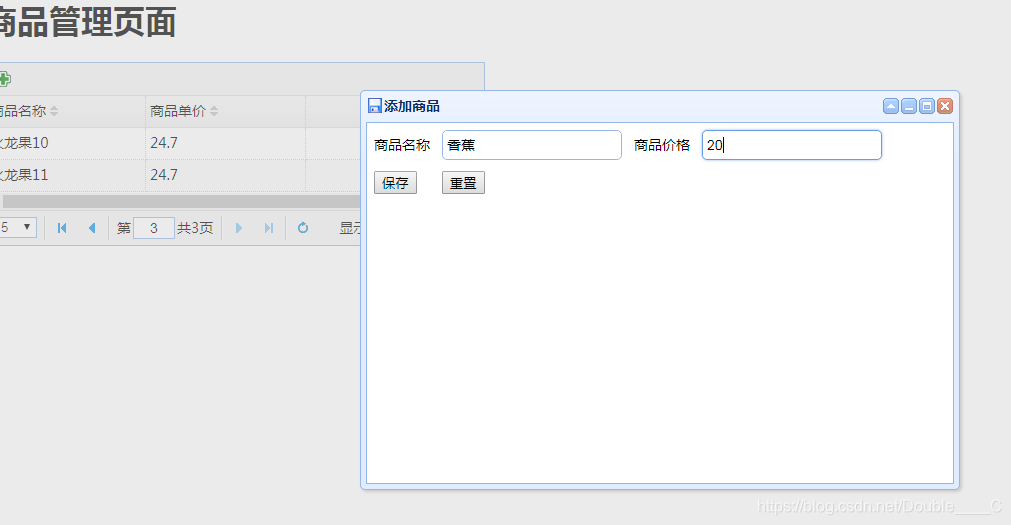
<!-- 添加商品的表单,默认隐藏 -->
<div id="winAdd" class="easyui-window" title="添加商品" style="width:600px;height:400px"
data-options="iconCls:'icon-save',modal:true,closed:true">
<form id="formAdd" method="post">
<table cellSapcing=0 cellPadding=5 border=0>
<tr>
<td>商品名称</td>
<td>
<input class="easyui-textbox" style="width:180px;" maxlength=50 name="pName">
</td>
<td>商品价格</td>
<td>
<input class="easyui-numberbox" style="width:180px;" maxlength=50 name="pPrice">
</td>
</tr>
<tr>
<td rowspan=2>
<button id="saveButton" type="button" onclick="save()">保存</button>
</td>
<td rowspan=2>
<button id="resetButton" type="button" onclick="reset()">重置</button>
</td>
</tr>
</table>
</form>
</div>
新增商品表单中对应的js操作
function save(){
//保存数据
$('#formAdd').form('submit', {
url:'${pageContext.request.contextPath }/saveProduct',
success:function(data){
var jsonData = eval("(" + data+ ")");
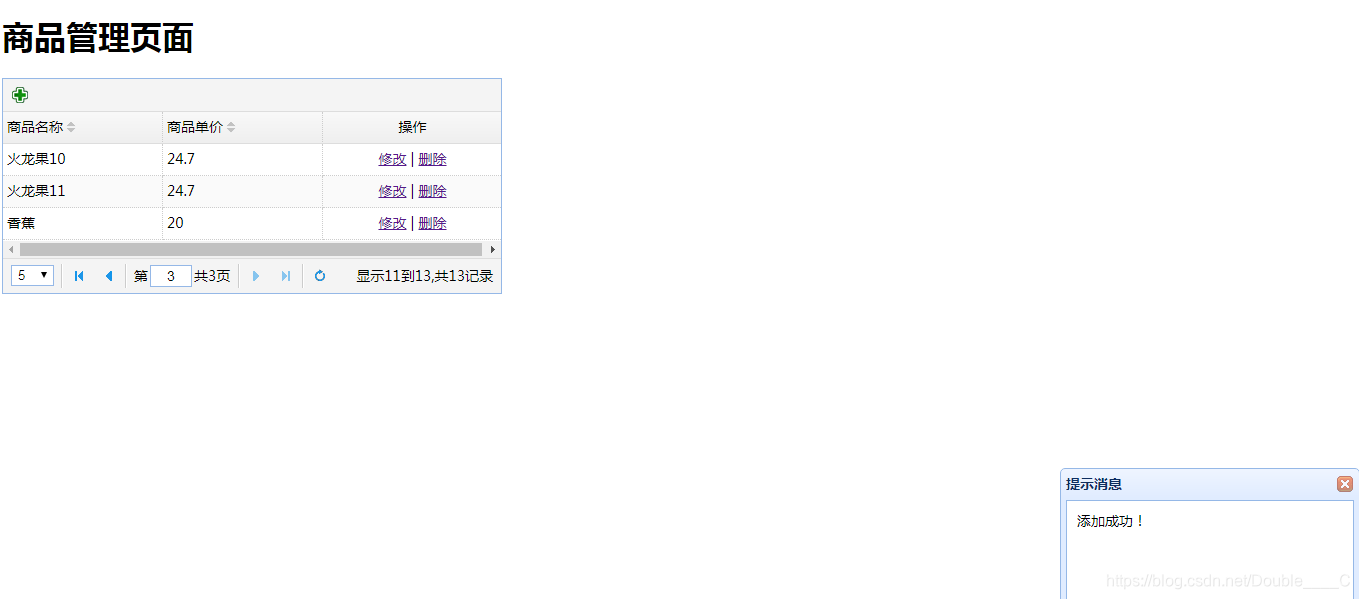
$.messager.show({
title:'提示消息',
msg:jsonData.msg,
timeout:5000,
showType:'slide'
});
//关闭窗口
$("#winAdd").window("close");
//重新加载表格
$("#dg").datagrid("reload");
}
});
}
function reset(){
//重置数据
$('#formAdd').form('clear');
}
3.1.2 Controller层修改
//保存商品
@RequestMapping("/saveProduct")
public String save(TbProduct product, HttpServletResponse response) throws Exception {
	Map<String,String> map = new HashMap<String, String>();
	try {
		productService.save(product);
		map.put("msg", "添加成功!");
	} catch (Exception e) {
		e.printStackTrace();
		map.put("msg", "添加失败!请重新添加!!!");
	}
	String jsonString = JSON.toJSONString(map);
	response.setContentType("text/html;charset=utf-8");
	response.getWriter().println(jsonString);
	return null;
}
3.1.3 Service实现层
service的接口层就不写了,其实实现层也没什么复杂的
@Override
public void save(TbProduct product) {
	mapper.insert(product);
}
以上即实现了新商品的添加
3.2 删除商品
3.2.1 JSP页面修改
为formatter更新删除行为onclick,并传达商品的pId参数
删除操作的js代码
function del(id){
	//alert(id);
	$.messager.confirm('确认','您确认想要删除记录吗?',function(r){
	    if (r){
	    	$.post('${pageContext.request.contextPath }/delProduct',{"id":id},function(data){
	    		var jsonData = eval("(" + data+ ")");
		    	$.messager.show({
		    		title:'提示消息',
		    		msg:jsonData.msg,
		    		timeout:5000,
		    		showType:'slide'
		    	});
				//关闭窗口
				$("#winAdd").window("close");
				//重新加载表格
				$("#dg").datagrid("reload");
	    	});
	    }
	});
3.2.2 Controller层
//删除商品delProduct
@RequestMapping("/delProduct")
public String del(@RequestParam Integer  id, HttpServletResponse response) throws Exception {
	Map<String,String> map = new HashMap<String, String>();
	try {
		productService.del(id);
		map.put("msg", "删除成功!");
	} catch (Exception e) {
		e.printStackTrace();
		map.put("msg", "删除失败!请重新删除!!!");
	}
	String jsonString = JSON.toJSONString(map);
	response.setContentType("text/html;charset=utf-8");
	response.getWriter().println(jsonString);
	return null;
}
3.2.3 Service实现层
@Override
public void del(@RequestParam Integer id) {
	mapper.deleteByPrimaryKey(id);
}
以上即实现了商品的删除
3.3 商品修改
商品修改需要分为商品数据的回显和商品修改后数据的保存两个步骤
3.3.1 回显数据
- JSP页面修改
显示修改表单的js
function edit(id){
	//alert(id);
	$('#winEdit').form('load','${pageContext.request.contextPath }/editProduct?id='+id);
	$("#winEdit").window('open');
}
表单的代码
		<!-- 修改商品的表单,默认隐藏 -->
		<div id="winEdit" class="easyui-window" title="修改商品" style="width:600px;height:400px"
		data-options="iconCls:'icon-save',modal:true,closed:true">
			<form id="formEdit" method="post">
				<table cellSapcing=0 cellPadding=5 border=0>
				<input type="hidden" class="easyui-textbox" name="pId">
					<tr>
						<td>商品名称</td>
						<td>
							<input class="easyui-textbox" style="width:180px;" maxlength=50 name="pName">
						</td>
						<td>商品价格</td>
						<td>
							<input class="easyui-numberbox" style="width:180px;" maxlength=50 name="pPrice" precision="2">
						</td>
					</tr>
					<tr>
						<td rowspan=2>
							<button id="saveButton" type="button" onclick="update()">更新</button>
						</td>
					</tr>
				</table>
			</form>
		</div>
- 修改商品的数据回显
需传递修改商品的id
Controller层:
//编辑商品,回显数据editProduct
@RequestMapping("/editProduct")
public String edit(@RequestParam Integer id,HttpServletResponse response) throws Exception {
	TbProduct product = productService.queryById(id);
	String jsonString = JSON.toJSONString(product);
	response.setContentType("application/json;charset=utf-8");
	response.getWriter().println(jsonString);
	return null;
}
Service实现层:
@Override
public TbProduct queryById(Integer id) {
	return mapper.selectByPrimaryKey(id);
}
3.3.2 更新数据
- JSP页面修改
更新操作的js
function update(){
	$('#formEdit').form('submit', {
	    url:'${pageContext.request.contextPath }/updateProduct',
	    success:function(data){
	    	var jsonData = eval("(" + data+ ")");
	    	$.messager.show({
	    		title:'提示消息',
	    		msg:jsonData.msg,
	    		timeout:5000,
	    		showType:'slide'
	    	});
			//关闭窗口
			$("#winEdit").window("close");
			//重新加载表格
			$("#dg").datagrid("reload");
	    }
	});
}
Controller层:
//更新商品
@RequestMapping("/updateProduct")
public String update(TbProduct product, HttpServletResponse response) throws Exception {
	Map<String,String> map = new HashMap<String, String>();
	try {
		productService.update(product);
		map.put("msg", "更新成功!");
	} catch (Exception e) {
		e.printStackTrace();
		map.put("msg", "更新失败!请重新编辑!!!");
	}
	String jsonString = JSON.toJSONString(map);
	response.setContentType("text/html;charset=utf-8");
	response.getWriter().println(jsonString);
	return null;
}
Service实现层
@Override
public void update(TbProduct product) {
	mapper.updateByPrimaryKeySelective(product);
}
以上即实现了更新操作
四、效果
使用前:
添加商品:
添加成功:
修改商品:
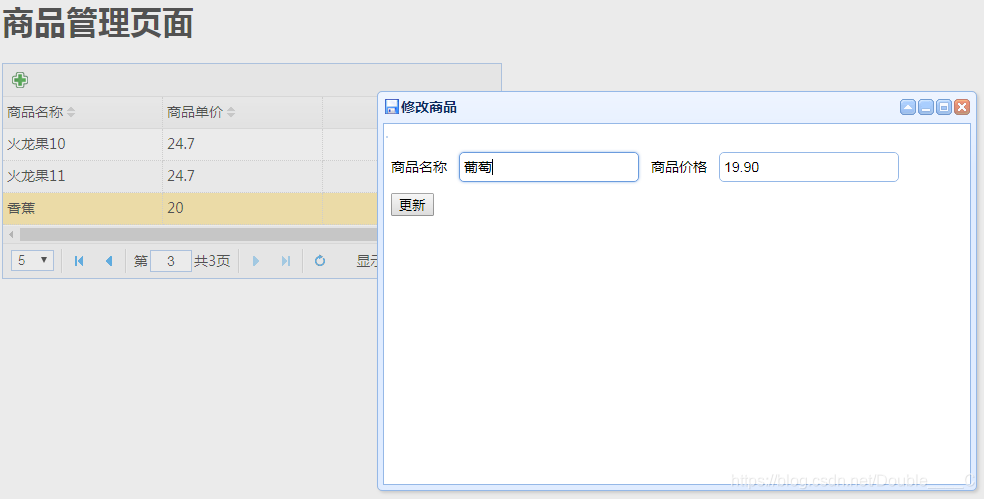
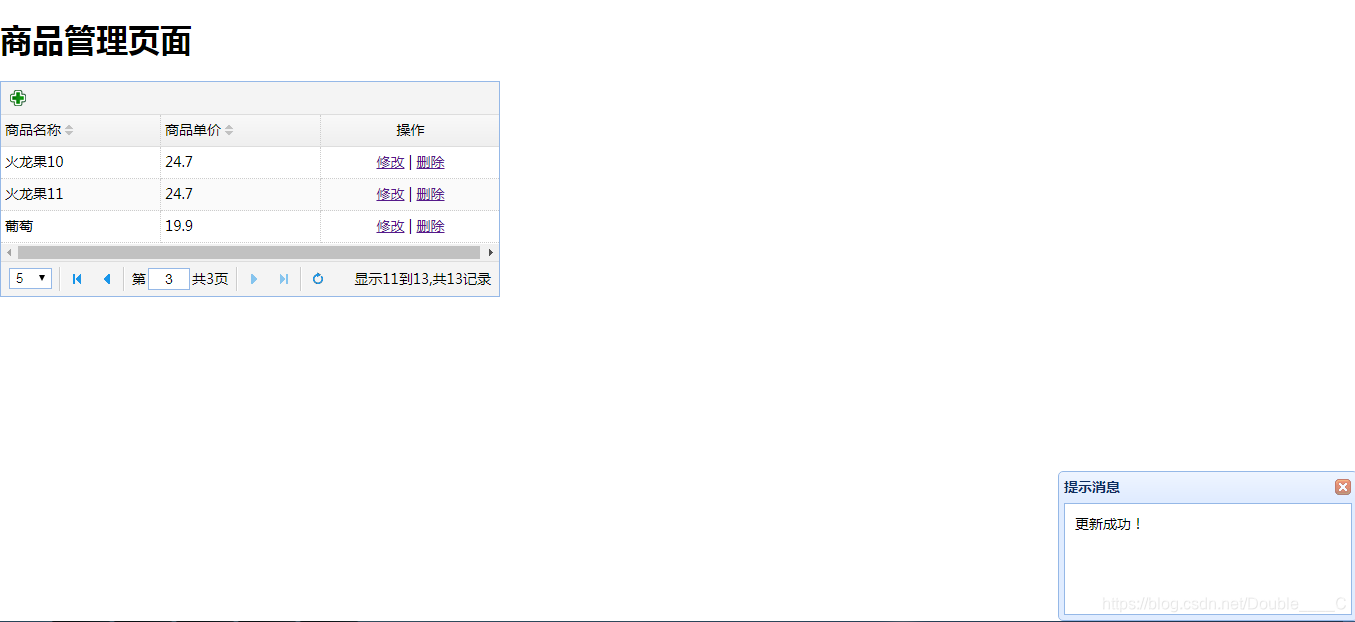
更新成功:
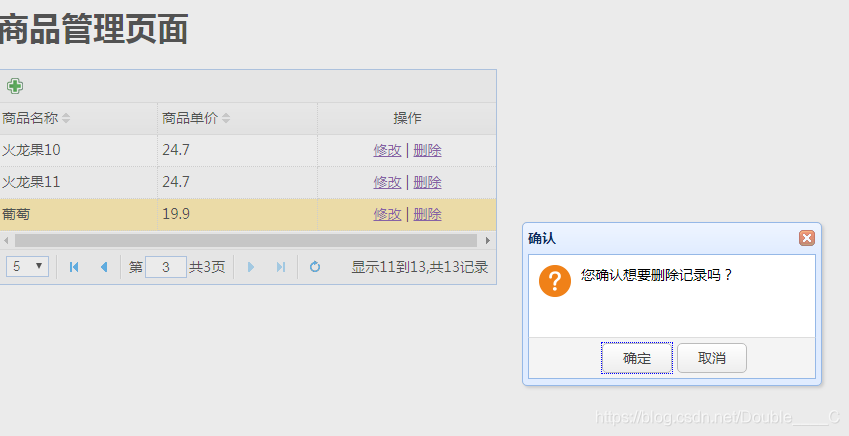
删除商品,确认删除:
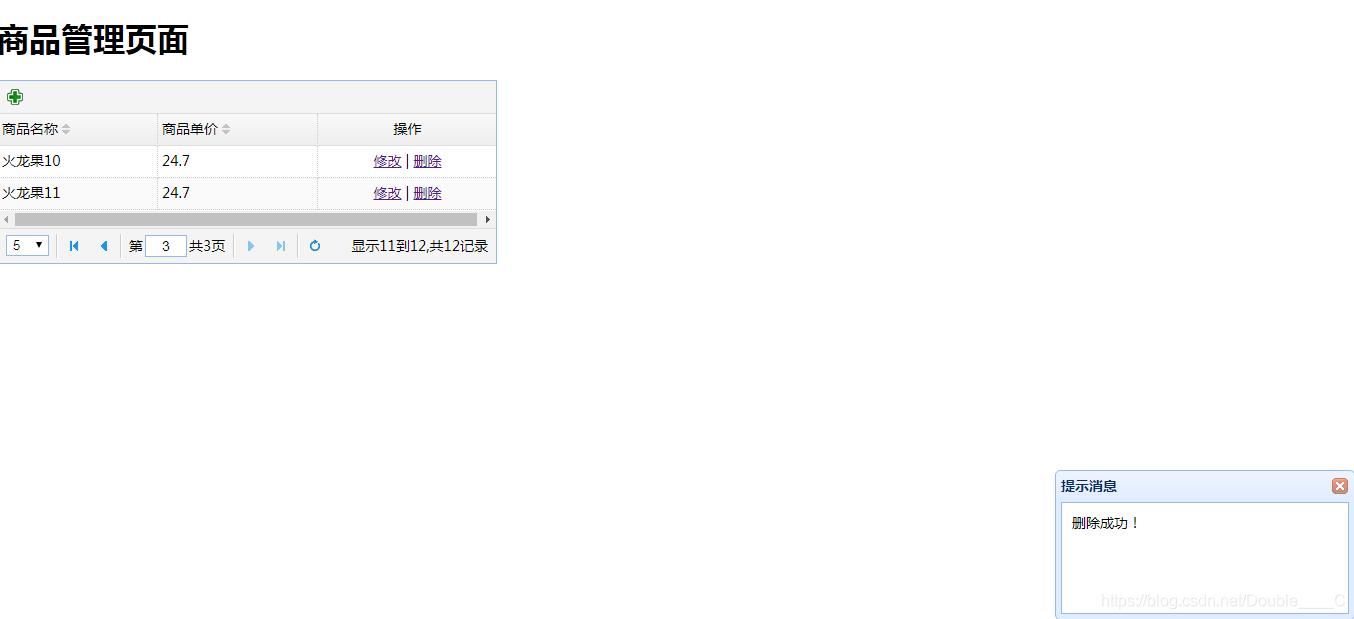
删除成功:
以上即完成基本的CRUD操作。
后续别的功能如添加分类、界面美化等等再慢慢追加吧


 328
328

 被折叠的 条评论
为什么被折叠?
被折叠的 条评论
为什么被折叠?
 到【灌水乐园】发言


