


一:配置文件
1.1首先配置pom.xml文件
<dependency>
            <groupId>com.github.xiaoymin</groupId>
            <artifactId>knife4j-spring-boot-starter</artifactId>
            <version>2.0.9</version>
</dependency>
1.2在工程目录中创建config.Knife4jConfig
//Knife4jConfig

@Configuration
@EnableSwagger2WebMvc
public class Knife4jConfig {
    @Bean
    public Docket docket(){
            return  new Docket(DocumentationType.SWAGGER_2)
                    .apiInfo(apiInfo())
                    .select()
                    .apis(RequestHandlerSelectors.basePackage("com.example.demo.controller"))
                    .paths(PathSelectors.any())
                    .build();

    }

    private ApiInfo apiInfo() {
        Contact author = new Contact("姓名", "地址", "邮箱");
        return new ApiInfo(
                "xx文档",
                "xx文档",
                "1.0",
                "",
                author,
                "",
                "",
                new ArrayList()
        );
    }

}
1.3配置好之后,即可创建增删改查。需要确保每个pom.xml文件已配全
<dependencies>
        <dependency>
            <groupId>com.mybatis-flex</groupId>
            <artifactId>mybatis-flex-spring-boot-starter</artifactId>
            <version>1.9.7</version>
        </dependency>
        <dependency>
            <groupId>com.mysql</groupId>
            <artifactId>mysql-connector-j</artifactId>
            <scope>runtime</scope>
        </dependency>
        <dependency>
            <groupId>org.springframework.boot</groupId>
            <artifactId>spring-boot-starter-web</artifactId>
        </dependency>

        <dependency>
            <groupId>com.zaxxer</groupId>
            <artifactId>HikariCP</artifactId>
        </dependency>
        <dependency>
            <groupId>com.github.xiaoymin</groupId>
            <artifactId>knife4j-spring-boot-starter</artifactId>
            <version>2.0.9</version>
        </dependency>
        <dependency>
            <groupId>org.projectlombok</groupId>
            <artifactId>lombok</artifactId>
        </dependency>

        <dependency>
            <groupId>org.springframework.boot</groupId>
            <artifactId>spring-boot-starter-test</artifactId>
            <scope>test</scope>
        </dependency>
</dependencies>
二:步骤代码
2.1打开自己的数据库(没有的创建数据库),我的数据库如下
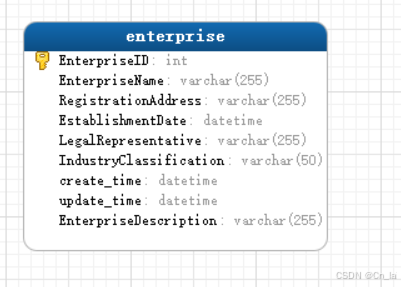
2.2在工程目录下创建po.Enterprise代码如下(Table的地方是自己数据库表名):
@Data
@Table("enterprise")
public class Enterprise {
    private int EnterpriseID;
    private String EnterpriseName;
    private String RegistrationAddress;
    private Data EstablishmentDate;
    private String LegalRepresentative;
    private String IndustryClassification;
    @Column(onUpdateValue = "now()")
    private Data create_time;
    @Column(onUpdateValue ="now()",onInsertValue = "now()")
    private Data update_time;
    private String EnterpriseDescription;
}
2.3在工程目录下创建mapper.EnterpriseMapper接口:
public interface EnterpriseMapper extends BaseMapper<Enterprise> {
}
2.4在工程目录下创建service.EnterpriseService接口:
public interface EnterpriseService extends IService<Enterprise> {

}
2.5 service.EnterpriseService接口有对应的impl,即在service中继续创哥文件impl.EnterpriseServiceImpl:
@Service
public class EnterpriseServiceImpl extends ServiceImpl<EnterpriseMapper, Enterprise> implements EnterpriseService {

}
2.6最后在工程目录下创建controller.EnterpriseController:
@RestController
@RequestMapping("api/enterprise")
public class EnterpriseController {
@Autowired
private EnterpriseService enterpriseService;
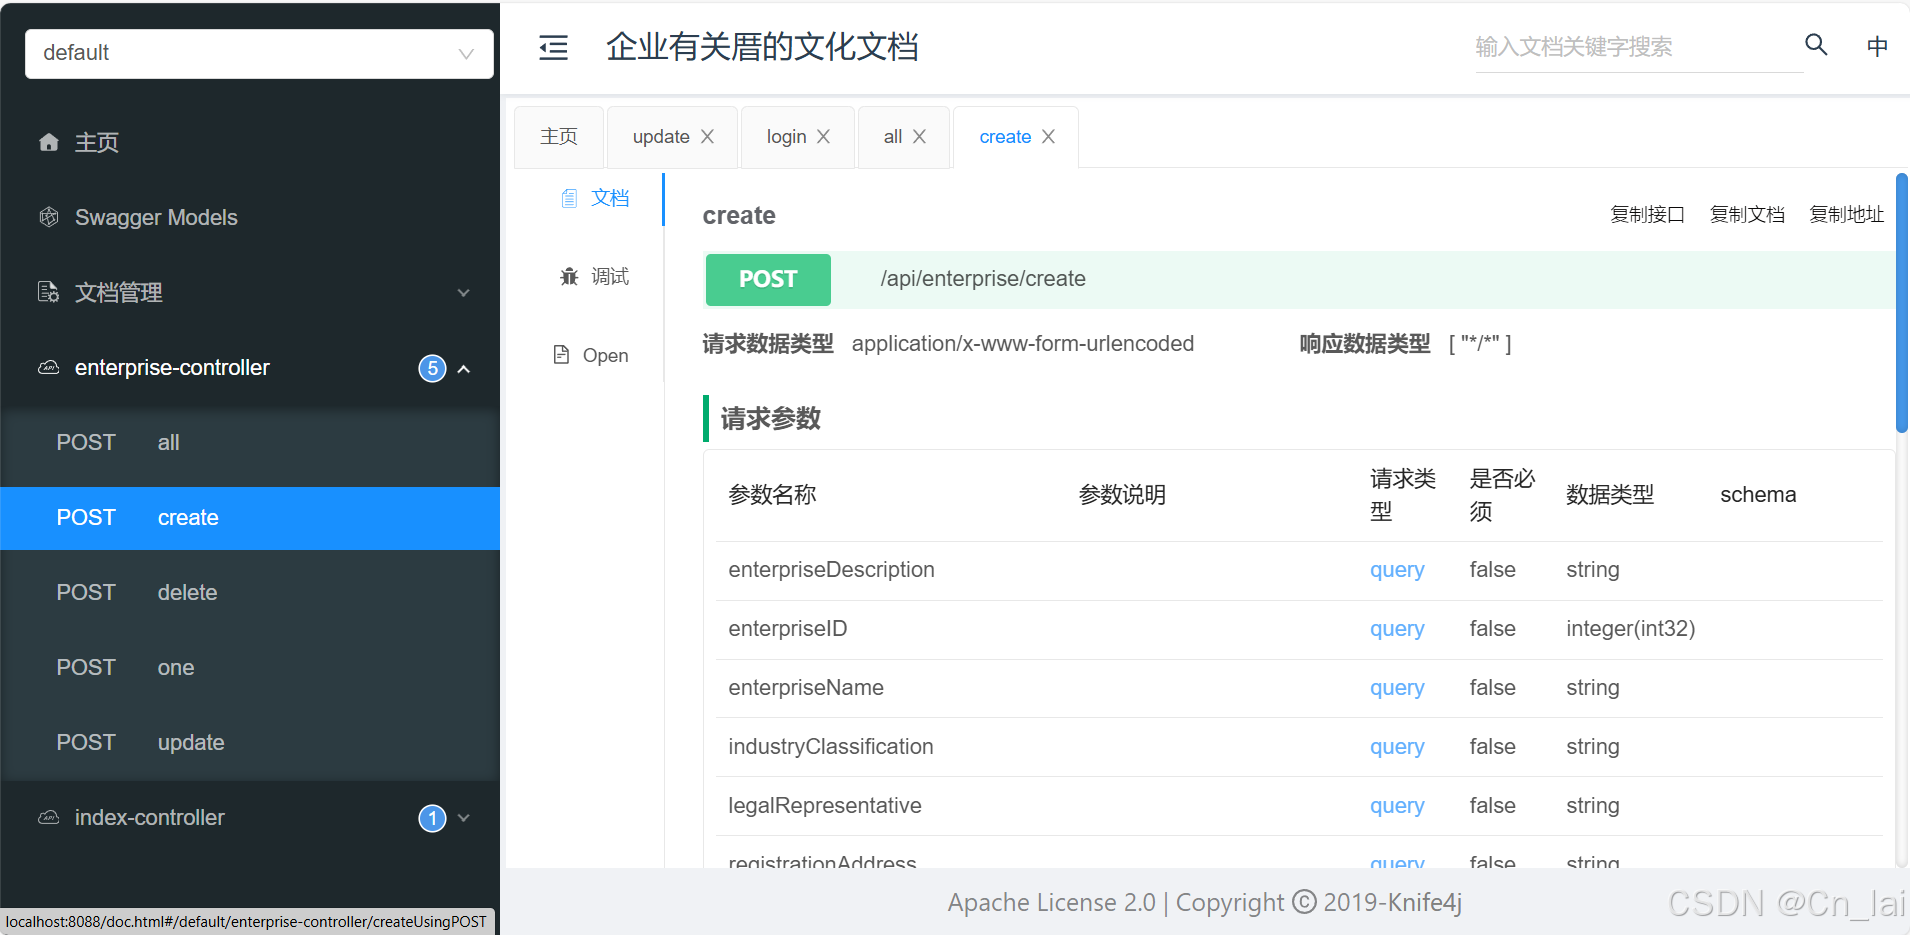
@PostMapping("/create")
public boolean create(Enterprise enterprise){
return enterpriseService.save(enterprise);
}
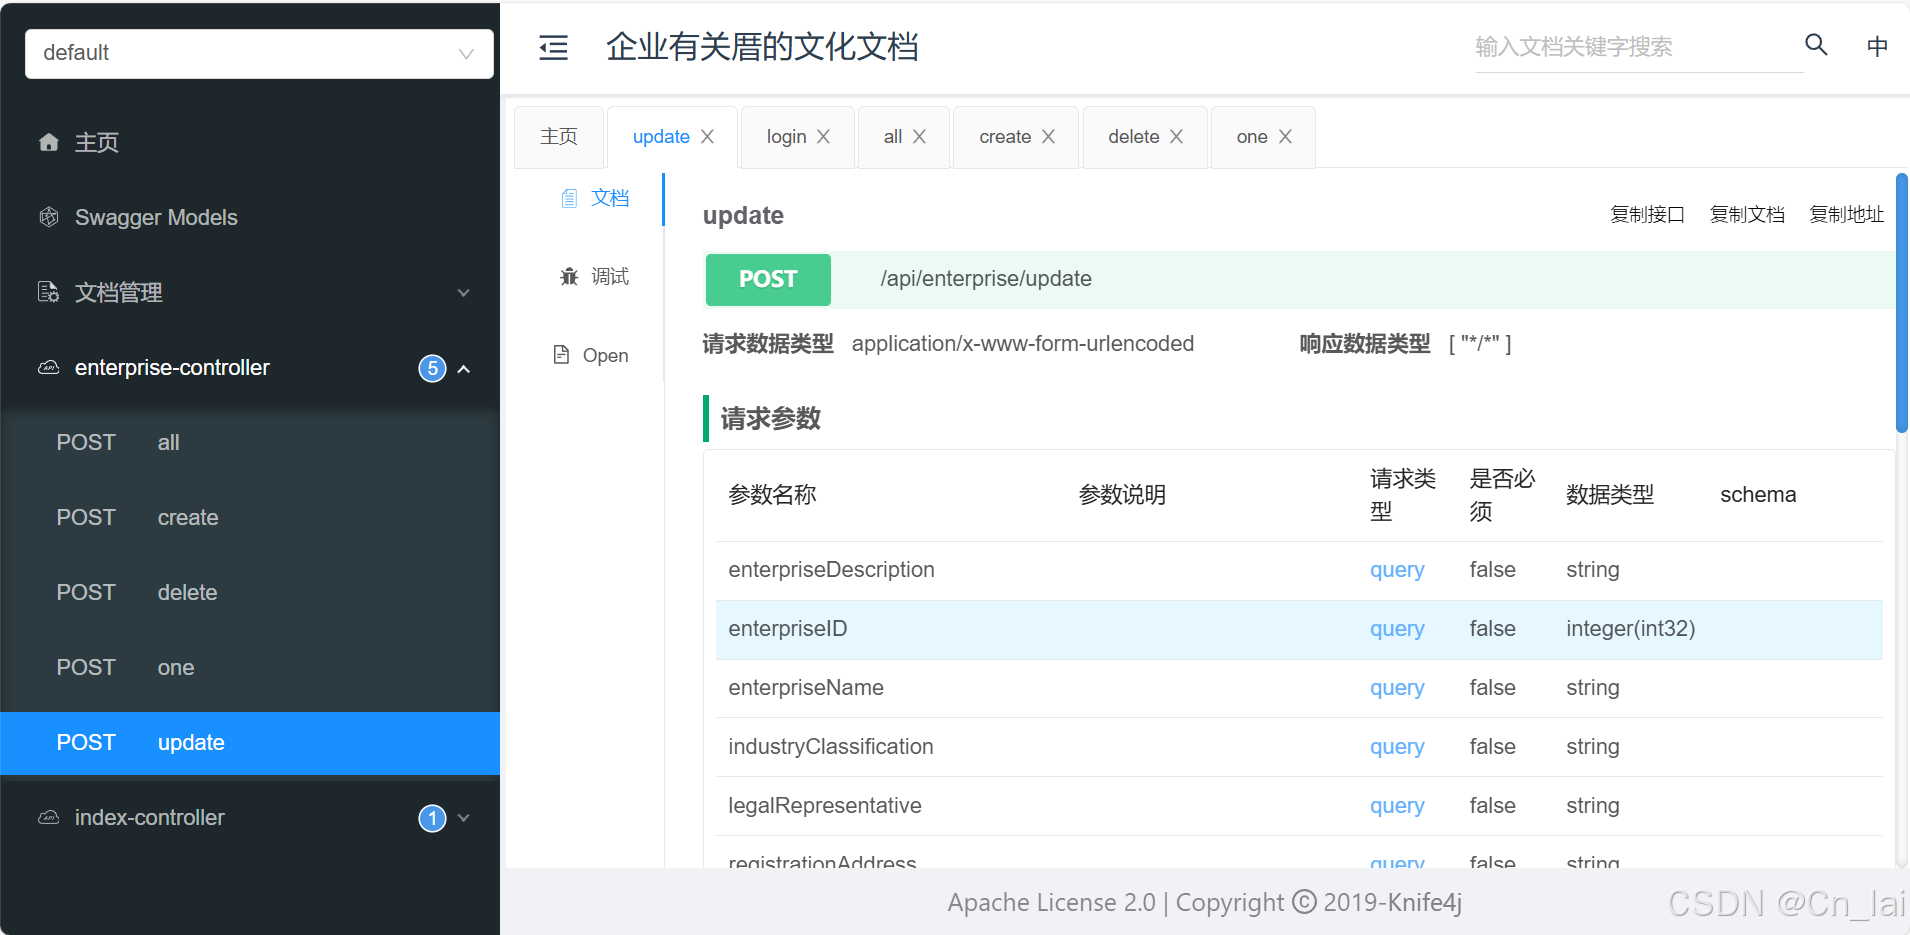
@PostMapping("update")
public boolean update(Enterprise enterprise){
return enterpriseService.updateById(enterprise);
}
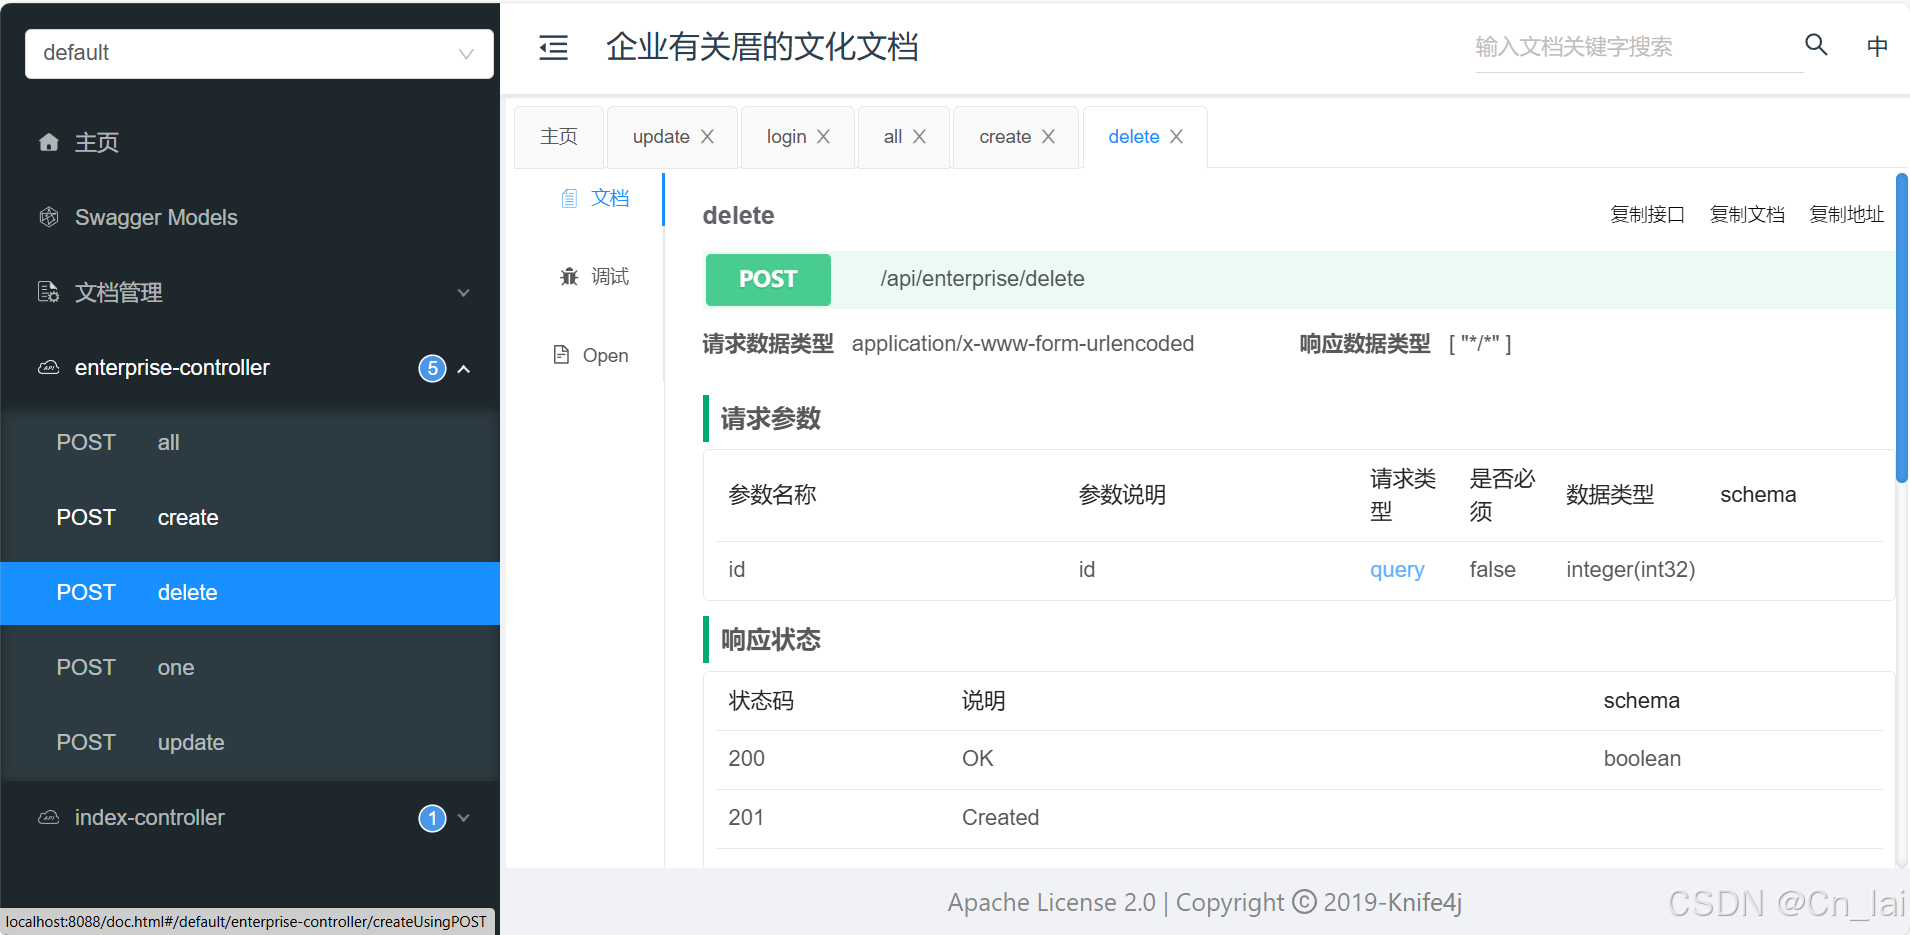
@PostMapping("/delete")public boolean delete(Integer id){
return enterpriseService.removeById(id);
}
@PostMapping("/all")public List<Enterprise> all(){
return enterpriseService.list();
}
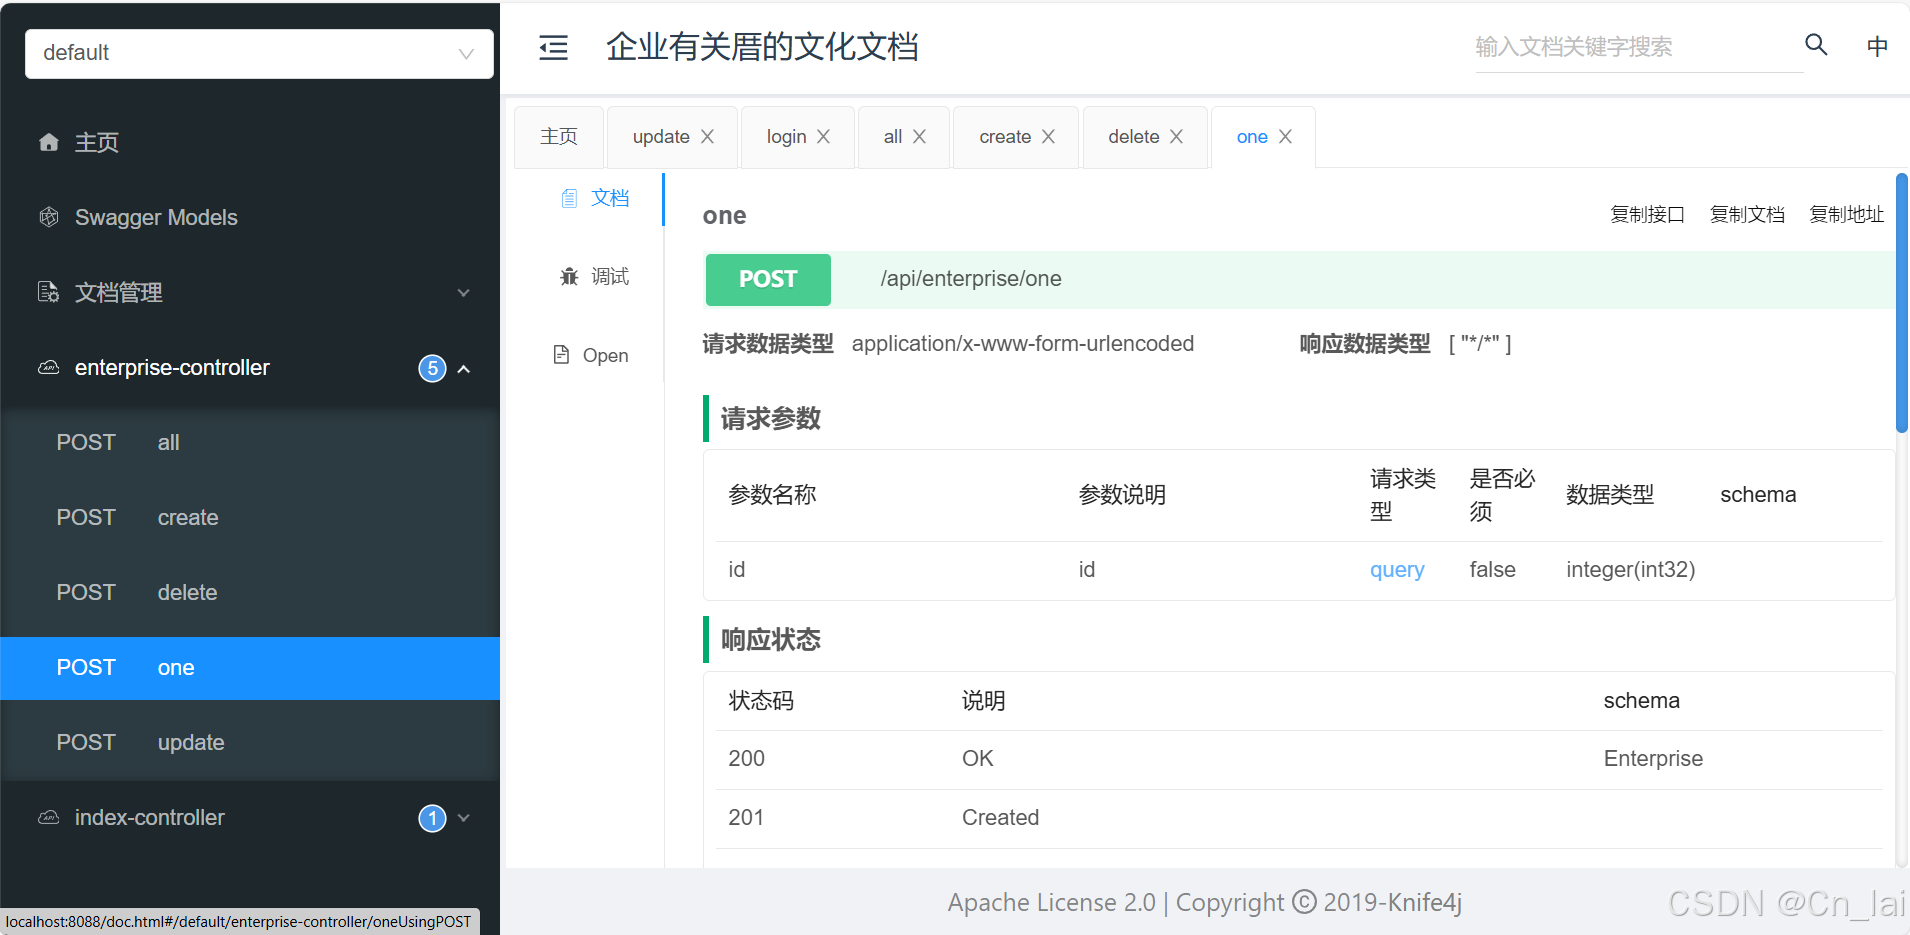
@PostMapping("/one")public Enterprise one(Integer id) {
return enterpriseService.getById(id);
}
}
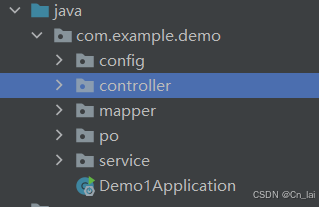
2.7我的工程目录展示:
三:成果展示
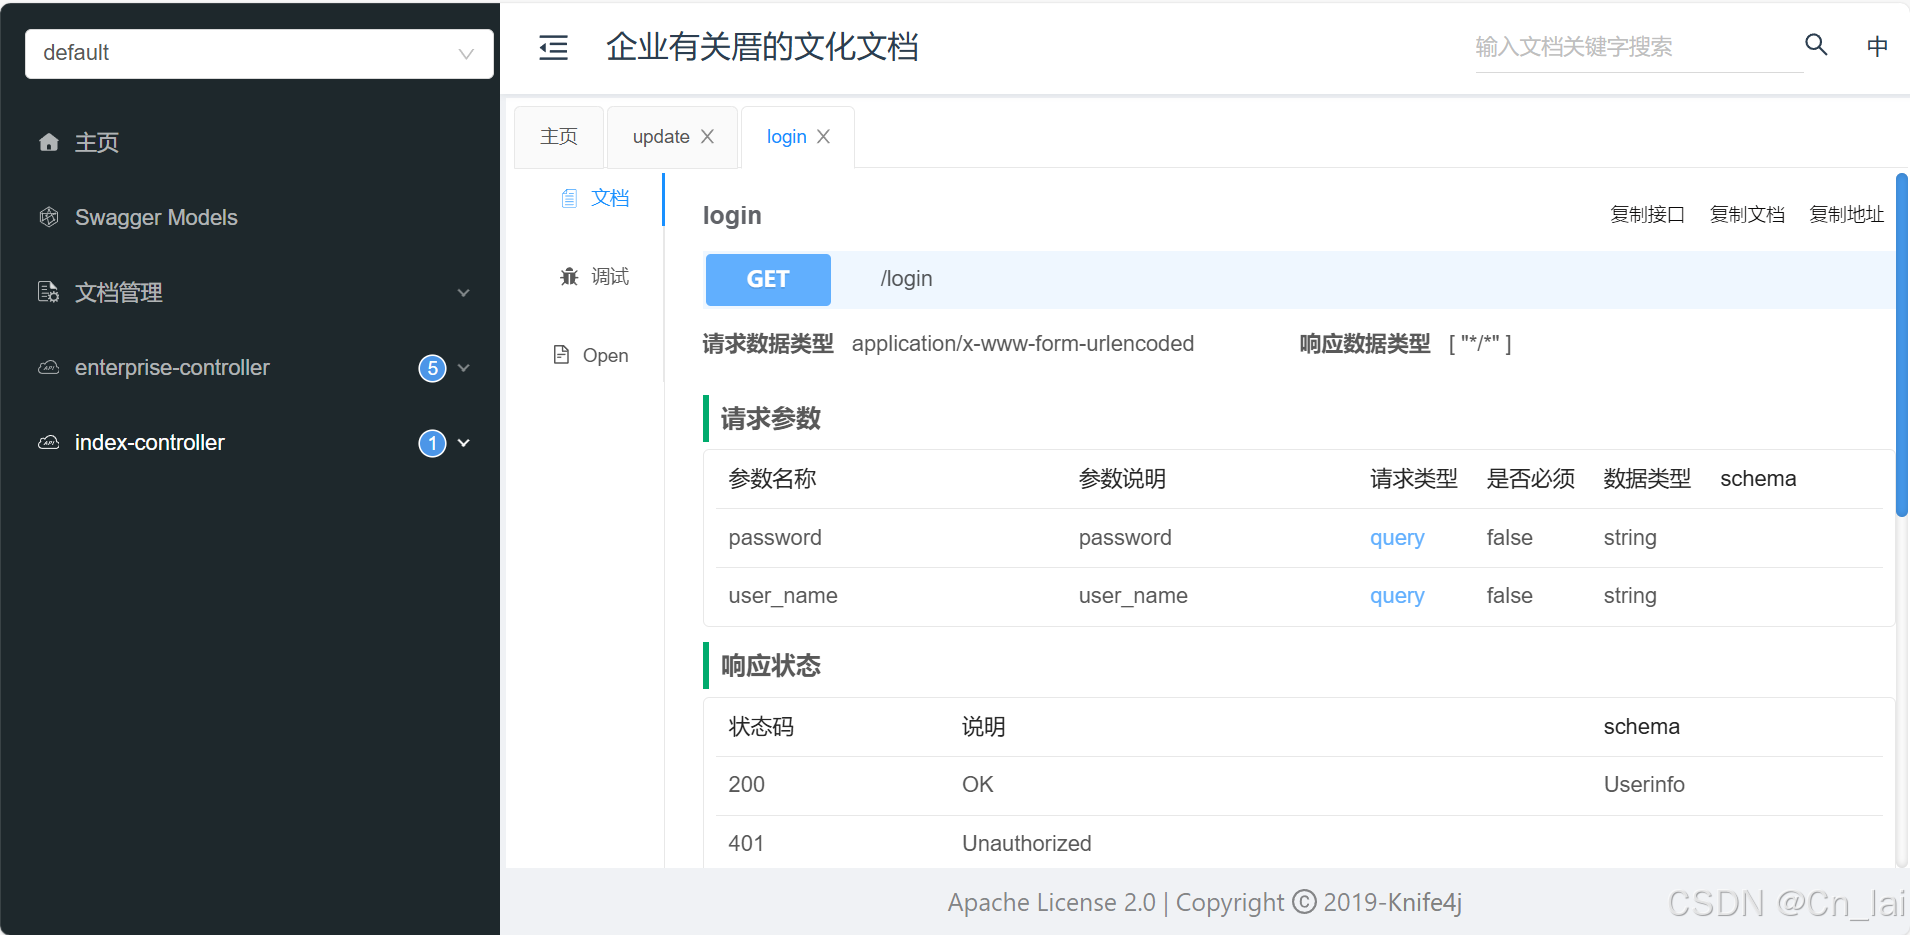
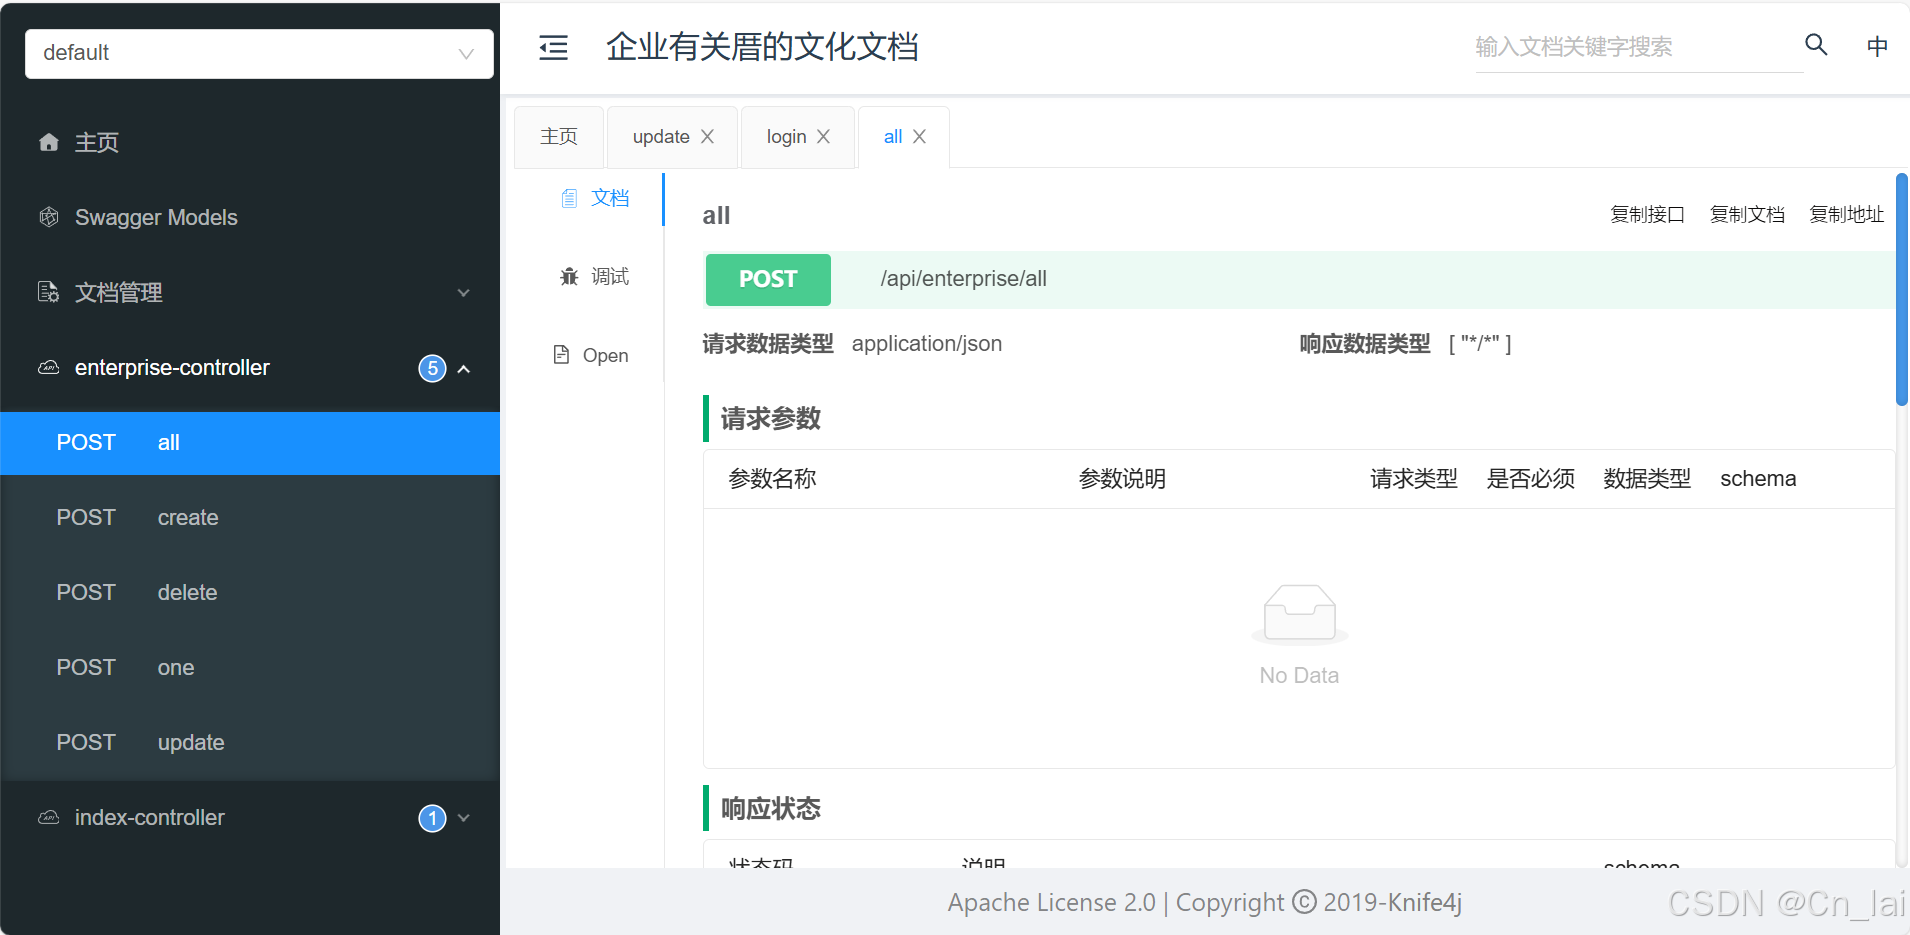
3最后在线文档网页展示图:


 被折叠的 条评论
为什么被折叠?
被折叠的 条评论
为什么被折叠?
 到【灌水乐园】发言


