


场景:
有一张表格,希望能追踪鼠标移动,并高亮显示对应的单元格和行列
具体实现:
//QTableWidget子类开始
//鼠标追踪
setMouseTracking(true);
//具体处理在mouseMoveEvent中
void mouseMoveEvent(QMouseEvent* e)
{
    if (auto item = itemAt(e->pos()))
    {
        if (item && m_hover_item != item)
        {
            m_hover_item = item;	//m_hover_item 是记录的当前鼠标所在项
            update();	//必须,否则不会更新
        }
    }
}

//QTableWidget子类结束

//QHeaderView子类开始
void MyHeader::paintSection(QPainter* painter, const QRect& rect, int logicalIndex) const
{

    painter->save();	//非常重要
    QHeaderView::paintSection(painter, rect, logicalIndex);
    painter->restore();	//非常重要,父类方法会导致painter在后续失效

	//save,restore必须,否则下面的内容没有效果
    if (m_table && m_table->hoverItem())
    {
        if (orientation() == Qt::Horizontal && logicalIndex == m_table->hoverItem()->column())
        {
            QPen pen(Qt::white, 2); // Set the pen color and width
            painter->setPen(pen);
            painter->setBrush(Qt::NoBrush);
            painter->drawRect(rect.adjusted(1, 1, -1, -1)); // Draw a border around the section
        }
        else if (orientation() == Qt::Vertical && logicalIndex == m_table->hoverItem()->row())
        {
            QPen pen(Qt::white, 2); // Set the pen color and width
            painter->setPen(pen);
            painter->setBrush(Qt::NoBrush);`在这里插入代码片`
            painter->drawRect(rect.adjusted(1, 1, -1, -1)); // Draw a border around the section
        }
    }
}
//QHeaderView子类结束


//TableDelegate子类开始
    void paint(QPainter* painter, const QStyleOptionViewItem& option, const QModelIndex& index) const
    {
        QItemDelegate::paint(painter, option, index);

        if (m_table && m_table->hoverItem())
        {
            auto item = m_table->hoverItem();
            if (index.row() == item->row() && index.column() == item->column())
            {
                painter->setPen(QPen(Qt::white, 2));
                painter->setBrush(Qt::NoBrush);
                painter->drawRect(option.rect.adjusted(1, 1, -1, -1));
            }
        }
    }
//TableDelegate子类结束
分析:
设置单元格选中效果,需要先调用父类QItemDelegate::paint(painter, option, index);然后再做选中效果
设置行列选中效果,需要先调用QHeaderView::paintSection(painter, rect, logicalIndex);并且在调用时先对painter.save(),调用完父类方法后再restore(),然后才是选中效果
实现效果:
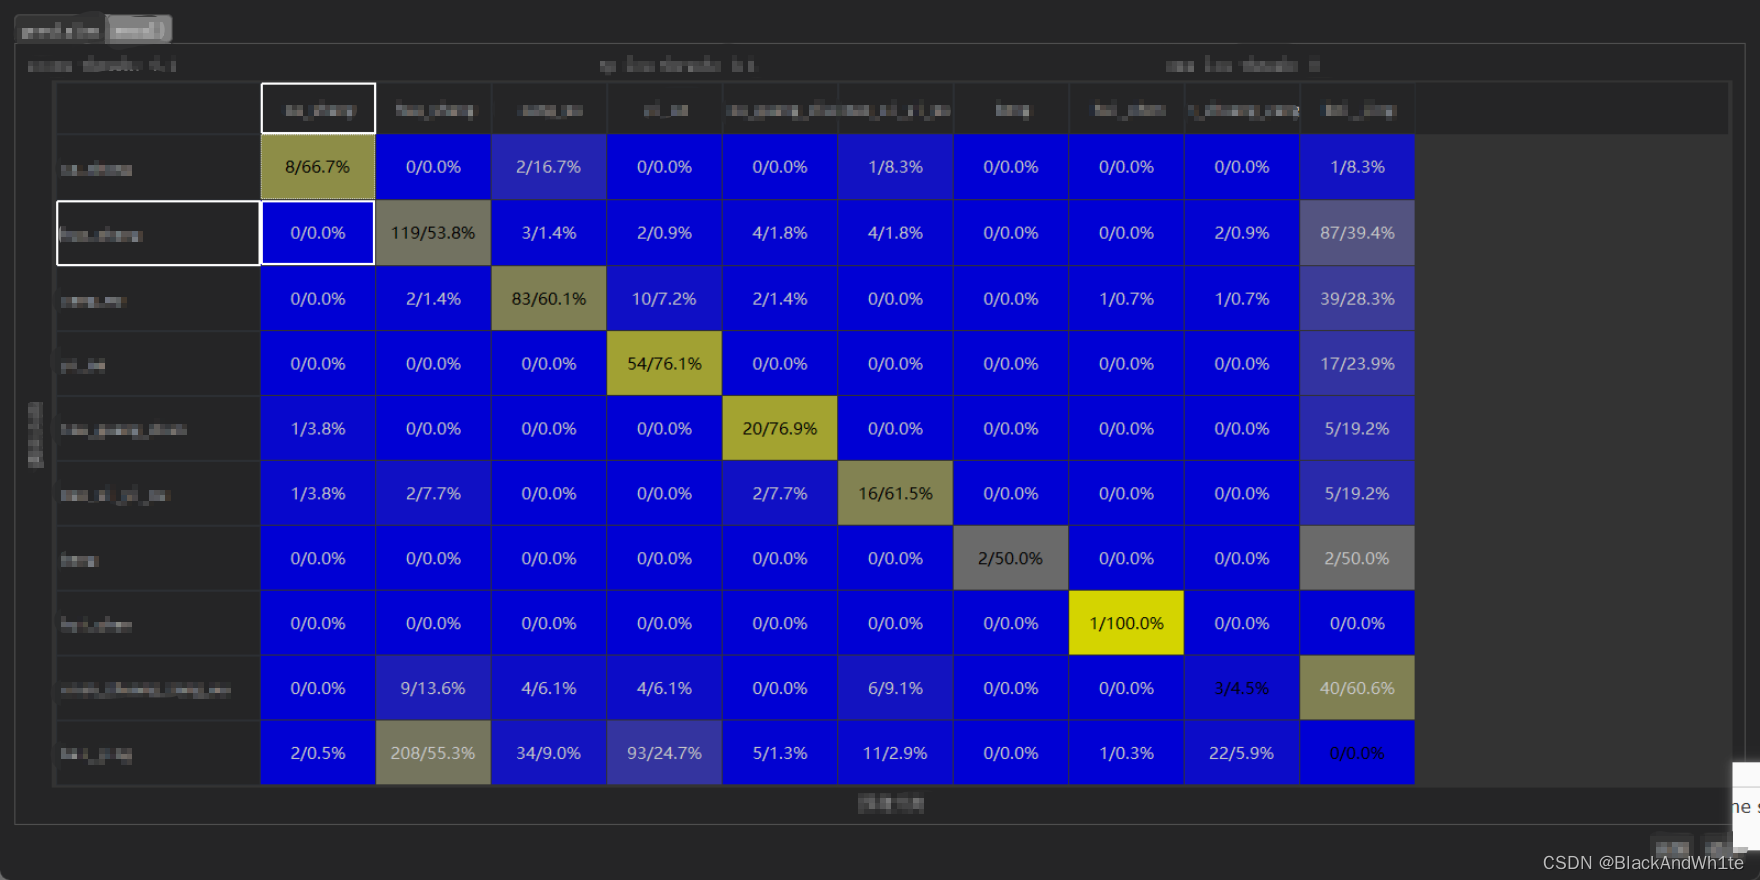
截图时,鼠标位于(1, 0)处(从0开始),所以第二行第一列高亮,并且单元格高亮


 4270
4270

 被折叠的 条评论
为什么被折叠?
被折叠的 条评论
为什么被折叠?
 到【灌水乐园】发言


