


 本文详细介绍了如何搭建和配置Elasticsearch集群,包括Elasticsearch的安装、节点角色优化以及跨域设置。接着讲解了logstash的数据采集功能,如file输入插件、elasticsearch输出插件和syslog输入插件的使用。最后,文章涵盖了kibana的安装、自定义图表创建,并启用xpack安全验证,确保日志分析平台的安全性。
1.Elasticsearch
官网:https://www.elastic.co/cn/
1.1 Elasticsearch介绍
Elasticsearch 是一个开源的分布式搜索分析引擎,建立在一个全文搜索引擎库 Apache Lucene基础之上。
Elasticsearch 不仅仅是Lucene,并且也不仅仅只是一个全文搜索引擎:
一个分布式的实时文档存储,每个字段可以被索引与搜索
一个分布式实时分析搜索引擎
能胜任上百个服务节点的扩展,并支持 PB 级别的结构化或者非结构化数据
基础模块:
cluster:管理集群状态,维护集群层面的配置信息。
alloction:封装了分片分配相关的功能和策略。
discovery:发现集群中的节点,以及选举主节点。
gateway:对收到master广播下来的集群状态数据的持久化存储。
indices:管理全局级的索引设置。
http:允许通过JSON over
HTTP的方式访问ES的API。
transport:用于集群内节点之间的内部通信。
、
engine:封装了对Lucene的操作及translog的调用。
elasticsearch应用场景:
• 信息检索
• 日志分析
• 业务数据分析
• 数据库加速
• 运维指标监控
1.2 Elasticsearch的安装与配置
可参考官网:https://www.elastic.co/guide/en/elasticsearch/reference/7.6/index.html
实验环境:给2G内存
server1:172.25.0.1
server2:172.25.0.2
server3:172.25.0.3
1.安装软件并修改配置文件
yum install -y elasticsearch-7.6.1.rpm 安装软件
vim /etc/elasticsearch/elasticsearch.yml修改配置文件
cluster.name: my-es #集群名称
node.name: server7 #主机名需要解析
path.data: /var/lib/elasticsearch #数据目录
path.logs: /var/log/elasticsearch #日志目录
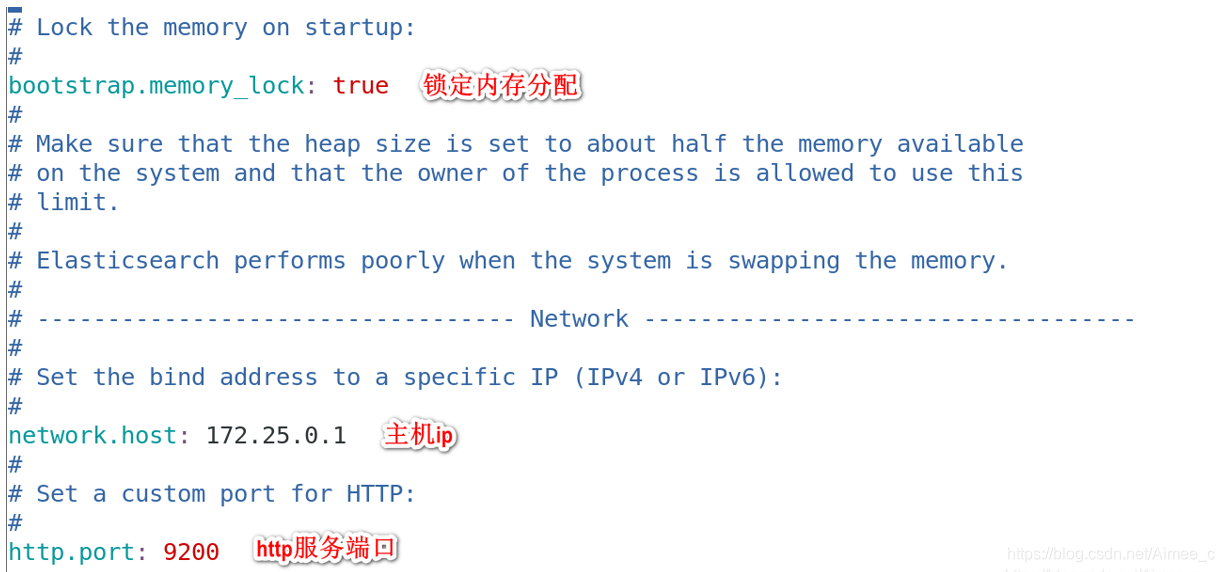
bootstrap.memory_lock: true #锁定内存分配
network.host: 172.25.0.1 #主机ip
http.port: 9200 #http服务端口
discovery.seed_hosts: ["server1"]
cluster.initial_master_nodes: ["server1"]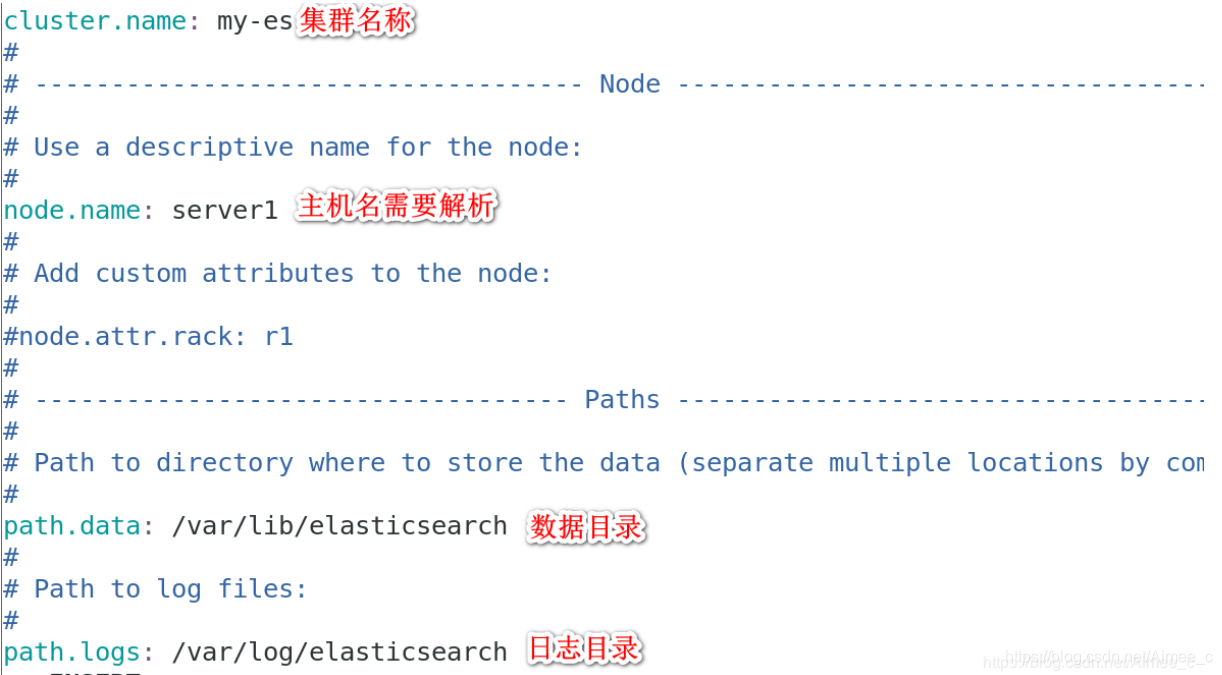

2.修改系统限制
vim /etc/security/limits.conf
elasticsearch    soft    memlock         unlimited
elasticsearch    hard    memlock         unlimited
elasticsearch    -       nofile          65536 ##要将elasticsearch用户的最大打开文件数设置为65535
elasticsearch    -       nproc           4096 ## 确保Elasticsearch用户可以创建的线程数至少为4096
vim /etc/elasticsearch/jvm.options
-Xms1g ###Xmx设置不超过物理RAM的50%,以确保有足够的物理RAM留给内核文件系统缓存。但不要超过32G。
-Xmx1g
swapoff -a禁用swap
vim /etc/fstab
#UUID=2a714265-f92d-4429-87da-9f09e32e6ff2 swap swap defaults 0 0 ##避免开机自启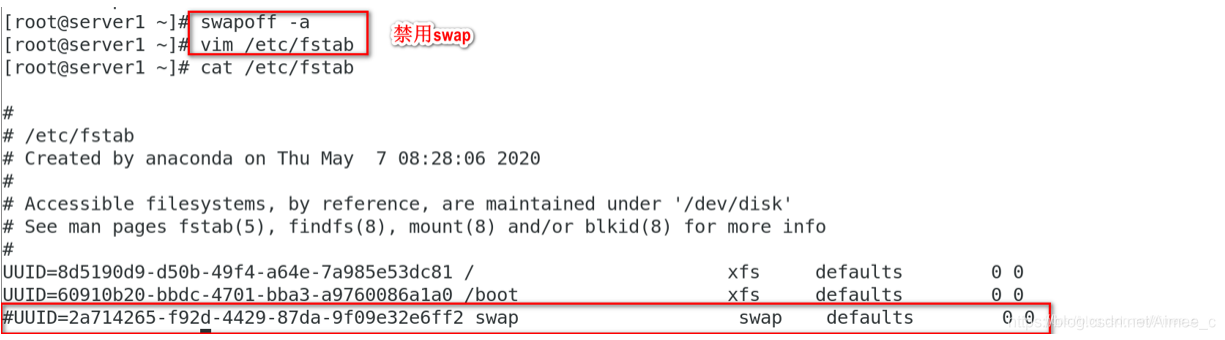
也可以:
echo 0 >/proc/sys/vm/swappiness

3.修改systemd启动文件
vim /usr/lib/systemd/system/elasticsearch.service
[Service]
LimitMEMLOCK=infinity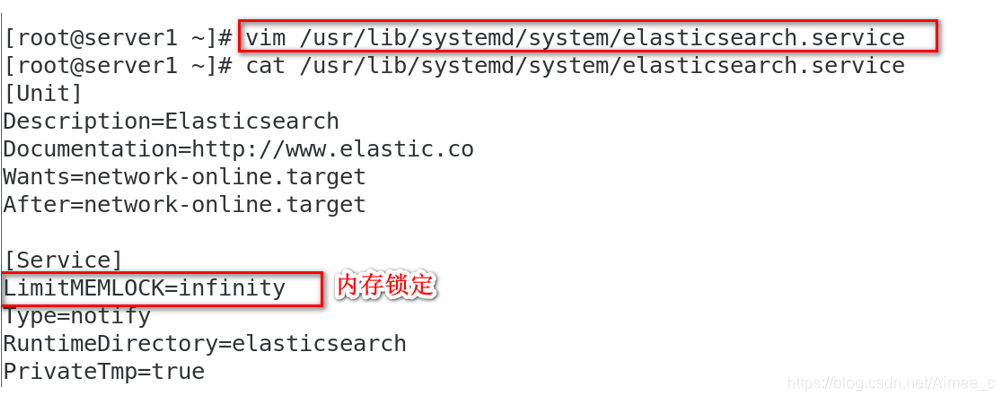
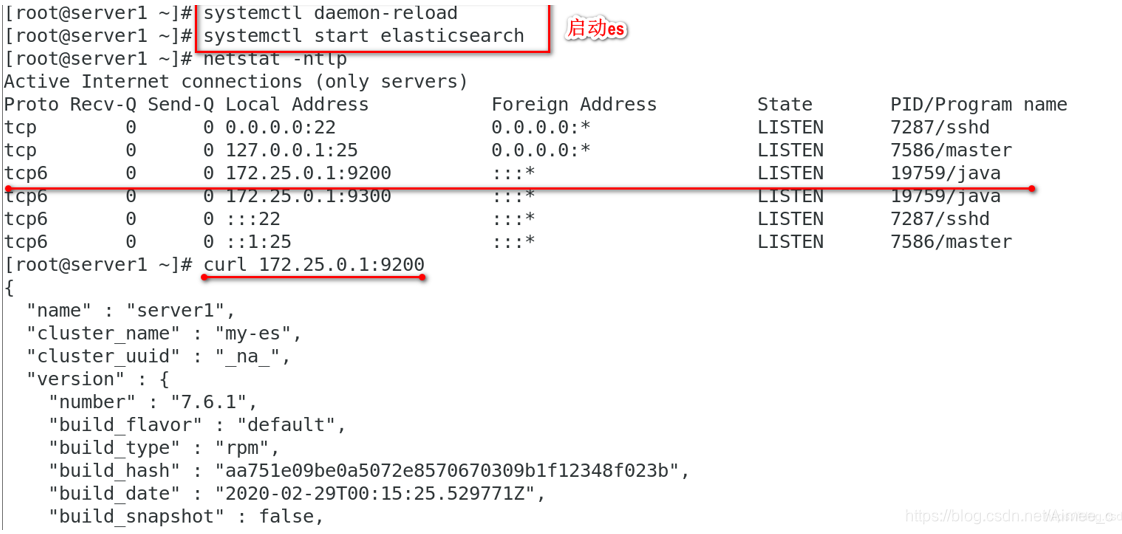
systemctl daemon-reload
systemctl start elasticsearch
4.elasticsearch插件安装
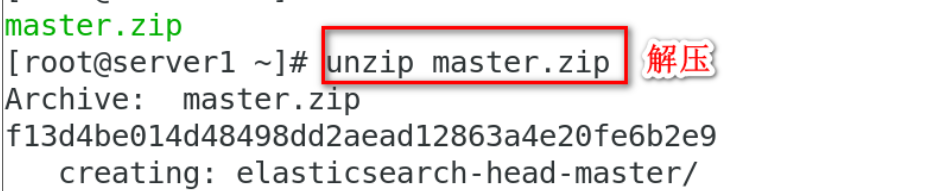
unzip elasticsearch-head-master.zip

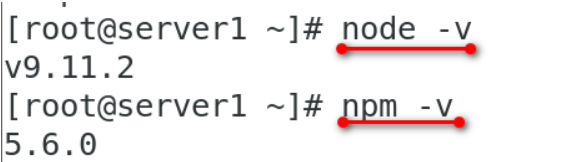
yum install -y nodejs-9.11.2-1nodesource.x86_64.rpmhead插件本质上是一个nodejs的工程,因此需要安装node

5.更换npm的yum源(要求虚拟机可上网)
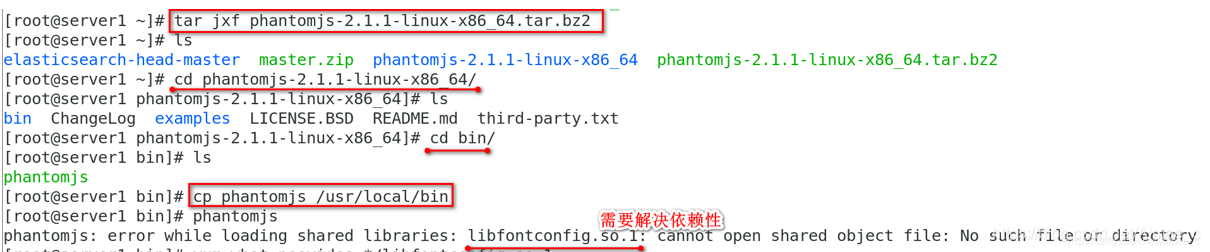
tar jxf phantomjs-2.1.1-linux-x86_64.tar.bz2
cp phantomjs-2.1.1-linux-x86_64//bin/phantomjs /usr/local/bin
yum install -y fontconfig-2.13.0-4.3.el7.x86_64解决依赖性
cd elasticsearch-head-master必须在这个目录中
npm install --registry=https://registry.npm.taobao.org更换npm的yum源


6.修改es主机ip和端口
vim /root/elasticsearch-head-master/_site/app.js
"http://172.25.0.1:9200";
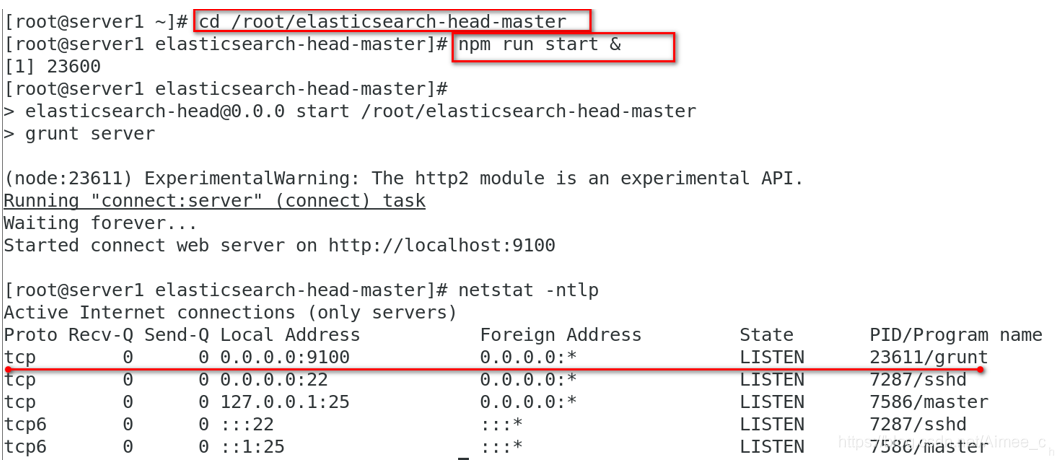
7.启动head插件
cd /root/elasticsearch-head-master
npm run start &在目录中后台启动head插件

8.修改ES跨域主持
vim /etc/elasticsearch/elasticsearch.yml修改ES跨域主持
http.cors.enabled: true # 是否支持跨域
http.cors.allow-origin: "*"    # *表示支持所有域名
systemctl restart elasticsearch.service重启ES服务


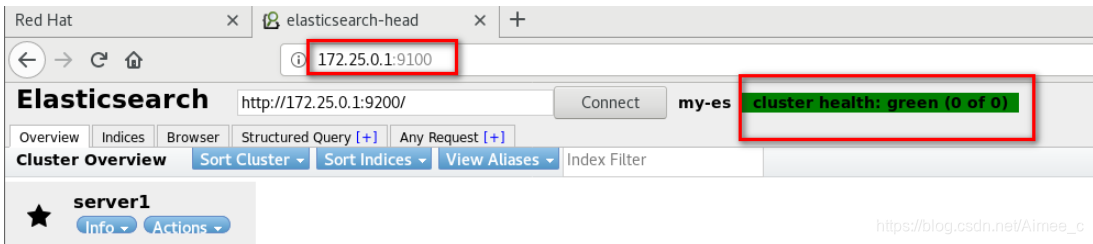
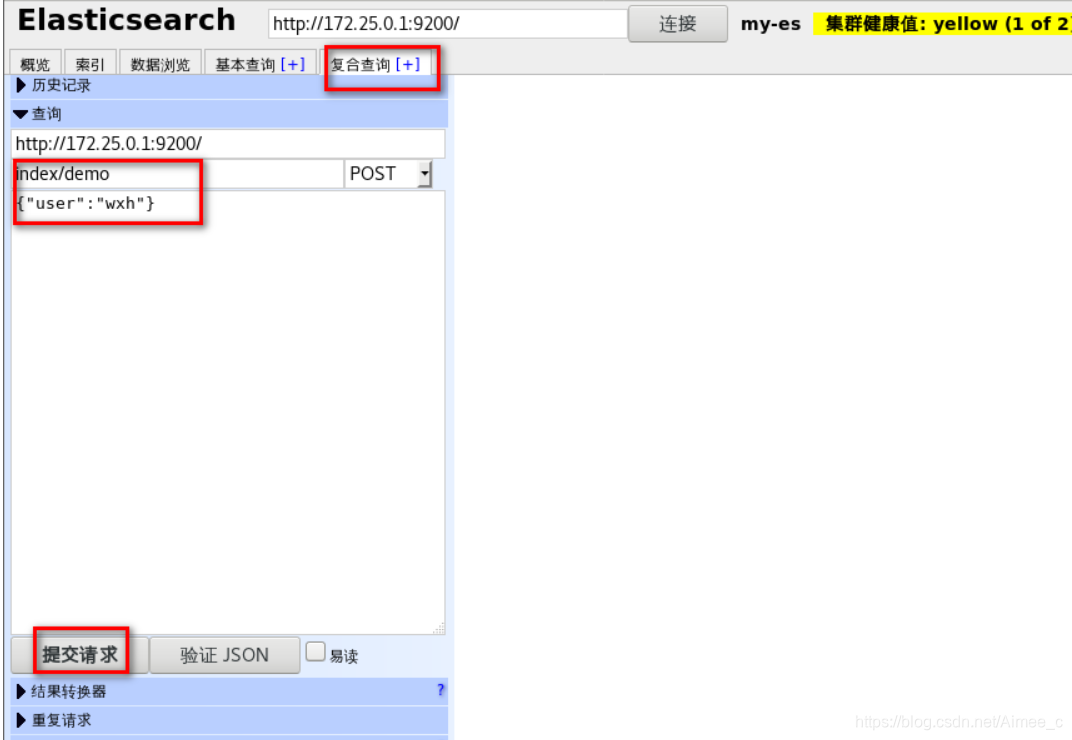
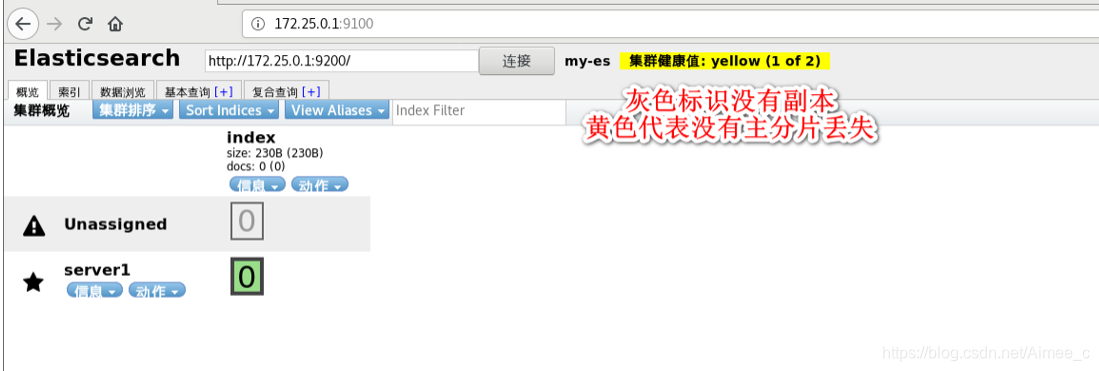
9.创建索引
1.3 配置Elasticsearch集群
将server2与server3加入集群
vim /etc/elasticsearch/elasticsearch.yml修改配置文件**
cluster.name: my-es
node.name: server2 ##server3写server3
path.data: /var/lib/elasticsearch
path.logs: /var/log/elasticsearch
bootstrap.memory_lock: true
network.host: 172.25.0.2 ##server3的IP写172.25.0.
最低0.47元/天 解锁文章


 3614
3614

 被折叠的 条评论
为什么被折叠?
被折叠的 条评论
为什么被折叠?
 到【灌水乐园】发言


