


在计算机视觉领域,目标检测是一项重要的任务,而 YOLO(You Only Look Once)系列算法以其高效性和准确性成为了该领域的热门选择。本文将介绍如何使用 Python 和 PyQt5 开发一个基于 YOLOv8 的目标检测应用程序,实现对图片、视频流以及海康相机的实时目标检测。
一、项目概述
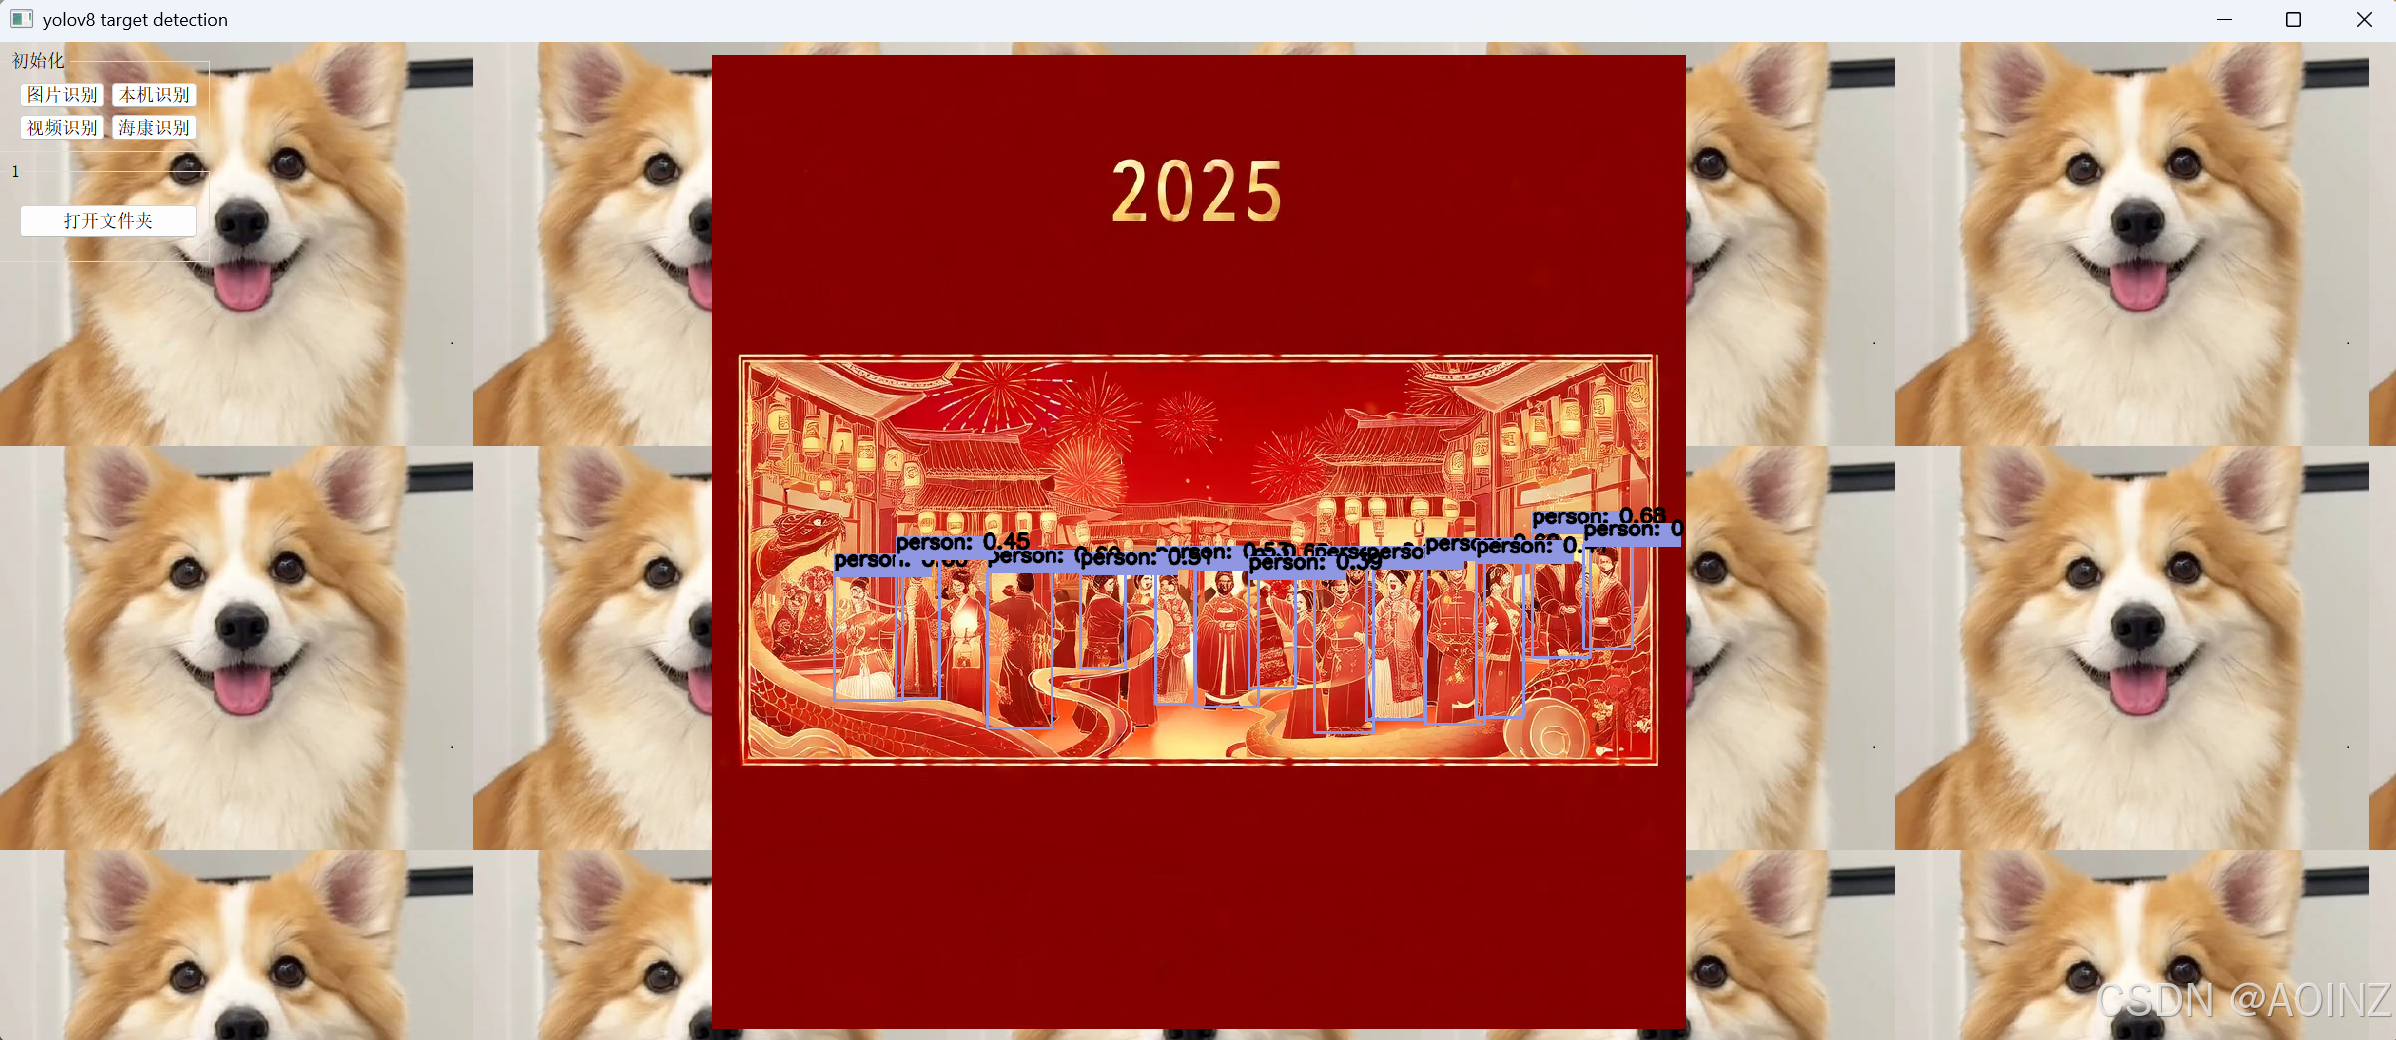
本项目旨在开发一个功能强大的目标检测应用程序,用户可以通过友好的图形用户界面(GUI)选择不同的检测模式,包括图片识别、本机摄像头识别、视频文件识别以及海康相机识别。应用程序将利用 YOLOv8 模型进行目标检测,并实时显示检测结果。
二、技术栈
-
Python :作为主要的编程语言,提供了丰富的库支持和简洁的语法。
-
PyQt5 :用于构建图形用户界面(GUI),提供了强大的窗口组件和事件处理机制。
-
OpenCV :用于图像和视频处理,提供了丰富的计算机视觉功能。
-
YOLOv8 :用于目标检测的深度学习模型,具有高效性和准确性。
三、应用程序功能实现
1. GUI 界面设计
我们使用 PyQt5 构建了应用程序的图形用户界面,界面包括以下几个主要部分:
-
图像显示区域 :用于显示原始图像或视频帧以及检测结果。
-
初始化区域 :包含多个按钮,用于选择不同的检测模式,如图片识别、本机识别、视频识别和海康识别。
-
状态栏 :显示应用程序的状态信息和提示信息。
以下是部分 GUI 界面代码:
def initUI(self):
    self.setWindowTitle('yolov8 target detection')
    self.setGeometry(100, 100, 2400, 1000)
    # 设置背景图片
    background_pixmap = QtGui.QPixmap("1.jpg")
    background_palette = QtGui.QPalette()
    background_palette.setBrush(QtGui.QPalette.Window, QtGui.QBrush(background_pixmap))
    self.setPalette(background_palette)

    # 创建中心部件和布局
    self.centralWidget = QWidget(self)
    self.setCentralWidget(self.centralWidget)
    self.layout = QGridLayout()
    self.centralWidget.setLayout(self.layout)

    # 创建图像显示标签
    self.image_label = QLabel(self)
    self.image_label.setAlignment(Qt.AlignCenter)
    self.layout.addWidget(self.image_label, 0, 0, 1, 2)
2. 图片识别功能
用户可以通过点击 “图片识别” 按钮,选择本地的图片文件进行目标检测。应用程序将读取图片,使用 YOLOv8 模型进行检测,并将结果显示在图像显示区域。
@pyqtSlot()
def mode1(self):
    print("Mode 1: Image Detection")
    file_path, _ = QFileDialog.getOpenFileName(self, "Open Image", "", "Image Files (*.png *.jpg *.jpeg)")
    if file_path:
        im0 = cv2.imread(file_path)
        result_image = detect_object(im0, self.session, self.model_inputs, self.input_width, self.input_height)
        self.display_image(result_image)
3. 本机摄像头识别功能
用户可以通过点击 “本机识别” 按钮,启动本机摄像头进行实时目标检测。应用程序将打开摄像头,获取视频流,并对每一帧图像进行目标检测,实时显示检测结果。
@pyqtSlot()
def mode2(self):
    print("Mode 2: Camera Detection")
    cap = cv2.VideoCapture(0)
    if not cap.isOpened():
        print("Error: Could not open camera.")
        return
    while True:
        ret, frame = cap.read()
        if not ret:
            print("Error: Could not read frame.")
            break
        output_image = detect_object(frame, self.session, self.model_inputs, self.input_width, self.input_height)
        self.display_image(output_image)
        if cv2.waitKey(1) & 0xFF == ord('q'):
            break
    cap.release()
4. 视频文件识别功能
用户可以通过点击 “视频识别” 按钮,选择本地的视频文件进行目标检测。应用程序将读取视频文件,对每一帧图像进行目标检测,并实时显示检测结果。
@pyqtSlot()
def mode3(self):
    print("Mode 3: Video Detection")
    file_path, _ = QFileDialog.getOpenFileName(self, "Open Video", "", "Video Files (*.mp4 *.avi)")
    if file_path:
        cap = cv2.VideoCapture(file_path)
        if not cap.isOpened():
            print("Error: Could not open video.")
            return
        while True:
            ret, frame = cap.read()
            if not ret:
                print("Info: End of video file.")
                break
            output_image = detect_object(frame, self.session, self.model_inputs, self.input_width, self.input_height)
            self.display_image(output_image)
            if cv2.waitKey(1) & 0xFF == ord('q'):
                break
        cap.release()
5. 海康相机识别功能
用户可以通过点击 “海康识别” 按钮,连接海康相机进行实时目标检测。应用程序将使用海康相机的 SDK 或相关库获取相机图像,并进行目标检测。
@pyqtSlot()
def mode4(self):
    print("Mode 4: HK Camera Detection")
    if not self.camera:
        self.camera = HKCamera(CameraIp="169.254.120.253")
        # 设置相机参数
        self.camera.set_Value(param_type="enum_value", node_name="PixelFormat", node_value='BayerRG8')
        self.camera.set_Value(param_type="enum_value", node_name="ExposureAuto", node_value='Off')
        self.camera.set_Value(param_type="float_value", node_name="ExposureTime", node_value=10000)
        self.camera.set_Value(param_type="float_value", node_name="Gain", node_value=20)
        self.camera.set_Value(param_type="int_value", node_name="Width", node_value=3000)
        self.camera.set_Value(param_type="int_value", node_name="Height", node_value=2000)
        self.camera.set_Value(param_type="float_value", node_name="AcquisitionFrameRate", node_value=15)
        self.camera.start_camera()
    while True:
        image = self.camera.get_image()
        if image is not None:
            output_image = detect_object(image, self.session, self.model_inputs, self.input_width, self.input_height)
            self.display_image(output_image)
            if cv2.waitKey(1) & 0xFF == ord('q'):
                break
6. 图像显示功能
我们定义了一个 display_image 方法,用于将检测结果显示在图像显示区域。该方法将 OpenCV 的图像格式转换为 PyQt5 可显示的格式,并设置图像标签的显示内容。
def display_image(self, image):
    height, width, channel = image.shape
    bytes_per_line = 3 * width
    q_img = QImage(image.data, width, height, bytes_per_line, QImage.Format_RGB888).rgbSwapped()
    pixmap = QPixmap.fromImage(q_img)
    self.image_label.setPixmap(pixmap.scaled(self.image_label.size(), Qt.KeepAspectRatio))
四、运行与体验
运行程序后,用户可以通过点击不同的按钮选择相应的检测模式。例如,点击 “图片识别” 按钮,选择本地图片文件,应用程序将显示图片的目标检测结果;点击 “本机识别” 按钮,应用程序将打开本机摄像头,实时显示目标检测结果。
五、总结与展望
通过本项目,我们成功开发了一个基于人工智能 YOLOv8 和 PyQt5 的目标检测应用程序,实现了对图片、视频流以及海康相机的实时目标检测。未来可以进一步优化应用程序的性能和功能,例如增加更多的检测模式、支持更多的相机型号、提高检测速度和准确性等。
希望本文能够为对人工智能和 PyQt5 开发感兴趣的读者提供一些参考和启发,欢迎大家尝试运行和改进这个项目!


 4288
4288

 被折叠的 条评论
为什么被折叠?
被折叠的 条评论
为什么被折叠?
 到【灌水乐园】发言


