


目录:
1、处理用户输入
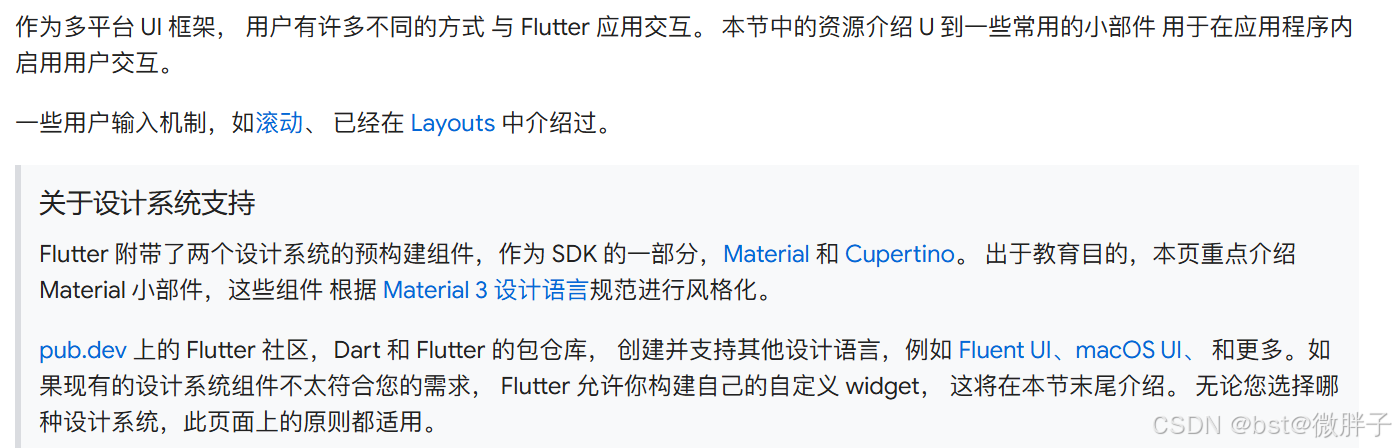
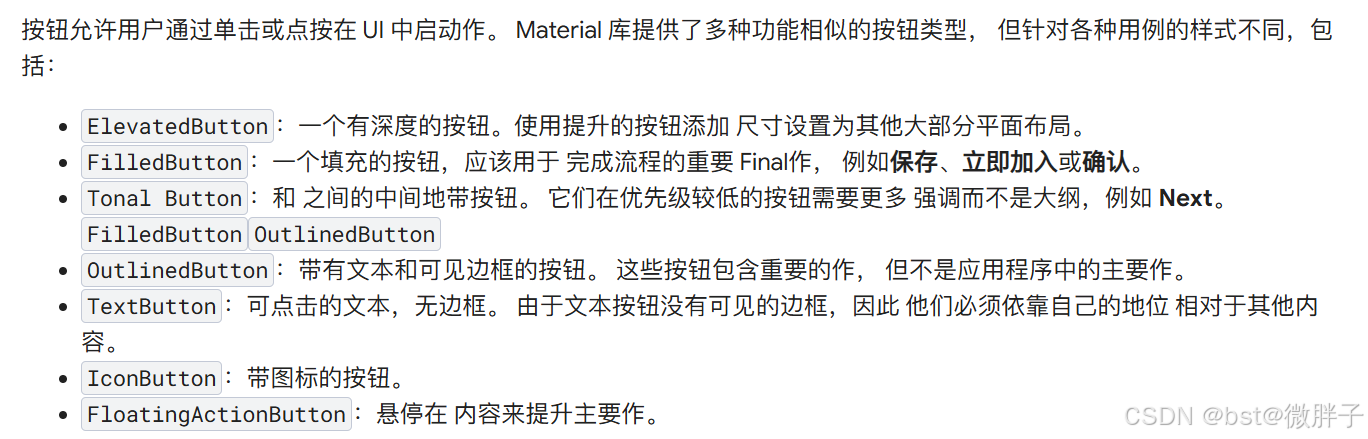
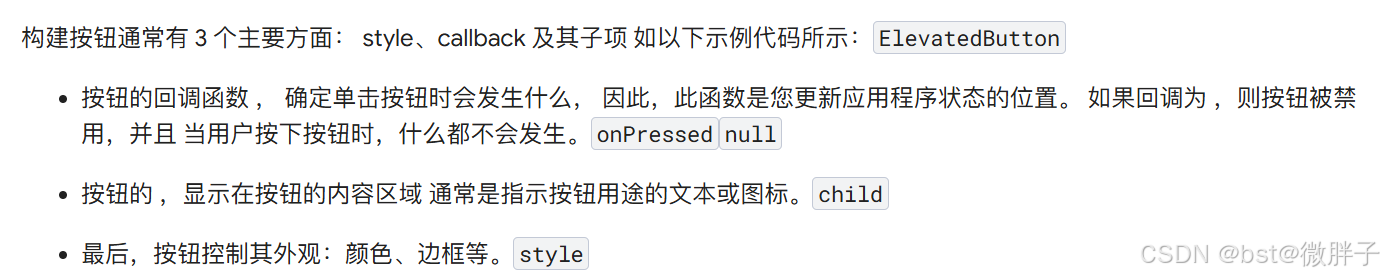
1.1、按钮
int count = 0;
Widget build(BuildContext context) {
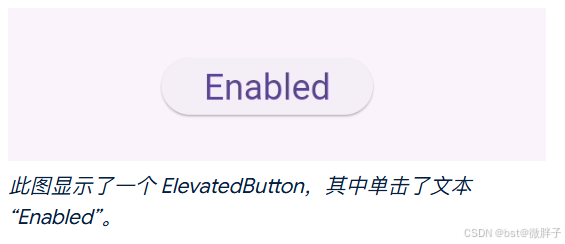
return ElevatedButton(
style: ElevatedButton.styleFrom(
textStyle: const TextStyle(fontSize: 20),
),
onPressed: () {
setState(() {
count += 1;
});
},
child: const Text('Enabled'),
);
}
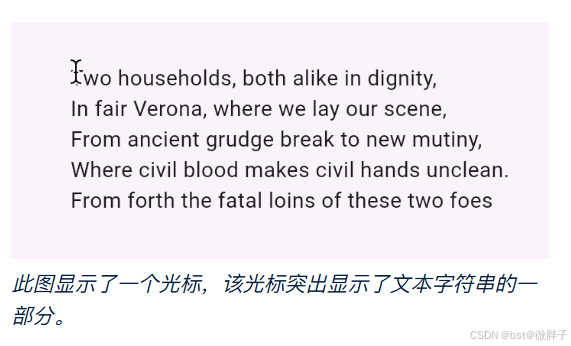
1.2、文本

Widget build(BuildContext context) {
return const SelectableText('''
Two households, both alike in dignity,
In fair Verona, where we lay our scene,
From ancient grudge break to new mutiny,
Where civil blood makes civil hands unclean.
From forth the fatal loins of these two foes''');
}
1.3、富文本


Widget build(BuildContext context) {
return RichText(
text: TextSpan(
text: 'Hello ',
style: DefaultTextStyle.of(context).style,
children: const <TextSpan>[
TextSpan(text: 'bold', style: TextStyle(fontWeight: FontWeight.bold)),
TextSpan(text: ' world!'),
],
),
);
}
1.4、TextField

1.5、Form

final GlobalKey<FormState> _formKey = GlobalKey<FormState>();
Widget build(BuildContext context) {
return Form(
key: _formKey,
child: Column(
crossAxisAlignment: CrossAxisAlignment.start,
children: <Widget>[
TextFormField(
decoration: const InputDecoration(
hintText: 'Enter your email',
),
validator: (String? value) {
if (value == null || value.isEmpty) {
return 'Please enter some text';
}
return null;
},
),
Padding(
padding: const EdgeInsets.symmetric(vertical: 16.0),
child: ElevatedButton(
onPressed: () {
// Validate returns true if the form is valid, or false otherwise.
if (_formKey.currentState!.validate()) {
// Process data.
}
},
child: const Text('Submit'),
),
),
],
),
);
}
2、复选框、Switch 和 Radio
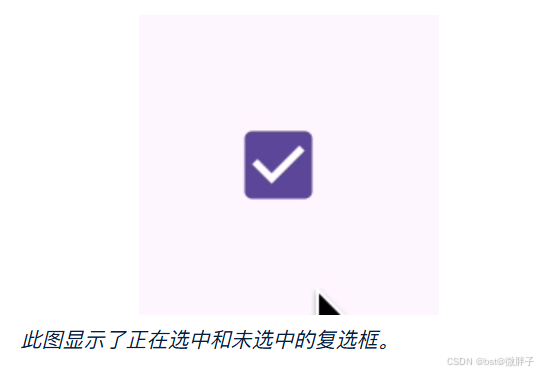
2.1、复选框
bool isChecked = false;
Widget build(BuildContext context) {
return Checkbox(
checkColor: Colors.white,
value: isChecked,
onChanged: (bool? value) {
setState(() {
isChecked = value!;
});
},
);
}
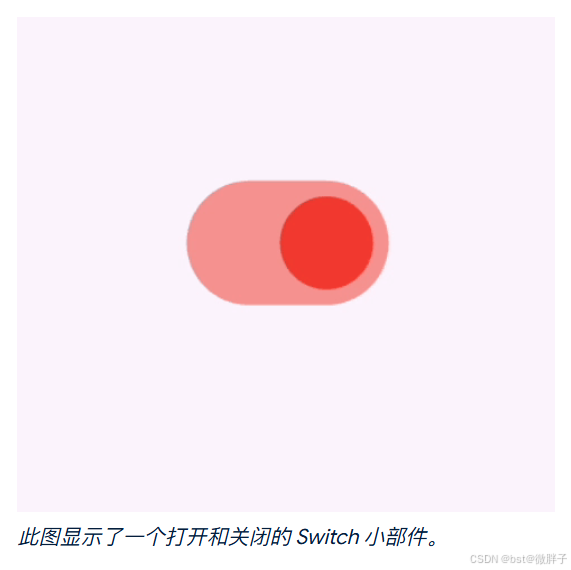
2.2、Switch
bool light = true;
Widget build(BuildContext context) {
return Switch(
// This bool value toggles the switch.
value: light,
activeColor: Colors.red,
onChanged: (bool value) {
// This is called when the user toggles the switch.
setState(() {
light = value;
});
},
);
}
2.3、Radio


enum Character { musician, chef, firefighter, artist }
class RadioExample extends StatefulWidget {
const RadioExample({super.key});
State<RadioExample> createState() => _RadioExampleState();
}
class _RadioExampleState extends State<RadioExample> {
Character? _character = Character.musician;
void setCharacter(Character? value) {
setState(() {
_character = value;
});
}
Widget build(BuildContext context) {
return Column(
children: <Widget>[
ListTile(
title: const Text('Musician'),
leading: Radio<Character>(
value: Character.musician,
groupValue: _character,
onChanged: setCharacter,
),
),
ListTile(
title: const Text('Chef'),
leading: Radio<Character>(
value: Character.chef,
groupValue: _character,
onChanged: setCharacter,
),
),
ListTile(
title: const Text('Firefighter'),
leading: Radio<Character>(
value: Character.firefighter,
groupValue: _character,
onChanged: setCharacter,
),
),
ListTile(
title: const Text('Artist'),
leading: Radio<Character>(
value: Character.artist,
groupValue: _character,
onChanged: setCharacter,
),
),
],
);
}
}
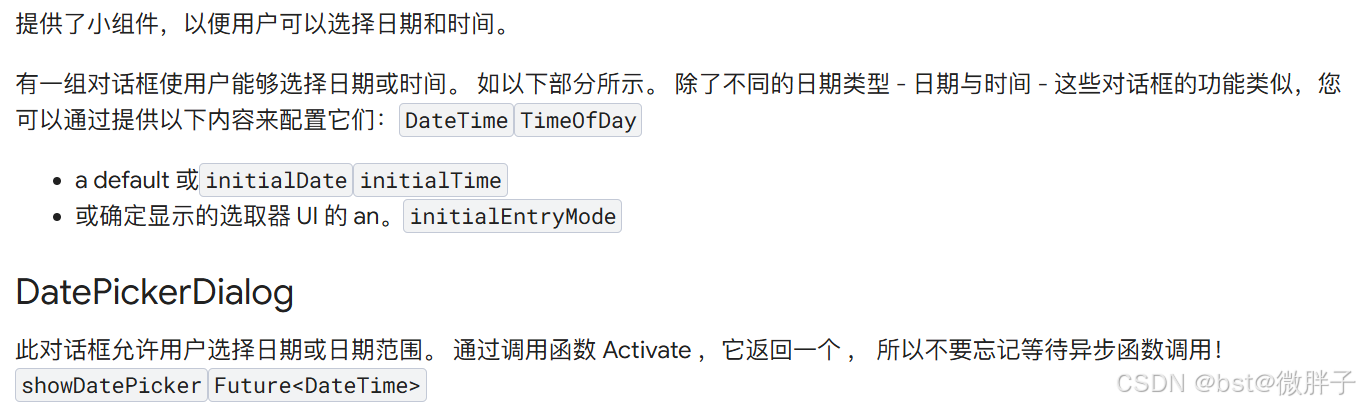
3、选择日期或时间

DateTime? selectedDate;
Widget build(BuildContext context) {
var date = selectedDate;
return Column(children: [
Text(
date == null
? "You haven't picked a date yet."
: DateFormat('MM-dd-yyyy').format(date),
),
ElevatedButton.icon(
icon: const Icon(Icons.calendar_today),
onPressed: () async {
var pickedDate = await showDatePicker(
context: context,
initialEntryMode: DatePickerEntryMode.calendarOnly,
initialDate: DateTime.now(),
firstDate: DateTime(2019),
lastDate: DateTime(2050),
);
setState(() {
selectedDate = pickedDate;
});
},
label: const Text('Pick a date'),
)
]);
}
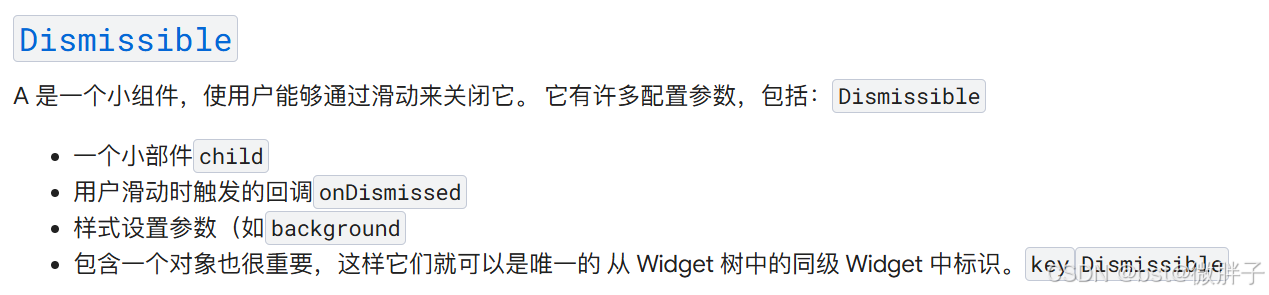
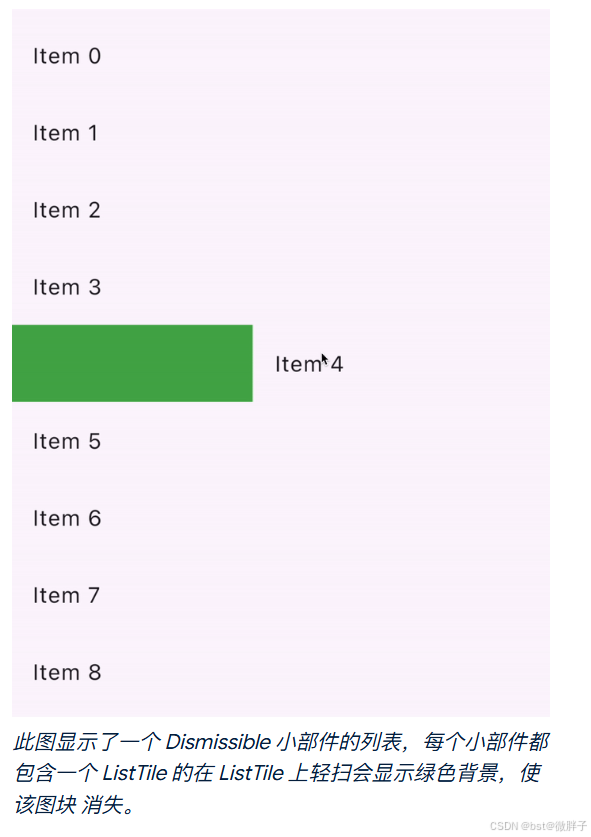
4、滑动
List<int> items = List<int>.generate(100, (int index) => index);
Widget build(BuildContext context) {
return ListView.builder(
itemCount: items.length,
padding: const EdgeInsets.symmetric(vertical: 16),
itemBuilder: (BuildContext context, int index) {
return Dismissible(
background: Container(
color: Colors.green,
),
key: ValueKey<int>(items[index]),
onDismissed: (DismissDirection direction) {
setState(() {
items.removeAt(index);
});
},
child: ListTile(
title: Text(
'Item ${items[index]}',
),
),
);
},
);
}
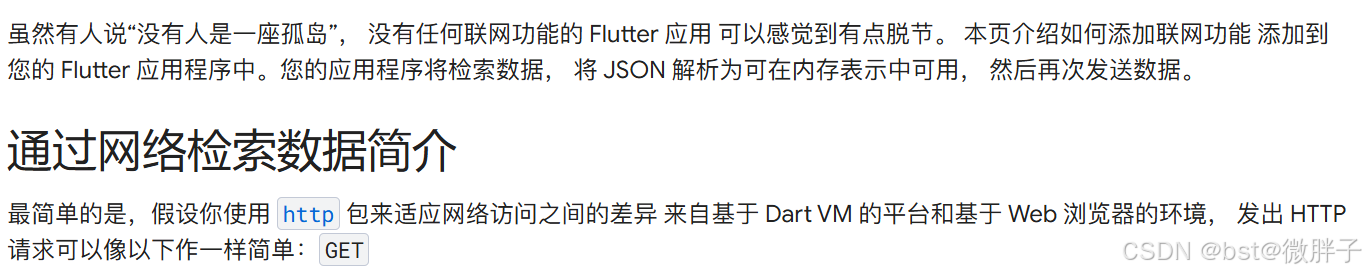
5、网络和数据
import 'package:http/http.dart' as http;

void main() async {
  var response = await http.get(
    Uri.parse('https://jsonplaceholder.typicode.com/albums/1'),
  );
  print(response.body);
}
6、本地缓存

Data? _cachedData;

Future<Data> get data async {
    // Step 1: Check whether your cache already contains the desired data
    if (_cachedData == null) {
        // Step 2: Load the data if the cache was empty
        _cachedData = await _readData();
    }
    // Step 3: Return the value in the cache
    return _cachedData!;
}
6.1、在本地内存中缓存数据

class UserRepository {
  UserRepository(this.api);

  final Api api;
  final Map<int, User?> _userCache = {};

  Future<User?> loadUser(int id) async {
    if (!_userCache.containsKey(id)) {
      final response = await api.get(id);
      if (response.statusCode == 200) {
        _userCache[id] = User.fromJson(response.body);
      } else {
        _userCache[id] = null;
      }
    }
    return _userCache[id];
  }
}
7、web端和Flutter样式控制对比
在 Flutter 中,为了保持语法简洁, “Lorem ipsum” 文本的默认样式由如下 bold24Roboto 变量定义:
TextStyle bold24Roboto = const TextStyle(
  color: Colors.white,
  fontSize: 24,
  fontWeight: FontWeight.bold,
);
7.1、文本样式与对齐

<div class="grey-box">
  Lorem ipsum
</div>

.grey-box {
    background-color: #e0e0e0; /* grey 300 */
    width: 320px;
    height: 240px;
    font: 900 24px Georgia;
}
final container = Container(
  // grey box
  width: 320,
  height: 240,
  color: Colors.grey[300],
  child: const Text(
    'Lorem ipsum',
    style: TextStyle(
      fontFamily: 'Georgia',
      fontSize: 24,
      fontWeight: FontWeight.bold,
    ),
    textAlign: TextAlign.center,
  ),
);
7.2、设置背景颜色
final container = Container(
  // grey box
  width: 320,
  height: 240,
  color: Colors.grey[300],
  child: Text(
    'Lorem ipsum',
    style: bold24Roboto,
  ),
);
final container = Container(
  // grey box
  width: 320,
  height: 240,
  decoration: BoxDecoration(
    color: Colors.grey[300],
  ),
  child: Text(
    'Lorem ipsum',
    style: bold24Roboto,
  ),
);
7.3、居中元素

final container = Container(
  // grey box
  width: 320,
  height: 240,
  color: Colors.grey[300],
  child: Center(
    child: Text(
      'Lorem ipsum',
      style: bold24Roboto,
    ),
  ),
);
7.4、设置容器宽度

final container = Container(
  // grey box
  width: 320,
  height: 240,
  color: Colors.grey[300],
  child: Center(
    child: Container(
      // red box
      width: 240, // max-width is 240
      padding: const EdgeInsets.all(16),
      decoration: BoxDecoration(
        color: Colors.red[400],
      ),
      child: Text(
        'Lorem ipsum',
        style: bold24Roboto,
      ),
    ),
  ),
);
7.5、设置绝对位置

final container = Container(
  // grey box
  width: 320,
  height: 240,
  color: Colors.grey[300],
  child: Stack(
    children: [
      Positioned(
        // red box
        left: 24,
        top: 24,
        child: Container(
          padding: const EdgeInsets.all(16),
          decoration: BoxDecoration(
            color: Colors.red[400],
          ),
          child: Text(
            'Lorem ipsum',
            style: bold24Roboto,
          ),
        ),
      ),
    ],
  ),
);
7.6、旋转元素

final container = Container(
  // grey box
  width: 320,
  height: 240,
  color: Colors.grey[300],
  child: Center(
    child: Transform(
      alignment: Alignment.center,
      transform: Matrix4.identity()..rotateZ(15 * 3.1415927 / 180),
      child: Container(
        // red box
        padding: const EdgeInsets.all(16),
        decoration: BoxDecoration(
          color: Colors.red[400],
        ),
        child: Text(
          'Lorem ipsum',
          style: bold24Roboto,
          textAlign: TextAlign.center,
        ),
      ),
    ),
  ),
);
7.7、缩放元素

final container = Container(
  // grey box
  width: 320,
  height: 240,
  color: Colors.grey[300],
  child: Center(
    child: Transform(
      alignment: Alignment.center,
      transform: Matrix4.identity()..scale(1.5),
      child: Container(
        // red box
        padding: const EdgeInsets.all(16),
        decoration: BoxDecoration(
          color: Colors.red[400],
        ),
        child: Text(
          'Lorem ipsum',
          style: bold24Roboto,
          textAlign: TextAlign.center,
        ),
      ),
    ),
  ),
);
7.8、圆角

final container = Container(
  // grey box
  width: 320,
  height: 240,
  color: Colors.grey[300],
  child: Center(
    child: Container(
      // red circle
      padding: const EdgeInsets.all(16),
      decoration: BoxDecoration(
        color: Colors.red[400],
        borderRadius: const BorderRadius.all(
          Radius.circular(8),
        ),
      ),
      child: Text(
        'Lorem ipsum',
        style: bold24Roboto,
      ),
    ),
  ),
);
7.8、文字间距调整

final container = Container(
  // grey box
  width: 320,
  height: 240,
  color: Colors.grey[300],
  child: Center(
    child: Container(
      // red box
      padding: const EdgeInsets.all(16),
      decoration: BoxDecoration(
        color: Colors.red[400],
      ),
      child: const Text(
        'Lorem ipsum',
        style: TextStyle(
          color: Colors.white,
          fontSize: 24,
          fontWeight: FontWeight.w900,
          letterSpacing: 4,
        ),
      ),
    ),
  ),
);


 1103
1103

 被折叠的 条评论
为什么被折叠?
被折叠的 条评论
为什么被折叠?
 到【灌水乐园】发言


