


一、SpringBoot中Java代码方式配置
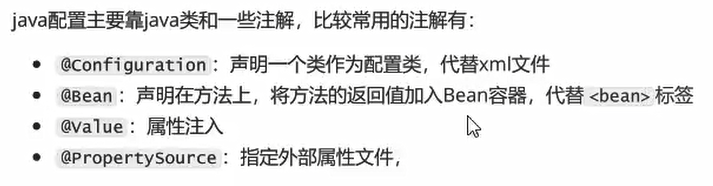
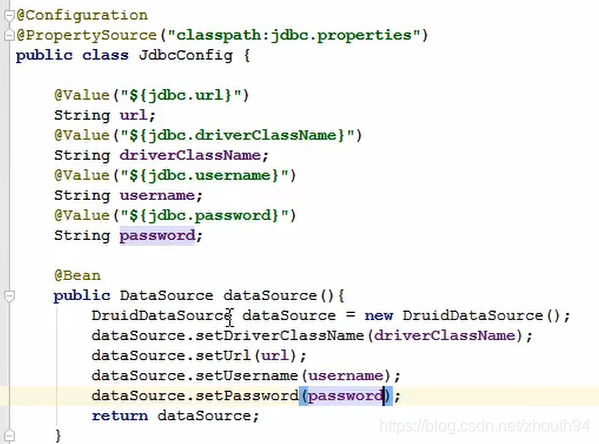
1、使用@Value获取配置文件的配置项并结合@Bean注册组件到Spring
2、用java代码方式配置来实现连接池配置
(1)
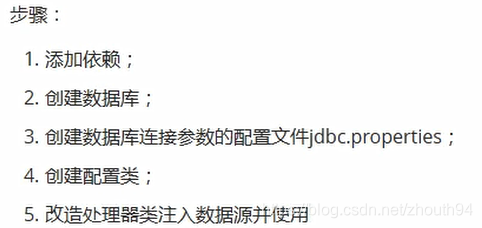
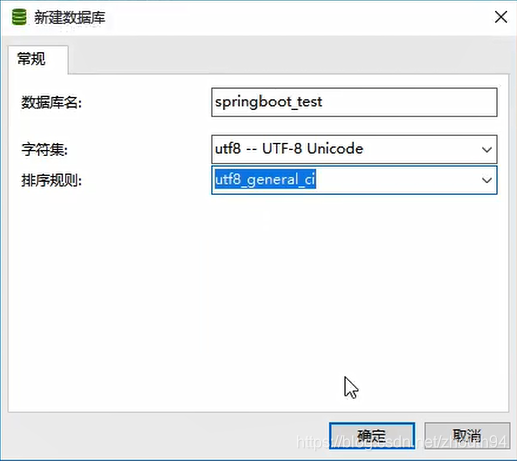
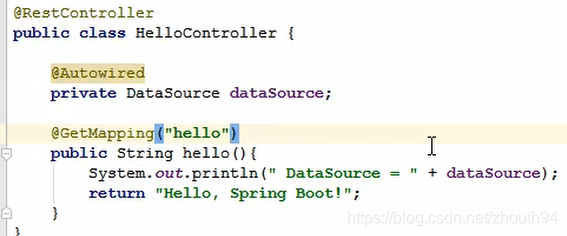
(2)
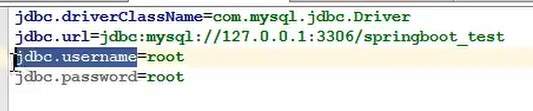
(3)jdbc.properties
(4)JdbcConfig.java
(5)
3、SpringBoot属性注入方式
使用@ConfigurationProperties实现SpringBoot中application.properties / application.yml配置文件中配置项的读取和应用
(1)
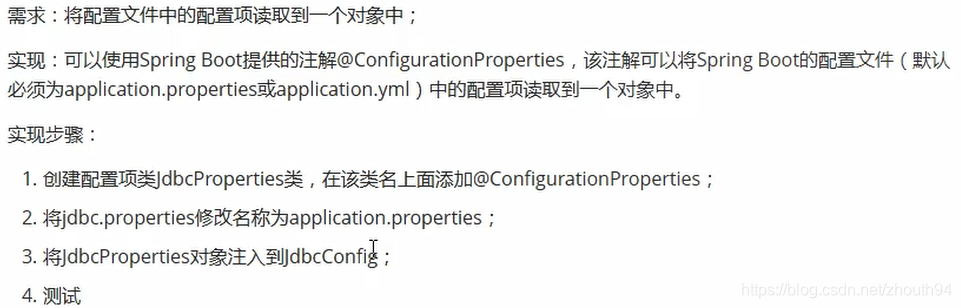
(2) 创建配置项类 JdbcProperties

(3) 将配置项类JdbcProperties 注入到配置类 JdbcConfig中,使用注解 @EnableConfigurationProperties
说明:如果一个配置类只使用了@ConfigurationProperties注解,而没有使用@Component,那么在IOC容器中是获取不到properties 配置文件转化的bean。 @EnableConfigurationProperties 相当于把使用 @ConfigurationProperties 的类进行了一次注入。


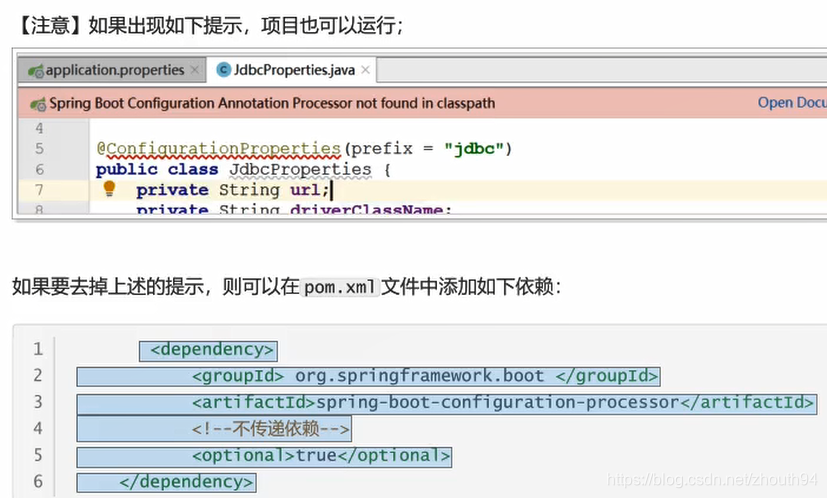
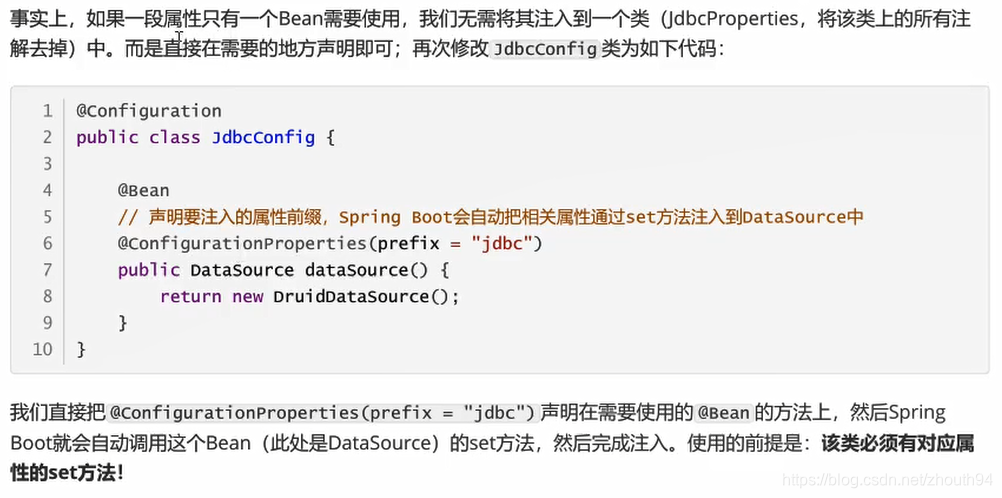
4、更优雅的注入 : @ConfigurationProperties
自动根据匹配到的前缀,对返回类型的类变量 跟 配置项前缀之后的名称一致的,会调用属性的set方法自动设置。
二、SpringBoot中多个yml文件配置
1、说明
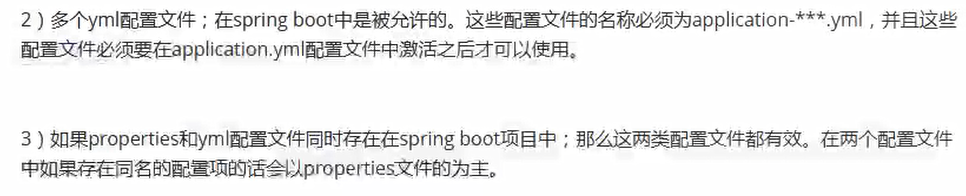
2、 激活多个yml配置文件


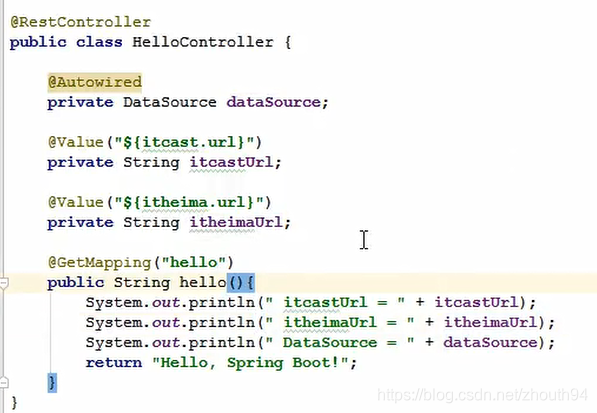
3、读取配置文件
使用@Value读取单个属性,更加方便
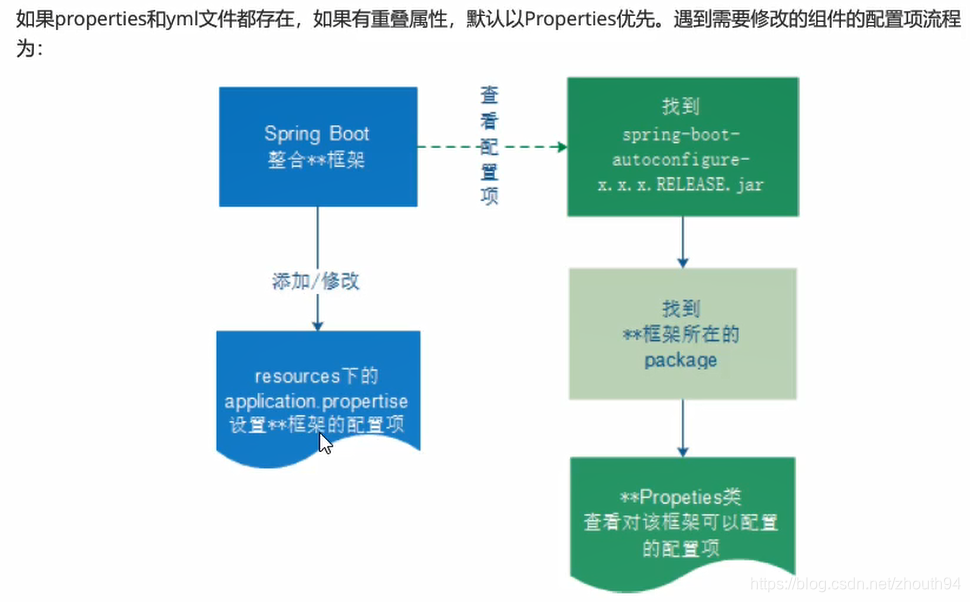
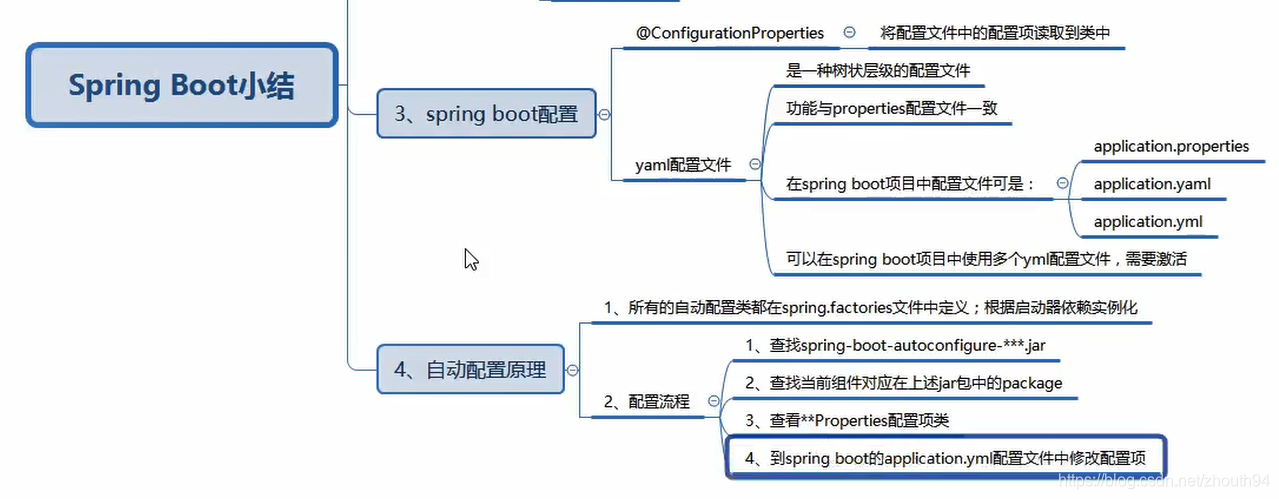
三、SpringBoot自动配置原理
1、若需要对组件配置项进行修改,流程:

四、lombok应用
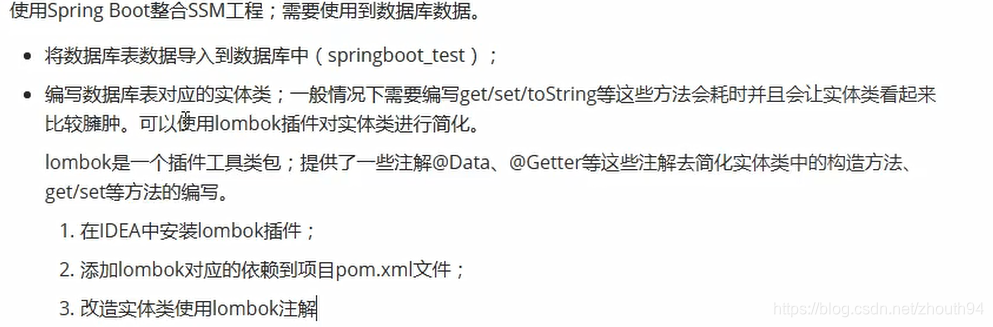
1、使用lombok的注解实现poji类的简化
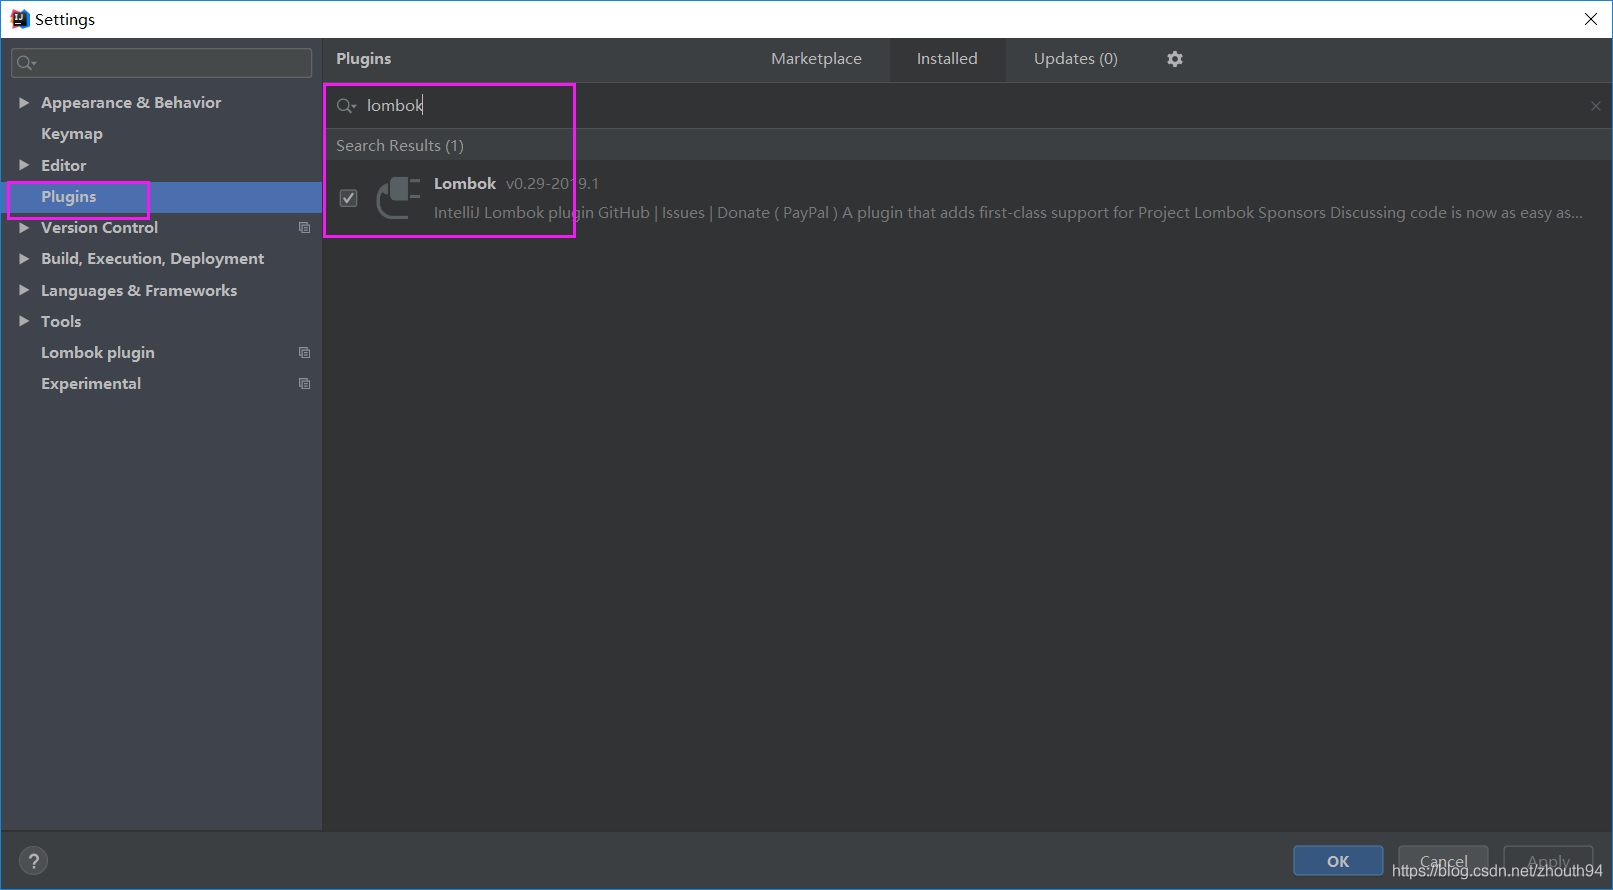
(1)安装lombok插件
(2)添加lombok依赖
  <!--引入lombok-->
        <dependency>
            <groupId>org.projectlombok</groupId>
            <artifactId>lombok</artifactId>
            <version>1.18.4</version>
            <scope>provided</scope>
        </dependency>
(3)编写
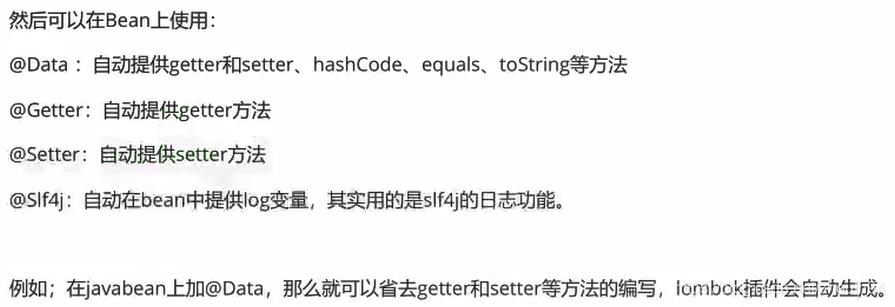
@Data //在编译阶段会根据注解自动生成对应的方法;@Data包含get/set/hashCode/toString等
@Slf4j
@AllArgsConstructor
@NoArgsConstructor
public class Department implements Serializable {
    private Integer id;
    private String departmentName;
}
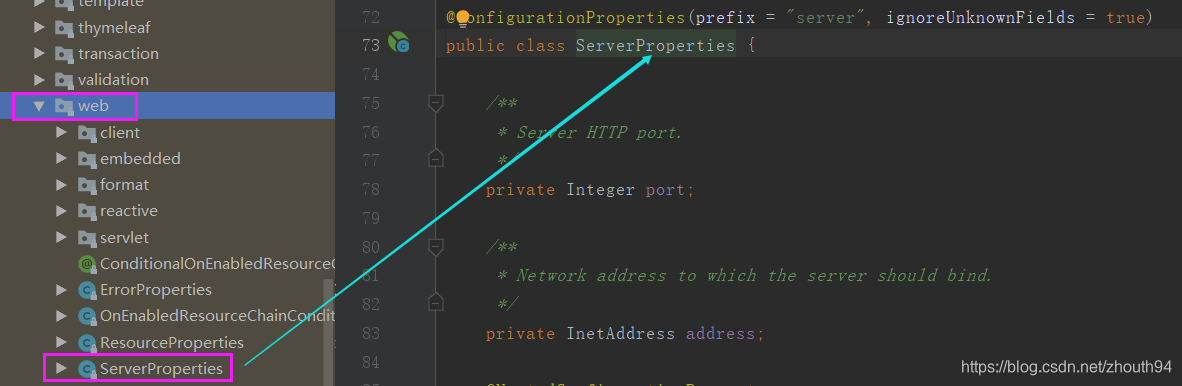
五、SpringBoot整合SpringMVC端口和静态资源
(1)
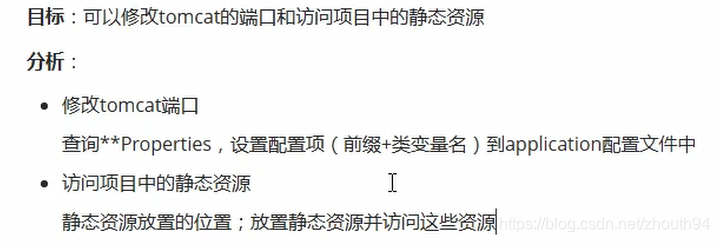
(2)查看自动整合jar包 -> ServerProperties (XXXProperties)
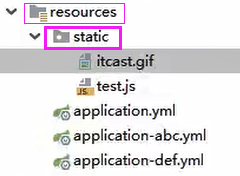
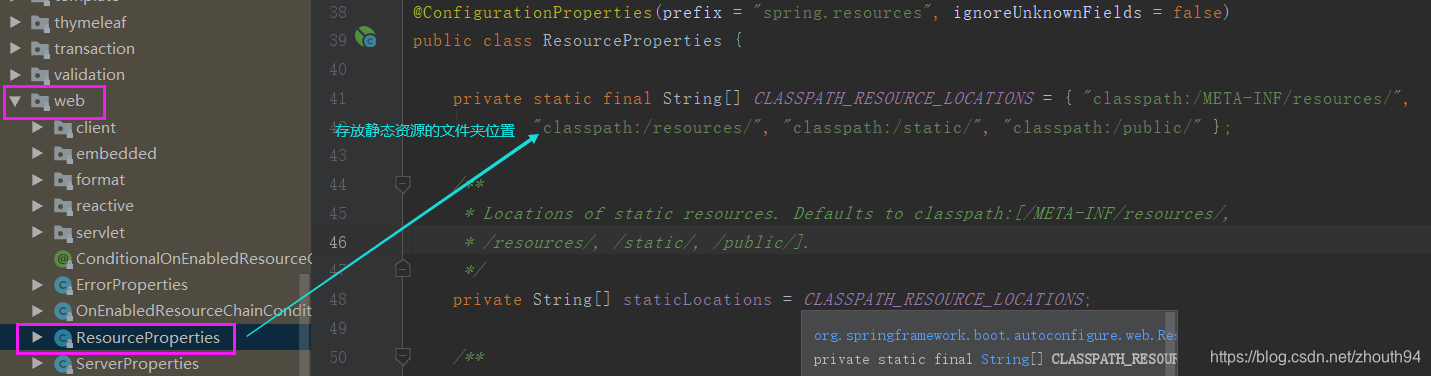
(3) 查看 ResourceProperties

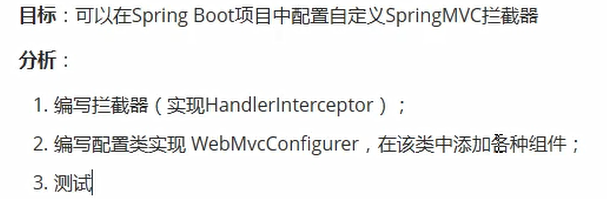
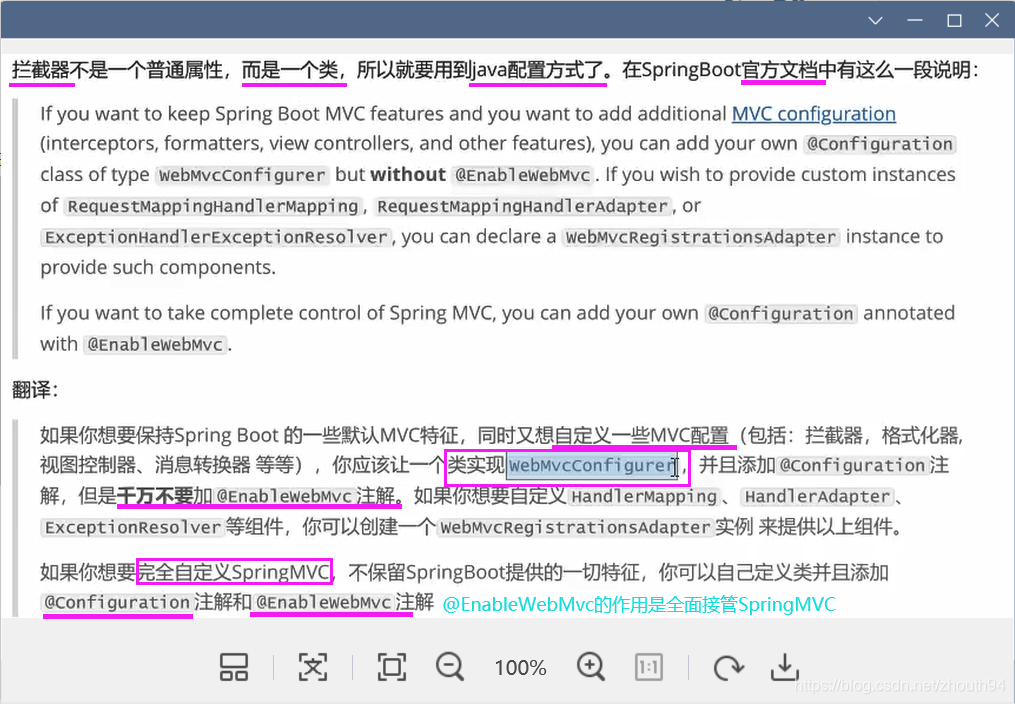
六、SpringBoot整合SpringMVC拦截器
1、步骤
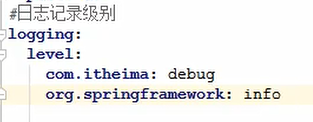
2、配置自定义SpringMVC拦截器的规则
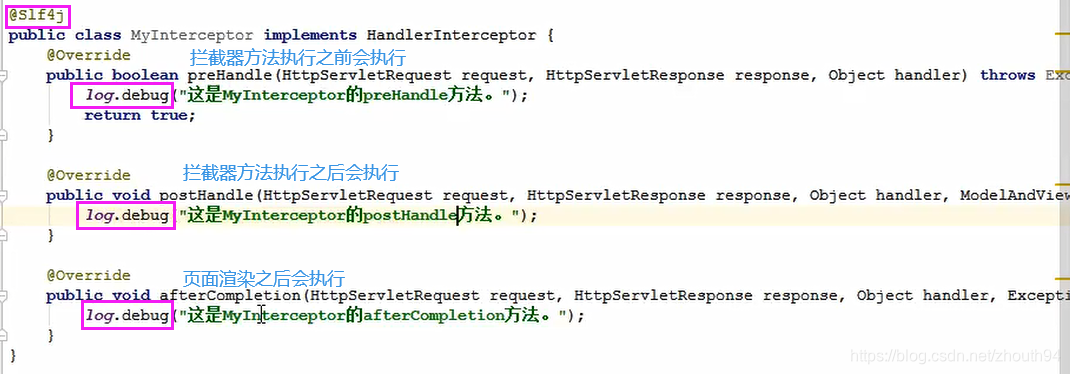
3、 编写一个类实现HandlerInterceptor,成为一个自定义的拦截器类
@Slf4j //自动定义Log变量
public class LoginHandlerInterceptor implements HandlerInterceptor {
    @Override
    //目标方法执行之前
    public boolean preHandle(HttpServletRequest request, HttpServletResponse response, Object handler) throws Exception {
        Object user = request.getSession().getAttribute("loginUser");
        if(user == null) {
            //未登录
            request.setAttribute("msg", "没有权限请先登录");
            request.getRequestDispatcher("/index.html").forward(request, response);
            return false;
        }else {
            //登录,放行请求
            return true;
        }
} 
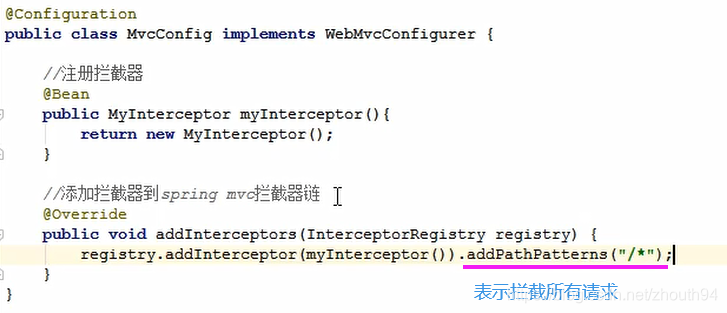
4、编写配置类 ,实现WebMvcConfigure,完成拦截器的注册和添加
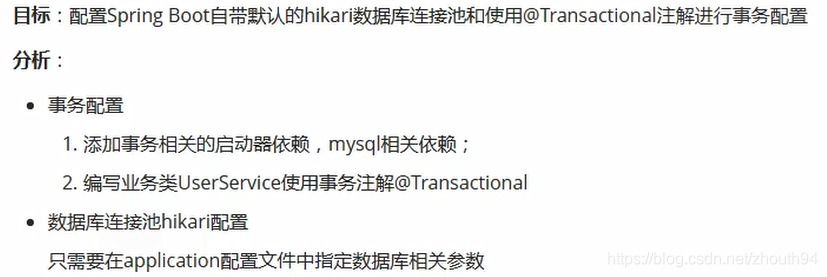
七、SpringBoot整合事务和连接池
1、分析
2、添加依赖
<dependency>
            <groupId>org.springframework.boot</groupId>
            <artifactId>spring-boot-starter-jdbc</artifactId>
        </dependency>
3、

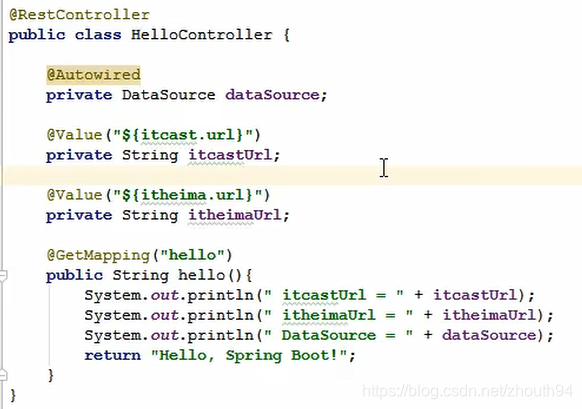
4、可以自动注入DataSource
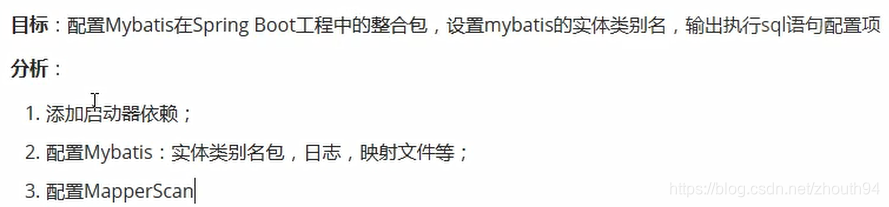
八、SpringBoot整合Mybatis
1、分析
2、添加Mybatis依赖
        <dependency>
            <groupId>org.mybatis.spring.boot</groupId>
            <artifactId>mybatis-spring-boot-starter</artifactId>
            <version>2.1.2</version>
        </dependency>
3、application.yml 中配置Mybatis
mybatis:
  config-location: classpath:mybatis/mybatis-config.xml
  mapper-locations: classpath:mybatis/mapper/*.xml # 映射文件
  type-aliases-package: com.dhu.pojo  # 配置实体类别名包扫描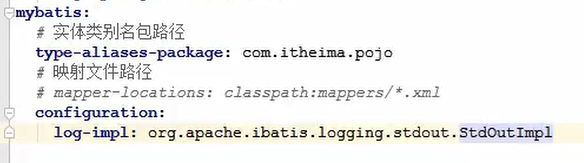
4、@MapperScan : 扫描mybatis所有的mapper接口
@SpringBootApplication
@MapperScan(basePackages = "com.dhu.mapper")
public class SpringbootDataMybatisApplication {
    public static void main(String[] args) {
        SpringApplication.run(SpringbootDataMybatisApplication.class, args);
    }

}
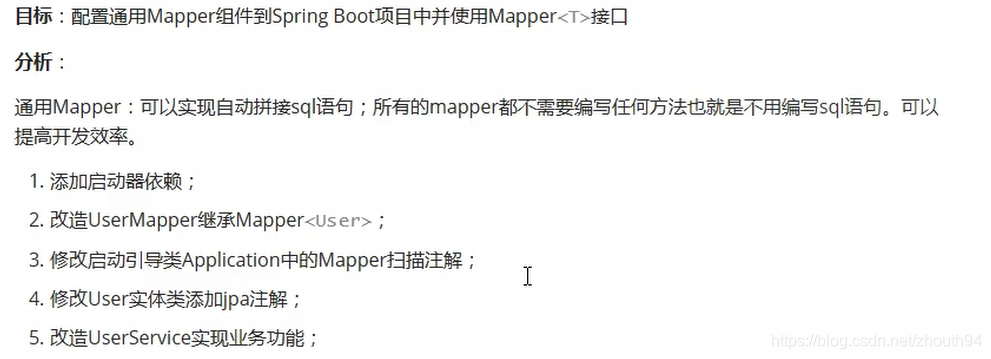
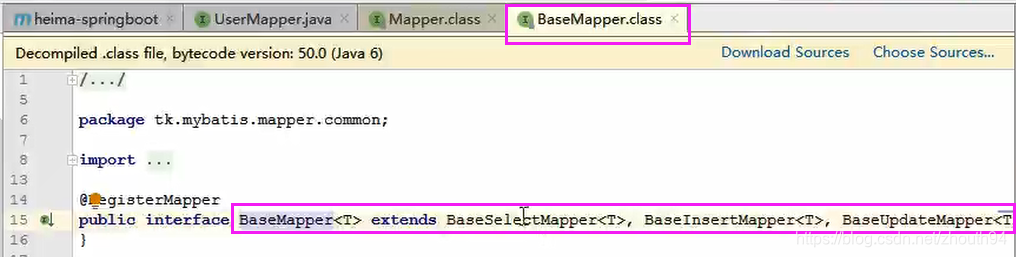
九、SpringBoot整合通用Mapper
1、分析
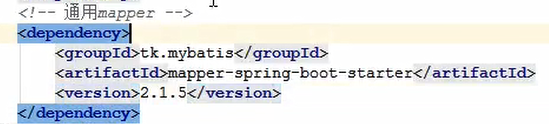
2、添加通用Mapper依赖
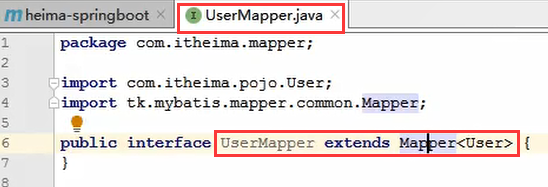
3、改造UserMapper,继承Mapper<User>
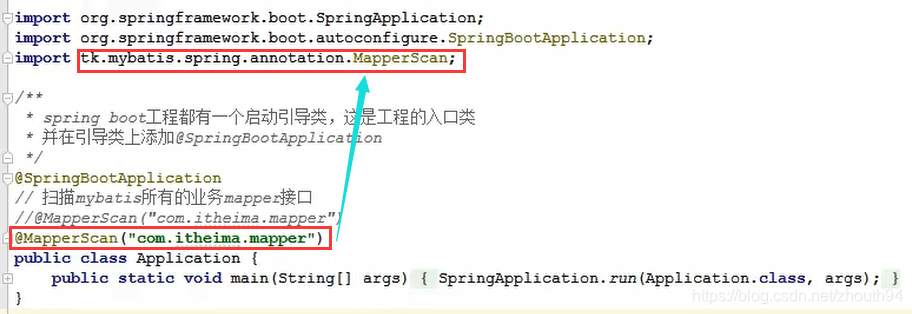
4、修改启动引导类Application中的通用Mapper的mapper扫描注解
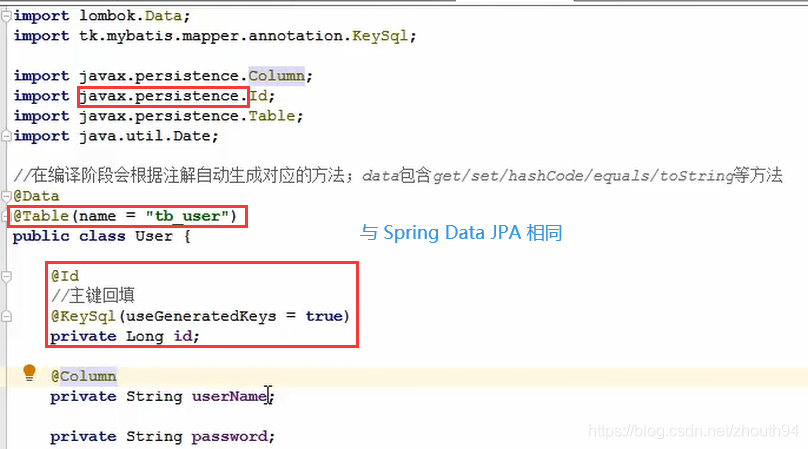
5、User类添加JPA注解
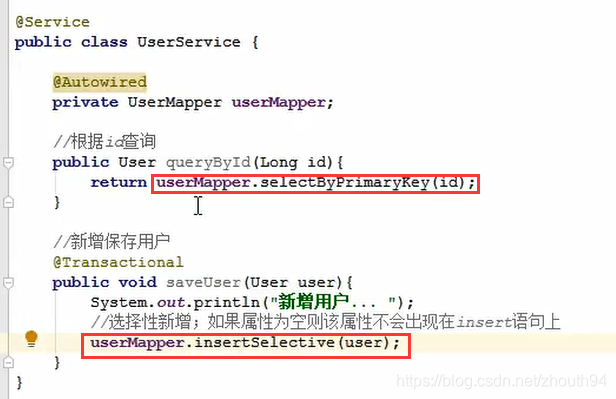
6、修改UseService,完成业务方法
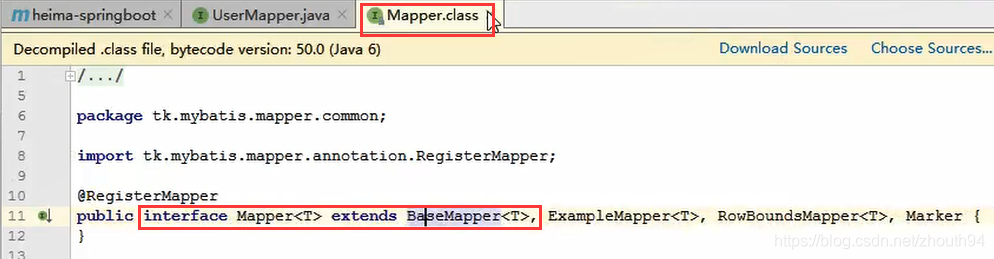
我们并没有编写mapper类中的方法,而是调用通用mapper中的接口方法
十、SpringBoot整合测试
1、分析

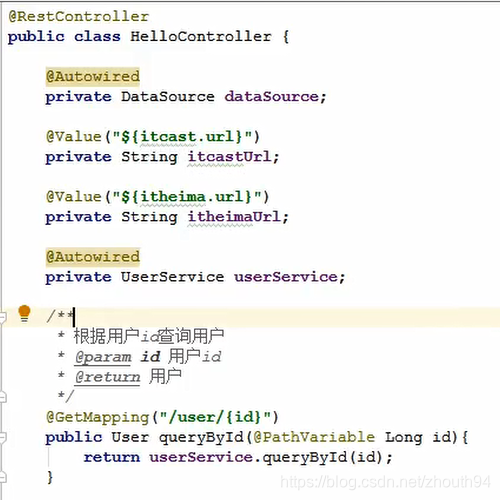
2、编写Controller
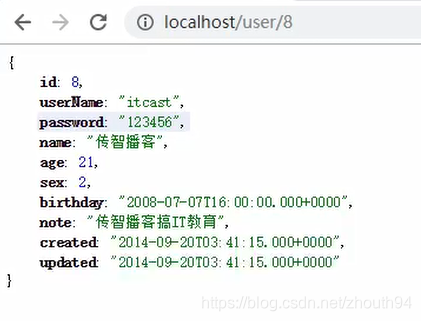
3、运行,并显示Json格式字符串,使用JSONView插件
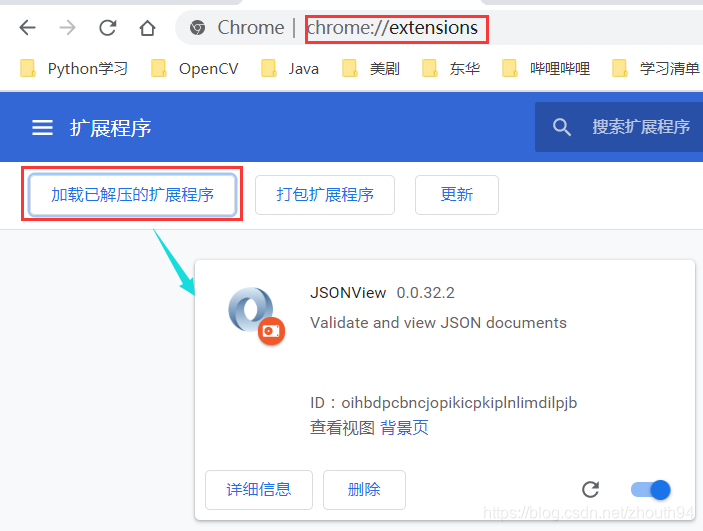
4、Chrome JSONView插件安装
(1)下载链接:https://github.com/gildas-lormeau/JSONView-for-Chrome
(2)加载目录:D:\ORACLE\JAVA26\JSONView-for-Chrome-master\WebContent
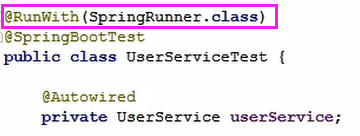
十一、SpringBoot整合Junit
1、
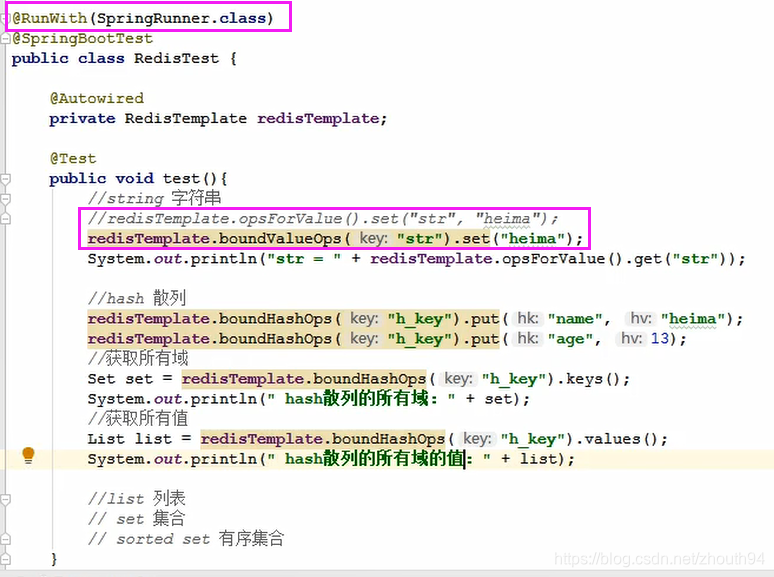
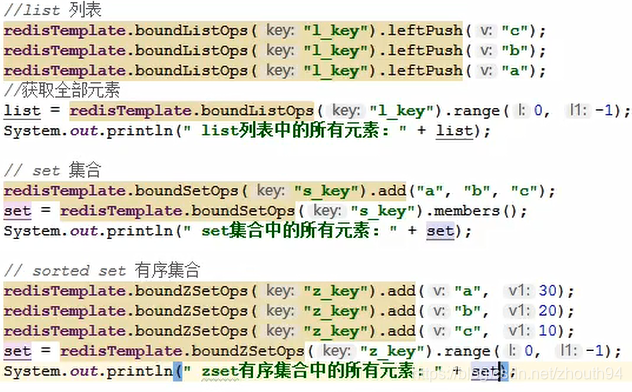
十二、SpringBoot整合Redis
1、分析
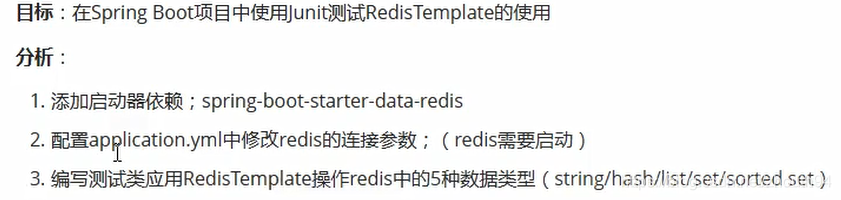
2、修改redis配置文件
spring.redis.host=192.168.93.101
spring.redis.port=6379
3、操作
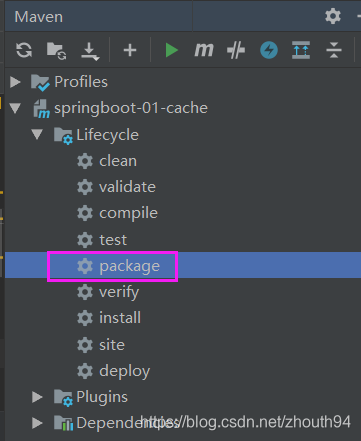
十二、SpringBoot项目部署
1、

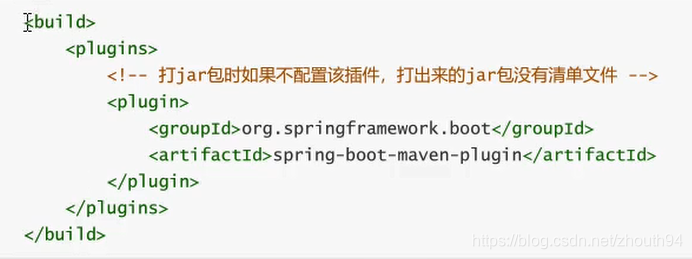
2、执行package命令
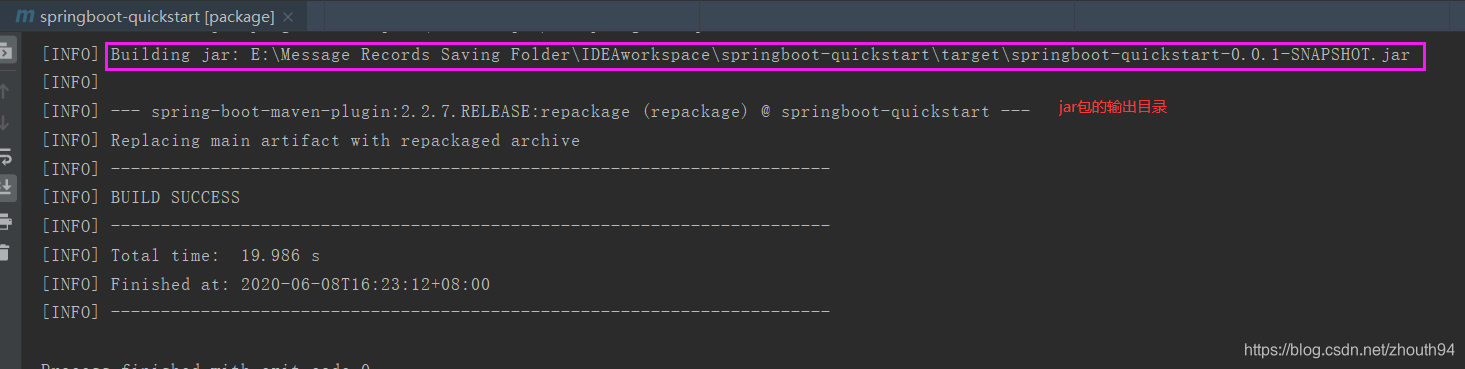
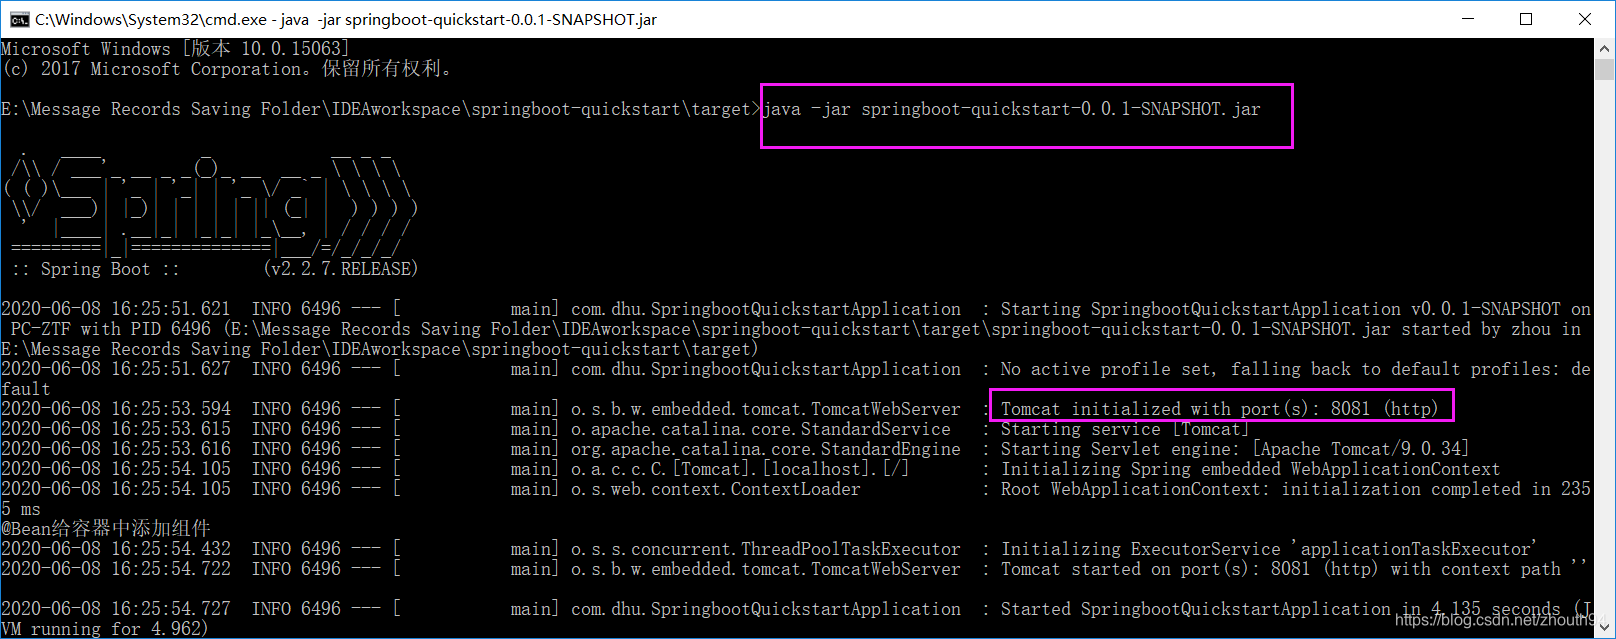
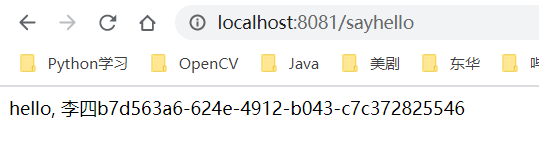
3、使用java -jar 命令启动springboot项目,部署
4、


 21万+
21万+

 被折叠的 条评论
为什么被折叠?
被折叠的 条评论
为什么被折叠?
 到【灌水乐园】发言


