


 本文详细介绍了如何使用Maven搭建SpringMVC项目,包括配置pom.xml以引入必要依赖,创建控制器类,设置web.xml及spring-servlet.xml配置,实现从请求到响应的完整流程。
在文章:https://www.jianshu.com/p/dda8e695405e
中已经介绍了maven的使用,接下来再了解一下spring mvc的使用。
学习地址:
https://blog.youkuaiyun.com/weixin_38070406/article/details/80866036
https://www.cnblogs.com/withscorpion/p/5621838.html
-
新建一个maven项目:

- 修改maven配置,加入依赖:
pom.xml
<project xmlns="http://maven.apache.org/POM/4.0.0" xmlns:xsi="http://www.w3.org/2001/XMLSchema-instance" xsi:schemaLocation="http://maven.apache.org/POM/4.0.0 http://maven.apache.org/xsd/maven-4.0.0.xsd">
  <modelVersion>4.0.0</modelVersion>
  <groupId>com.iotzzh.hellomvc</groupId>
  <artifactId>hellomvc</artifactId>
  <version>0.0.1-SNAPSHOT</version>
  <packaging>war</packaging>

  <dependencies>
    <dependency>
      <groupId>junit</groupId>
      <artifactId>junit</artifactId>
      <version>3.8.1</version>
      <scope>test</scope>
    </dependency>

    <dependency>
        <groupId>org.springframework</groupId>
        <artifactId>spring-webmvc</artifactId>
    </dependency>

    <dependency>
        <groupId>commons-lang</groupId>
        <artifactId>commons-lang</artifactId>
        <version>${commons-lang.version}</version>
    </dependency>

    <dependency>
        <groupId>org.slf4j</groupId>
        <artifactId>slf4j-log4j12</artifactId>
        <version>${slf4j.version}</version>
        <exclusions>
            <exclusion>
                <artifactId>slf4j-api</artifactId>
                <groupId>org.slf4j</groupId>
            </exclusion>
        </exclusions>
    </dependency>
    <dependency>
        <groupId>javax.servlet</groupId>
        <artifactId>servlet-api</artifactId>
        <version>2.5</version>
        <scope>provided</scope>
    </dependency>
  </dependencies>

  <properties>
      <commons-lang.version>2.6</commons-lang.version>
      <slf4j.version>1.7.21</slf4j.version>
      <spring.version>4.3.0.RELEASE</spring.version>
        <project.build.sourceEncoding>UTF-8</project.build.sourceEncoding>

<maven.compiler.source>1.8</maven.compiler.source>
<maven.compiler.target>1.8</maven.compiler.target>
  </properties>

  <dependencyManagement>
      <dependencies>
          <dependency>
              <groupId>org.springframework</groupId>
              <artifactId>spring-framework-bom</artifactId>
              <version>${spring.version}</version>
              <type>pom</type>
              <scope>import</scope>
          </dependency>
      </dependencies>


  </dependencyManagement>

  <build>
        <plugins>
            <plugin>
                <groupId>org.apache.tomcat.maven</groupId>
                <artifactId>tomcat7-maven-plugin</artifactId>
                <version>2.2</version>
                <executions>
                    <execution>
                        <phase>package</phase>
                        <goals>
                            <goal>run</goal>
                        </goals>
                    </execution>
                </executions>
            </plugin>

        </plugins>
    </build>


</project>
- 在Java Resources,src/main/java中新建com.iotzzh.controller.HelloWorldController.java
package com.iotzzh.controller;

import org.springframework.stereotype.Controller;
import org.springframework.web.bind.annotation.RequestMapping;

@Controller
@RequestMapping("/hello")

public class HelloWorldController {

    @RequestMapping("/helloworld")
    public String helloworld(){
        System.out.println("nihao");
        return "hello world";
    }

}
- 在src/main/java/webapp/WEB-INF下新建web.xml配置如下:
<?xml version="1.0" encoding="UTF-8"?>
<!--
 Licensed to the Apache Software Foundation (ASF) under one or more
  contributor license agreements.  See the NOTICE file distributed with
  this work for additional information regarding copyright ownership.
  The ASF licenses this file to You under the Apache License, Version 2.0
  (the "License"); you may not use this file except in compliance with
  the License.  You may obtain a copy of the License at

      http://www.apache.org/licenses/LICENSE-2.0

  Unless required by applicable law or agreed to in writing, software
  distributed under the License is distributed on an "AS IS" BASIS,
  WITHOUT WARRANTIES OR CONDITIONS OF ANY KIND, either express or implied.
  See the License for the specific language governing permissions and
  limitations under the License.
-->
<web-app xmlns="http://xmlns.jcp.org/xml/ns/javaee"
  xmlns:xsi="http://www.w3.org/2001/XMLSchema-instance
            http://www.springmodules.org/schema/cache/springmodules-cache.xsd
            http://www.springmodules.org/schema/cache/springmodules-ehcache.xsd"
  xsi:schemaLocation="http://xmlns.jcp.org/xml/ns/javaee
                      http://xmlns.jcp.org/xml/ns/javaee/web-app_4_0.xsd"
  version="4.0"
  metadata-complete="true">

  <display-name>hello world</display-name>
  <description>
     Welcome to my world
  </description>

  <servlet>
        <servlet-name>spring</servlet-name>
        <servlet-class>org.springframework.web.servlet.DispatcherServlet</servlet-class>
    </servlet>

    <servlet-mapping>
        <servlet-name>spring</servlet-name>
        <url-pattern>/</url-pattern>
    </servlet-mapping>

</web-app>
以上配置,默认它会找serlet-name-servlet.xml,即我们配置的spring-servlet.xml
- 我们在WEB-INF下新建spring-servlet.xml,这就是springmvc的配置文件,当然我们也可以修改web.xml中的配置来把它改为通用的spring-mvc.xml
这里我们不改,就用spring-servlet.xml,代码如下:
<?xml version="1.0" encoding="UTF-8"?>
<beans xmlns="http://www.springframework.org/schema/beans"
   xmlns:xsi="http://www.w3.org/2001/XMLSchema-instance" xmlns:context="http://www.springframework.org/schema/context"
   xmlns:tx="http://www.springframework.org/schema/tx" xmlns:mvc="http://www.springframework.org/schema/mvc"
   xsi:schemaLocation="http://www.springframework.org/schema/beans
      http://www.springframework.org/schema/beans/spring-beans.xsd
      http://www.springframework.org/schema/context
      http://www.springframework.org/schema/context/spring-context.xsd
      http://www.springframework.org/schema/tx
      http://www.springframework.org/schema/tx/spring-tx.xsd
      http://www.springframework.org/schema/mvc
      http://www.springframework.org/schema/mvc/spring-mvc.xsd">

   <!-- 配置扫描的包 -->
   <context:component-scan base-package="com.iotzzh.controller" />

   <!-- 注册HandlerMapper、HandlerAdapter两个映射类 -->
   <mvc:annotation-driven />

   <!-- 访问静态资源 -->
   <mvc:default-servlet-handler />

   <!-- 视图解析器 -->
   <bean
       class="org.springframework.web.servlet.view.InternalResourceViewResolver">
       <property name="prefix" value="/WEB-INF/view/"></property>
       <property name="suffix" value=".jsp"></property>
   </bean>

</beans>
视图解析器中配置了,所以我们在WEB-INF中新建view文件夹,再建hello.jsp
<%@ page language="java" contentType="text/html; charset=ISO-8859-1"
pageEncoding="ISO-8859-1"%>
<!DOCTYPE html>
<html>
<head>
<meta charset="ISO-8859-1">
<title>Insert title here</title>
</head>
<body>
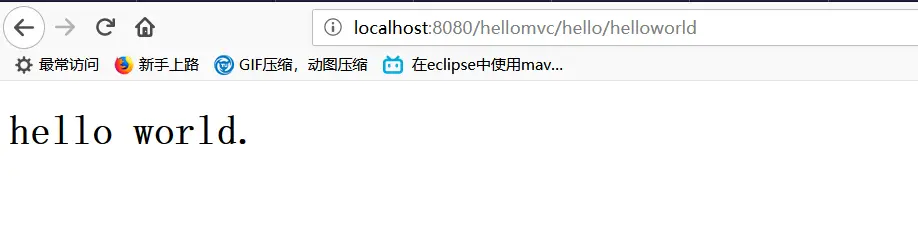
<h1>hello world.</h1>
</body>
</html>
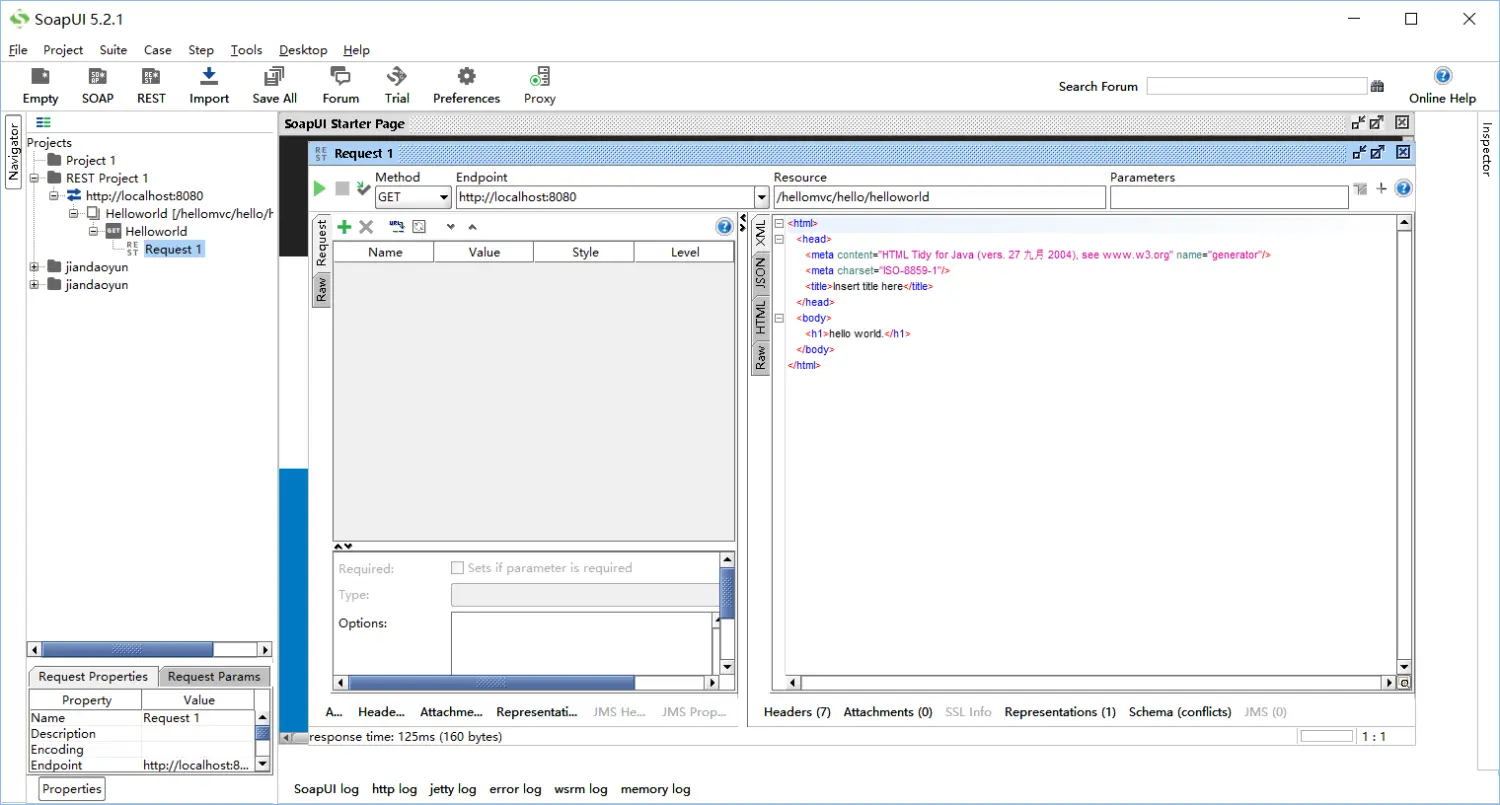
在网页中输入:http://localhost:8080/hellomvc/hello/helloworld,页面就会出现hello world。
或者在postman中输入,它会返回html代码。
值得注意的是:这里要加上项目名称springtest,否则会出现404.
show time:


 644
644

 被折叠的 条评论
为什么被折叠?
被折叠的 条评论
为什么被折叠?
 到【灌水乐园】发言


