项目首页需要展示一个表格滚动区域,特此来记录一下
HTML
<div class="table-box" @mouseenter="mouseenter" @mouseleave="mouseleave">
	<el-table
		:data="tableList"
		border
		height="400px"
		v-loading="tableLoading">

		<el-table-column prop="id" label="编号">
			<template slot-scope="scope">
				<el-link type="primary" @click="openNewTab(scope.row)">
					{{scope.row.id}}
				</el-link>
			</template>
		</el-table-column>

		<el-table-column prop="name" label="名称" show-overflow-toolltip></el-table-column>

		<el-table-column prop="desc" label="描述" show-overflow-toolltip></el-table-column>

		<el-table-column prop="createTime" label="创建时间" show-overflow-toolltip>
		</el-table-column>

		<el-table-column prop="createBy" label="创建人" show-overflow-toolltip>
		</el-table-column>
	</el-table>
</div>
JS
data(){
return {
tableLoading : false,
timer: null,
tableList: []
}
},
watch: {
currentData: {
handler(val){
this.clearTimer()
if(val){
this.getList()
}
}
}
},
beforeDestory(){
this.clearTimer()
},
methods: {
clearTimer(){
this.mouseenter()
this.tableList = [];
},
async getList(){
this.tableLoading = true;
let params = {
page: {
current: 1,
size: 100
},
vo: {
currentData: this.currentData
}
}
const res = await installServer.getDetailList(params);
this.tableLoading = false;
if(res.success){
this.clearTime()
this.tableList = res.data.resords || [];
this.$nextTick(()=>{
if(this.dataList.length) this.handleScroll(true)
})
}
},
handleScroll(isReset){
this.$nextTick(()=>{
const EL = document.getElementsByClassName('el-table__body-wrapper')[0];
const innerEL = document.getElementsByClassName('el-table__body')[0];
const clientHeight = EL.clientHeight;
const innerHeight = innerEL.clientHeight;
if(isReset) EL.scrollTop = 0;
if(innerHeight > clientHeight ){
let scrollTop = EL.scrollTop;
this.timer = setInterval(()=>{
if(scrollTop < innerHeight - clientHeight ){
scrollTop += parseFloat((1 / window.devicePixelRatio).toFixed(2)) + 0.01;
}else {
scrollTop = 0;
}
EL.scrollTop = scrollTop;
}, 50)
}
})
},
mouseenter(){
if(this.timer) clearInterval(this.timer);
this.timer = null;
},
mouseleave(){
if(this.tableList.length && !this.timer){
this.handleScroll()
}
}
}
CSS(修改滚动条样式)
.el-table__body-wrapper {
&::-webkit-scrollbar {
width: 6px !important;
height: 6px !important;
}
&::-webkit-scrollbar-thumb {
background-color: #ccc;
border-radius: 3px;
}
&::-webkit-scrollbar-track {
background-color: transparent !important;
}
}
.el-table__body-wrapper .el-table__body {
width: 100% !important;
}
.el-tablecolgroup col[name='gutter'] {
width: 6px !important;
}
.el-table__header-wrapper .el-table__header tr th {
background-color: #5197E6 !important;
color: #fff;
border-color: #5ca7fd;
}
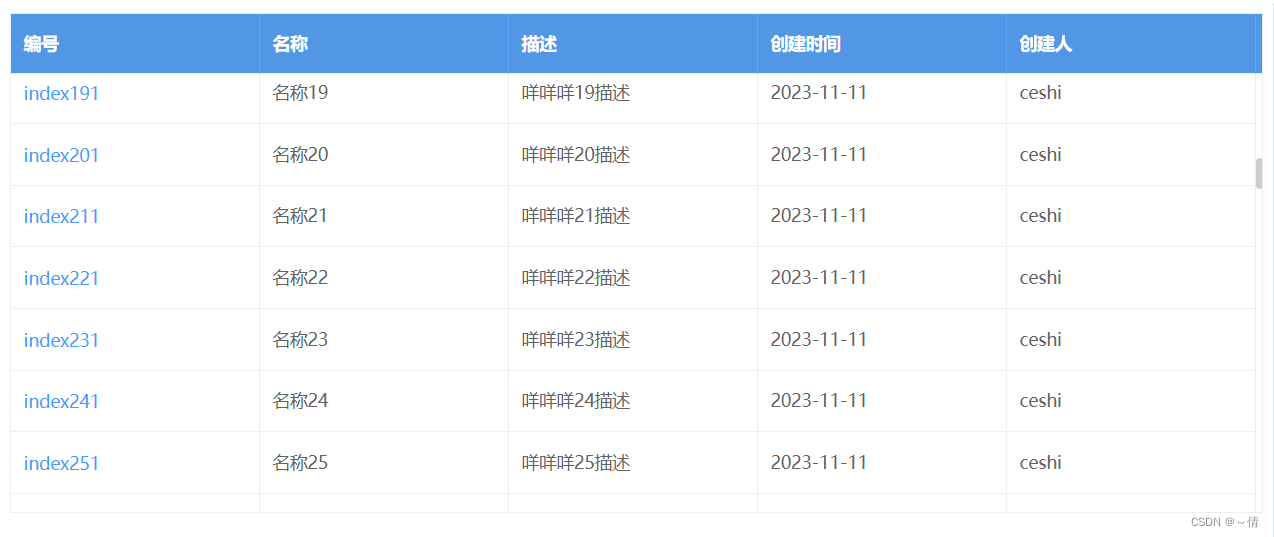


 文章介绍了如何在项目首页使用ElementUI构建一个带有动态滚动功能的表格,通过监听鼠标事件控制表格内容的滚动,以及相应的CSS样式调整。


 4376
4376

 被折叠的 条评论
为什么被折叠?
被折叠的 条评论
为什么被折叠?
 到【灌水乐园】发言


