


上一篇我们简单说了一下netty的基本操作,其实在netty底层,提供了大量的支持服务端和客户端进行通讯的组件,比如像http协议,支持webscoket的整合等,可以很方便的进行使用,当然,我们也可以单纯的使用websocket进行客户端和服务端的通信,可根据业务场景和自己项目的情况进行选择,下面来实现一个通过页面发送消息到netty服务端,再有服务端推送消息给客户端的功能,
整个部分分为2步,我们先进行服务端代码编写,根据上一篇我们使用的经验,服务端启动主要包括三个类,1、初始化连接配置 2、自定义childHandler 3、自定义业务逻辑处理
1、pom依赖文件:
        <dependency>
			<groupId>io.netty</groupId>
			<artifactId>netty-all</artifactId>
			<version>5.0.0.Alpha2</version>
			<!-- <version>4.1.24.Final</version> -->
		</dependency>
2、netty初始化启动配置线程组信息:
package com.congge.sort.netty.day2;

import io.netty.bootstrap.ServerBootstrap;
import io.netty.channel.ChannelFuture;
import io.netty.channel.EventLoopGroup;
import io.netty.channel.nio.NioEventLoopGroup;
import io.netty.channel.socket.nio.NioServerSocketChannel;

/**
 * 服务端
 * @author asus
 *
 */
public class WssServer {

	public static void main(String[] args) {

		EventLoopGroup mainGroup = new NioEventLoopGroup();
		EventLoopGroup subGroup = new NioEventLoopGroup();

		try {
			ServerBootstrap server = new ServerBootstrap();
			server.group(mainGroup, subGroup)
					.channel(NioServerSocketChannel.class)
					.childHandler(new WssServerInitialzer());	//添加自定义初始化处理器
			ChannelFuture future = server.bind(8087).sync();
			future.channel().closeFuture().sync();

		} catch (Exception e) {
			e.printStackTrace();
		}finally {
			mainGroup.shutdownGracefully();
			subGroup.shutdownGracefully();
		}
	}

}
3、WssServerInitialzer ,这个类主要配置相应的处理业务的前置信息,比如像和客户端通信,指定相应的通信协议,编码解码信息,自定义相关的handler,其实也可以放在一个代码块儿里面,netty这里使用的类似java设计模式中的责任链模式,可以将所有的自定义或者相关的handler串联起来,对应的就是 : pipeline.addLast ,可以为pipeline添加多个handler
package com.congge.sort.netty.day2;


import io.netty.channel.ChannelInitializer;
import io.netty.channel.ChannelPipeline;
import io.netty.channel.socket.SocketChannel;
import io.netty.handler.codec.http.HttpObjectAggregator;
import io.netty.handler.codec.http.HttpServerCodec;
import io.netty.handler.codec.http.websocketx.WebSocketServerProtocolHandler;
import io.netty.handler.stream.ChunkedWriteHandler;

public class WssServerInitialzer extends ChannelInitializer<SocketChannel>{

	@Override
	protected void initChannel(SocketChannel ch) throws Exception {

		ChannelPipeline pipeline = ch.pipeline();

		//websocket基于http协议,所以需要http编解码器
		pipeline.addLast(new HttpServerCodec());
		//添加对于读写大数据流的支持
		pipeline.addLast(new ChunkedWriteHandler());
		//对httpMessage进行聚合
		pipeline.addLast(new HttpObjectAggregator(1024*64));

		// ================= 上述是用于支持http协议的 ==============

		//websocket 服务器处理的协议,用于给指定的客户端进行连接访问的路由地址
		//比如处理一些握手动作(ping,pong)
		pipeline.addLast(new WebSocketServerProtocolHandler("/ws"));

		//自定义handler
		pipeline.addLast(new ChatHandler());


	}

}
4、下面是我们自定义的handler,这个里面要做的就是处理客户端发送过来的数据,解析数据,并将相应的服务端数据或者业务消息推送给客户端,同时这个类里面,我们可以通过调用netty提供的相应的API,及时捕获到客户端和服务端的连接信息,即所谓的生命周期,可以参照代码和调试的时候看出来,
package com.congge.sort.netty.day2;

import java.time.LocalDateTime;

import io.netty.channel.Channel;
import io.netty.channel.ChannelHandlerContext;
import io.netty.channel.SimpleChannelInboundHandler;
import io.netty.channel.group.ChannelGroup;
import io.netty.channel.group.DefaultChannelGroup;
import io.netty.handler.codec.http.websocketx.TextWebSocketFrame;
import io.netty.util.concurrent.GlobalEventExecutor;

/**
 * 聊天的ehandler
 * TextWebSocketFrame  用于为websockt处理文本的对象
 * @author asus
 *
 */
public class ChatHandler extends SimpleChannelInboundHandler<TextWebSocketFrame>{

	//用于记录和管理所有客户端的channel
	private static ChannelGroup clients =
			new DefaultChannelGroup(GlobalEventExecutor.INSTANCE);

	@Override
	protected void messageReceived(ChannelHandlerContext ctx, TextWebSocketFrame msg)
			throws Exception {
		//客户端传递过来的消息
		String content = msg.text();
		System.out.println("接收到了客户端的消息是:" + content);

		//将客户端发送过来的消息刷到所有的channel中
		for(Channel channel : clients){
			//channel.writeAndFlush(msg);
			channel.writeAndFlush(
					new TextWebSocketFrame("[服务器接收到了客户端的消息:]" + LocalDateTime.now()+",消息为:" + content));
		}

//		clients.writeAndFlush(
//				new TextWebSocketFrame("[服务器接收到了客户端的消息:]" + LocalDateTime.now()+",消息为:" + content));

	}

	//客户端创建的时候触发,当客户端连接上服务端之后,就可以获取该channel,然后放到channelGroup中进行统一管理
	@Override
	public void handlerAdded(ChannelHandlerContext ctx) throws Exception {
		clients.add(ctx.channel());
	}

	//客户端销毁的时候触发,
	@Override
	public void handlerRemoved(ChannelHandlerContext ctx) throws Exception {
		//当handlerRemoved 被触发时候,channelGroup会自动移除对应的channel
		//clients.remove(ctx.channel());
		System.out.println("客户端断开,当前被移除的channel的短ID是:" +ctx.channel().id().asShortText());
	}


}
5、接下来是客户端代码编写,为了模拟的效果更真实,这里简单写了一个html页面,
<!DOCTYPE html>
<html>
	<head>
		<meta charset="utf-8" />
		<title></title>
	</head>
	<body>

		<div>发送消息</div>
		<input type="text" id="msgContent"/>
		<input type="button" value="点我发送" onclick="CHAT.chat()"/>

		<div>接收消息:</div>

		<div id="receiveMsg" style="background-color: burlywood;"></div>

		<script type="application/javascript">

			window.CHAT = {
				socket:null,
				init:function(){
					if(window.WebSocket){
						CHAT.socket = new WebSocket("ws://192.168.111.1:8087/ws");

						CHAT.socket.onopen = function(){
							console.log("连接创建成功...");
						};
						CHAT.socket.onclose = function(){
							console.log("连接关闭...");
						}
						CHAT.socket.onerror = function(){
							console.log("连接发生错误...");
						}
						CHAT.socket.onmessage = function(e){
							console.log("接收消息:" + e.data);
							var receiveMsg = document.getElementById("receiveMsg");
							var html = receiveMsg.innerHTML;
							receiveMsg.innerHTML = html + "<br />"+e.data;
						}
					}else{
						alert("浏览器不支持webscoket协议。。。")
					}
				},
				chat:function(){
					var msg = document.getElementById("msgContent");
					CHAT.socket.send(msg.value);
				}
			}
			CHAT.init();
		</script>

	</body>
</html>
页面效果如图:
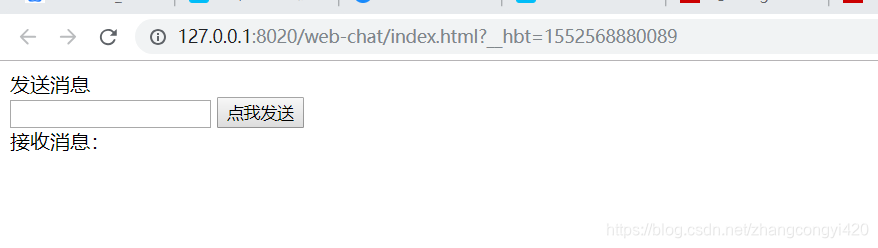
我们重点关注一下里面的JS,其实就是创建了一个wensocket的对象,然后可以将文本框输入内容发送出去,
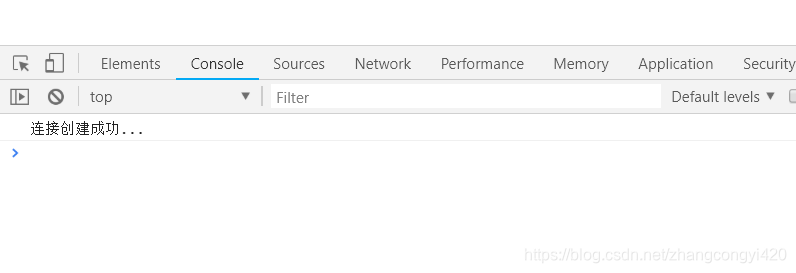
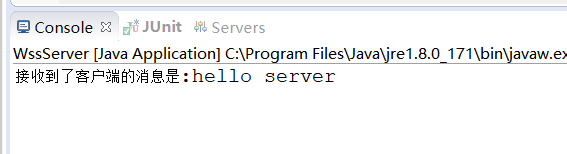
6、启动服务端,可以看到控制台输出了内容,表示连接服务端成功,然后我们再发送一条消息给服务端,
服务端控制台收到了客户端的消息:
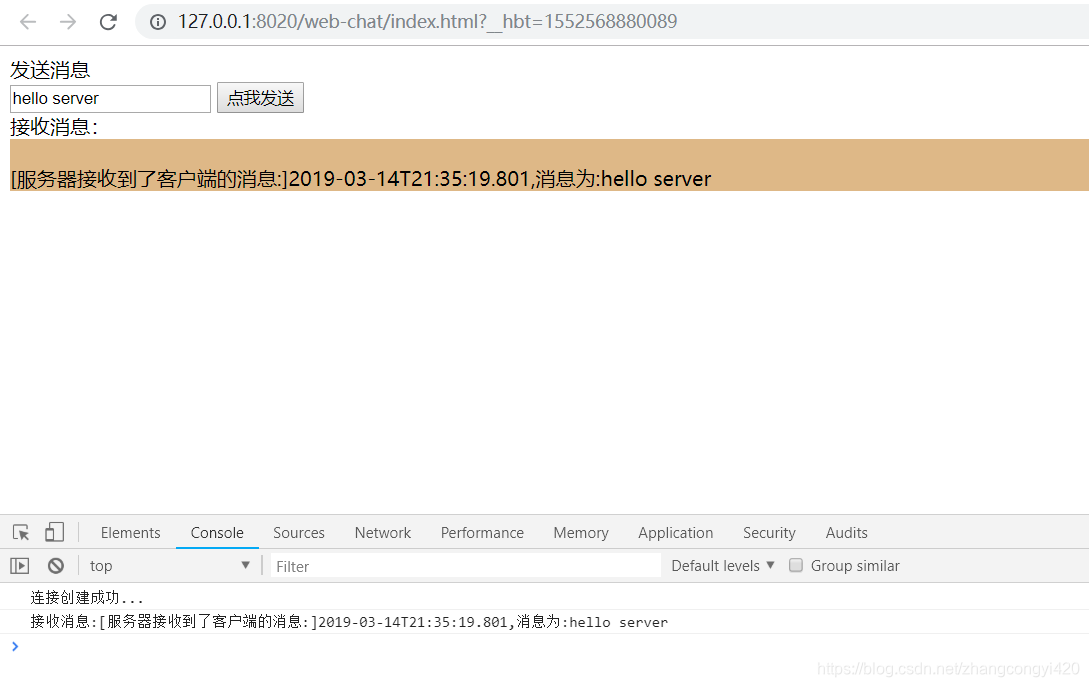
同时服务端将消息推回给了客户端:
这时我们断开服务端的连接,客户端捕捉到了连接断开的消息,当然,
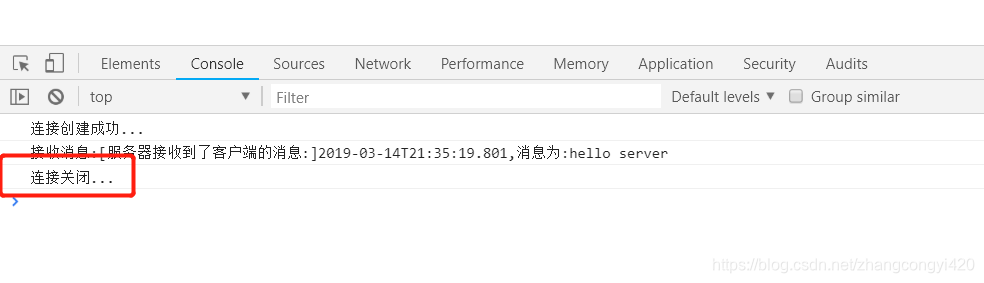
当然,如果我们关闭浏览器,服务端也可以看到捕捉到这个客户端连接断开的信息,利用netty的这种生命周期相关的API可以在此做一些比如聊天室好友上下线的提示等…

到此,netty使用websocket基本结束,感谢观看!


 541
541

 被折叠的 条评论
为什么被折叠?
被折叠的 条评论
为什么被折叠?
 到【灌水乐园】发言


