


 本文介绍如何在Electron应用中实现自动更新功能,包括安装依赖、配置Vue项目、编写更新逻辑等步骤。
1.修改package.json如下:
增加"electron-updater": "^2.6.1",
"dependencies": {
"ant-design-vue": "^2.2.8",
"core-js": "^3.6.5",
"vue": "^3.0.0",
"electron-updater": "^2.6.1",
"vue-router": "^4.0.0-0",
"vuex": "^4.0.0-0",
"wangeditor": "^4.7.8"
},
2.在项目的根目录项cnpm install

显示如上内容,标识安装成功
3.在vue.config.js里添加public配置,打包将会在dist目录中生成latest.yml文件
url就是你打包上传的地址的前缀,比如你打包后的文件会放在http://www.xxx.com/static/demo.exe,那么这个url就是http://www.xxx.com/static/
electronBuilder: {
contextIsolation: false,
nodeIntegration: true,
builderOptions: {
"publish":[
{
"provider":"generic",
"url":"http://127.0.0.1:10025/"
}
],
// win: {
// icon: './public/favicon.ico'
// },
// mac: {
// icon: './public/favicon.ico'
// },
productName: 'AppDemo'
},
}
4. 请求服务器更新,将这部分的逻辑抽成一个update.js文件
import {
autoUpdater
} from 'electron-updater'
import {
ipcMain
} from 'electron'
let mainWindow = null;
export function updateHandle(window, feedUrl) {
mainWindow = window;
let message = {
error: '检查更新出错',
checking: '正在检查更新……',
updateAva: '检测到新版本,正在下载……',
updateNotAva: '现在使用的就是最新版本,不用更新',
};
//设置更新包的地址
autoUpdater.setFeedURL(feedUrl);
//监听升级失败事件
autoUpdater.on('error', function (error) {
sendUpdateMessage({
cmd: 'error',
message: error
})
});
//监听开始检测更新事件
autoUpdater.on('checking-for-update', function (message) {
sendUpdateMessage({
cmd: 'checking-for-update',
message: message
})
});
//监听发现可用更新事件
autoUpdater.on('update-available', function (message) {
sendUpdateMessage({
cmd: 'update-available',
message: message
})
});
//监听没有可用更新事件
autoUpdater.on('update-not-available', function (message) {
sendUpdateMessage({
cmd: 'update-not-available',
message: message
})
});
// 更新下载进度事件
autoUpdater.on('download-progress', function (progressObj) {
sendUpdateMessage({
cmd: 'download-progress',
message: progressObj
})
});
//监听下载完成事件
autoUpdater.on('update-downloaded', function (event, releaseNotes, releaseName, releaseDate, updateUrl) {
sendUpdateMessage({
cmd: 'update-downloaded',
message: {
releaseNotes,
releaseName,
releaseDate,
updateUrl
}
})
//退出并安装更新包
autoUpdater.quitAndInstall();
});
//接收渲染进程消息,开始检查更新
ipcMain.on("checkForUpdate", (e, arg) => {
//执行自动更新检查
// sendUpdateMessage({cmd:'checkForUpdate',message:arg})
autoUpdater.checkForUpdates();
})
}
//给渲染进程发送消息
function sendUpdateMessage(text) {
mainWindow.webContents.send('message', text)
}
5.在 主应用程序background.ts引入update.js
import {
updateHandle
} from './util/updater.js';
// --------放在createWindow方法最后一行就行-------------updateHandle(win, 'http://static.xuezhong100.cn/client-software/');
updateHandle 中的地址和vue.config.js中的地址保持一致
6.在渲染进程app.vue程序中编写逻辑
<template>
<div id="app">
<el-button>Default</el-button>
<!-- <el-button type="primary">Primary</el-button>
<el-button type="success">Success</el-button>
<el-button type="info">Info</el-button>
<el-button type="warning">Warning</el-button> -->
<el-button type="danger">Danger</el-button>
<!-- <router-view></router-view> -->
<div>{{percentage}}</div>
<el-dialog
title="正在更新新版本,请稍候..."
v-model="state.dialogVisible"
width="60%"
:close-on-click-modal="closeOnClickModal"
:close-on-press-escape="closeOnPressEscape"
:show-close="state.showClose"
center
>
<div style="width:100%;height:20vh;line-height:20vh;text-align:center">
<el-progress
status="success"
:text-inside="true"
:stroke-width="20"
:percentage="state.percentage"
:show-text="true"
></el-progress>
</div>
</el-dialog>
</div>
</template>
<script setup>
import { ref, reactive, onMounted} from "vue";
let ipcRenderer = require("electron").ipcRenderer;
const state = reactive({
dialogVisible: false,
closeOnClickModal: false,
closeOnPressEscape: false,
showClose: false,
percentage: 0,
});
onMounted(() => {
ipcRenderer.on("message", (event, arg) => {
// for (var i = 0; i < arg.length; i++) {
console.log(arg);
if ("update-available" == arg.cmd) {
//显示升级对话框
state.dialogVisible = true;
} else if ("download-progress" == arg.cmd) {
//更新升级进度
/**
*
* message{bytesPerSecond: 47673
delta: 48960
percent: 0.11438799862426002
total: 42801693
transferred: 48960
}
*/
console.log(arg.message.percent);
let percent = Math.round(parseFloat(arg.message.percent));
state.percentage = percent;
} else if ("error" == arg.cmd) {
state.dialogVisible = false;
state.$message("更新失败");
}
// }
});
ipcRenderer.send("checkForUpdate");
});
</script>
7.然后让我们打包一份,打包的版本是比如是1.1.0,将latest.yml(里面对应exe的版本信息、称之类的)和对应的exe放到服务器地址上,将本地的package.json的version改成1.0.0(因为更新是通过版本号的对比控制的)更新操作就会触发.
8.本机测试安装nginx
9.在conf中找到nginx.conf 配置如下:
#user nobody;
worker_processes 1;
#error_log logs/error.log;
#error_log logs/error.log notice;
#error_log logs/error.log info;
#pid logs/nginx.pid;
events {
worker_connections 1024;
}
http {
include mime.types;
default_type application/octet-stream;
#log_format main '$remote_addr - $remote_user [$time_local] "$request" '
# '$status $body_bytes_sent "$http_referer" '
# '"$http_user_agent" "$http_x_forwarded_for"';
#access_log logs/access.log main;
sendfile on;
#tcp_nopush on;
#keepalive_timeout 0;
keepalive_timeout 65;
#gzip on;
server {
listen 10025;
server_name localhost;
#charset koi8-r;
#access_log logs/host.access.log main;
location / {
limit_rate_after 512k;
limit_rate 150k;
root html;
index index.html index.htm;
}
#error_page 404 /404.html;
# redirect server error pages to the static page /50x.html
#
error_page 500 502 503 504 /50x.html;
location = /50x.html {
root html;
}
# proxy the PHP scripts to Apache listening on 127.0.0.1:80
#
#location ~ \.php$ {
# proxy_pass http://127.0.0.1;
#}
# pass the PHP scripts to FastCGI server listening on 127.0.0.1:9000
#
#location ~ \.php$ {
# root html;
# fastcgi_pass 127.0.0.1:9000;
# fastcgi_index index.php;
# fastcgi_param SCRIPT_FILENAME /scripts$fastcgi_script_name;
# include fastcgi_params;
#}
# deny access to .htaccess files, if Apache's document root
# concurs with nginx's one
#
#location ~ /\.ht {
# deny all;
#}
}
# another virtual host using mix of IP-, name-, and port-based configuration
#
#server {
# listen 8000;
# listen somename:8080;
# server_name somename alias another.alias;
# location / {
# root html;
# index index.html index.htm;
# }
#}
# HTTPS server
#
#server {
# listen 443 ssl;
# server_name localhost;
# ssl_certificate cert.pem;
# ssl_certificate_key cert.key;
# ssl_session_cache shared:SSL:1m;
# ssl_session_timeout 5m;
# ssl_ciphers HIGH:!aNULL:!MD5;
# ssl_prefer_server_ciphers on;
# location / {
# root html;
# index index.html index.htm;
# }
#}
}
10.修改vue.config/background.js 中的url
vue.config.js
builderOptions: {
"publish":[
{
"provider":"generic",
"url":"http://127.0.0.1:10025/"
}
],
background.js
updateHandle(win, 'http://127.0.0.1:10025/');
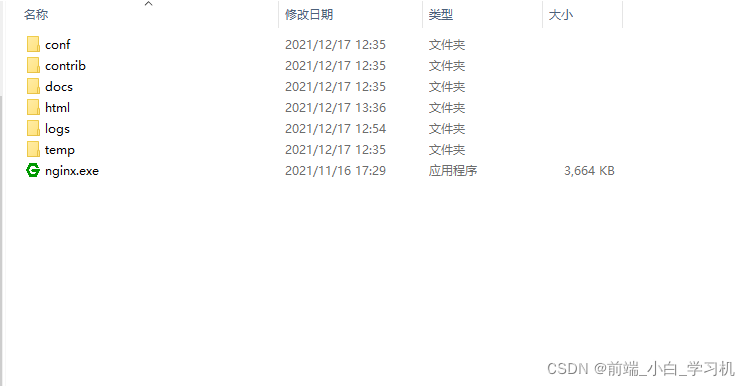
11.启动nginx 在nginx文件中找到nginx.exe 双击启动
12.使用 npm run electron:build 进行打包 打包后文件如下:
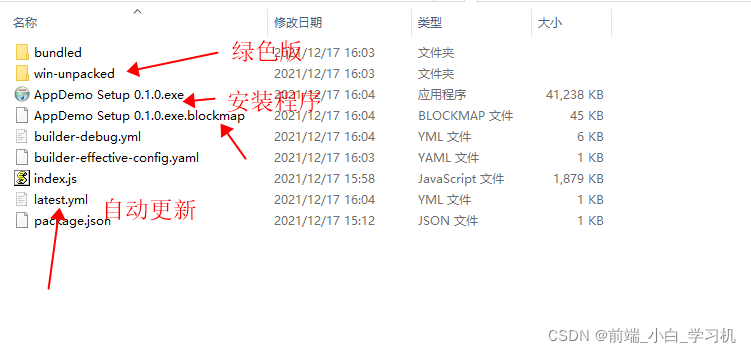
12.将AppDemo Setup 0.1.0.exe AppDemo Setup 0.1.0.exe.blockmap latest.yml复制
复制到nginx中nginx-1.20.2\html文件中: 如下图
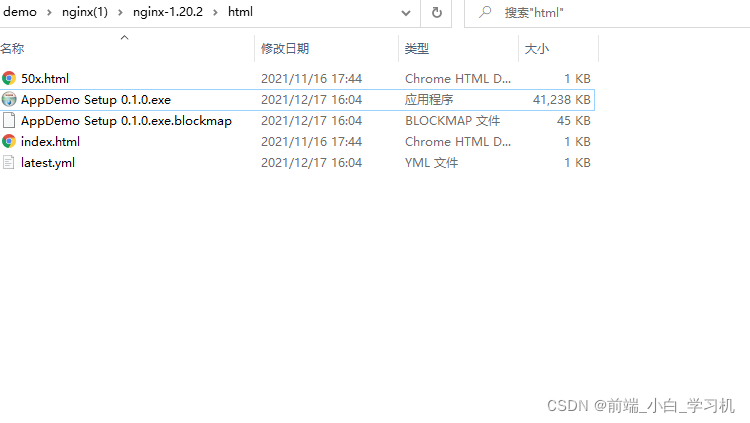
点击 AppDemo Setup 0.1.0.exe 进行安装
13.在项目中修改package.json中.version:版本号,修改某个文件,产生区别方便查看效果
注意 打包的 version:版本号永远比上一次打包的版本号要高,
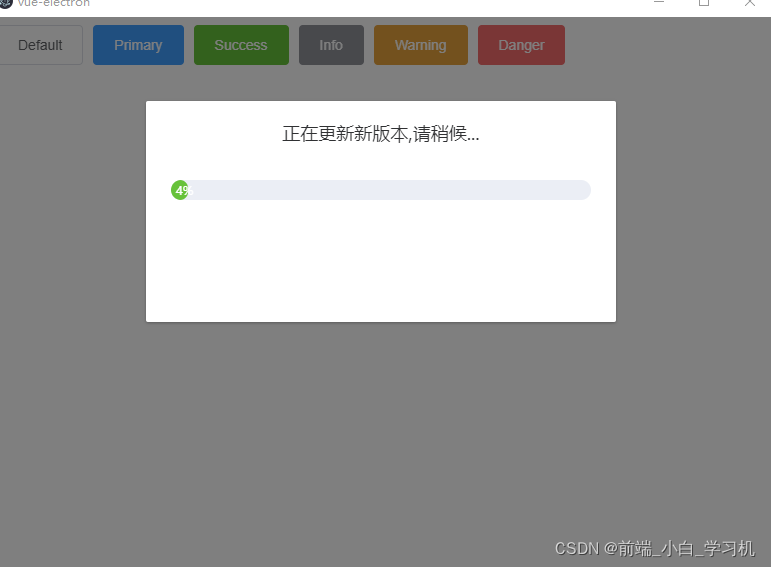
14.显示如下:成功了!!!!!!


 2124
2124

 被折叠的 条评论
为什么被折叠?
被折叠的 条评论
为什么被折叠?
 到【灌水乐园】发言


