 Win10 Jenkins安装教程:解决下载、安装及插件安装问题


 本文详细记录了在Win10系统中下载、安装Jenkins的war包和msi方式,以及遇到的插件安装失败、权限不足等问题的解决方案。包括修改注册表、调整安装路径、手动下载插件安装等步骤。
一.下载安装
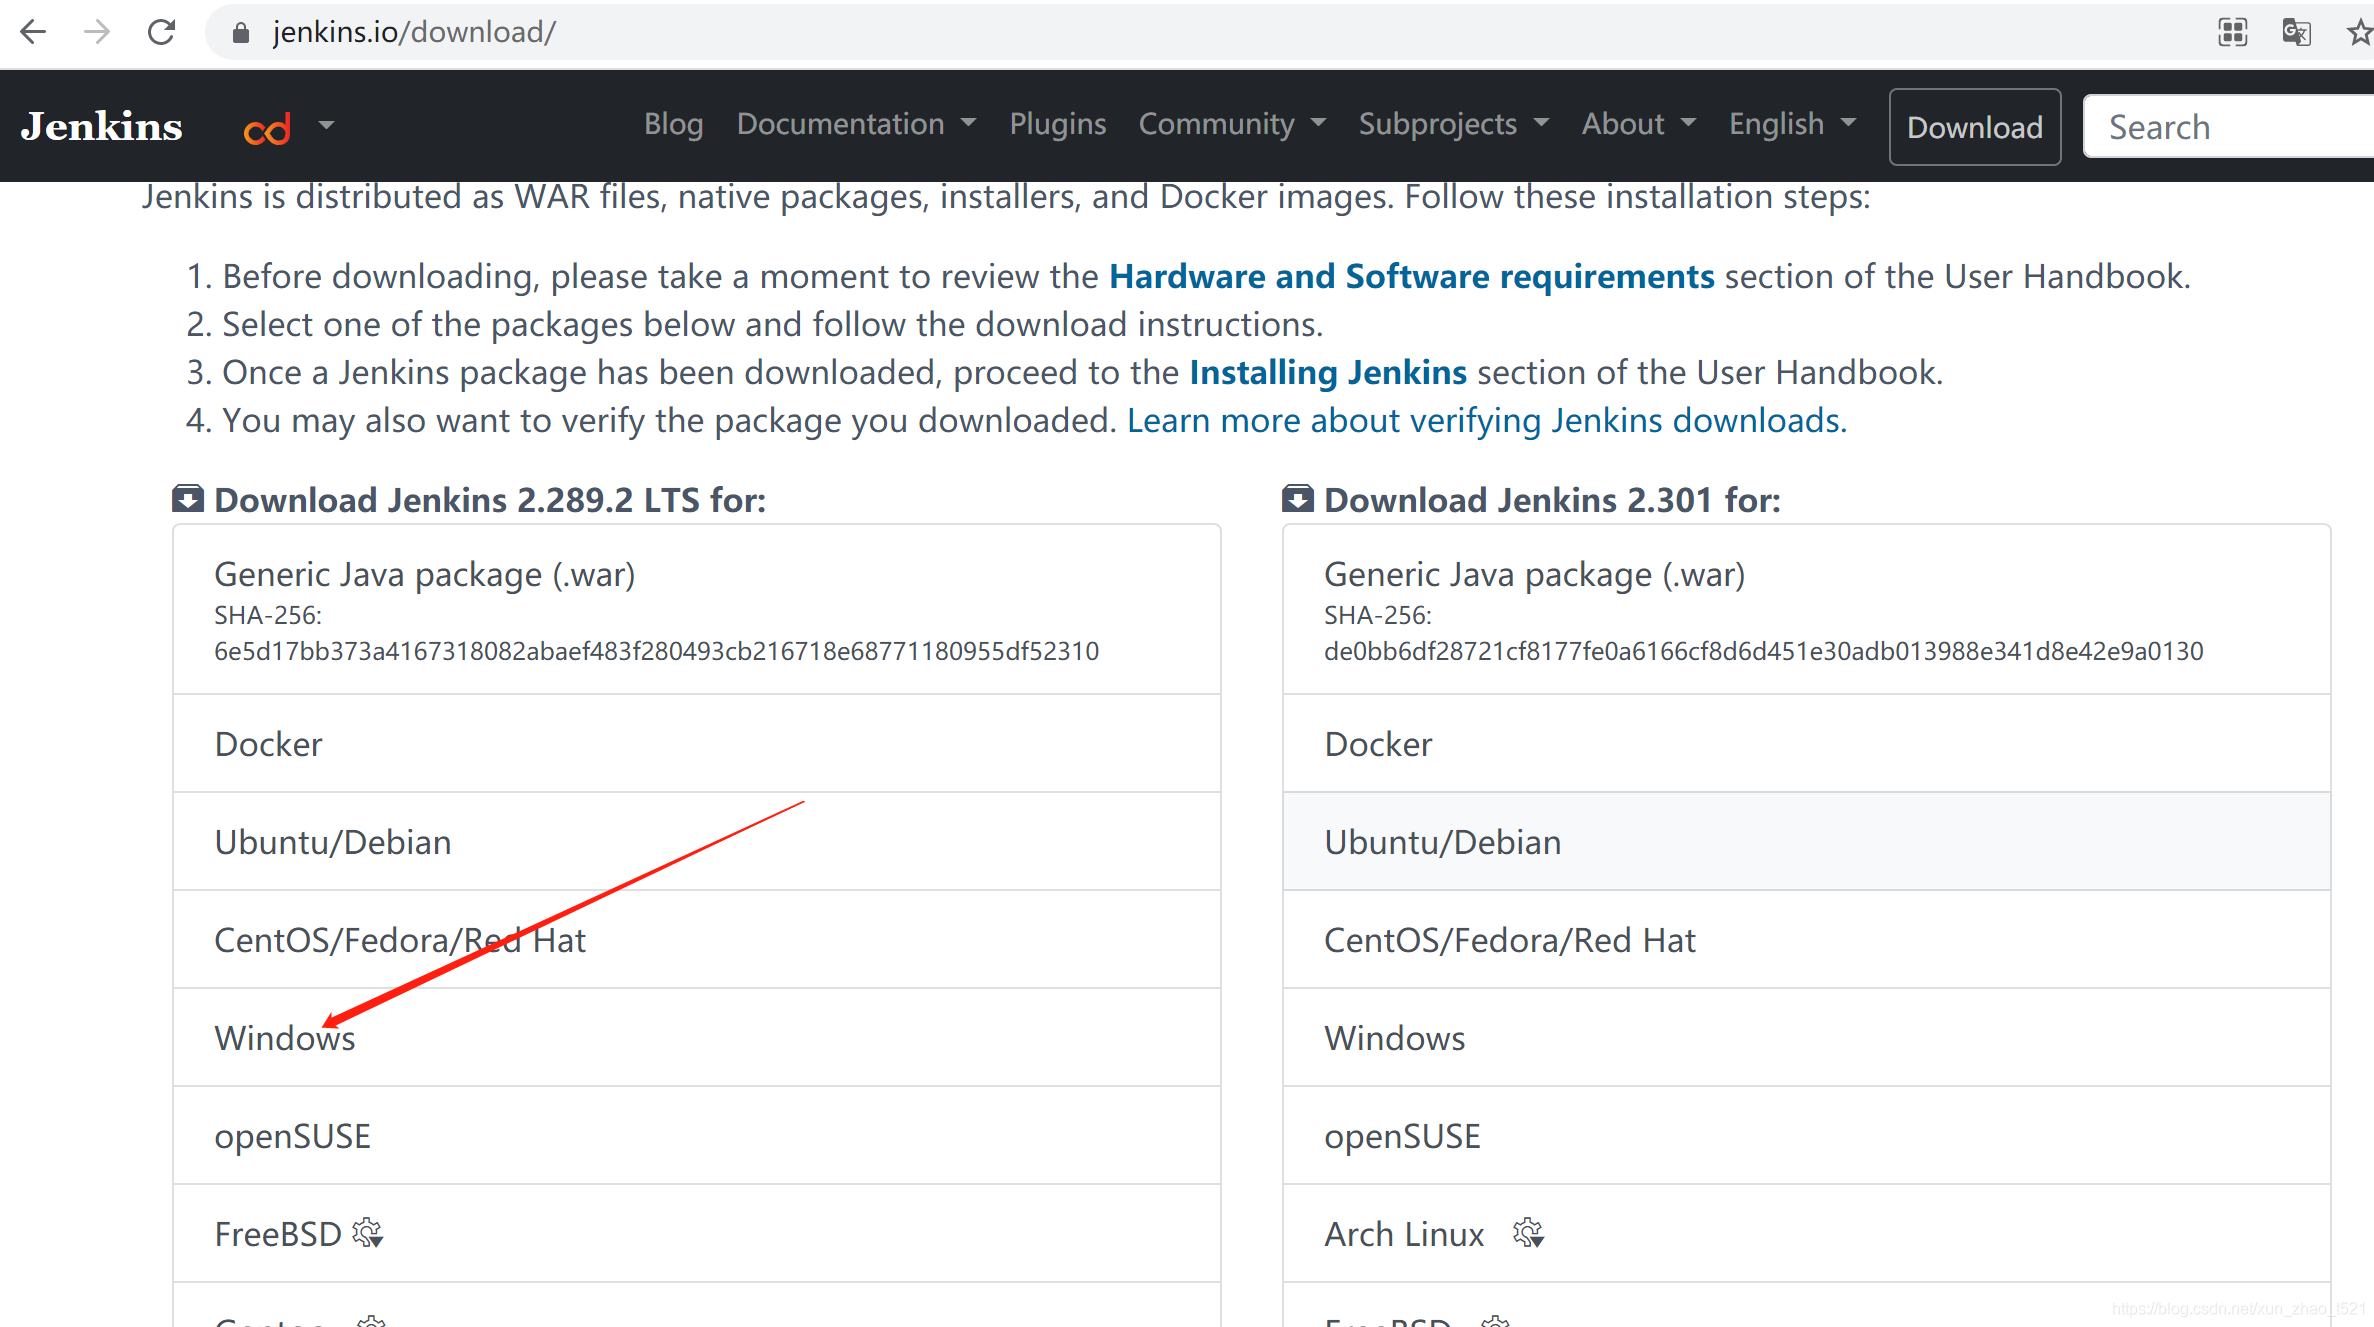
网址:https://www.jenkins.io/download/
1.war包方式
默认工作空间是C:\Users\darli.jenkins

这里我是选择放在了D:\D1\TestDevelopment\tools\jenkins路径下:

下载完成后
打开cmd,先切换到这个路径,然后启动jenkins服务即可
C:\WINDOWS\system32>d:
D:\>cd D:\D1\TestDevelopment\tools\jenkins
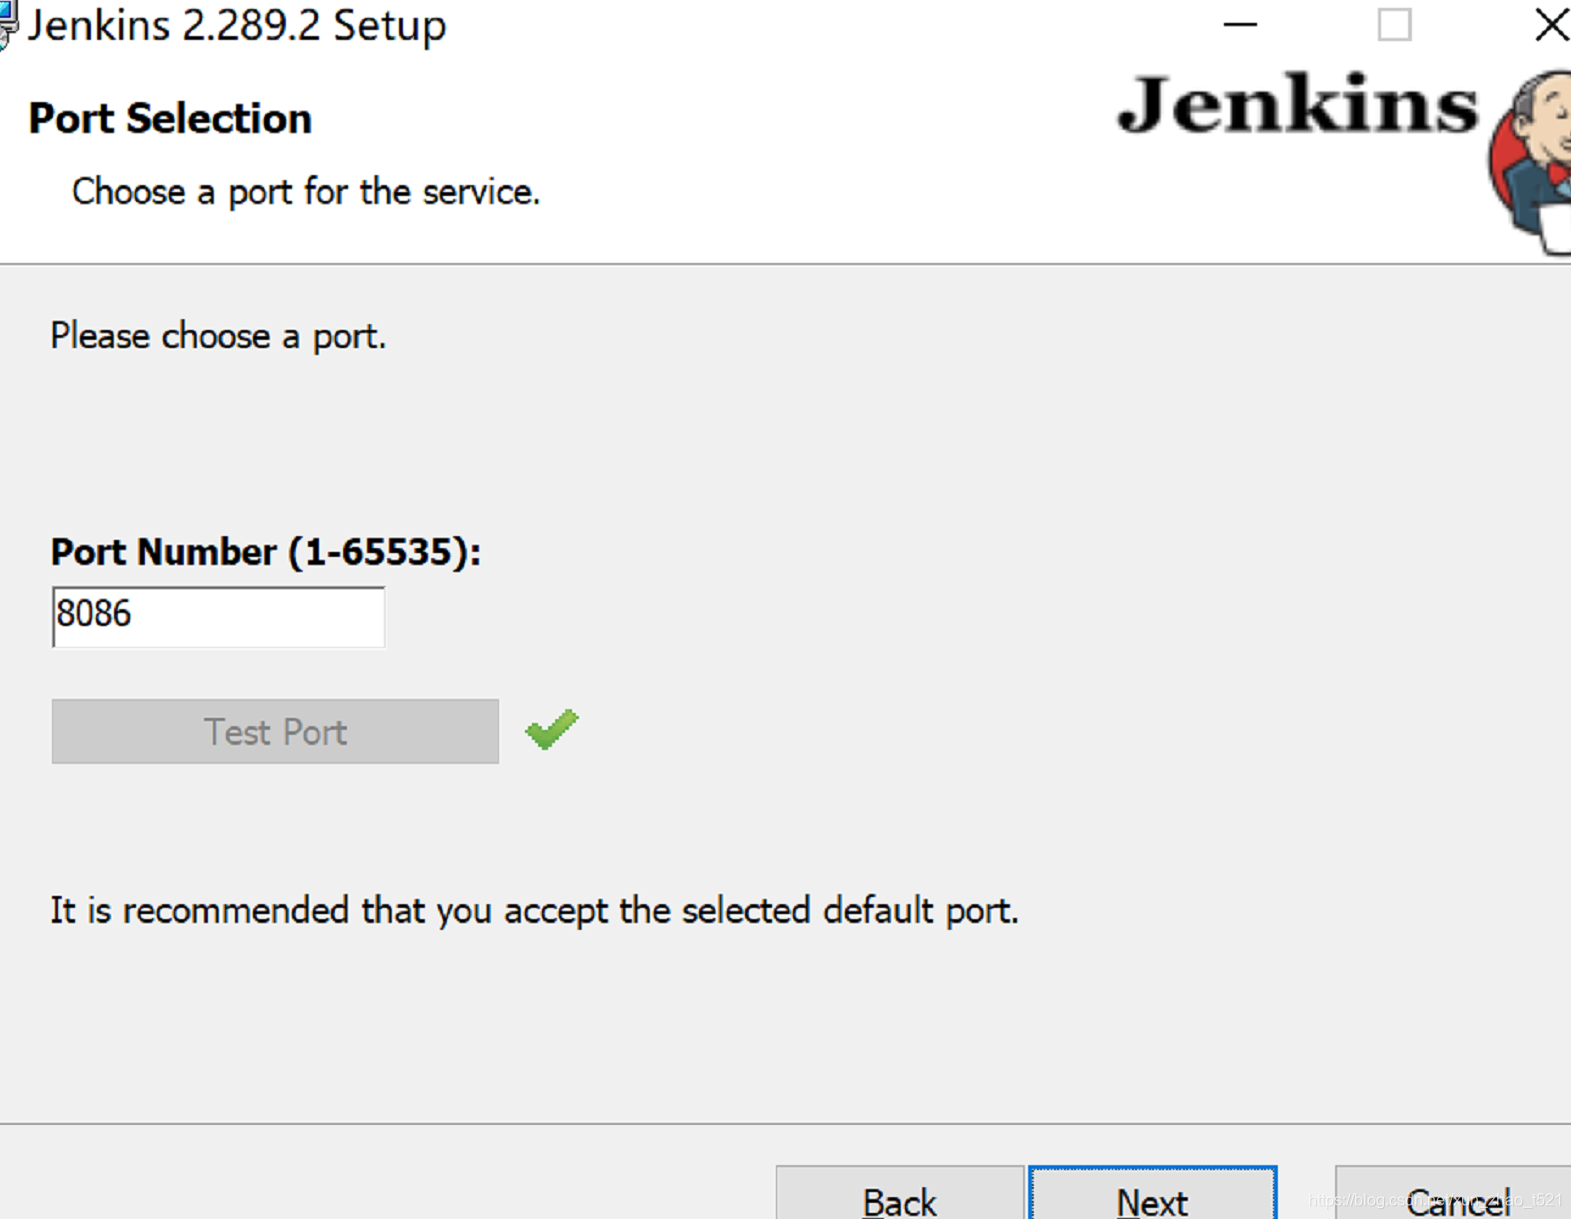
D:\D1\TestDevelopment\tools\jenkins>java -jar jenkins2.263.2.war --httpPort=8086
Running from: D:\D1\TestDevelopment\tools\jenkins\jenkins2.263.2.war
webroot: $user.home/.jenkins
......
2021-07-11 03:29:31.963+0000 [id=47] INFO jenkins.InitReactorRunner$1#onAttained: Completed initialization
2021-07-11 03:29:31.982+0000 [id=23] INFO hudson.WebAppMain$3#run: Jenkins is fully up and running
启动成功后,通过127.0.0.1:8086便可以访问页面

这里由于我在启动jenkins时/跳过安装步骤后都无法安装插件成功,提示实例离线,尝试了很多解决办法都未果,其中一些解决办法包括更换源,配置文件,生成证书等等,对我来说都没有用
感谢以下作者:
Jenkins安装插件报错:该Jenkins实例似乎已离线
Jenkins 在Windows下插件无法安装问题解决
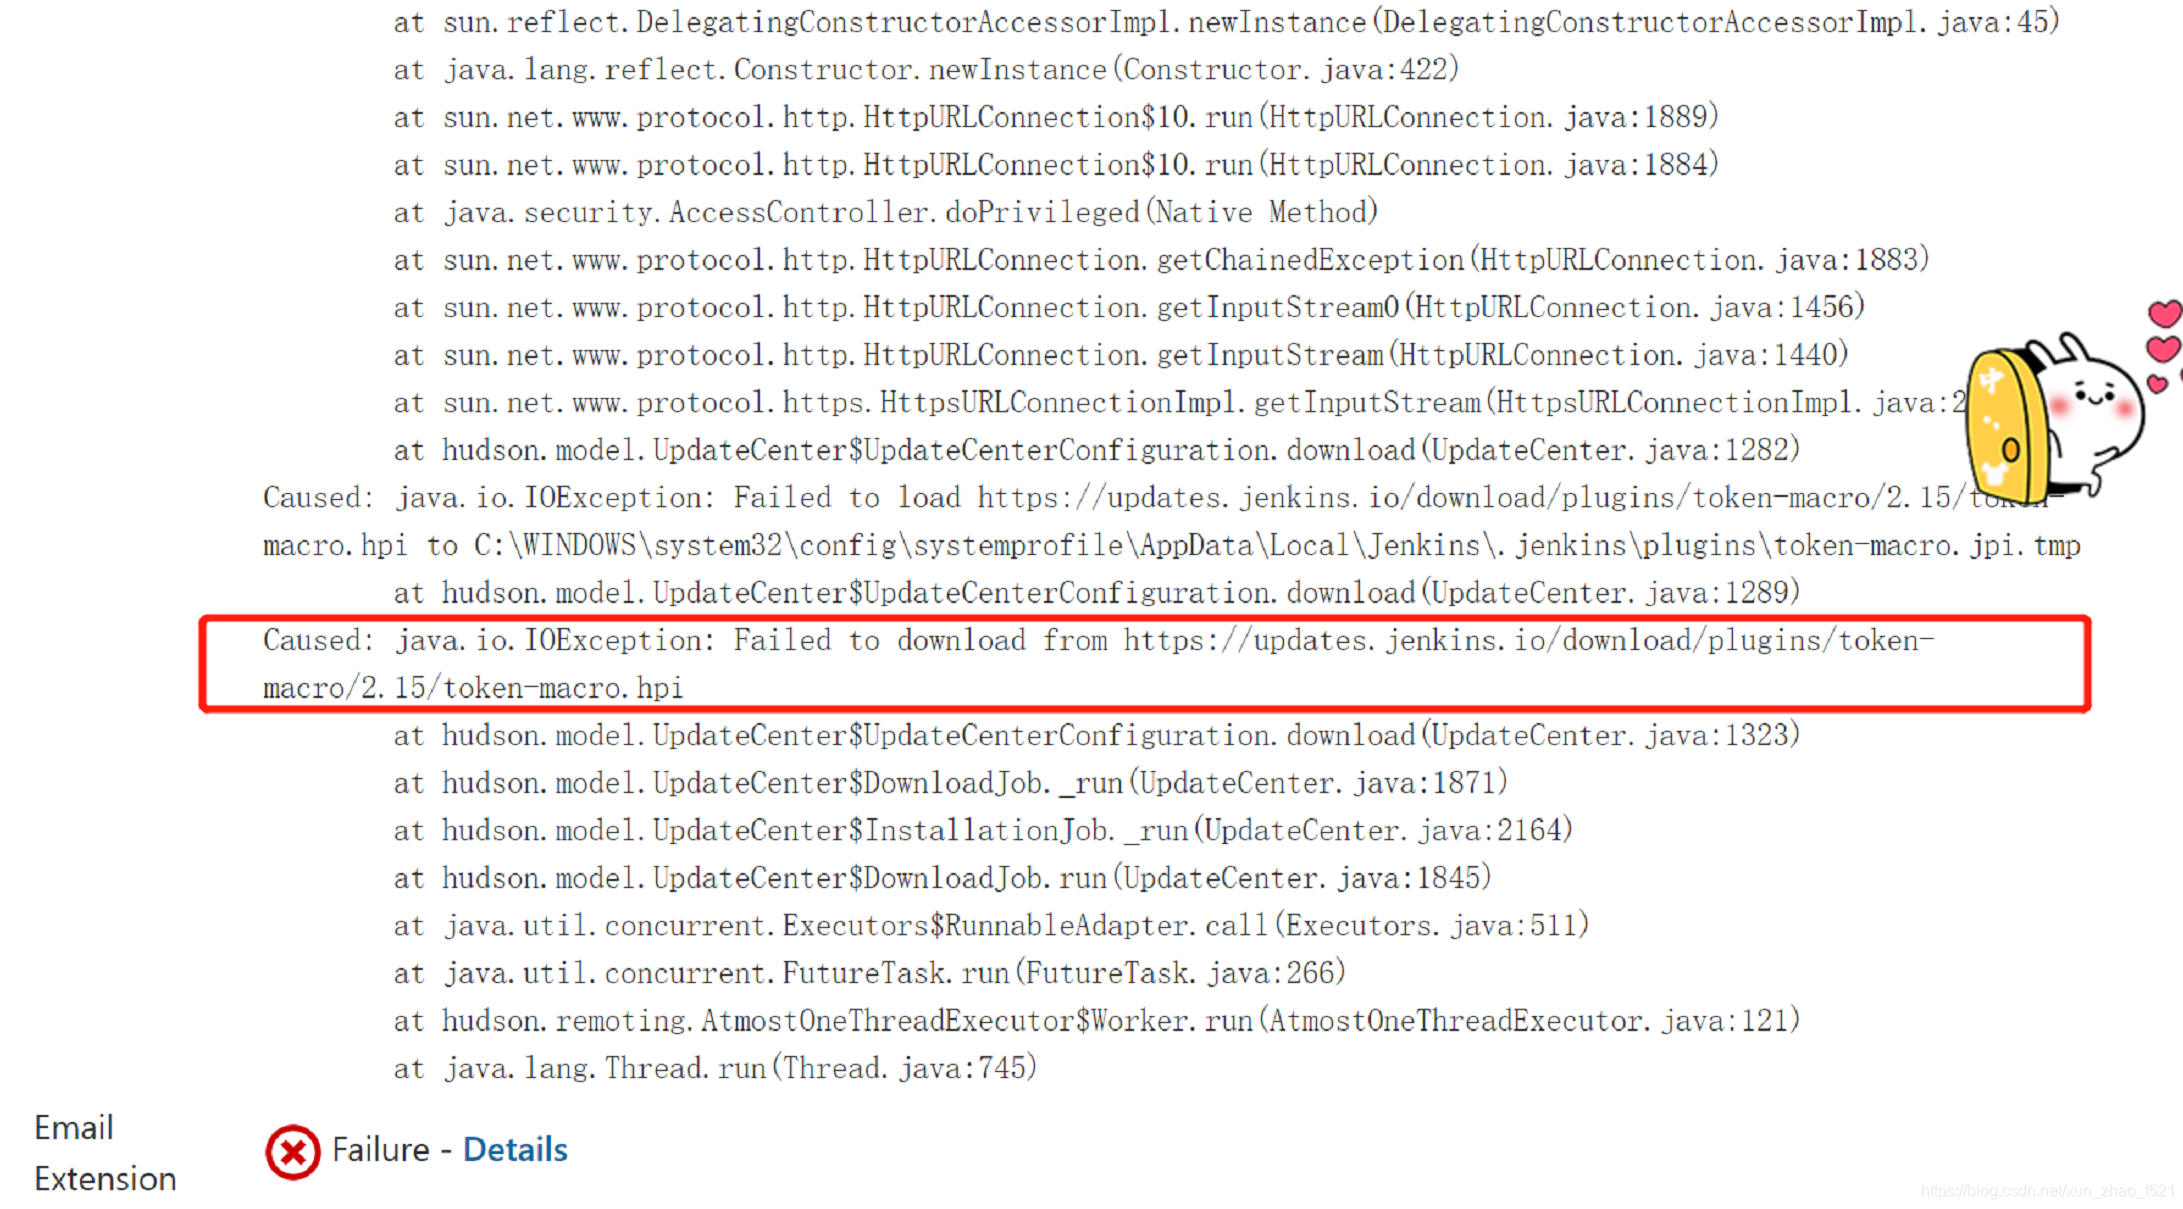
Jenkins安装后,安装插件失败,报错Caused: java.io.IOException: Failed to download from 和SunCertPathBuilderException
完美解决异常javax.net.ssl.SSLHandshakeException: sun.security.validator.
解决:安装Jenkins时web界面出现该jenkins实例似乎已离线
于是又尝试msi方式安装
2.msi方式
这种方式默认工作空间是
C:\Windows\System32\config\systemprofile\AppData\Local\Jenkins.jenkins
A.先把之前安装的jenkins卸载
1)搜索“服务”,先把jenkins服务停止
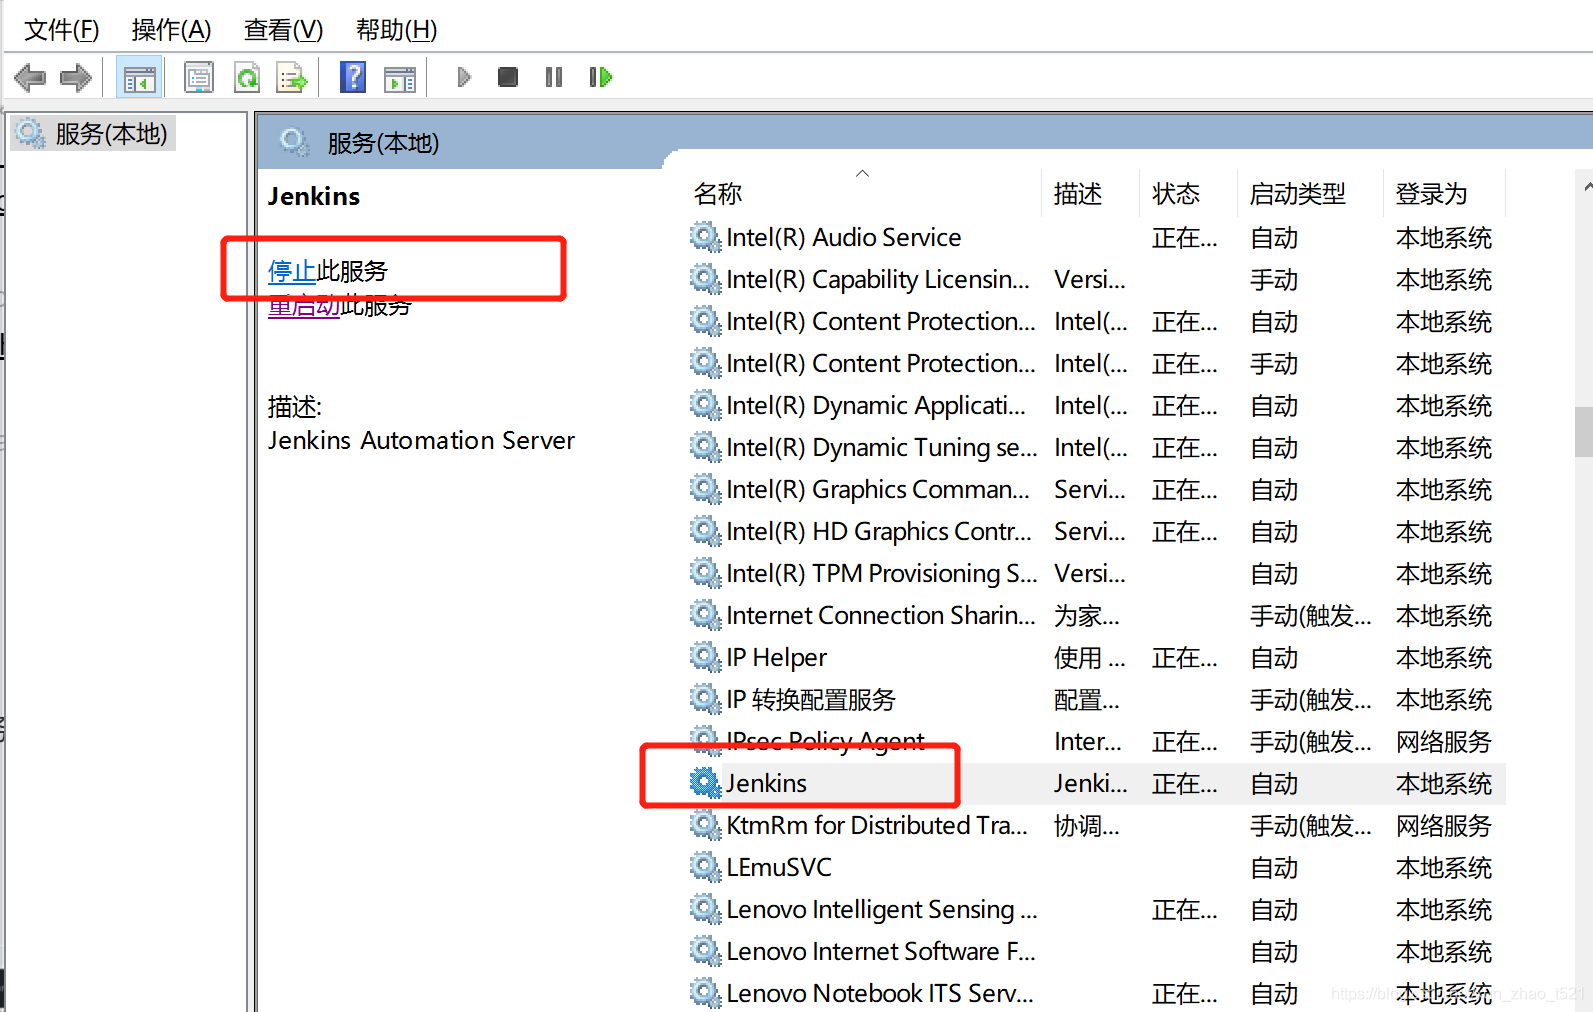
2)删除.jenkins文件夹,我的是在
C:\Users\darli目录下
Windows界面删除的话可能会无法彻底删除,提示权限不足,这时可以采用cmd命令的方式
先切换到这个目录下,再执行命令
C:\Users\darli>del /F /S /Q .jenkins
最后再回到Windows界面删除.jenkins文件夹
B.重新安装
选择长期支持版本TLS
下载到本地:

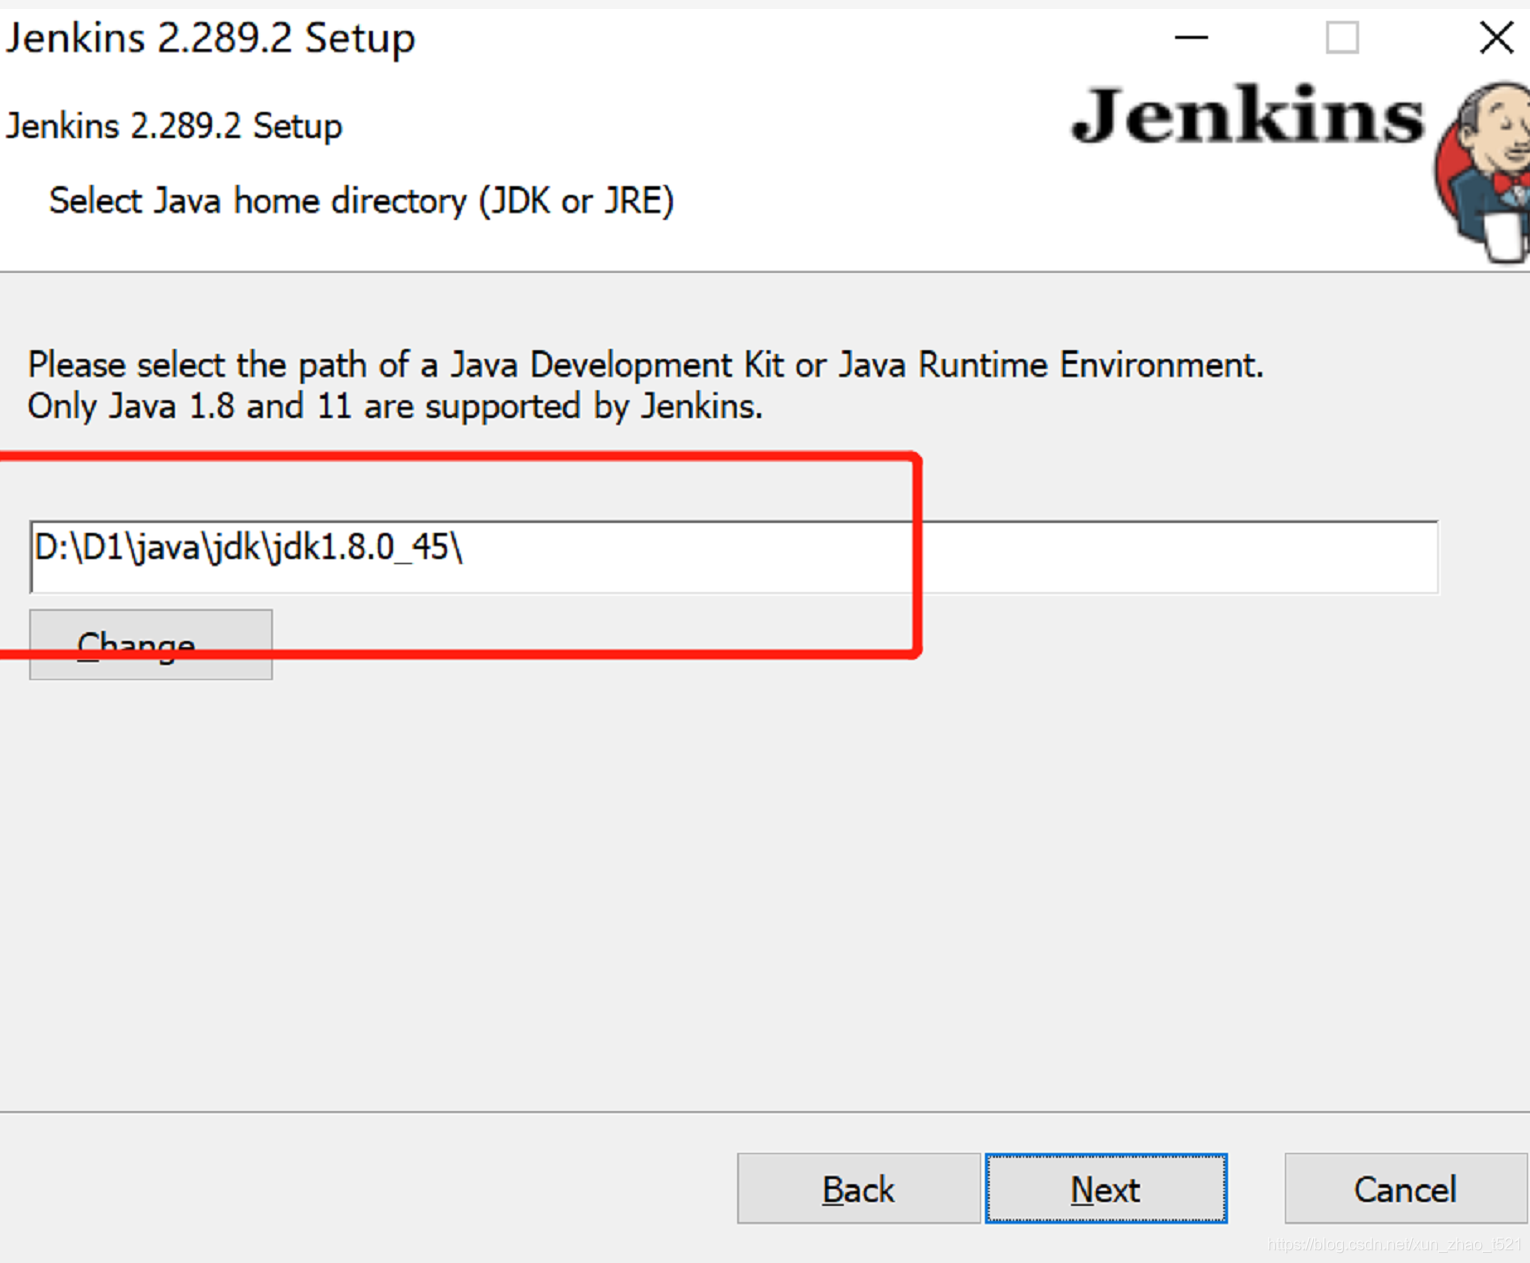
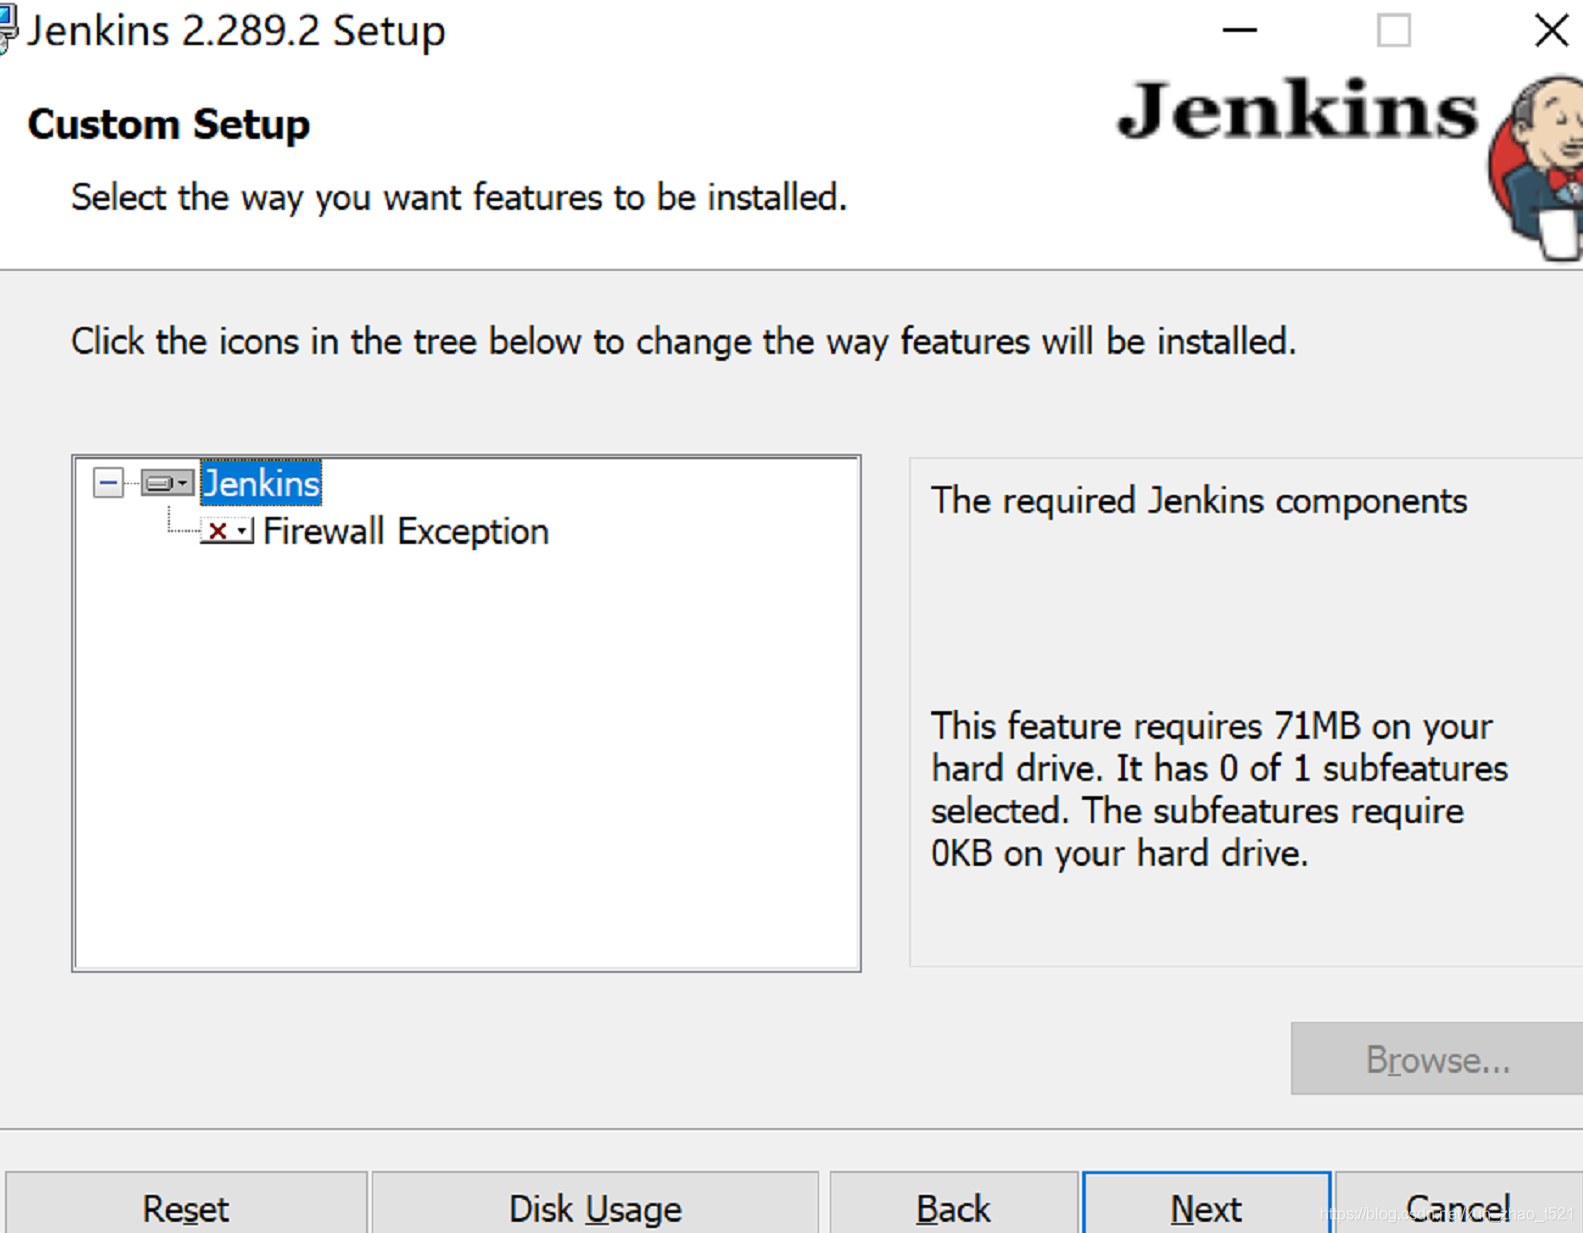
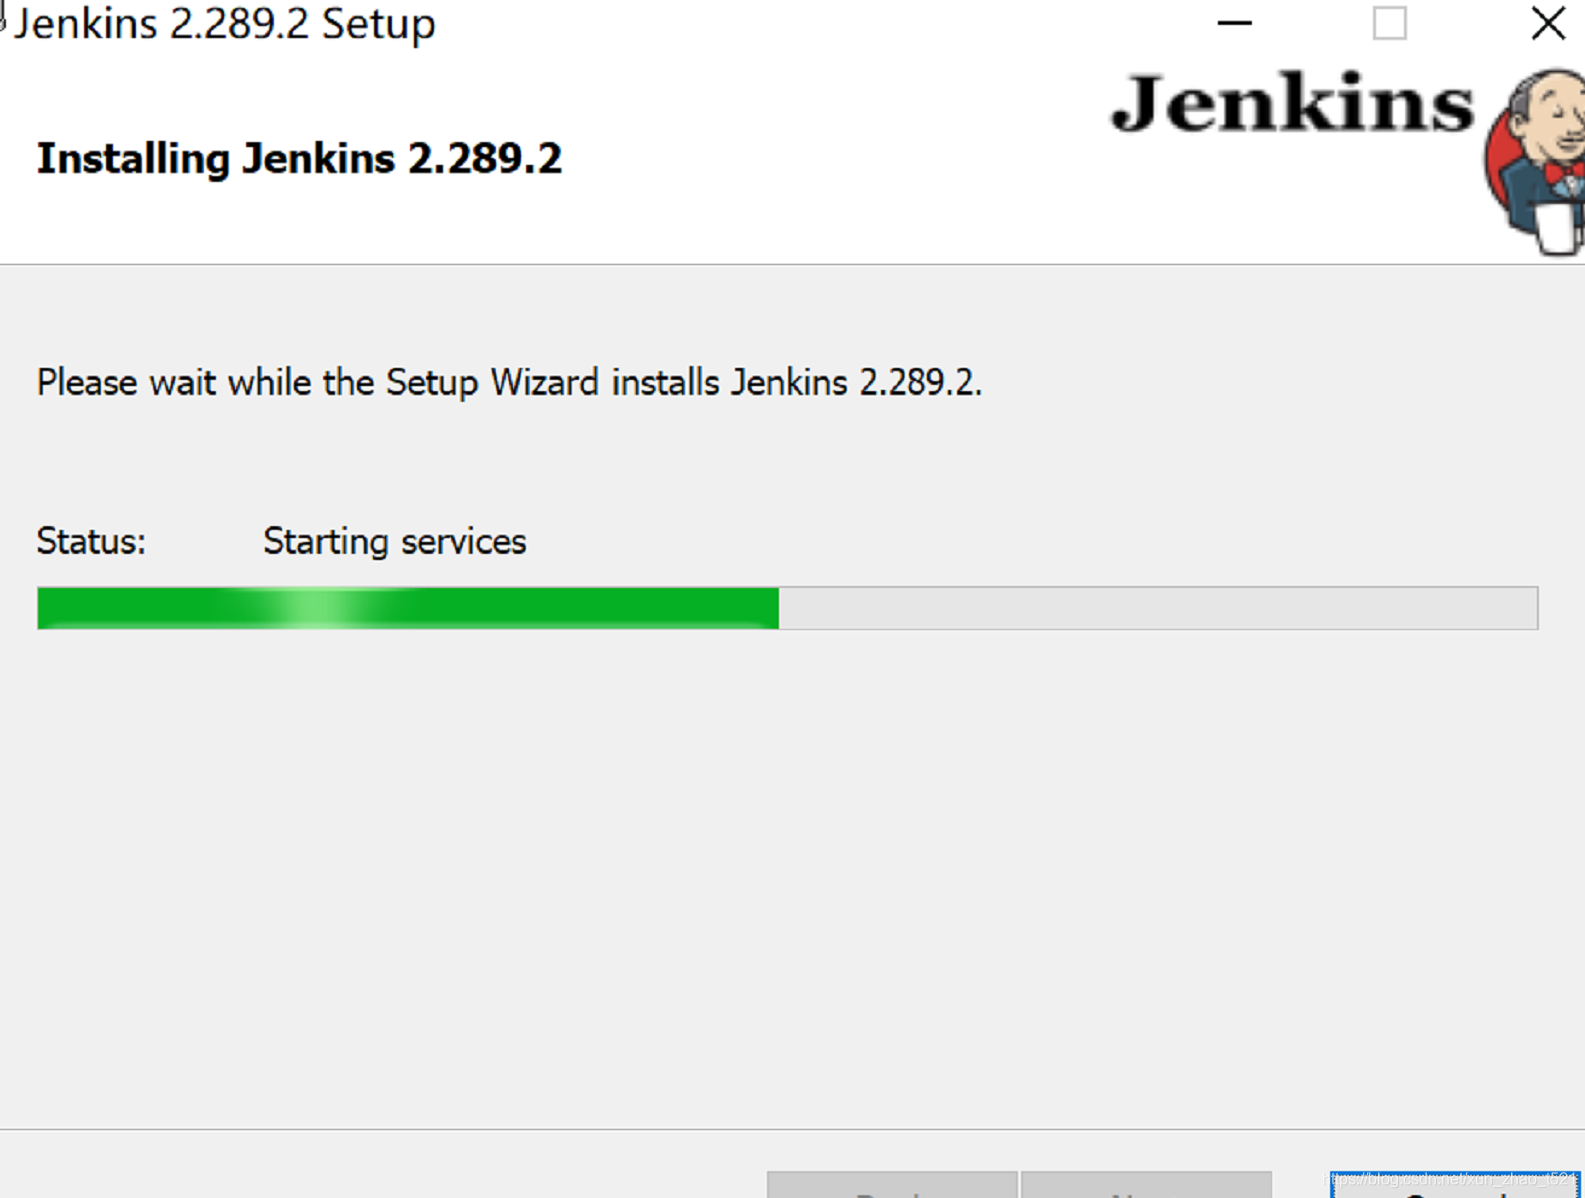
然后进行安装
C.这里在安装过程中出现了一些插曲,
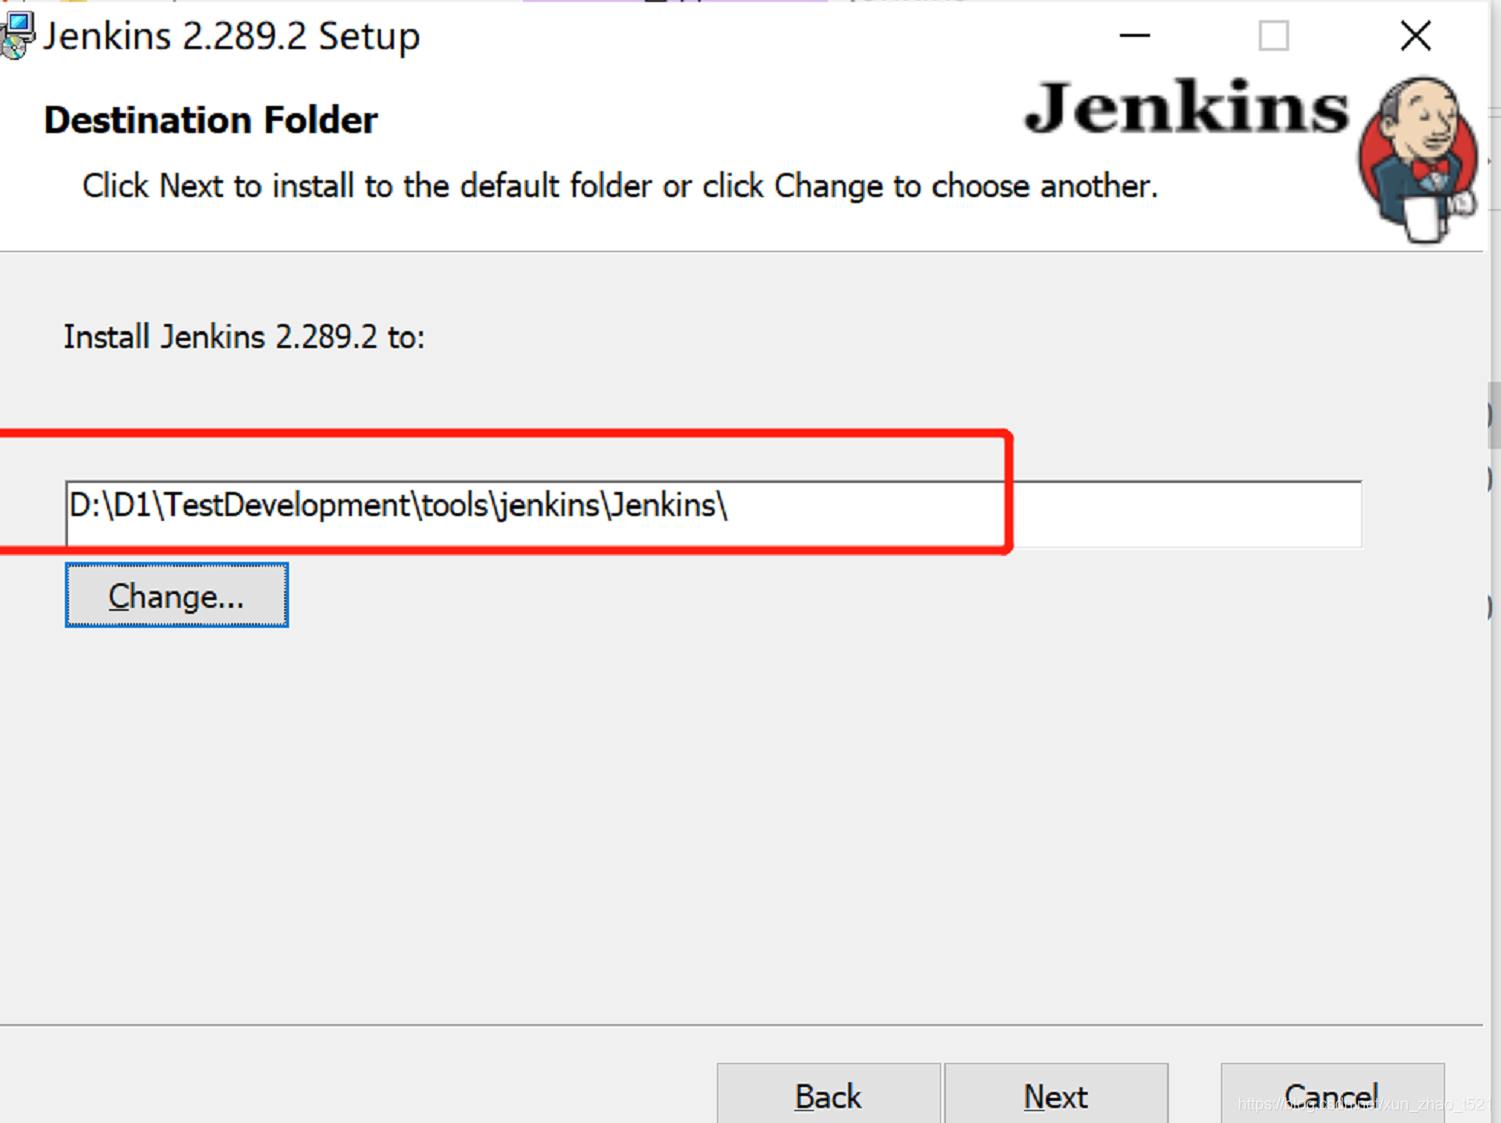
1)起初我是放在
D:\D1\TestDevelopment\tools\jenkins\Jenkins这个路径下,但是在选择自定义文件夹,选中这个文件夹后提示没有足够的权限,刚开始不以为意,安装service过程中也提示了出来,选择ignore,但是在启动service的时候提示
jenkins failed to start
Verify that you have sufficient privileges to start system services
2)在Stack Overflow上找到一个答案,
https://stackoverflow.com/questions/64308841/jenkins-failed-to-start-verify-that-you-have-sufficient-privileges-to-start-sy
大意是说:
Delete any Jenkins installation leftovers you currently have
Start the installation process, input your credentials when asked, and continue with the on-screen instructions (including choosing the JDK folder) up until the point where the error is raised.
When the error is raised, *** DO NOT DO ANYTHING! *** leave it as it is shown in my question
Now (and only now), open “Services”
Search for the “Jenkins” service. It should be set to “Automatic”, but it might be “Disabled” enter image description here
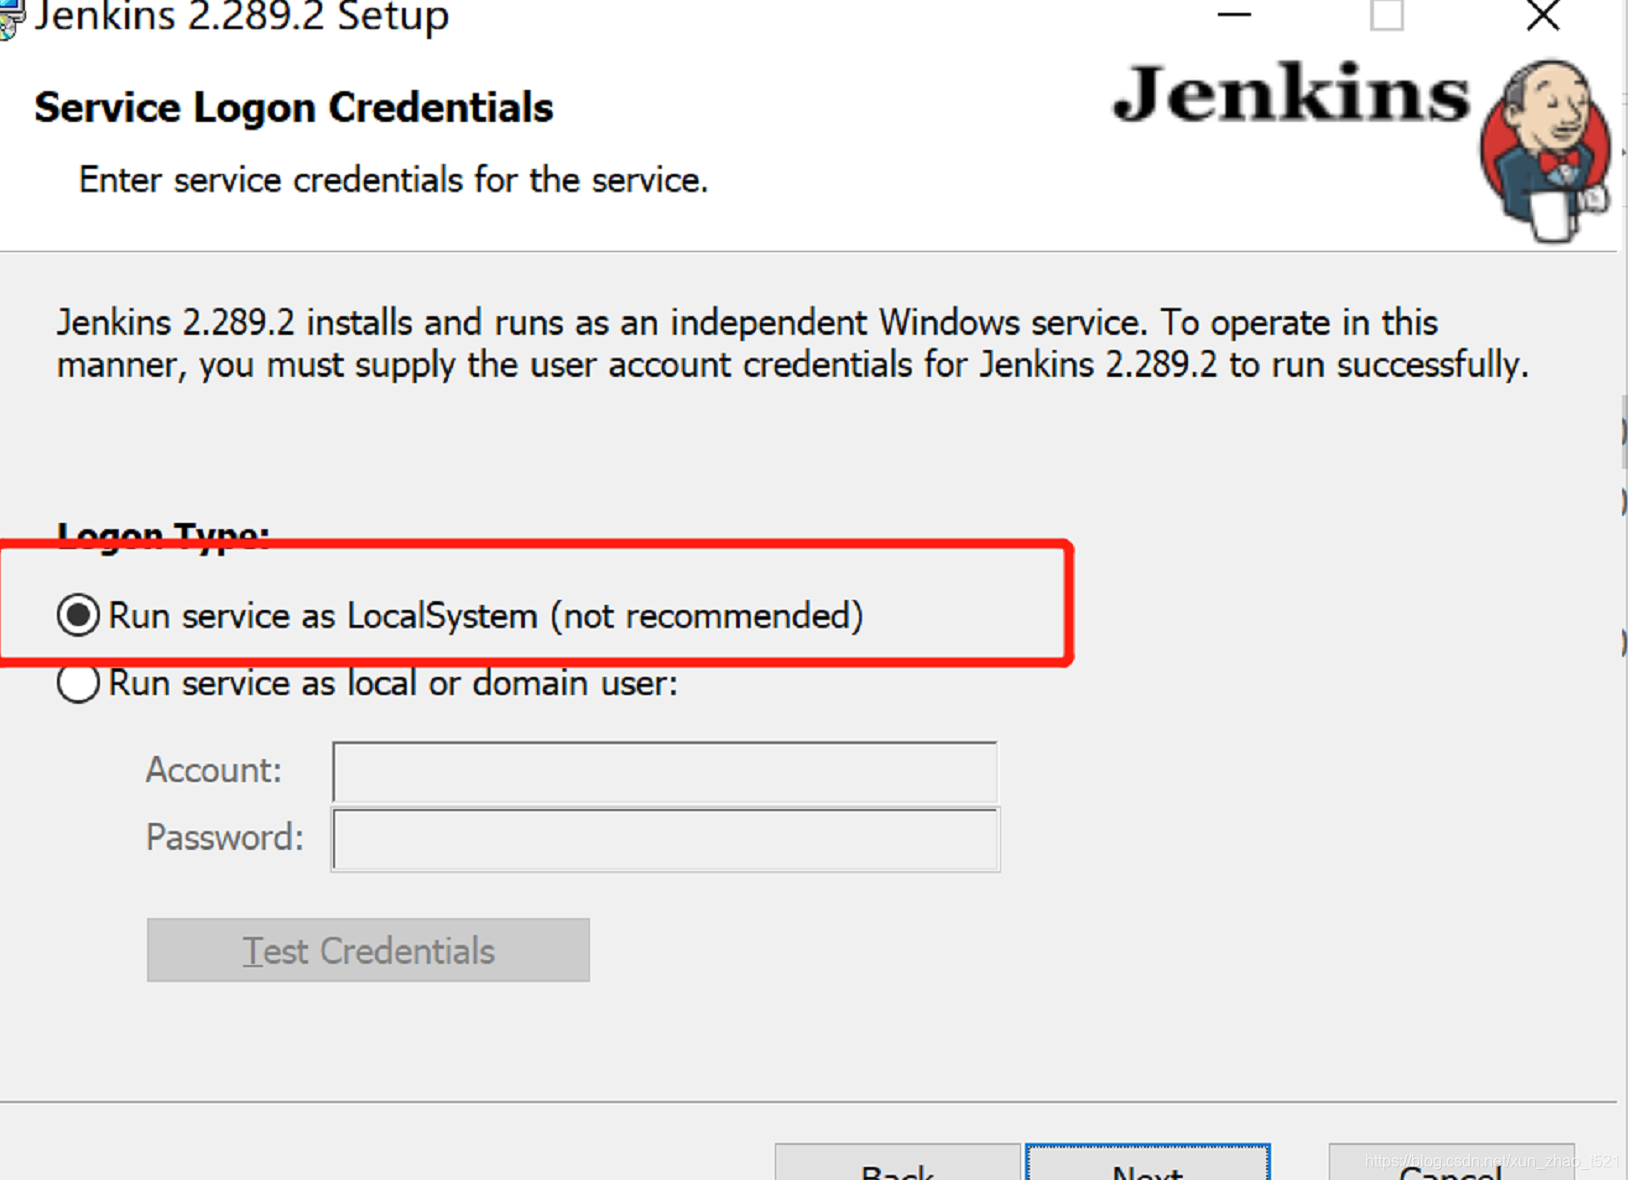
Open the “Jenkins” properties, and go to the “Log On” tab enter image description here
Make sure you choose the “This account” radio button, delete the account name and password fields, and enter them AGAIN
Click “Apply”
Go back to the installer and click “Retry”
If everything is according to plan - The installation will now continue without a problem.
This method was tested on a local and VM / AWS computer and worked!
If you still encounter a problem, try changing the startup in step 5 to “Automatic” and make sure you only open “Services” on step 4. “Services” will not update while it is open.
但是我安装步骤找到了jenkins服务的时候,服务已经被禁用了,而且点击右键属性,提示文件不存在之类的
3)由于之前我按照msi方式安装过一次jenkins,也是存放在这个Jenkins文件夹,虽然后来安装删除了文件夹的内容,但是怀疑是不是没有删除一些配置引用之类的,在网上又搜索了下:
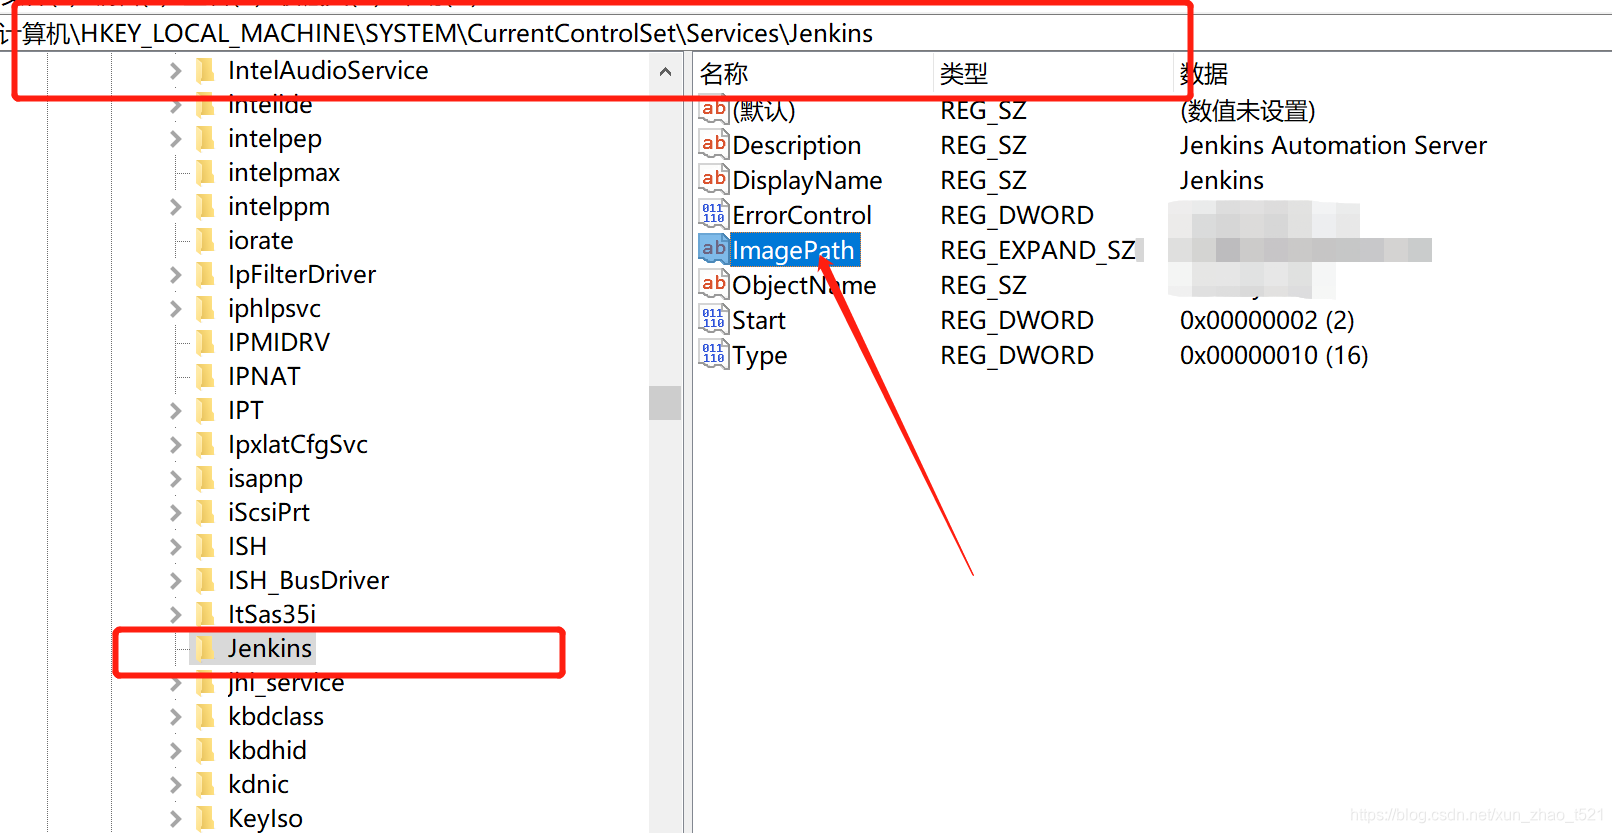
搜索regedit打开注册表发现注册表这里imagePath的数据还是原来的Jenkins文件夹,于是修改这个数据为空。
4)再次重新安装,指定D:\D1\TestDevelopment\tools\jenkins\Jenkins文件夹,发送还是提示权限不足,即使ignore在最后一步start service也会出问题。
5)后来又搜了下有人说是安装在D盘根目录就不会出问题了。
于是再次更改了安装路径,
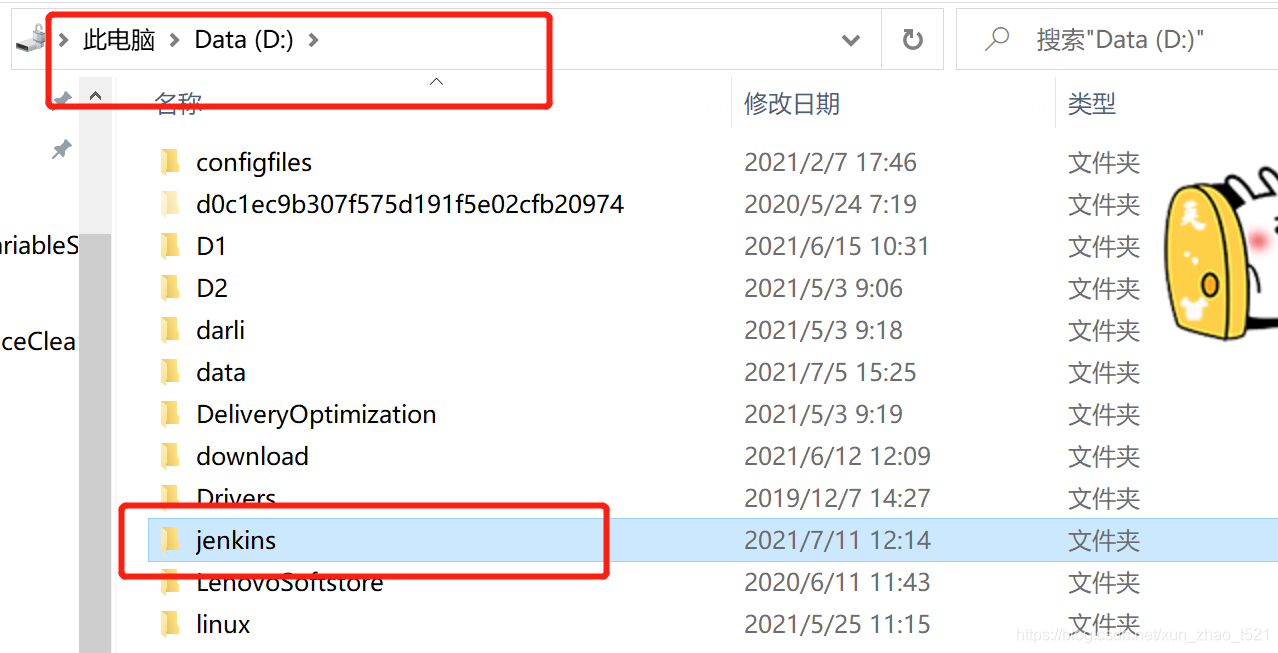
这次能够成功安装
D.C解决安装的问题后,启动jenkins服务(搜索“服务”)并访问地址,发现还是提示实例离线,又采取之前的修改源等解决办法还是未果。无奈之下选择采用把插件下载到本地然后再安装的方法
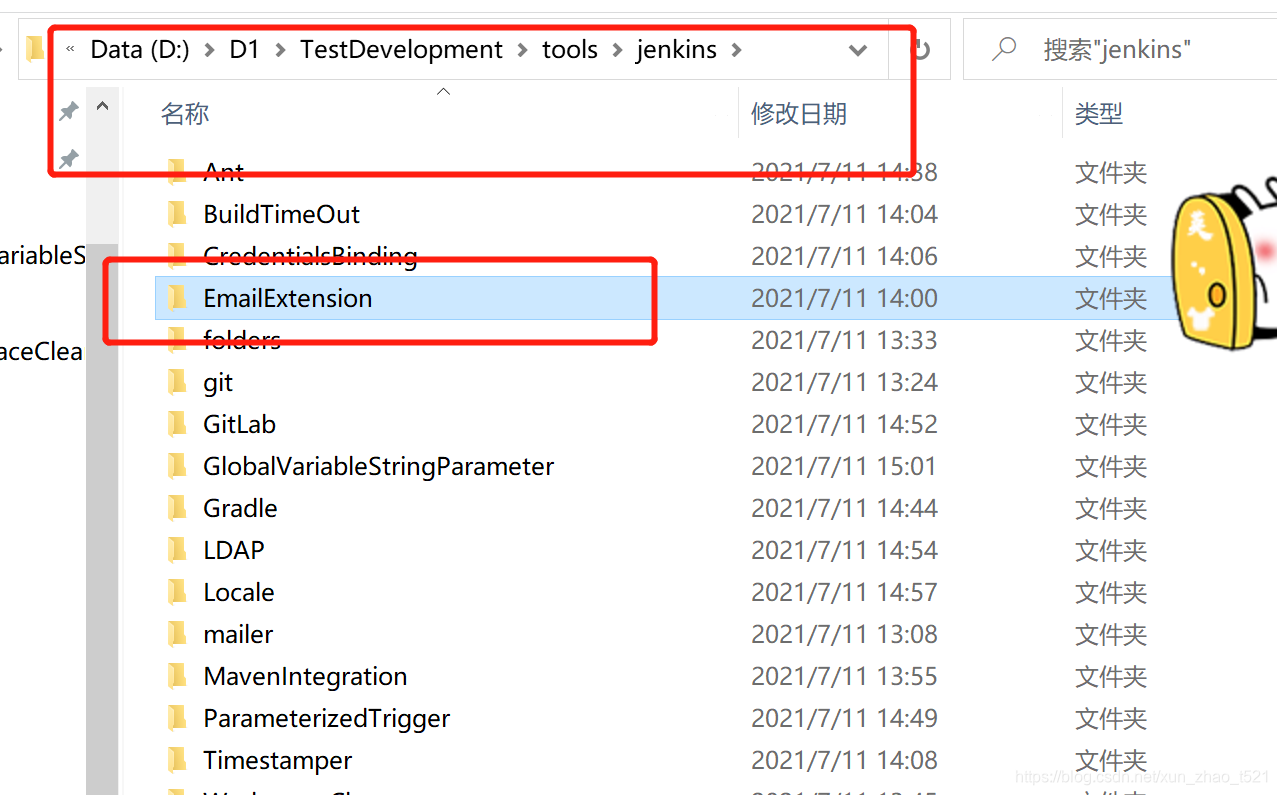
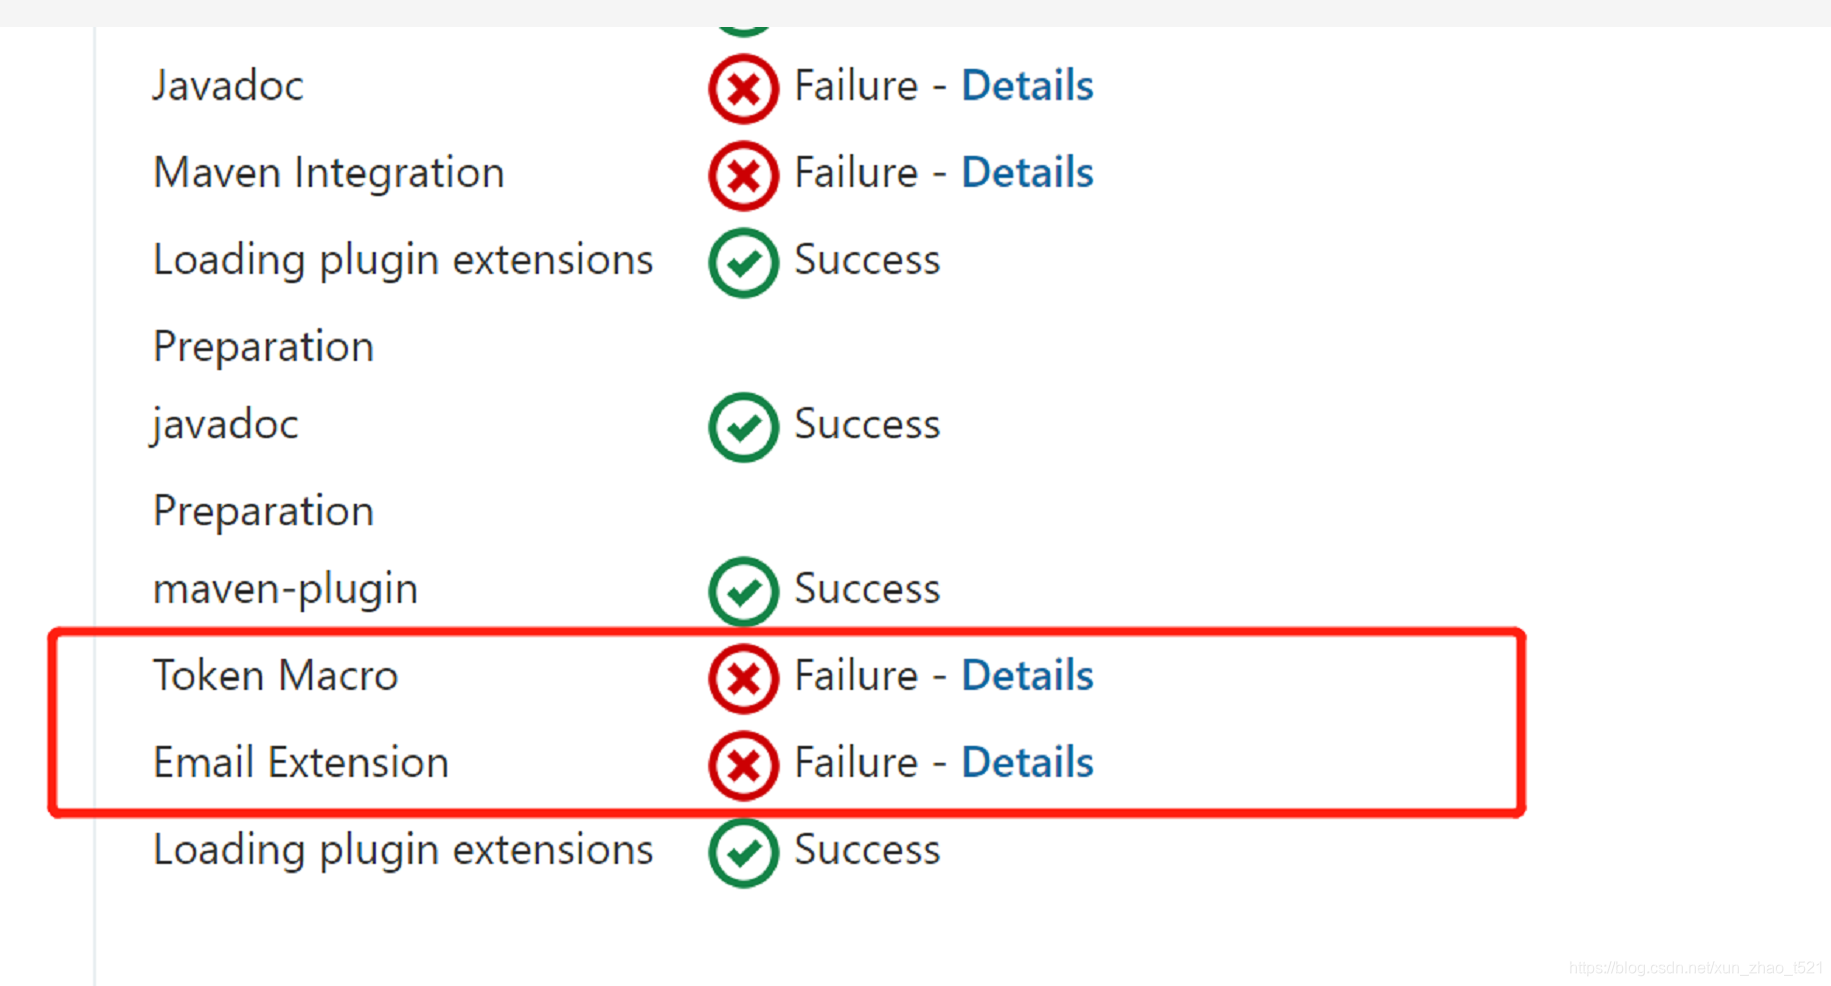
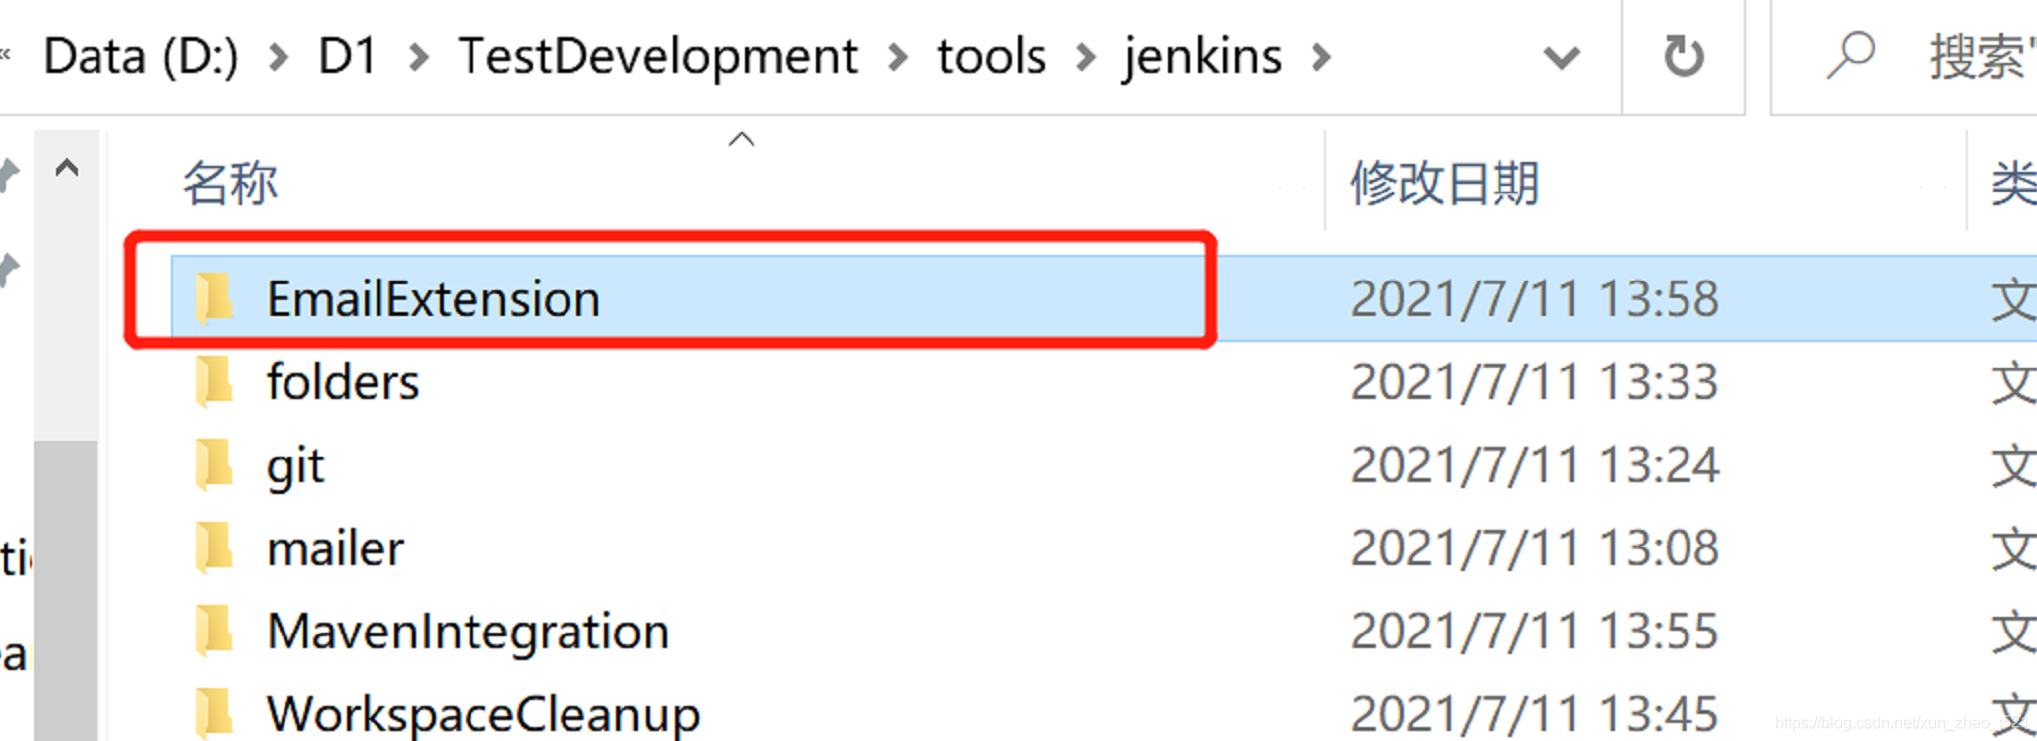
以安装email extension为例
1)提前建好文件夹用来存放
2)
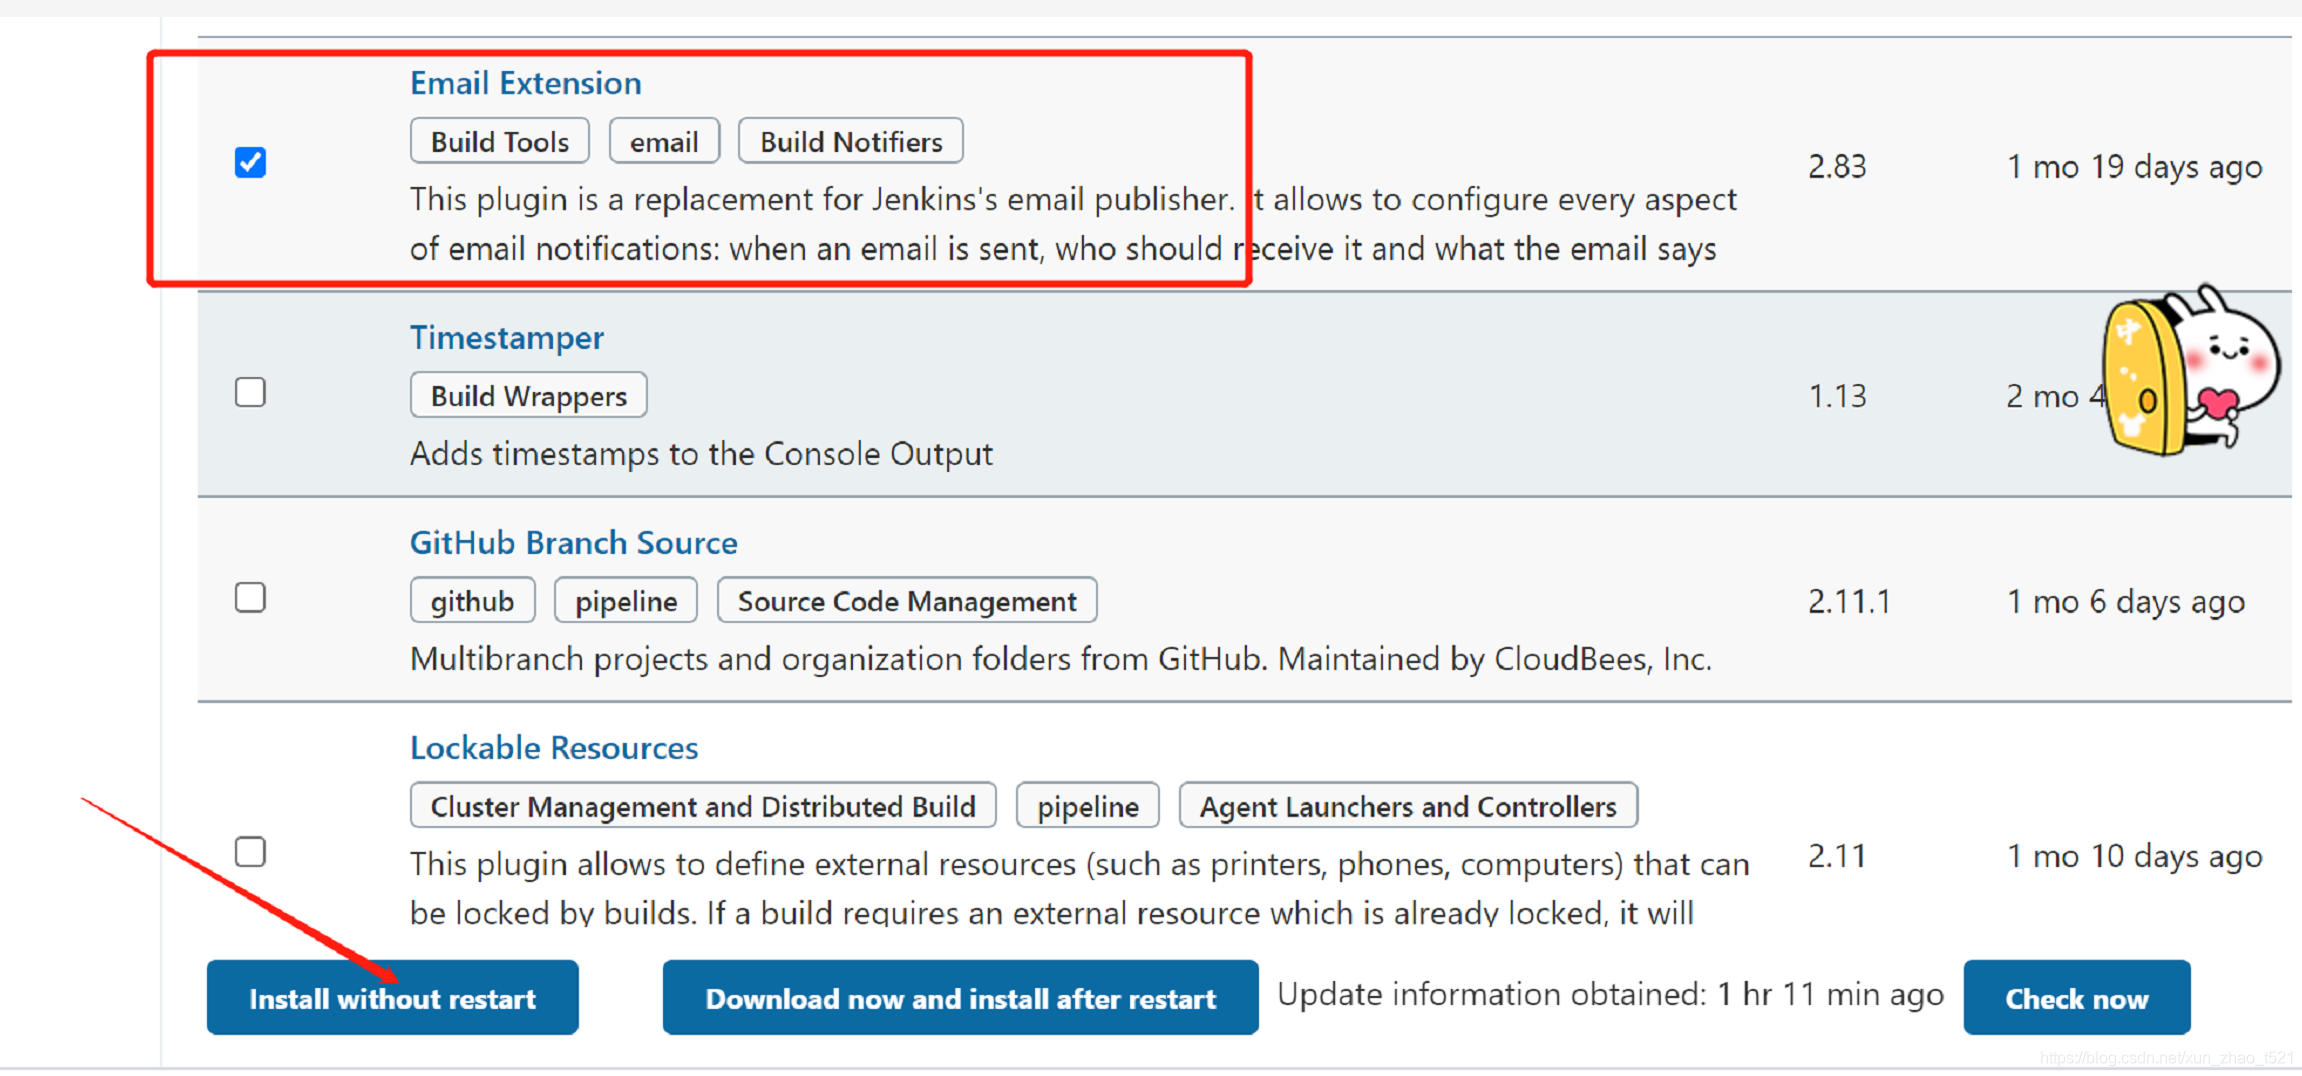
3)点击details查看具体下载地址
4)直接在浏览器输入这个url
会弹出文件保存对话框,选择刚才新建的文件夹
点击【确定】,开始下载。
5)下载完成后点击advanced,找到

6)选择4)下载的插件,然后点击upload
在update center能看到安装结果
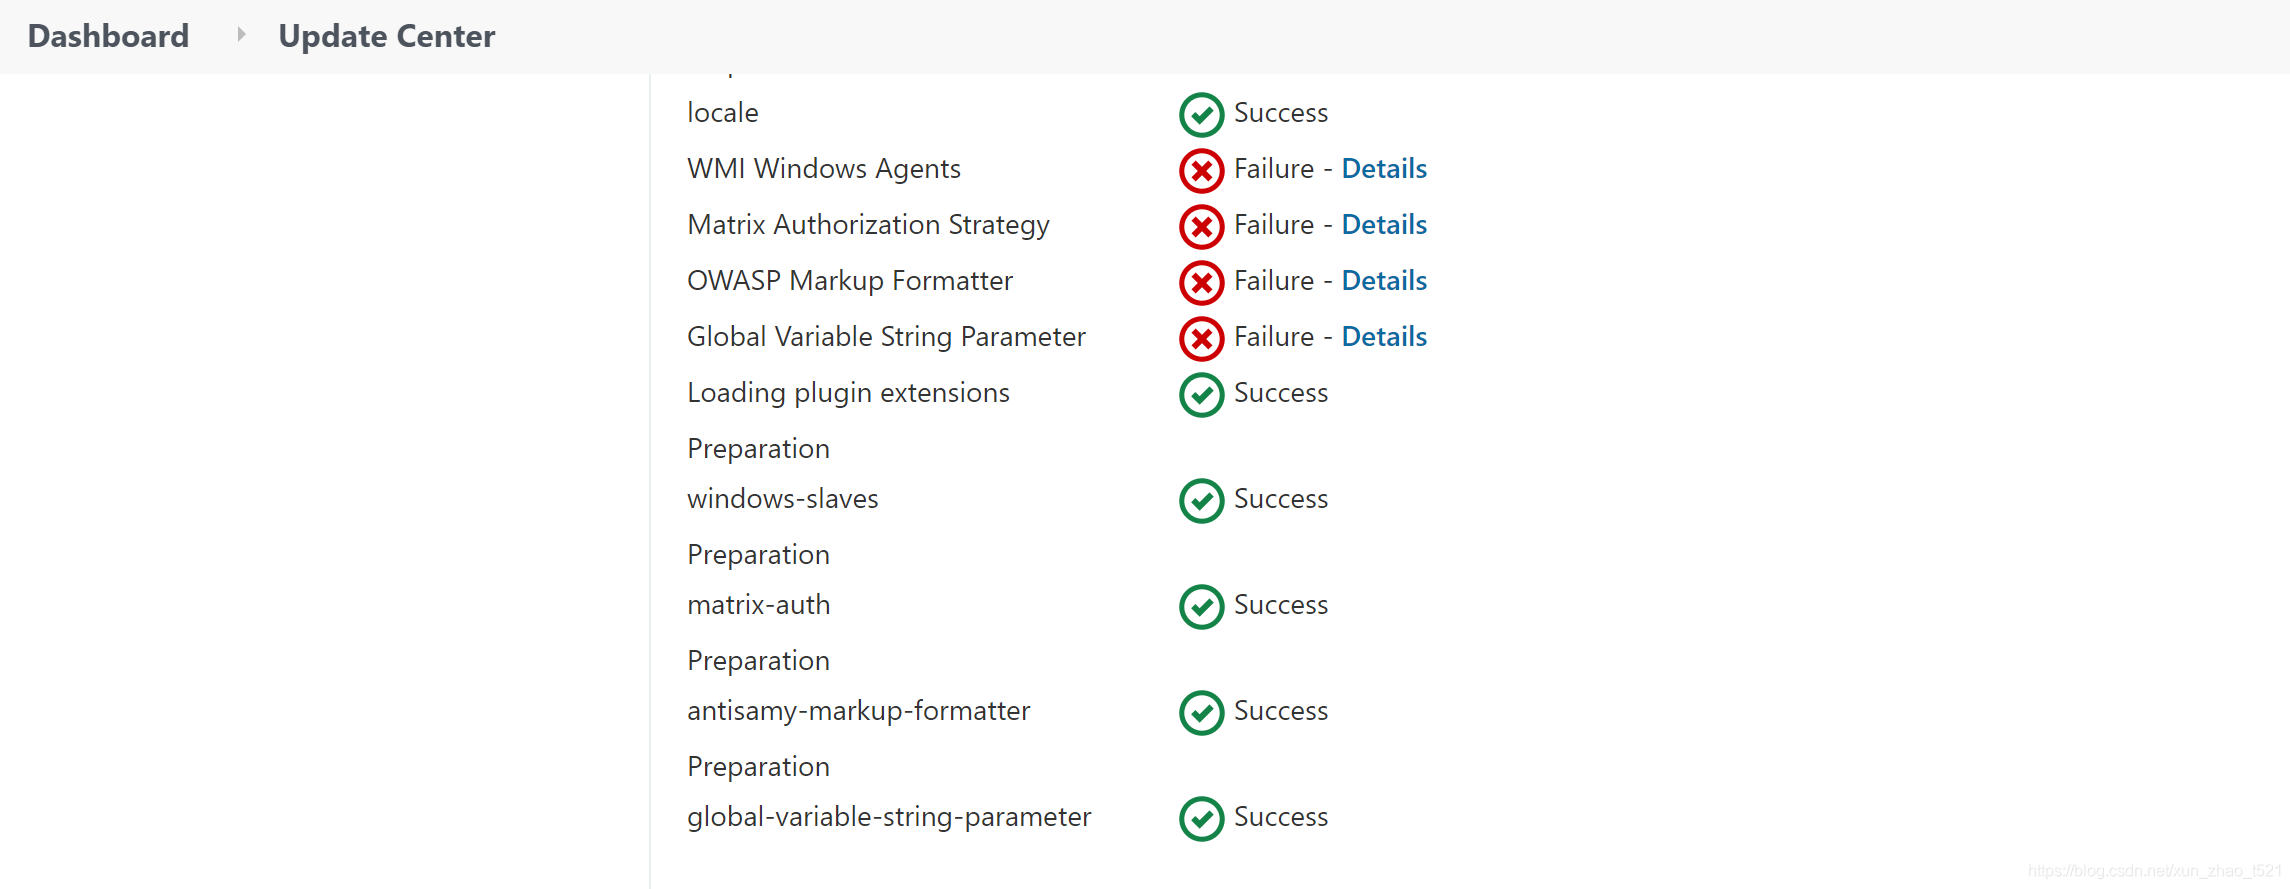
这个就是本次安装的插件
7)如此继续下去直到安装好email extension需要的所有的插件
这个方法稍显麻烦,但是好在最后也能成功安装插件
至此jenkins下载安装完成


 1833
1833


 到【灌水乐园】发言


