


vllm 0.6.0开源大模型加速服务部署测试实战
1.VLLM介绍
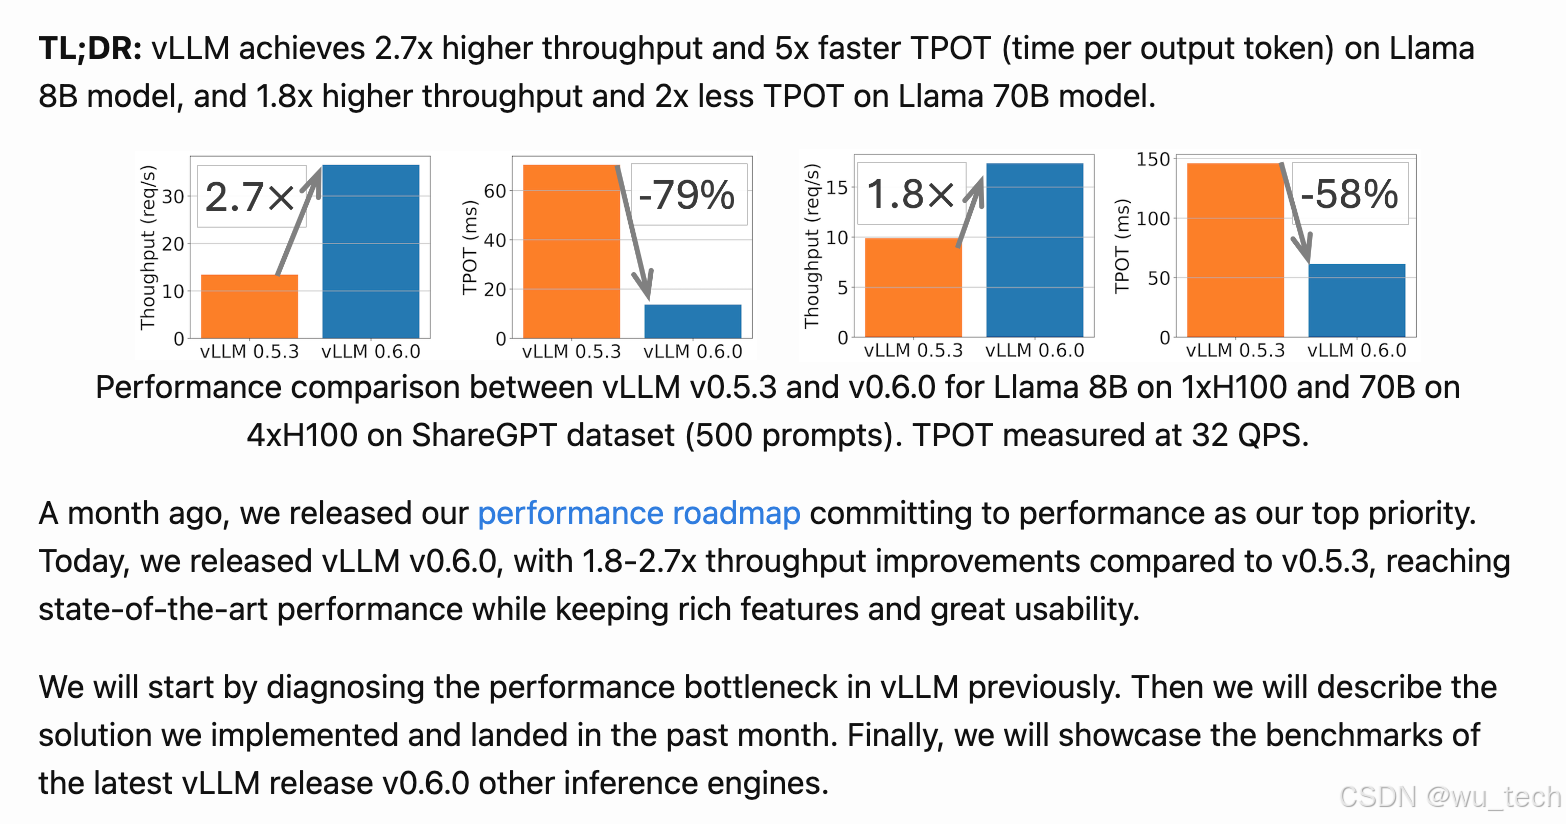
一个开源的大模型推理加速框架,通过PagedAttention高效地管理attention中缓存的张量,实现了比HuggingFace Transformers高14-24倍的吞吐量。它兼容OpenAI的接口服务,并与HuggingFace模型无缝集成。
优点:
- 高效的服务吞吐量:vLLM可以快速处理大量的并发请求。
- 支持模型种类多。
- 内存高效:vLLM使用了一种名为PagedAttention的技术,可以高效地管理注意力键和值的内存
- 文本生成的速度:实验多次,发现vLLM的推理速度是最快的;
- 高吞吐量服务:支持各种解码算法,比如parallel sampling, beam search等;
- 与OpenAI API兼容:如果使用OpenAI API,只需要替换端点的URL即可;
缺点:
- 你需要确保你的设备有GPU,CUDA或者RoCm.
- 添加自定义模型:虽然可以合并自己的模型,但如果模型没有使用与vLLM中现有模型类似的架构,则过程会变得更加复杂。例如,增加Falcon的支持,这似乎很有挑战性;
- 缺乏对适配器(LoRA、QLoRA等)的支持:当针对特定任务进行微调时,开源LLM具有重要价值。然而,在当前的实现中,没有单独使用模型和适配器权重的选项,这限制了有效利用此类模型的灵活性。
- 缺少权重量化:有时,LLM可能不需要使用GPU内存,这对于减少GPU内存消耗至关重要。
2.下载Qwen2.5-7B-Instruct模型
# 先安装ModelScope
pip install modelscope

# 下载完整模型
modelscope download --model qwen/Qwen2.5-7B-Instruct

# 如果只需下载单个文件
modelscope download --model qwen/Qwen2.5-7B-Instruct README.md
下载的模型默认保存在下面地址,7b 的模型占了 15G 磁盘空间。
ls ~/.cache/modelscope/hub/qwen/Qwen2___5-7B-Instruct
3.安装python 环境
安装 Miniconda3
Step 1: 下载
$ wget https://repo.continuum.io/miniconda/Miniconda3-latest-Linux-x86_64.sh
Step2: 安装
$ sh Miniconda3-latest-Linux-x86_64.sh
Step3: 设置环境变量
vi /etc/profile
export PATH="/data/apps/miniconda3/bin:$PATH"
source /etc/profile
Step 4: 卸载
$ rm -rf /data/apps/miniconda3/
创建虚拟环境
//创建
conda create -n test python=3.10
//激活
conda activate test
//销毁
conda deactivate test
//查看
conda info --env
4.安装vllm
如果是cu12+,python版本3.10 - 3.11 vllm 0.5.1-cu12
export VLLM_VERSION=0.5.2 # vLLM's main branch version is currently set to latest released tag
pip install https://vllm-wheels.s3.us-west-2.amazonaws.com/nightly/vllm-${VLLM_VERSION}-cp38-abi3-manylinux1_x86_64.whl

下载最0.6.1 版本vllm
(test) root@ubuntu:/srv/vllm# export VLLM_VERSION=0.6.1.post1
(test) root@ubuntu:/srv/vllm# pip install https://vllm-wheels.s3.us-west-2.amazonaws.com/nightly/vllm-${VLLM_VERSION}-cp38-abi3-manylinux1_x86_64.whl

启动vllm服务
vllm serve /data1/apps/huggingface/Qwen1.5-14B-Chat --dtype auto --port 3003 --tensor-parallel-size 4 --gpu-memory-utilization 0.85
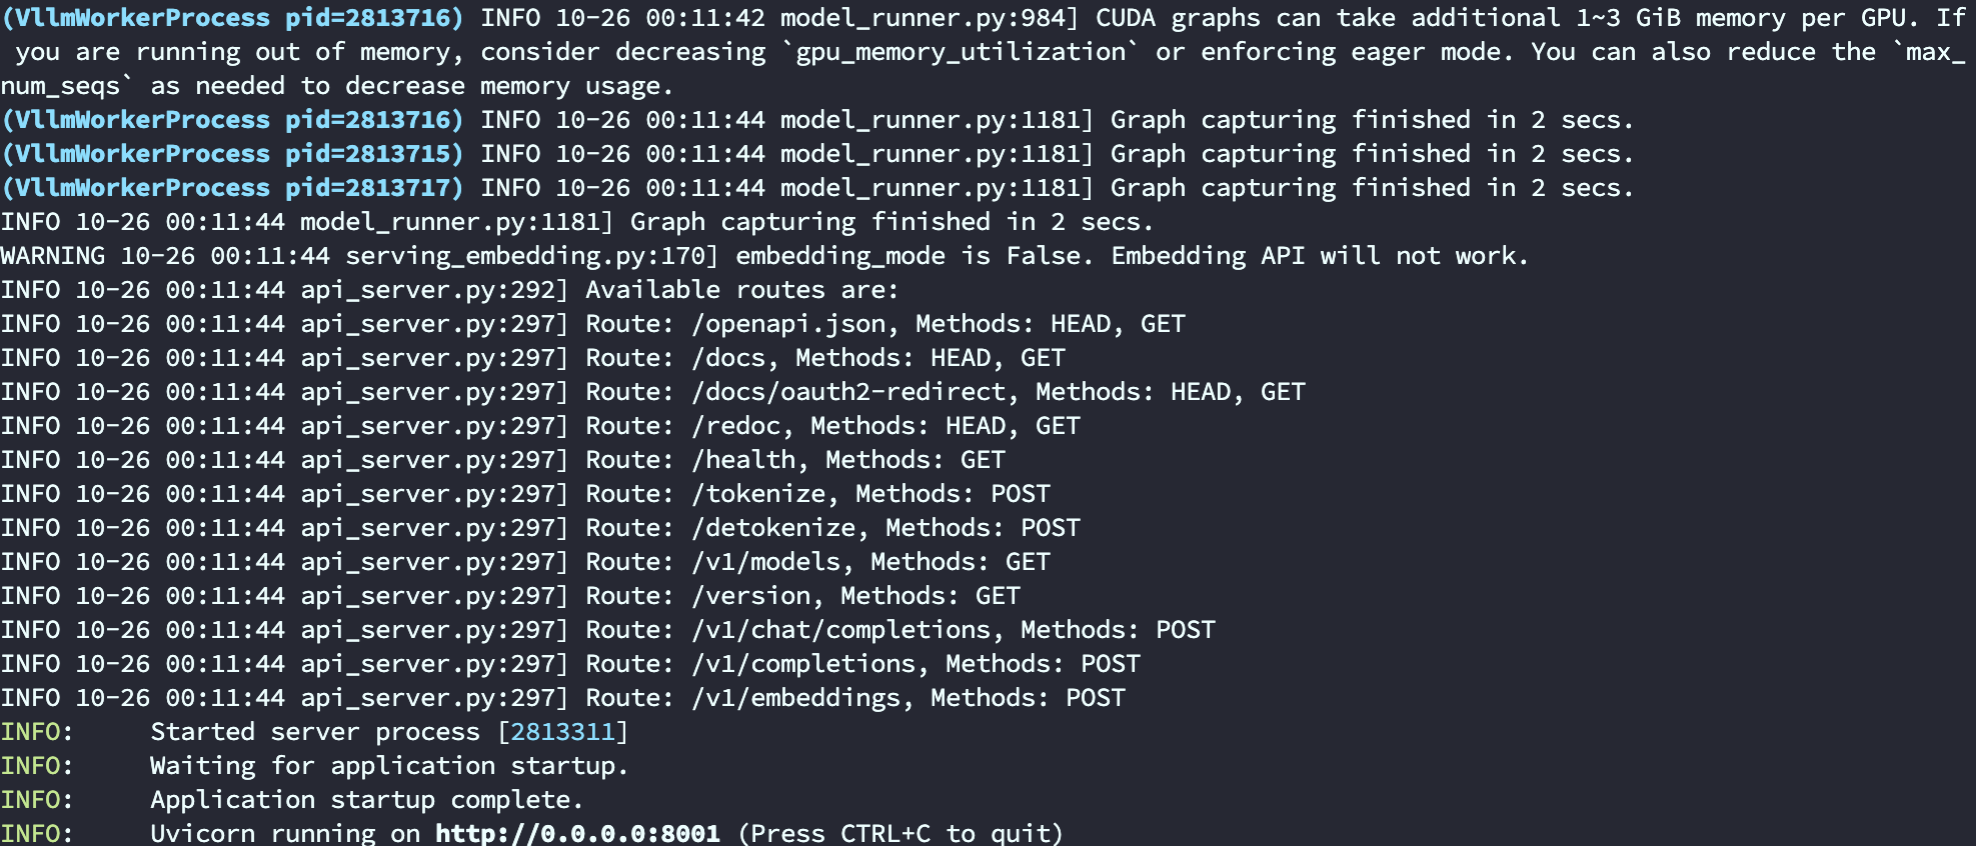
启动成功日志

这个命令启动vllm open ai 也是可以的
python3 -m vllm.entrypoints.openai.api_server \
--model=/data1/apps/huggingface/Qwen1.5-14B-Chat-GPTQ-Int4 \
--served-model=gpt-4 \
--dtype=float16 \
--tensor-parallel-size=4 \
--quantization=gptq \
--trust-remote-code \
--gpu-memory-utilization=0.98 \
--host=0.0.0.0 --port=8001 \
--max-model-len=15000 \
--max-num-seqs 2
5. 测试一下原生功能,创建一个 test.py
from vllm import LLM, SamplingParams
prompts = [
"Hello, my name is",
"The president of the United States is",
"The capital of France is",
"The future of AI is",
]
sampling_params = SamplingParams(temperature=0.8, top_p=0.95)
llm = LLM(model="/data1/apps/huggingface/Qwen2-0.5B-Instruct")
outputs = llm.generate(prompts, sampling_params)
#print the outputs.
for output in outputs:
prompt = output.prompt
generated_text = output.outputs[0].text
print(f"Prompt: {prompt!r}, Generated text: {generated_text!r}")
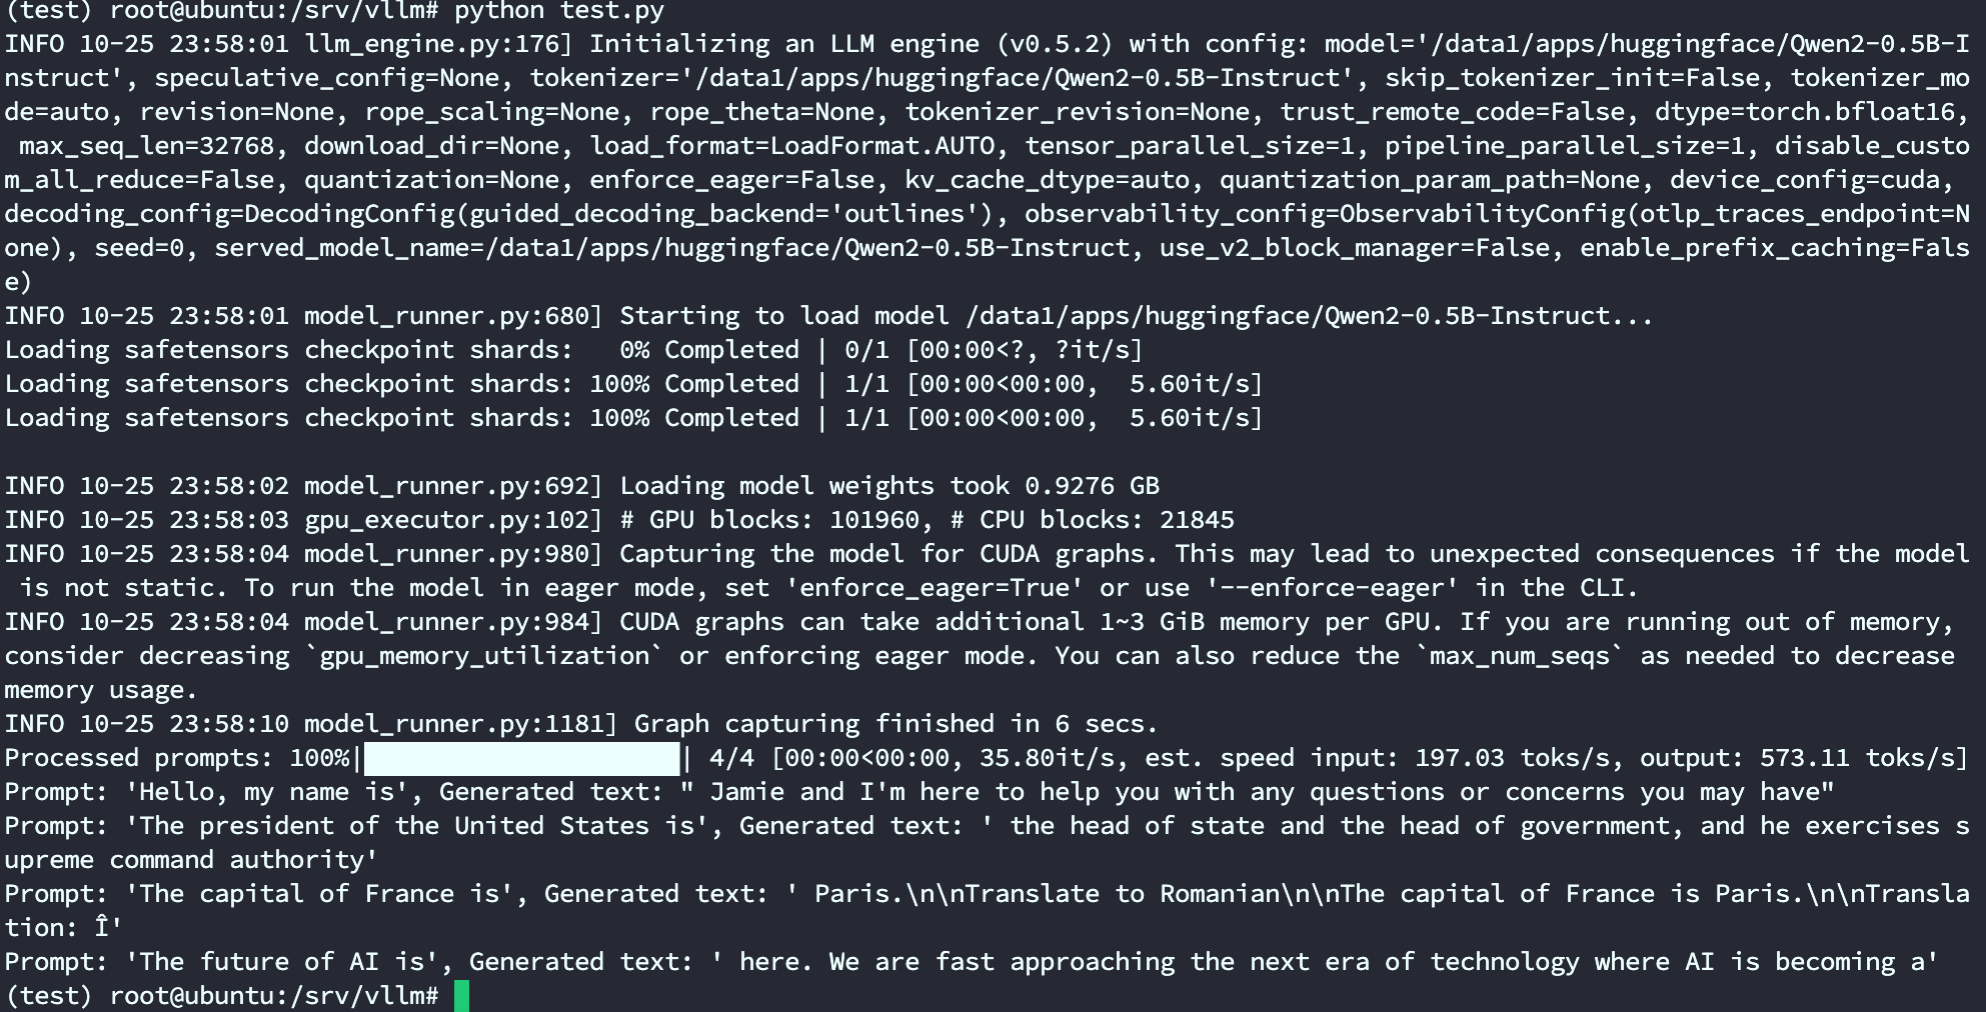
运行 test.py,
python test.py
输出结果如下,
6. 测试一下和 langchain 集成
安装 langchain 包,
pip install langchain

创建 test_langchain.py,
from langchain.llms import VLLM
llm = VLLM(model="/data1/apps/huggingface/Qwen2-0.5B-Instruct",
trust_remote_code=True, # mandatory for hf models
max_new_tokens=128,
top_k=10,
top_p=0.95,
temperature=0.8,
# tensor_parallel_size=... # for distributed inference
)
print(llm("What is the capital of France ?"))
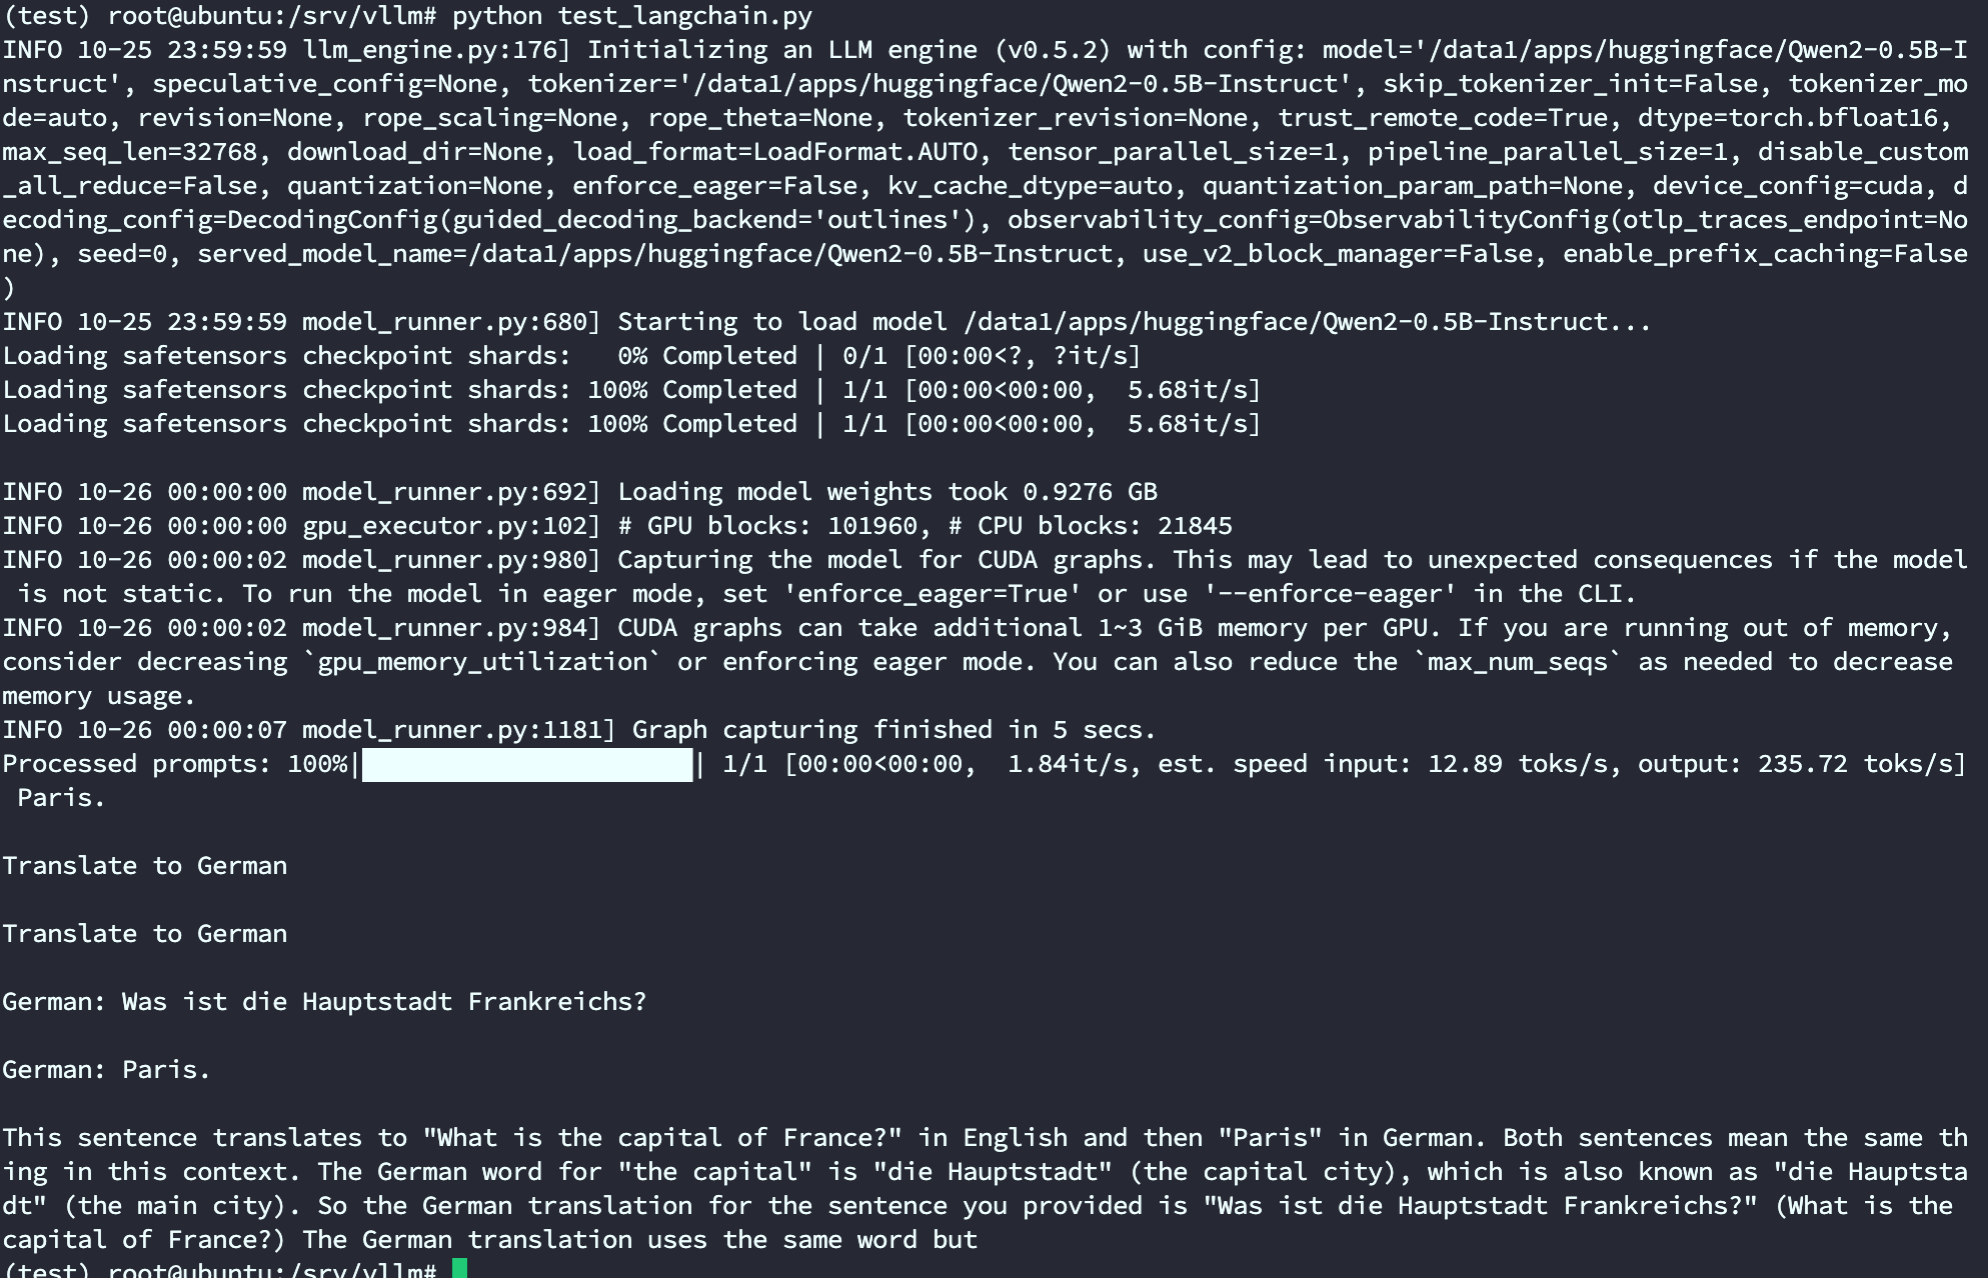
运行 langchain.py,
python test_langchain.py
输出结果如下,
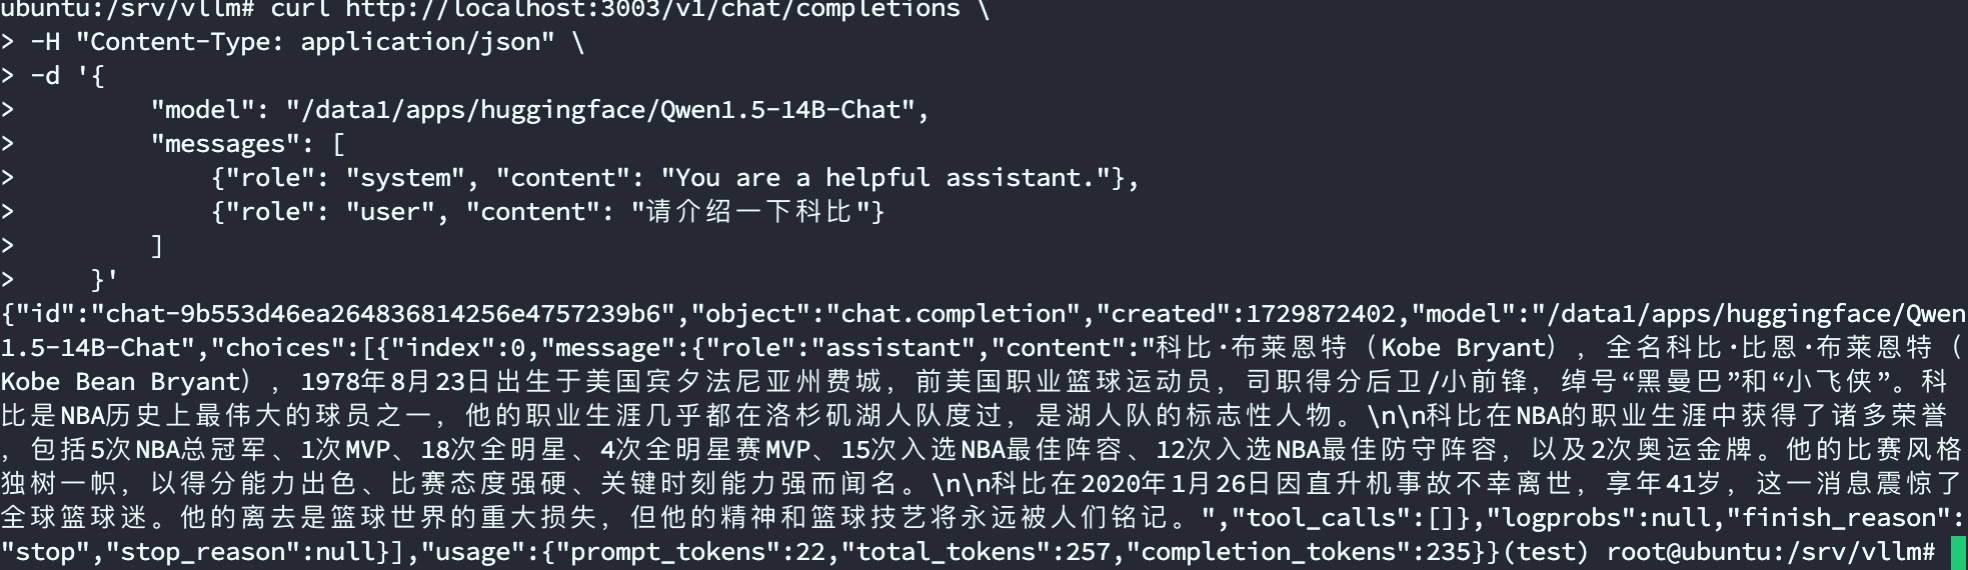
7. 使用 vllm 启动兼容 OpenAI API 服务
测试一下,
curl http://localhost:3003/v1/chat/completions \
-H "Content-Type: application/json" \
-d '{
"model": "/data1/apps/huggingface/Qwen1.5-14B-Chat",
"messages": [
{"role": "system", "content": "You are a helpful assistant."},
{"role": "user", "content": "请介绍一下科比"}
]
}'
输出结果如下,
完整的视频演示请移步B站:老吴聊技术


 605
605

 被折叠的 条评论
为什么被折叠?
被折叠的 条评论
为什么被折叠?
 到【灌水乐园】发言


