


 本文介绍了如何定制Allure测试报告,包括logo和功能方面的定制。在logo定制中,详细说明了修改配置文件和样式的方法。在功能定制部分,讲解了如何自定义左边的项目、模块和接口名称,以及右边的严重程度、描述、链接和步骤。此外,还探讨了企业在自动化测试中可能需要的其他定制需求,如动态标题和附件管理。
allure报告的定制
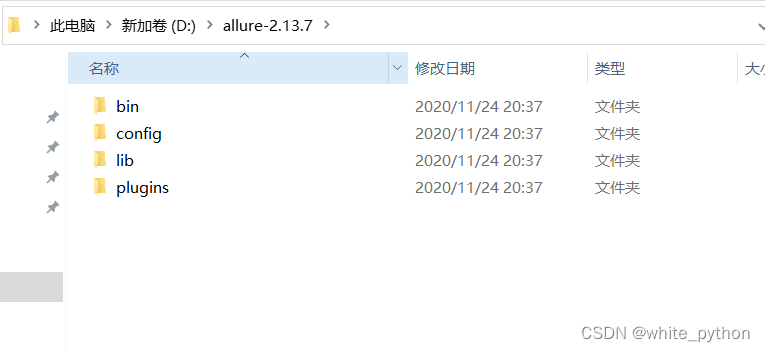
bin:执行文件
config:配置文件
lib:jar包
plugins:插件
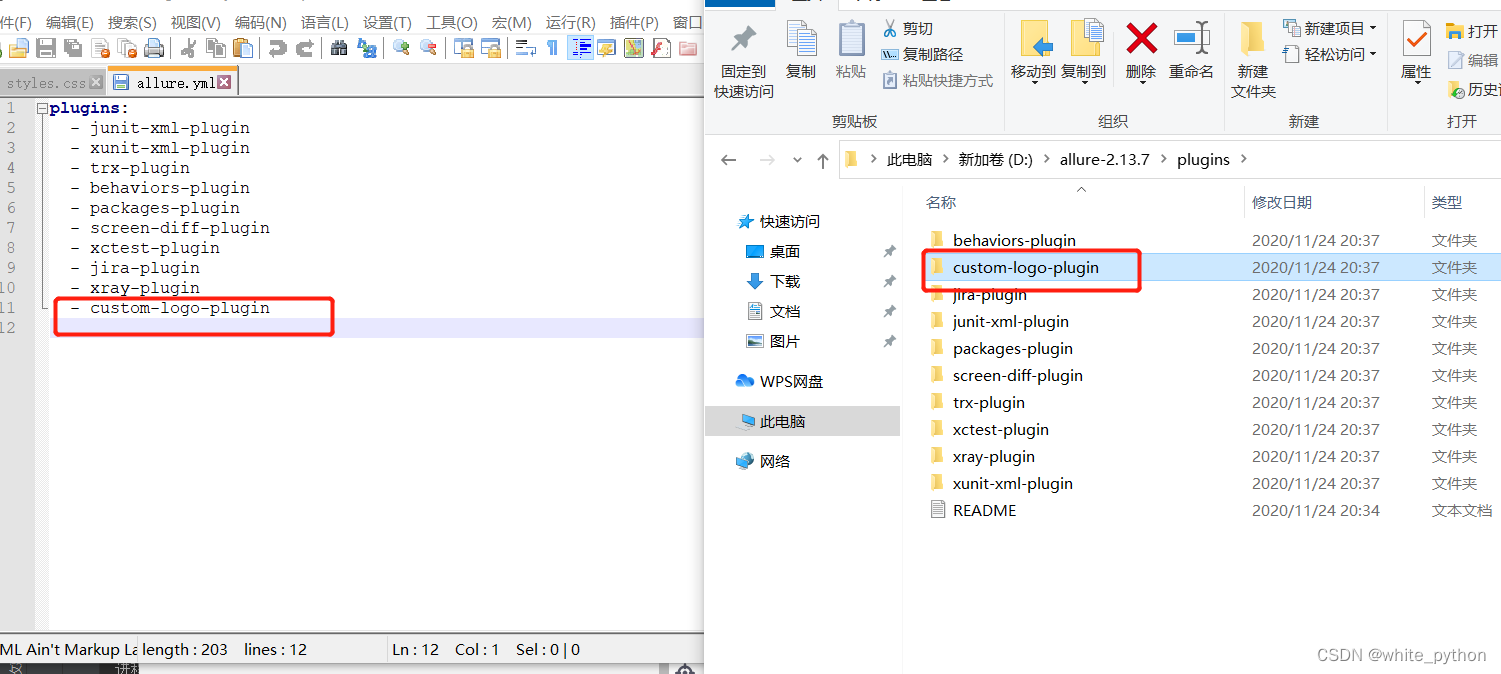
logo定制
(1)修改配置文件:
E:\allure-2.13.7\config\allure.yaml,加入自定义logo插件的配置。
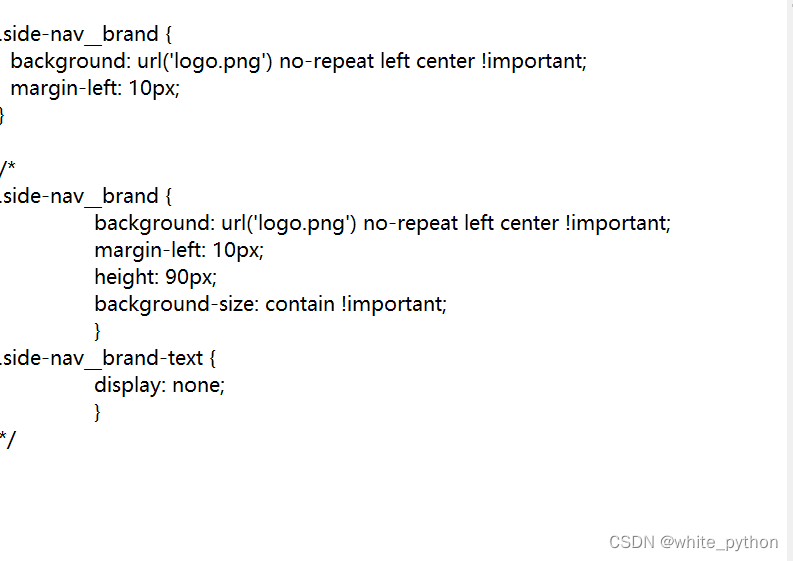
(2)修改logo样式:
E:\allure-2.13.7\plugins\custom-logo-plugin\static\styles.css
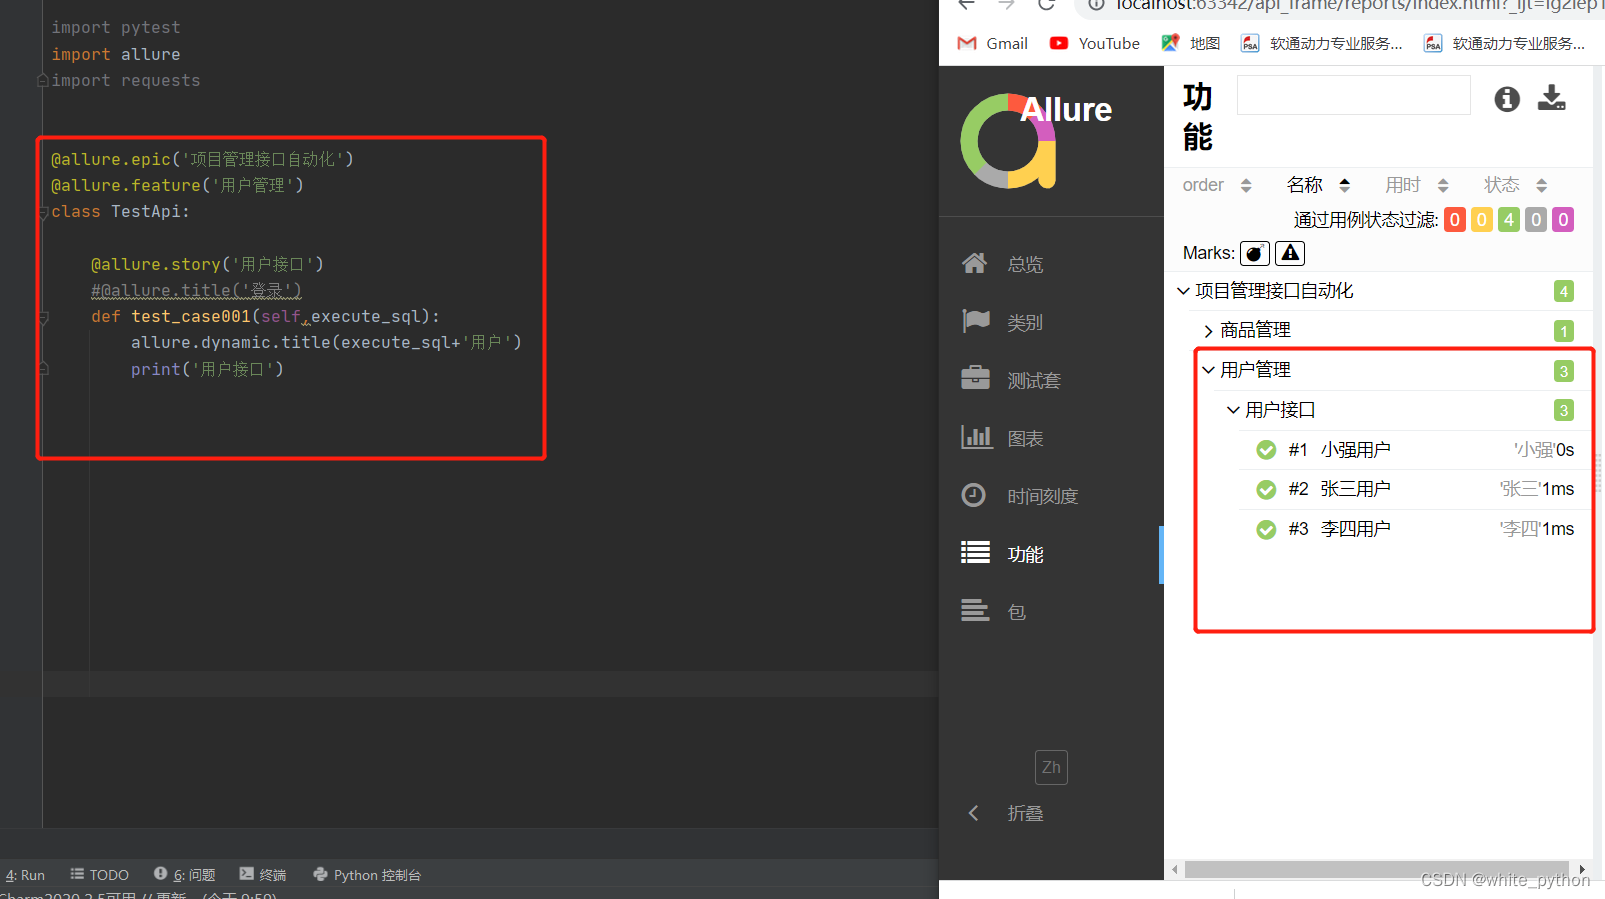
功能定制
左边
@allure.epic("项目名称定制 ")
@allure.feature("模块名称定制 ")
@allure.story(“接口名称定制”)
标题的定制:
@allure.title(“登录成功”) #所有的接口用例使用一个标题
allure.dynamic.title(product+“注册成功”) #用例的标题取决于数据
 最低0.47元/天 解锁文章


 1071
1071

 被折叠的 条评论
为什么被折叠?
被折叠的 条评论
为什么被折叠?
 到【灌水乐园】发言


