


pytest 断言 使用Python 原生assert
def  test_assert():
    assert  1==1
pytest结合allure-pytest 生成allure 报告
第一步
下载allure文件
下载地址1 https://github.com/allure-framework/allure2/releases
下载地址2 https://repo.maven.apache.org/maven2/io/qameta/allure/allure-commandline/
下载之后解压到非中文目录
将bin路径配置到环境变量
第二步
安装allure pip install allure-pytest
查看安装版本 allure --version
可能需要重启pycharm
第三步
[pytest]
#配置文件
addopts = -vs --alluredir=report/temps --clean-alluredir
testpaths= report/
python_files= test_demo4.py
python_classes=Test*
python_functions=test_*
#用例分组
markers=
    smoke
    product_mange:商品管理
第四步
import os
import time

import pytest

if __name__ == '__main__':
    pytest.main()
    time.sleep(3)
    os.system("allure generate report/temps -o report/allure --clean")
第四步 实现allure报告log定制
1、打开allure文件的config (刚才配置到环境变量的路径)
2、在allure.yml 文件中最后加一行
- custom-logo-plugin
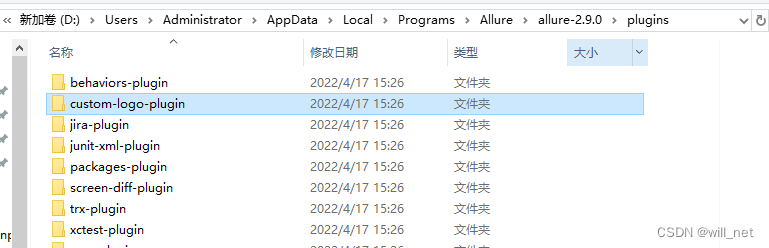
3 编辑 plugins\custom-logo-plugin\static\styles.css
.side-nav__brand {


	background: url('logo.jpg') no-repeat left center !important;;
	margin-left: 10px;
	background-size: contain !important;
}

/* 是否显示allure */
.side-nav__brand-text{


	display:none;
}
.side-nav__brand:after {


	content: "felicia";
	margin-left: 18px;
	height: 20px;
	font-family: Arial;
	font-size: 13px;
}
url 改为定义的图标
问题:修改css文件后 还是使用旧样式 重启pycharm 也无效
解决方案:安装的是allure-pytest 2.9.45版本 卸载后重新安装allure-pytest 版本 再去下载对应的allure文件
修改文件之后需要重新运行用例 生成allure报告
企业级allure报告定制
左边定制:
1、史诗(项目名称)
2、特性(模块名称)
3、分组(接口名称)
4、测试用例标题有两种方式
1、allure.dynamic.title("测试用例标题"+jiaju) 如果是需要做数据驱动就需要用该方式
2、@allure.title("测试用例标题")
import allure
import pytest
@pytest.fixture()
def sql():
    print("查询数据库 验证数据")
    yield '成功'
    print("关闭数据库连接")
@allure.epic("项目名称:接口自动化测试项目")
@allure.feature("模块名称:模块2"
最低0.47元/天 解锁文章


 251
251

 被折叠的 条评论
为什么被折叠?
被折叠的 条评论
为什么被折叠?
 到【灌水乐园】发言


