


基于 CNN 的手写数字串识别与整除判断
1. 引言
手写数字识别是计算机视觉领域的经典任务之一,是新手小白的成为深度学习大牛的必经之路,广泛应用于自动表单识别、车牌识别等场景。本项目基于卷积神经网络(CNN)进行手写数字串识别,并增加了一个特性:判断最终识别出的数字串是否能被3整除。
2. 数据集
本项目使用MNIST数据集,数据数据可以在以下链接获取,获取到mat格式后的数据我们只需要进行格式转换,数据分组就能获得训练和验证数据集
import scipy.io
import numpy as np
import os
from PIL import Image
# 将mat文件划分为train和test数据集
# 读取 mat 文件
train_data = scipy.io.loadmat('train_images.mat')  # 训练图片
train_labels = scipy.io.loadmat('train_labels.mat')  # 训练标签
test_data = scipy.io.loadmat('test_images.mat')  # 测试图片
test_labels = scipy.io.loadmat('test_labels.mat')  # 测试标签
# print(train_data.keys())  # 查看 .mat 文件中的数据结构
# print(train_labels.keys())
# 提取数据
X_train = np.transpose(train_data['train_images'], (2, 0, 1))  # 变为 (N, 28, 28)
y_train = train_labels['train_labels1'].flatten()
X_test = np.transpose(test_data['test_images'], (2, 0, 1))
y_test = test_labels['test_labels1'].flatten()
# 创建存储目录
dataset_path = "data"
train_path = os.path.join(dataset_path, "train")
test_path = os.path.join(dataset_path, "test")

for i in range(10):  # 创建 0-9 目录
    os.makedirs(os.path.join(train_path, str(i)), exist_ok=True)
    os.makedirs(os.path.join(test_path, str(i)), exist_ok=True)

# 保存训练集图片
for i in range(len(X_train)):
    img_array = X_train[i]
    img_label = y_train[i]
    img = Image.fromarray(img_array.astype(np.uint8))  # 转换为 PIL 图像
    img_path = os.path.join(train_path, str(img_label), f"{i}.png")
    img.save(img_path)

# 保存测试集图片
for i in range(len(X_test)):
    img_array = X_test[i]
    img_label = y_test[i]
    img = Image.fromarray(img_array.astype(np.uint8))
    img_path = os.path.join(test_path, str(img_label), f"{i}.png")
    img.save(img_path)

print(f"图片已存储在 {dataset_path}/ 目录下,按 0-9 分类存放。")
D:/HandWritingNumber_Detection/Data/
├── train/   # 训练集
│   ├── 0/   # 存放所有‘0’的图片
│   ├── 1/   # 存放所有‘1’的图片
│   ├── ...
│   ├── 9/   # 存放所有‘9’的图片
│
├── test/    # 测试集
│   ├── 0/
│   ├── 1/
│   ├── ...
│   ├── 9/
3. CNN 模型设计
我们设计了一个轻量级CNN网络结构,适用于手写数字识别。模型结构如下:
class CNN(nn.Module):
    def __init__(self):
        super(CNN, self).__init__()
        self.conv1 = nn.Conv2d(1, 32, kernel_size=3, padding=1)
        self.conv2 = nn.Conv2d(32, 64, kernel_size=3, padding=1)
        self.conv3 = nn.Conv2d(64, 128, kernel_size=3, padding=1)
        self.pool = nn.MaxPool2d(kernel_size=2, stride=2)
        self.fc1 = nn.Linear(128 * 3 * 3, 256)
        self.fc2 = nn.Linear(256, 10)

    def forward(self, x):
        x = self.pool(torch.relu(self.conv1(x)))
        x = self.pool(torch.relu(self.conv2(x)))
        x = self.pool(torch.relu(self.conv3(x)))
        x = x.view(x.size(0), -1)
        x = torch.relu(self.fc1(x))
        x = self.fc2(x)
        return x
4. 数据预处理
我们对数据集进行灰度化、归一化和数据增强处理,以提升模型的泛化能力。
transform = transforms.Compose([
    transforms.Grayscale(num_output_channels=1),
    transforms.ToTensor(),
    transforms.Normalize((0.5,), (0.5,))
])
5. 训练模型
训练循环:
def train_model(model, train_loader, criterion, optimizer, num_epochs=5):
    for epoch in range(num_epochs):
        model.train()
        running_loss = 0.0
        correct = 0
        total = 0
        for inputs, labels in train_loader:
            optimizer.zero_grad()
            outputs = model(inputs)
            loss = criterion(outputs, labels)
            loss.backward()
            optimizer.step()
            running_loss += loss.item()
            _, predicted = torch.max(outputs, 1)
            total += labels.size(0)
            correct += (predicted == labels).sum().item()
        print(
            f"Epoch [{epoch + 1}/{num_epochs}], Loss: {running_loss / len(train_loader):.4f}, Accuracy: {100 * correct / total:.2f}%")
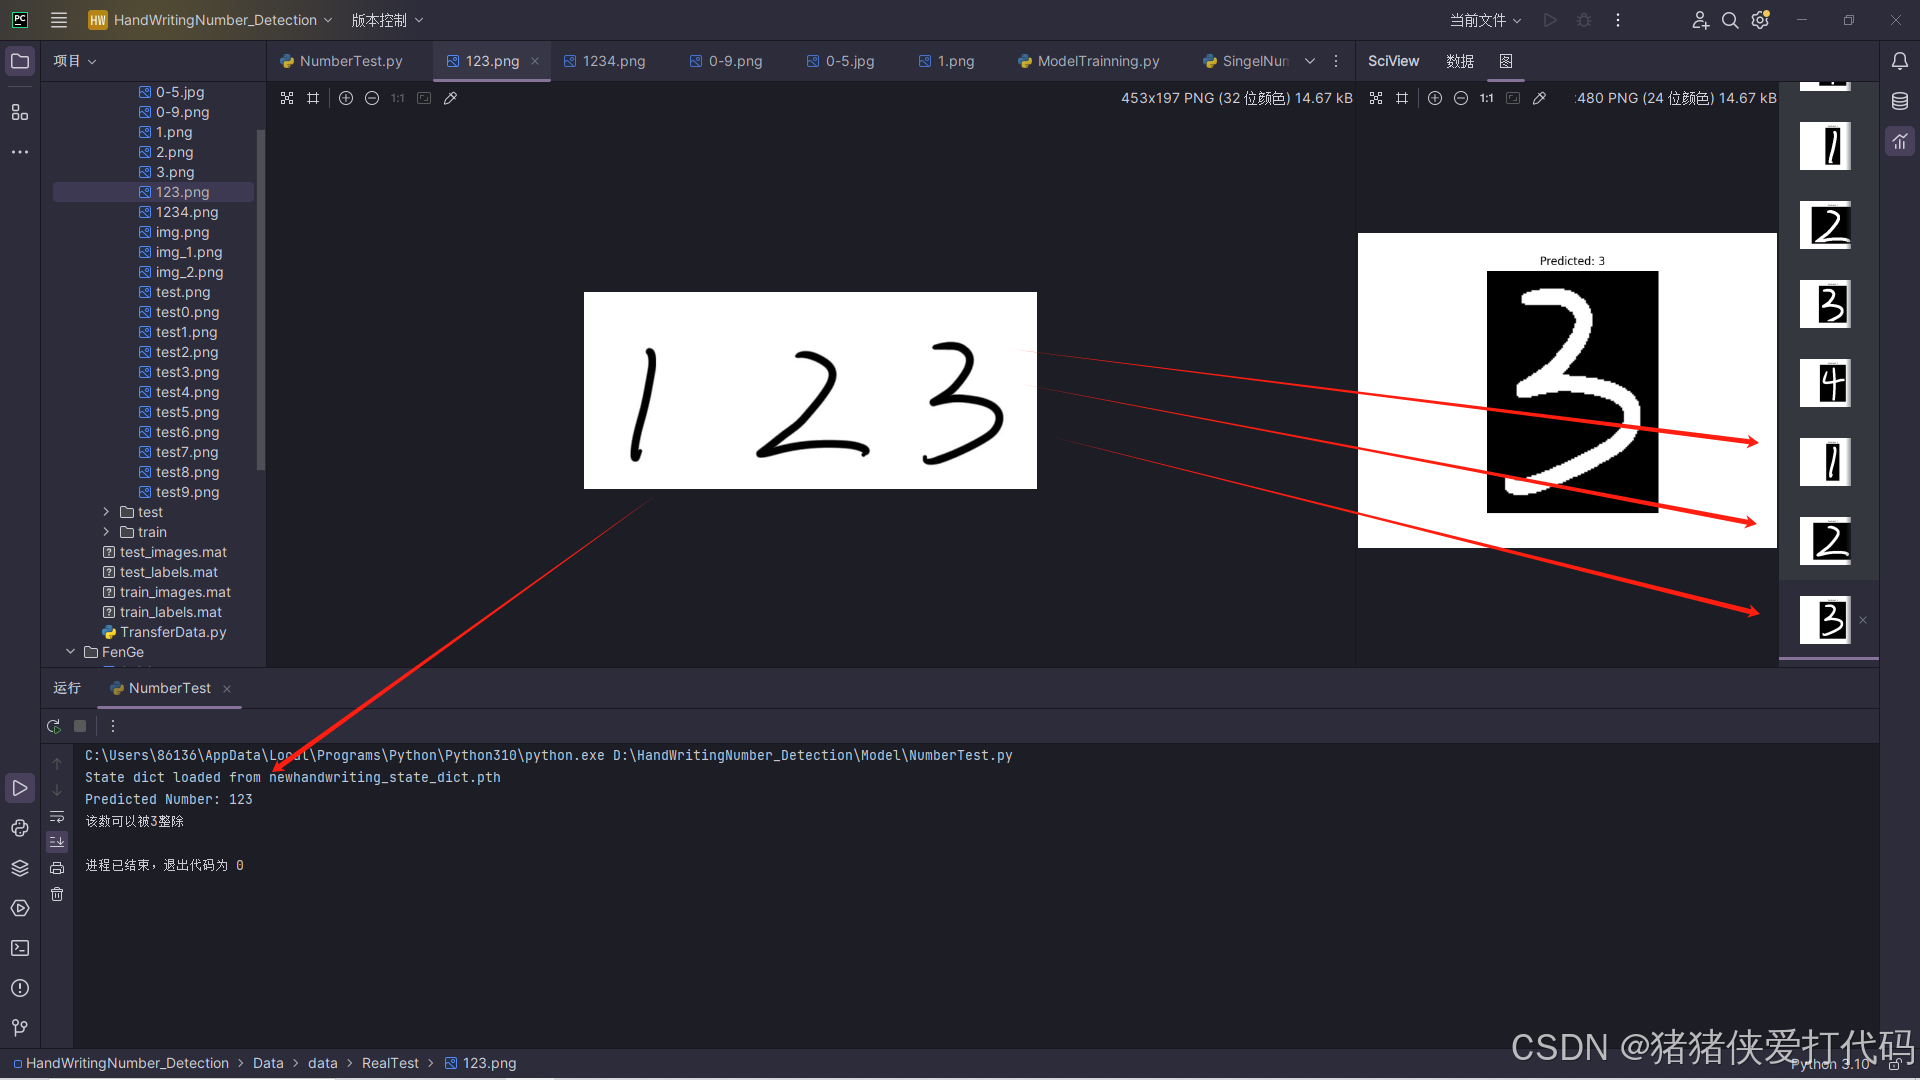
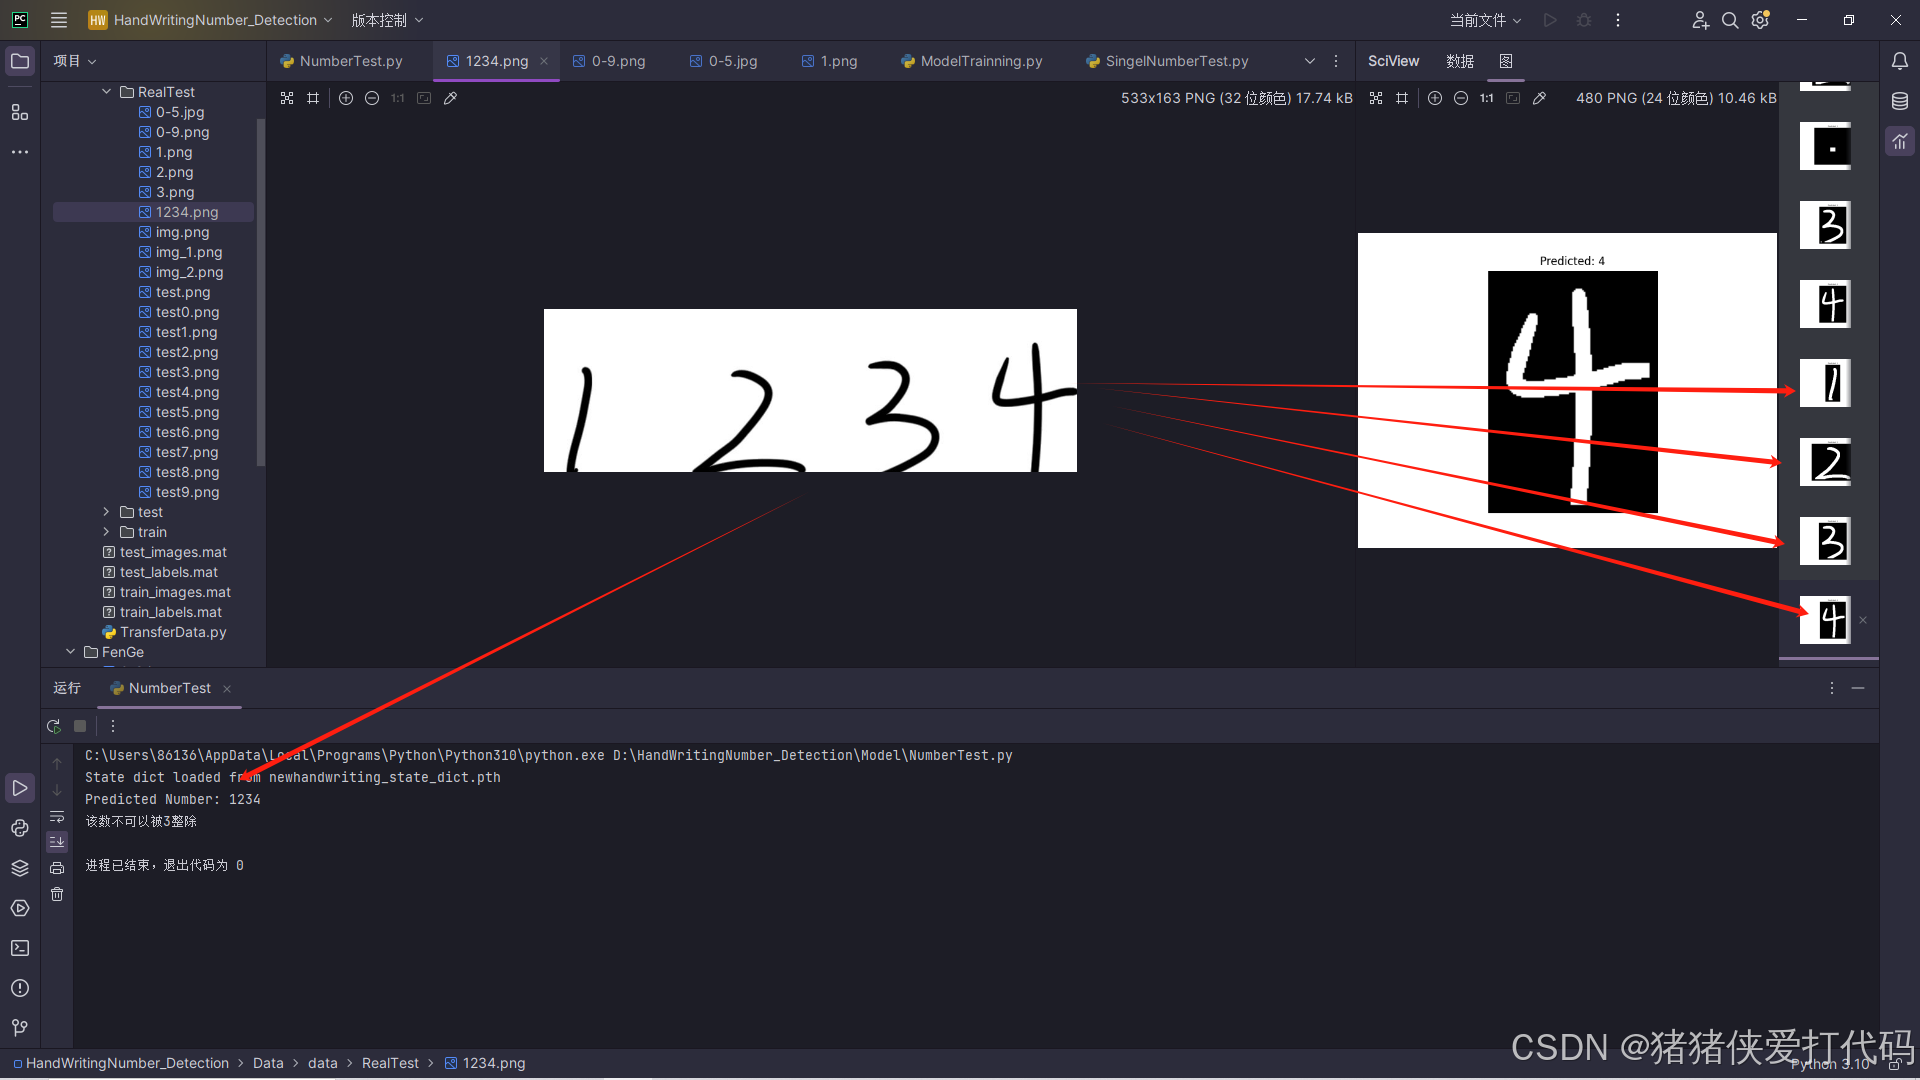
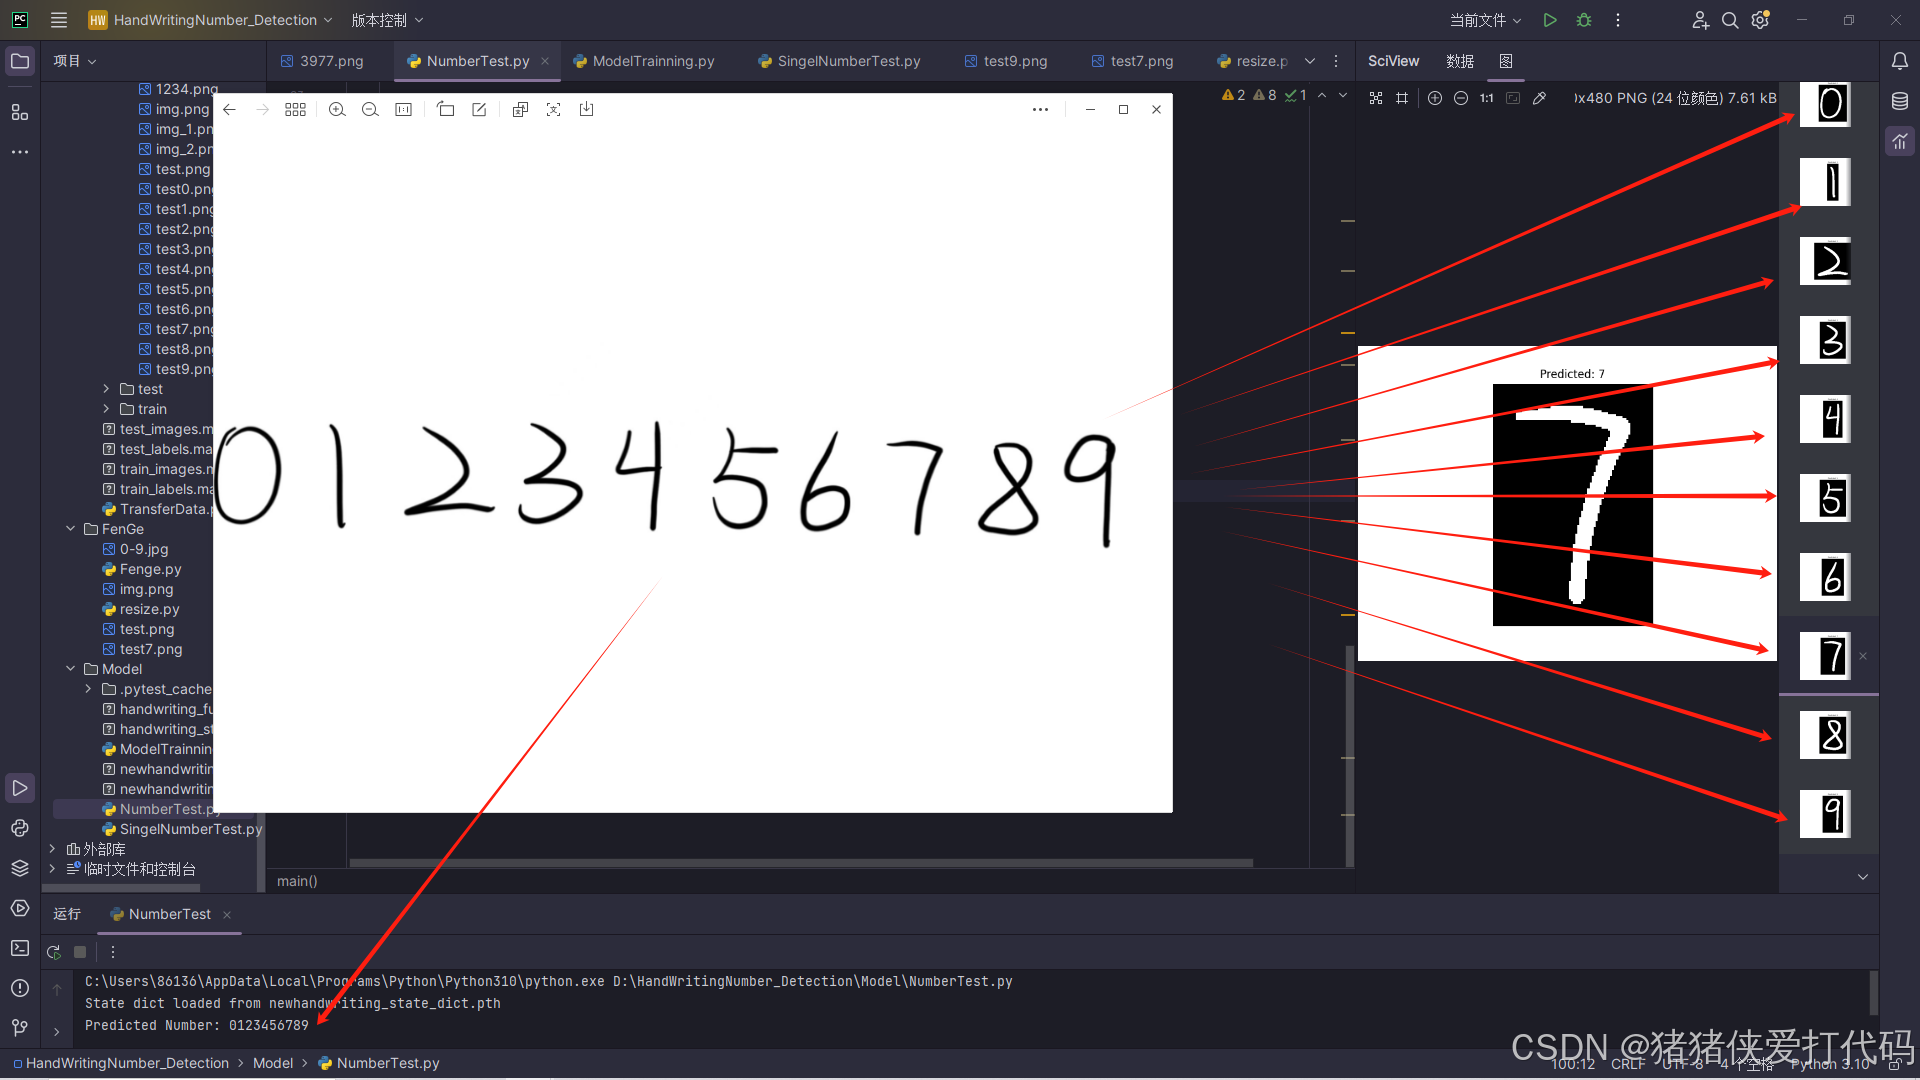
6. 识别完整数字串 & 判断是否能被 3 整除
为了实现整行数字识别,我们采用轮廓检测+字符分割方案。这里我们先写一个图像分割的代码来试试看效果怎么样:
import cv2
image = cv2.imread('0-9.jpg', cv2.IMREAD_GRAYSCALE)
# 黑底白字
_, binary = cv2.threshold(image, 127, 255, cv2.THRESH_BINARY_INV)
# 查找轮廓
contours, _ = cv2.findContours(binary, cv2.RETR_EXTERNAL, cv2.CHAIN_APPROX_SIMPLE)
# 从左到右
bounding_boxes = sorted([cv2.boundingRect(c) for c in contours], key=lambda x: x[0])
# 遍历分割字符并显示
for i, (x, y, w, h) in enumerate(bounding_boxes):
    char_img = binary[y:y+h, x:x+w]  # 提取字符区域
    char_img = cv2.resize(char_img, (28, 28))  # 归一化到 28x28
    # 显示字符
    cv2.imshow(f'Char {i}', char_img)
    cv2.waitKey(0)
cv2.destroyAllWindows()
看着效果不错我们就可以尝试把他加到我们的主代码里面啦!
def process_and_predict(model, image_path):
image = cv2.imread(image_path, cv2.IMREAD_GRAYSCALE)
image = cv2.GaussianBlur(image, (5, 5), 0)
# 黑底白字
_, binary = cv2.threshold(image, 127, 255, cv2.THRESH_BINARY_INV)
# 轮廓检测
contours, _ = cv2.findContours(binary, cv2.RETR_EXTERNAL, cv2.CHAIN_APPROX_SIMPLE)
# 从左到右
bounding_boxes = sorted([cv2.boundingRect(c) for c in contours], key=lambda x: x[0])
predicted_number = "" # 存储最终预测的数字串
for i, (x, y, w, h) in enumerate(bounding_boxes):
# 扩展字符边界
padding = 6 # 额外增加的边距像素
x = max(0, x - padding)
y = max(0, y - padding)
w = min(binary.shape[1] - x, w + 2 * padding)
h = min(binary.shape[0] - y, h + 2 * padding)
char_img = binary[y:y+h, x:x+w] # 提取字符区域
# 填充黑色边缘,避免切掉字符
char_img = cv2.copyMakeBorder(char_img, 6, 6, 6, 6, cv2.BORDER_CONSTANT, value=0)
# 拓展字符轮廓
kernel = np.ones((3, 3), np.uint8) # 3x3 卷积核
char_img = cv2.dilate(char_img, kernel, iterations=1) # 让字符变粗一点
# 让字符居中
char_img = center_character(char_img)
# 识别该字符
predicted_digit = predict_character(model, char_img)
predicted_number += str(predicted_digit)
# 显示当前分割字符
plt.imshow(char_img, cmap="gray")
plt.title(f"Predicted: {predicted_digit}")
plt.axis("off")
plt.show()
print(f"Predicted Number: {predicted_number}")
if int(predicted_number) % 3 == 0:
print('该数可以被3整除')
else:
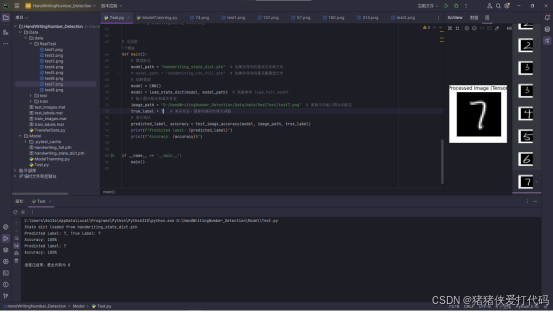
print('该数不可以被3整除')7. 实验结果与改进
在测试过程中我们会发现对于0-6识别精度还是挺高的,但对于7-9识别精度就有点低了,特别是对于7和9,于是我们就尝试通过缩小图片尺寸,让黑色填充边缘部分,达到让字符处于中心的位置的效果,基于这个目的,我尝试编写了下面的代码:
# 让字符居中
def center_character(image):
    h, w = image.shape
    # 计算需要填充的大小
    top_padding = max(0, (28 - h) // 2)
    bottom_padding = max(0, 28 - h - top_padding)
    left_padding = max(0, (28 - w) // 2)
    right_padding = max(0, 28 - w - left_padding)
    # 添加黑色填充让字符居中
    centered_img = cv2.copyMakeBorder(image, top_padding, bottom_padding, left_padding, right_padding, cv2.BORDER_CONSTANT, value=0)
    return centered_img
8. 结论
本文介绍了基于CNN的手写数字识别方法,并实现了整行数字识别及整除判断。通过改进数据增强和字符分割方法,我们可以进一步提高模型的准确率。未来可以尝试进一步提升模型性能。


 9410
9410

 被折叠的 条评论
为什么被折叠?
被折叠的 条评论
为什么被折叠?
 到【灌水乐园】发言


